
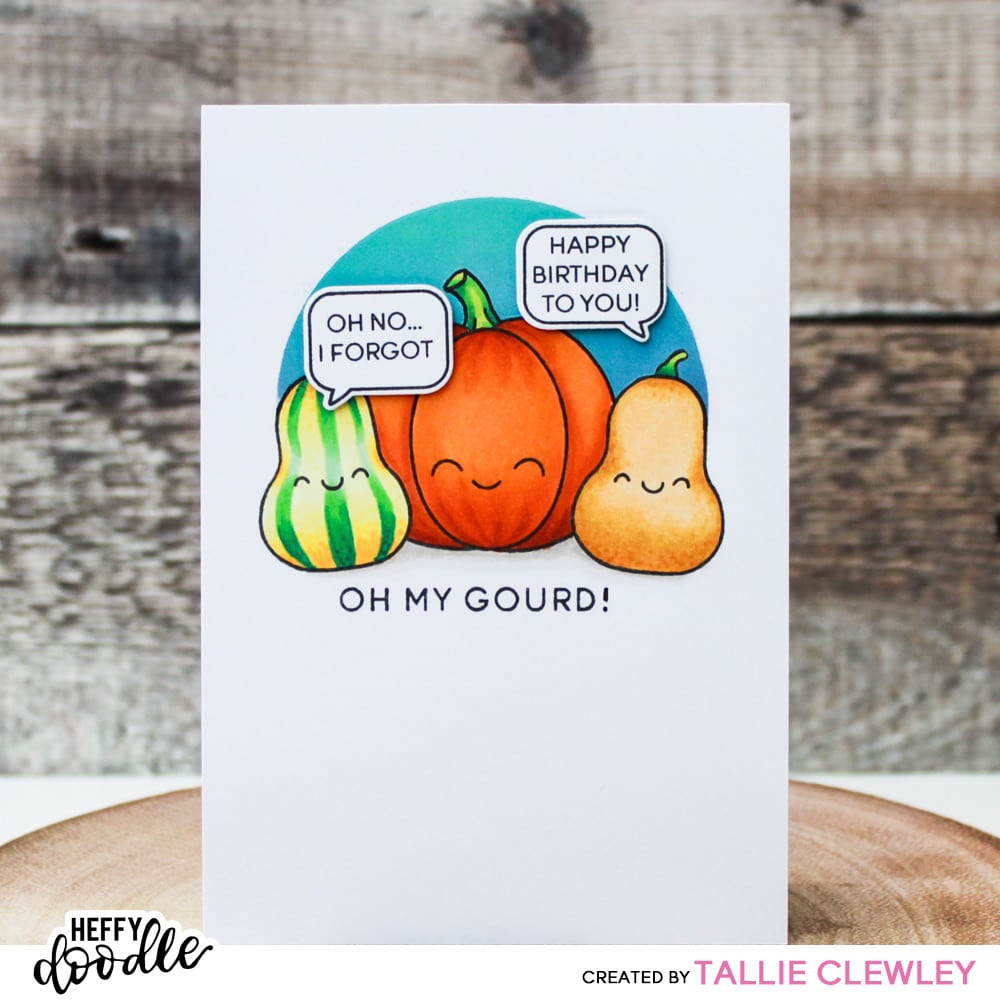
Oh My Gourd – I Forgot Your Birthday!

Hello Heffy Doodlers! I’m back with my second in the CAS series and I’m building on the mini scene I started last time. I’m using a couple more products in addition to the Veggie Patch stamp set and some masking to help create a background that nicely frames the scene.
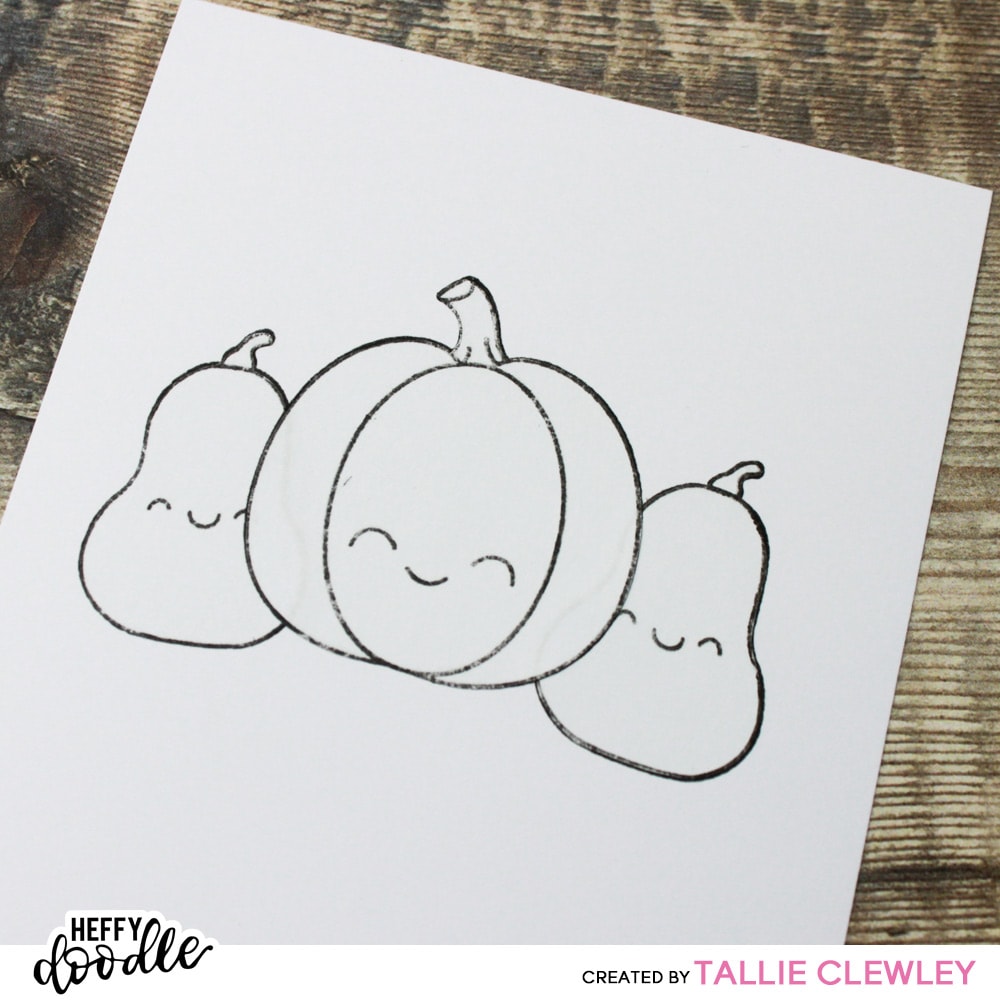
I started out with an A6 panel of blending cardstock and arranged my scene in the middle so I could get an idea of the spacing. Once I’d identified which elements to stamp first (always start with those that are in the front – so in this case, the two squashes to either side), I used my MISTI to stamp them out in some Memento Tuxedo Black ink. I hand cut masks from some masking paper (Post-It Notes or Heffy Memo tape also work for this, though be careful if you’re using a lot of ink as it can bleed through) and put it over the stamped squash images and then stamped out my pumpkin in the middle and behind the pumpkin.
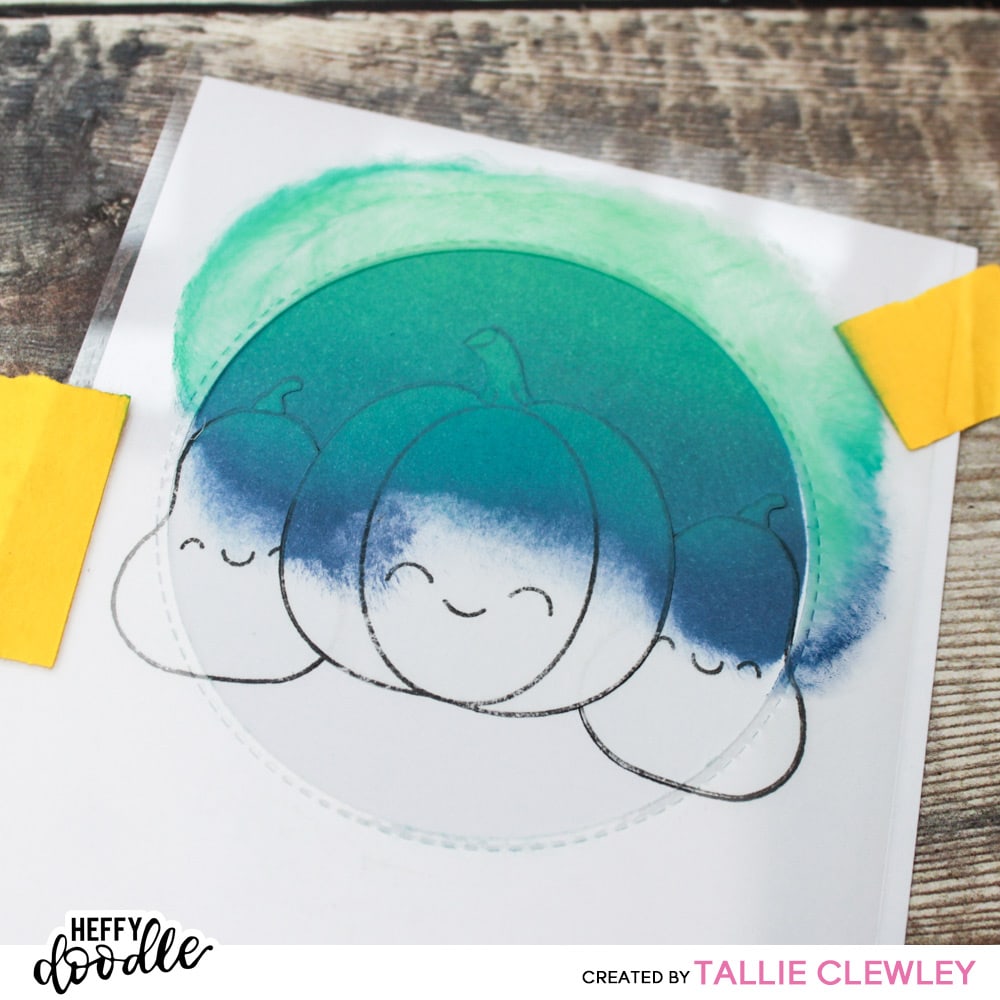
To create a background, I used a DIY stencil that I made by die cutting a piece of acetate with a 2 inch Stitched Circle die. I taped this to my card panel with some Post-It tape so it wouldn’t move and then blended on some Distress Oxides in Faded Jeans, Mermaid Lagoon and Cracked Pistachio. This is my favourite sky combo and you’ll see it feature a lot in my future cards! Once the ink had dried, I peeled up the masks to reveal my nice white panel ready for colouring!
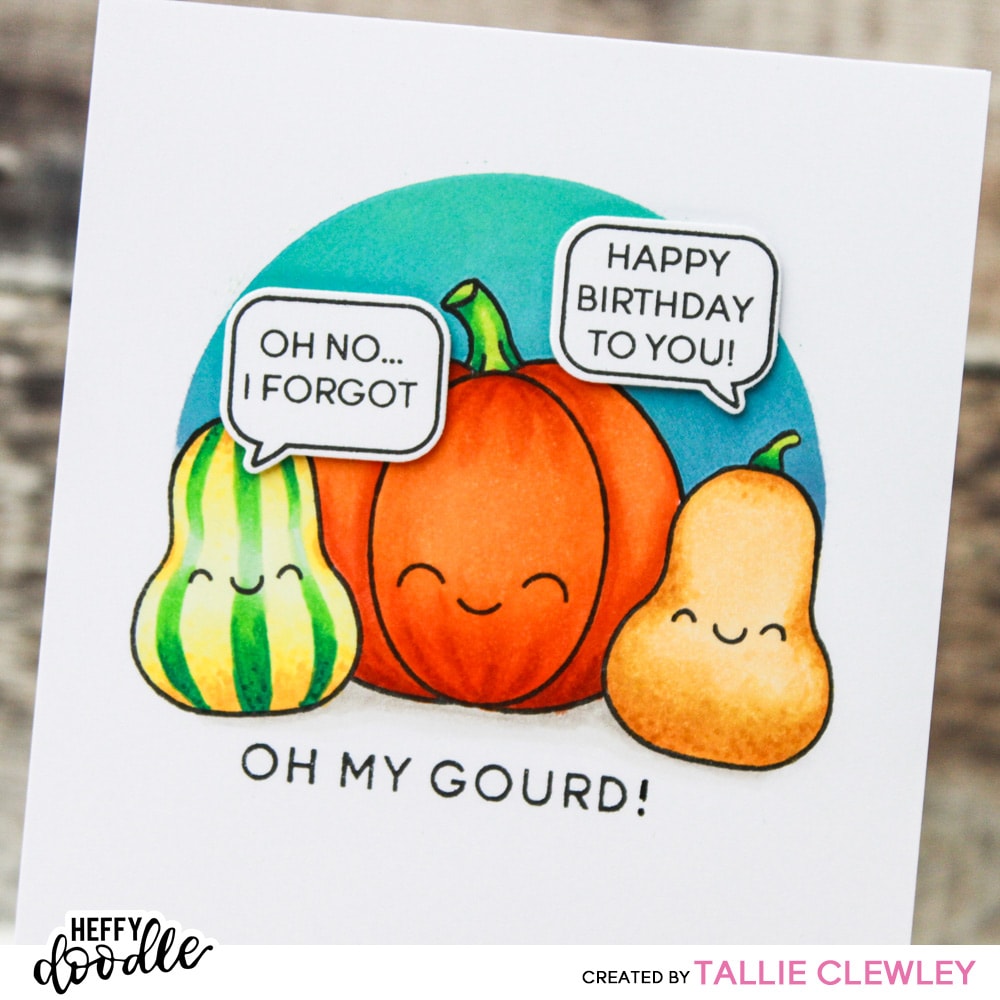
I had to look up some reference photos for squashes for this card as I really wanted to experiment with some different squashes. I chose a butternut squash for the right, using some YR and Y Copic markers to colour it in. I used some dot detail with the darker markers to add some texture to the shadows. I chose a delicata squash for the one on the right. This one was a little trickier to colour as I was careful not to mix the colours too much in order to keep the nice stripes. The trick is to start with the darker colour – the YG greens – and then finish with the yellows. The larger pumpkin I coloured in more or less the same way as in my last post, only with less defined ribbing.
Once the scene was coloured, I stamped the ‘OH MY GOURD!’ sentiment from the Veggie Patch stamp set centred underneath the squash scene. I wanted to add a little something extra to the scene and make it look as though the squashes were talking so I added some speech bubbles using the Whatcha Sayin’ stamp set and coordinating dies. Popping these up with some foam tape give a little dimension and some life to the scene!
Thanks for reading, I hope you were inspired to create your own scene!