
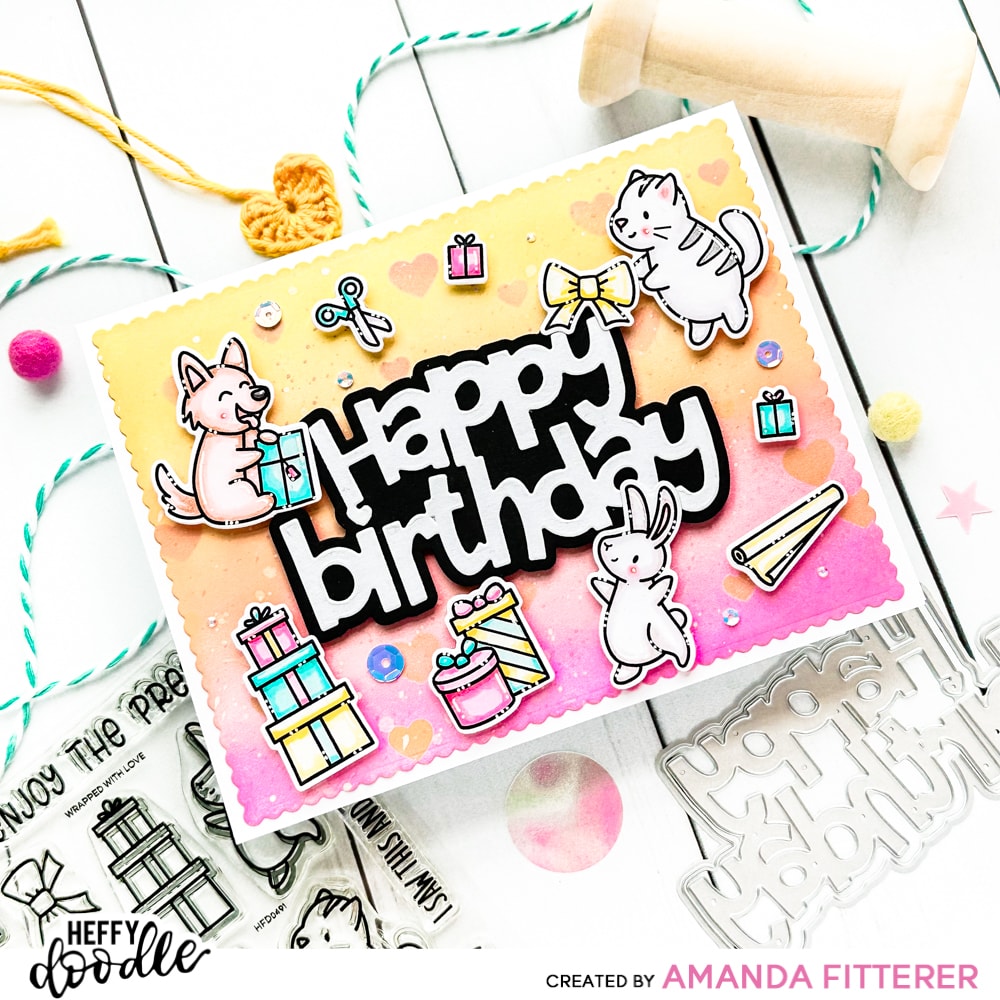
Wrapped with Love Happy Birthday

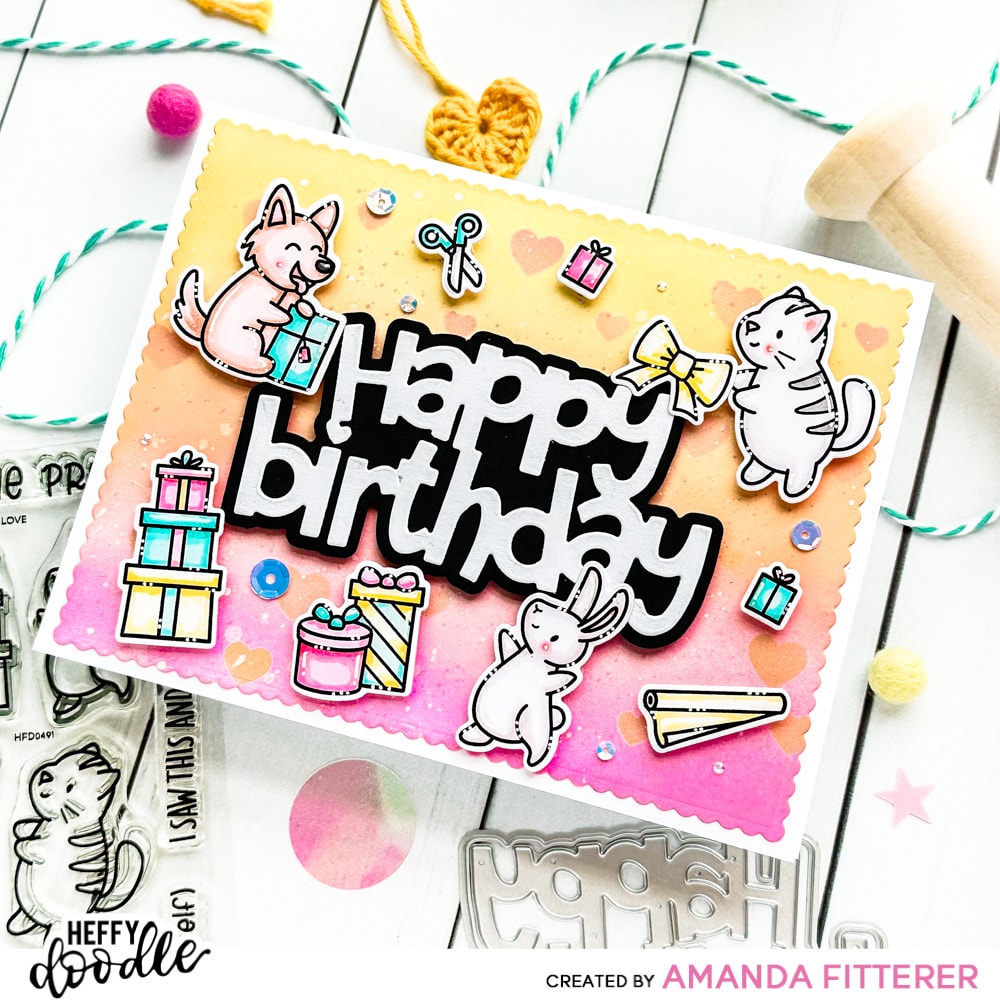
Hello friends! It’s Amanda Fitterer here with you this lovely Monday! Today, I get to share with you this lovely birthday card I made! My birthday is actually in THREE days! Woot woot! I don’t know about you, but birthday cards are always needed at my house! This card is perfect for anybody on your birthday list! So, why not grab your supplies and make this card with me?!
To make this card, you’ll want to grab your:
* Wrapped with Love stamp set
* Wrapped with Love Dies
* Happy Birthday Jumbo Sentiment Die
* Layering Hearts Stencil
* Truly Outrageous Sparkle Mix
* Mini Scalloped Rectangle Dies
* Heffy Doodle Mini Die Cutting Machine
* Glubert Glue
* Catherine Pooler’s Be Mine, Shea Butter, and Bellini inks
* Ink Blending Brushes
* Medium/Large Die Cutting Machine (I use the gorgeous Petal Pink Gemini Jr. and I LOVE IT!)
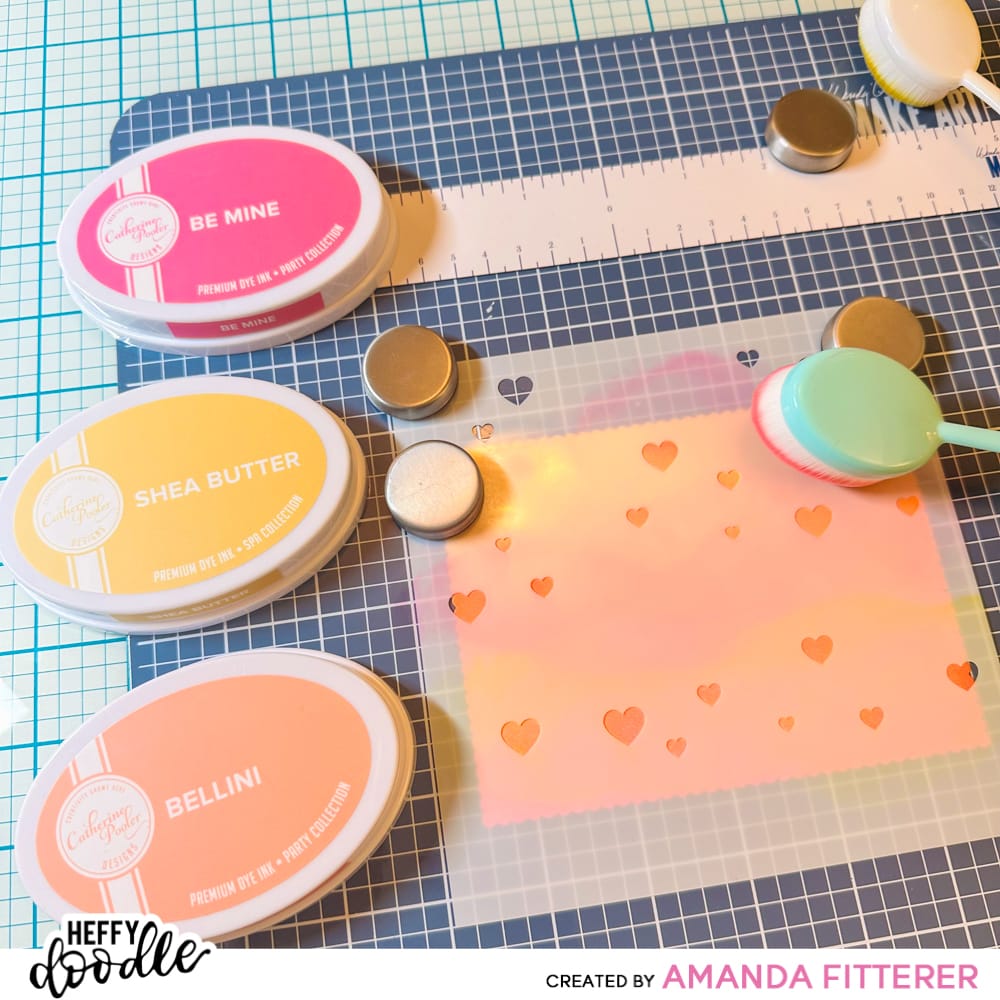
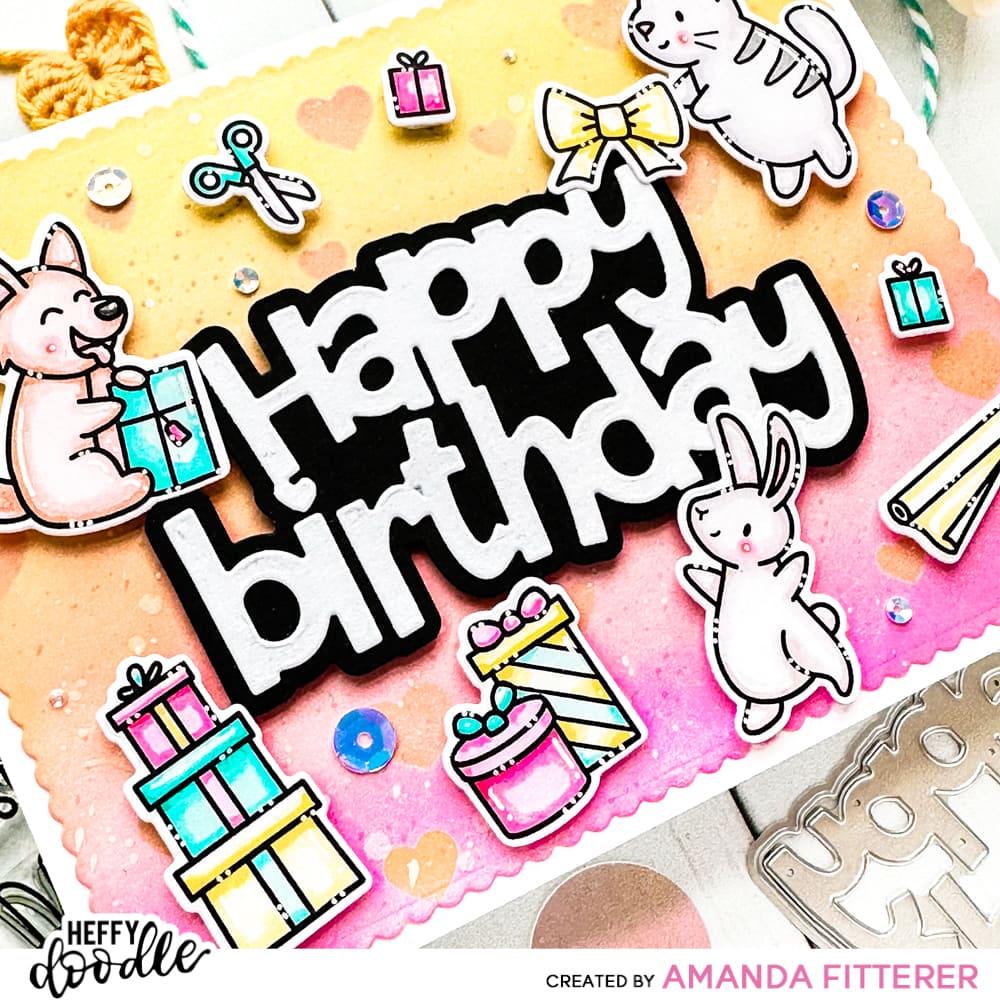
First, let’s make our background! Die cut the largest Mini Scalloped Rectangle Dies using a medium/large die cutting machine. Now, let’s grab our inks, blending brushes, Stay-tion (if desired), and our Layering Hearts Stencil. Start by blending Bellini across the center of your panel. Next, Shea Butter at the top. Finish by blending Be Mine at the bottom.
Next, position your stencil over the panel. On the top half, blend Be Mine through the stencil. On the bottom half, blend Shea Butter. Clean the stencil and then flip it over. Blend again!
Once that’s finished, we can spritz the entire background with water (using your fingers, a paintbrush, or a spray bottle). I also like to mix some acrylic paint with water and flick the mixture all over with a paintbrush.
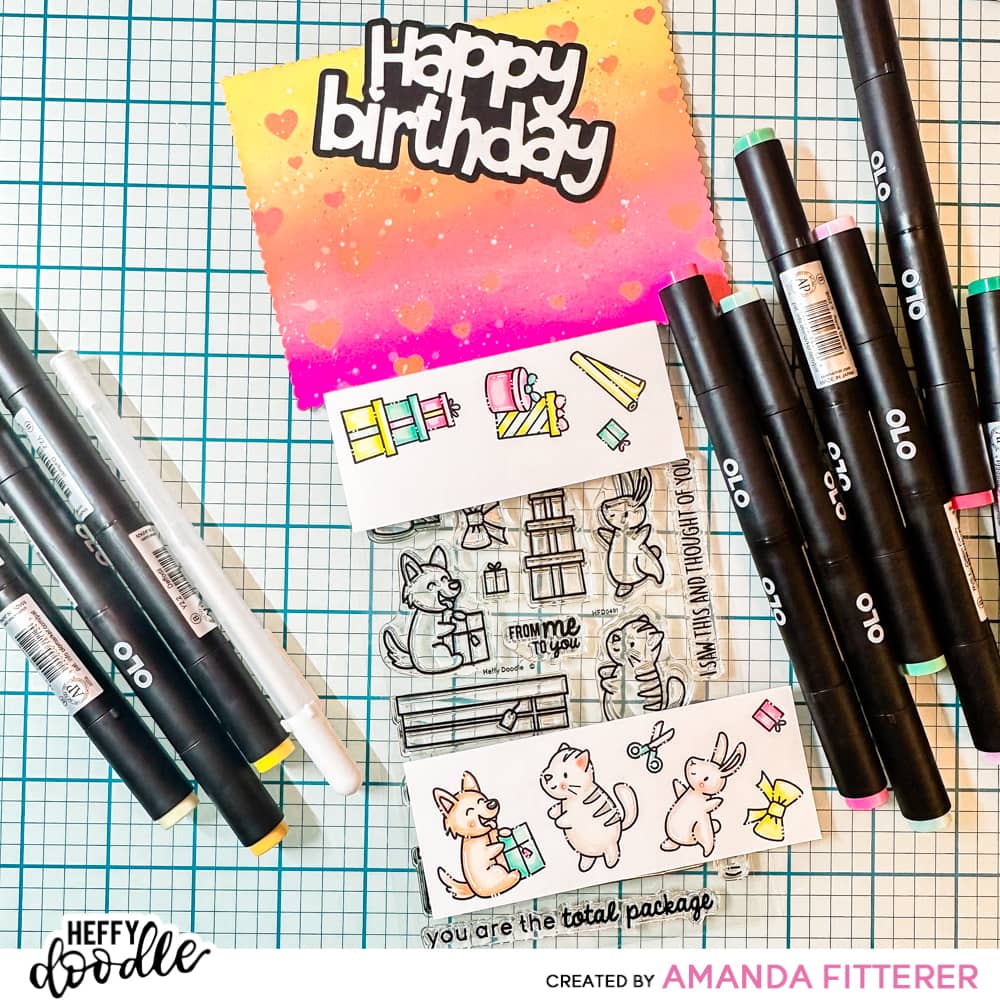
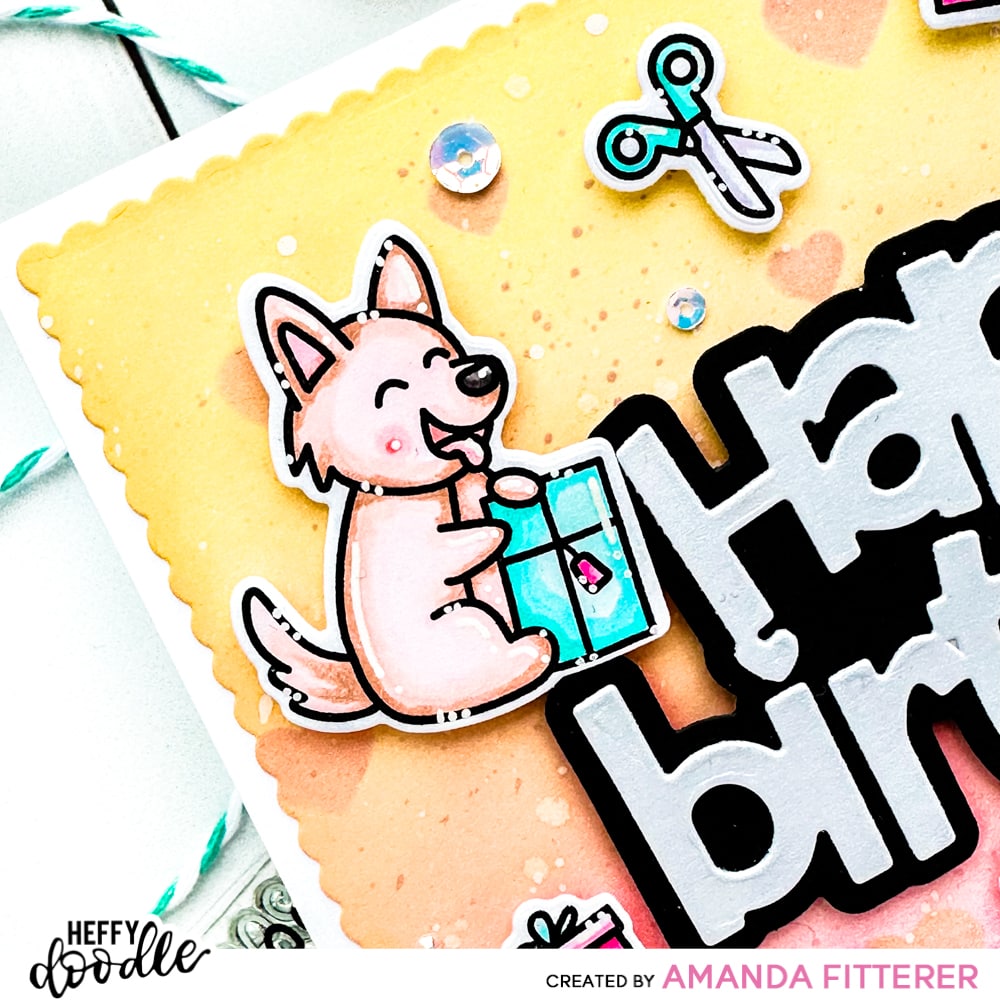
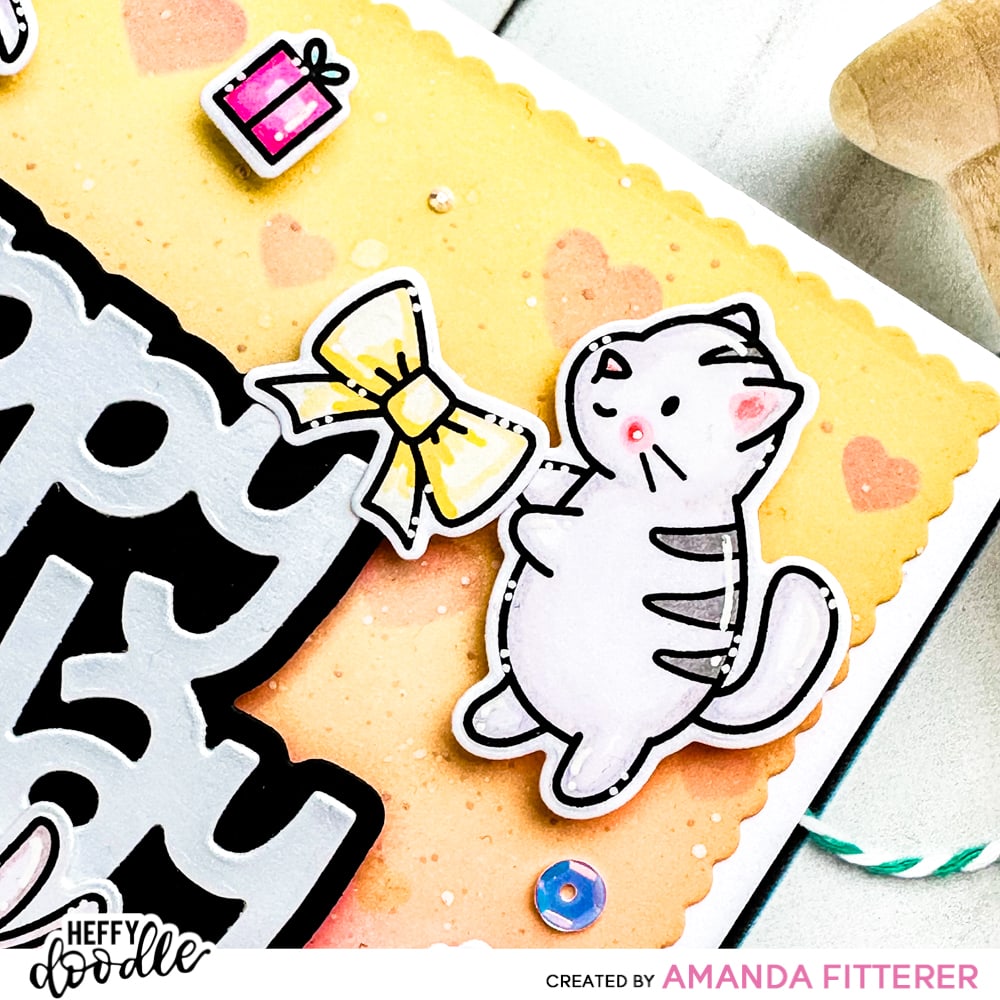
Now, let’s grab our Wrapped with Love stamp set and stamp out our images! I like to stamp my images on strips of cardstock smaller than 3″ so they can fit through my Heffy Doodle Mini Die Cutting Machine. I’ve colored my images with OLO alcohol markers, but any medium is fine! Once finished coloring, go ahead and die cut them using the coordinating dies or fussy cut them with scissors.
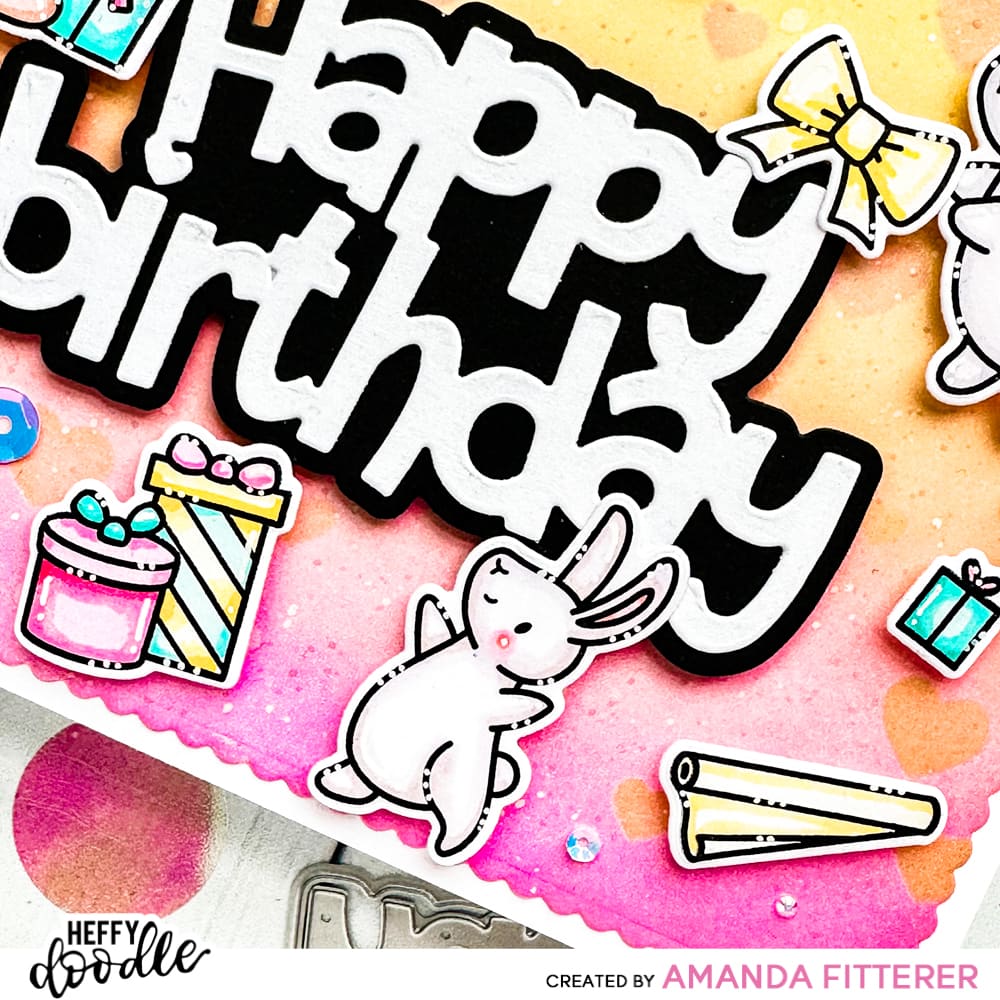
Let’s also grab our Happy Birthday Jumbo Sentiment Die and die cut the shadow using black cardstock and the sentiment using white.
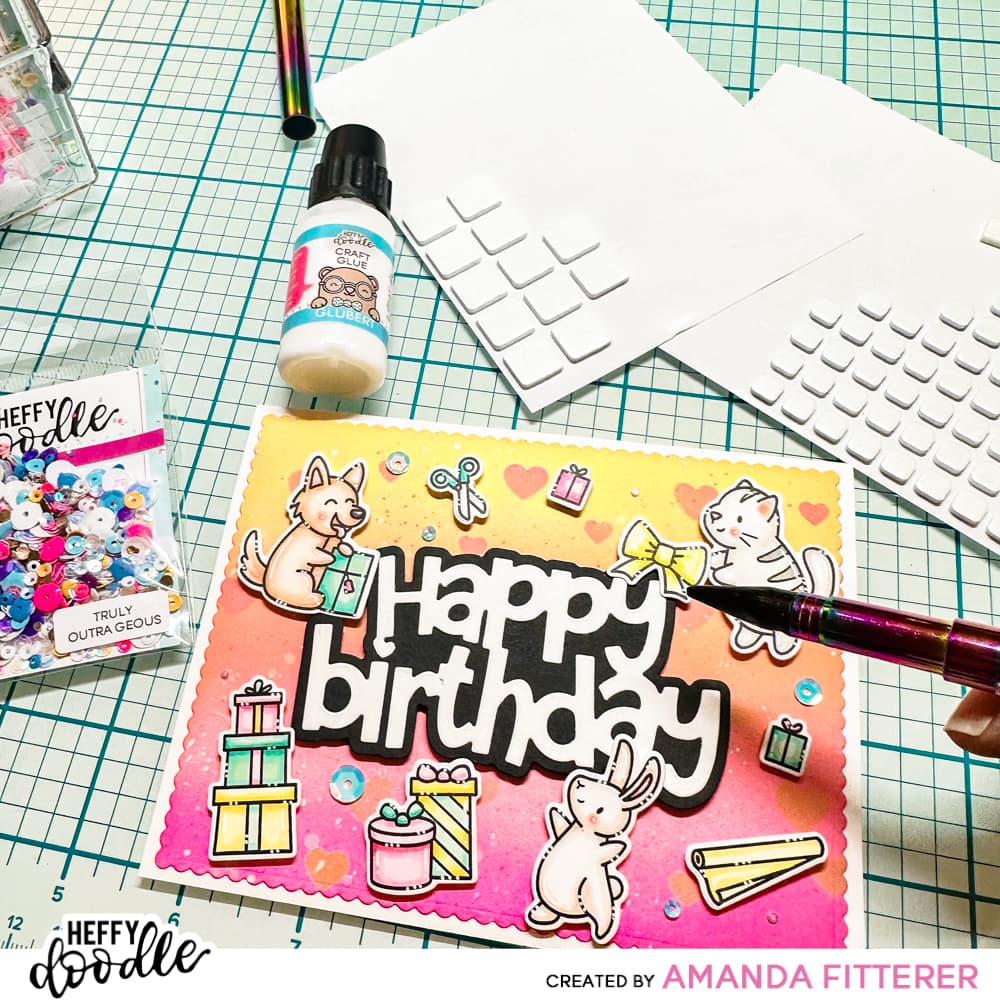
Let’s start assembling our card and adding the finishing touches! Use Glubert Glue to glue your panel to your A2 white card base. Next, adhere your sentiment to the panel using 3D foam squares. Then, adhere your stamped images. Finally, add a few Truly Outrageous Sparkle Mix sequins around the card!
Here’s a few more images of the finished card!
Thanks so much for stopping by the blog today! I hope you have enjoyed our time together today! Xx, Amanda
Thanks for using my affiliate links! You all are the BEST! Using an affiliate link in this post costs you nothing, but it gives me a teeny percentage of your sale to buy more crafty goodies to continue to share card tutorials with YOU! So, thank YOU! Xx, Amanda