Video: Creating Slimline Underwater Shaker Card featuring various stamp sets
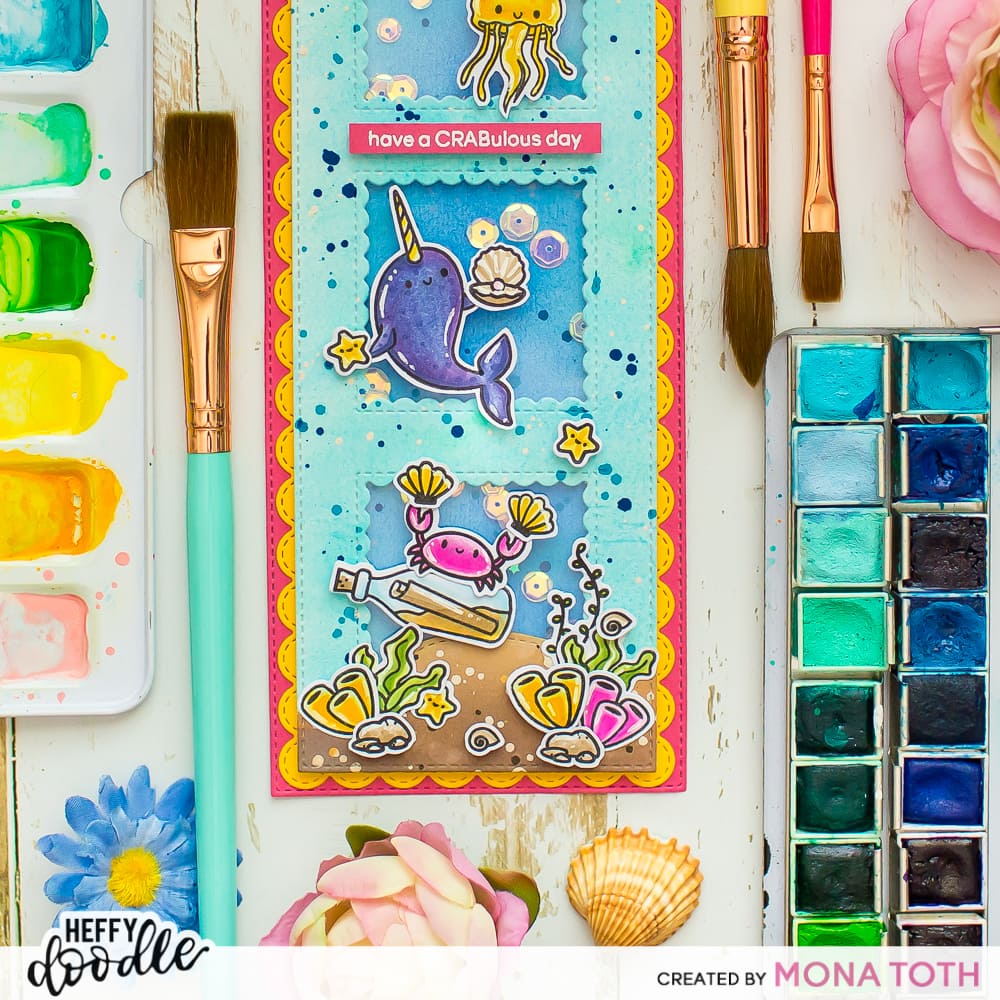
Hi this is Mona and today I have a video tutorial for you, where I am going to show you how I created this cute slimline underwater shaker card. Be sure to check it out, find the video here. As always the you can find the used supplies below the post.
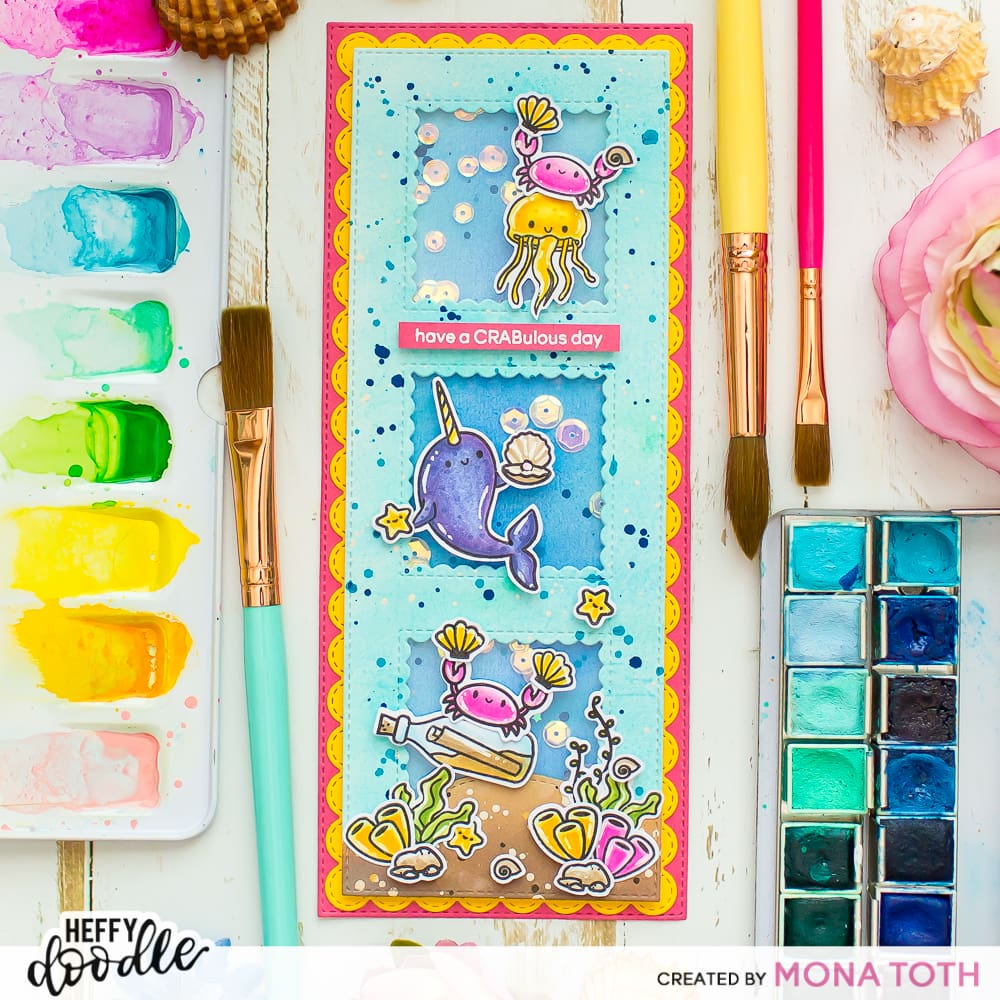
I started the cardmaking with water coloring to create the underwater background to the slimline card twice. I am using various colors from the Jane Davenport Watercolor pans. I just collected them into one big watercolor palette. Once the water coloring is done, I let it air dry and I am continuing with stamping and coloring.
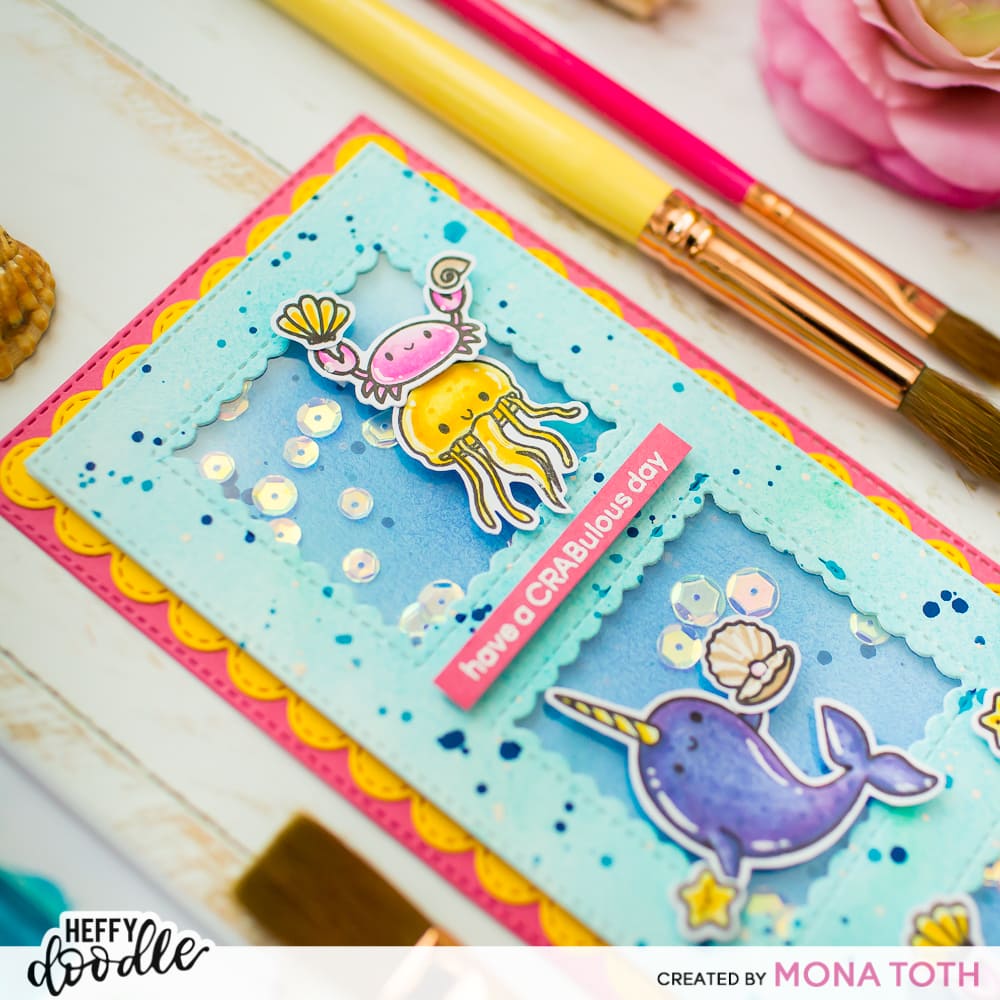
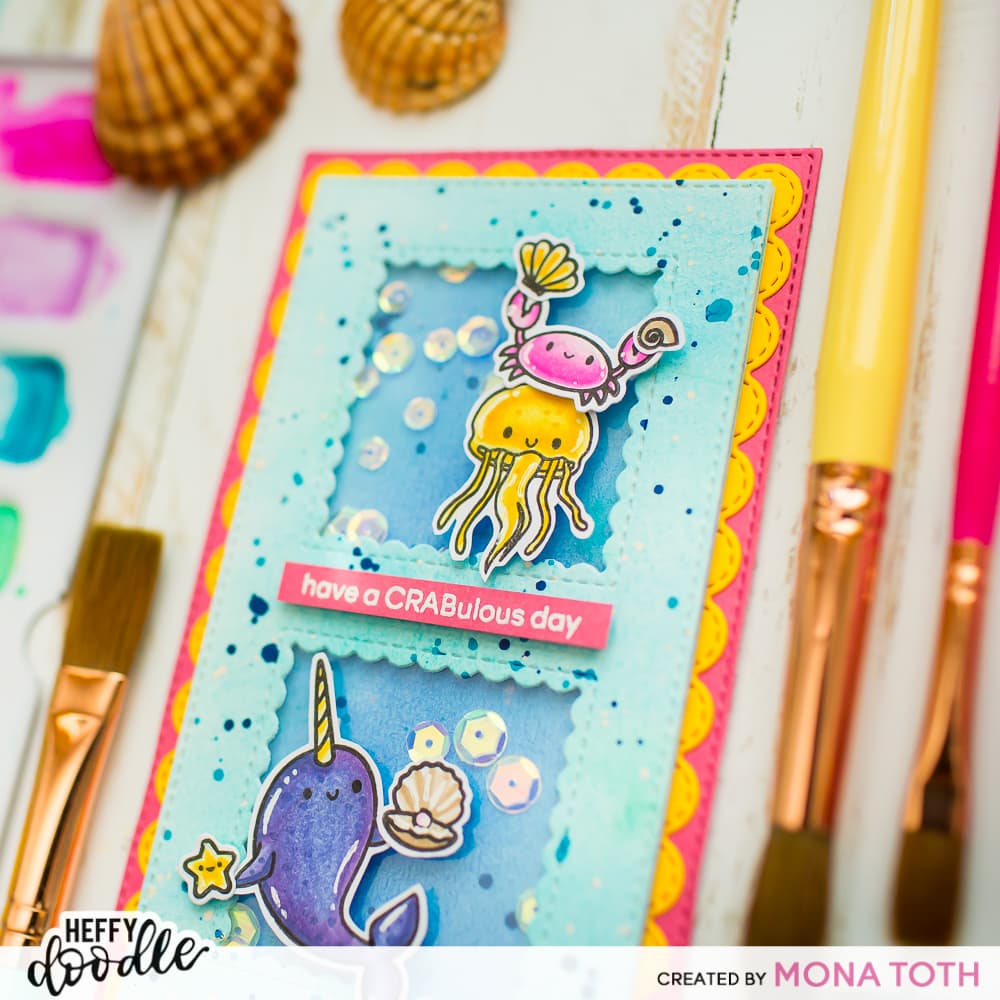
I decided to mix and match newer and older Heffy doodle stamp sets which are the “A little shellfish”, “Oceans of Love”, “Sealy Friends” and the “You go, Gull” sets. I picked the images and stamped them with my MISTI and Jet Black inkpad by Lawn Fawn. After a quick heat set, I made a quick coloring with my Copic Markers. I will always show the actually used colors on the left side, so you can follow easily. I am starting with my darkest color, and finish with the lightest.
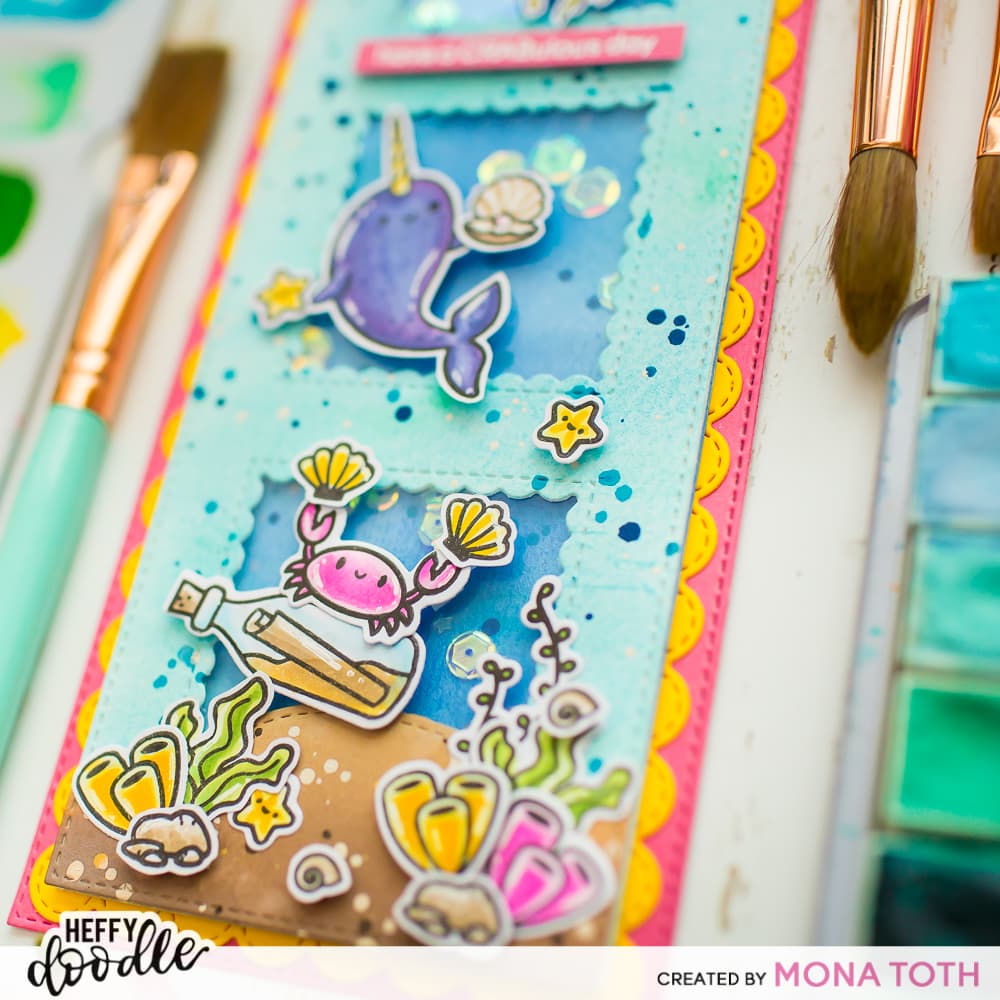
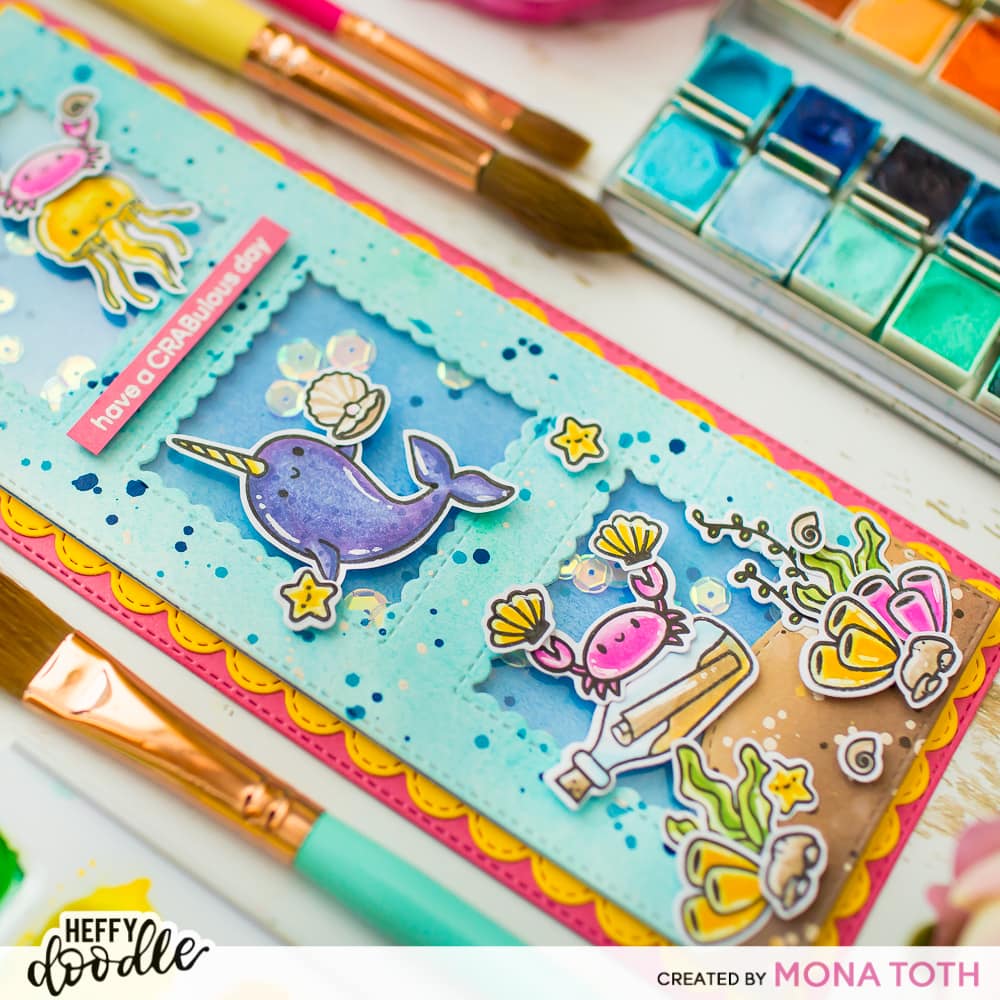
Once the coloring was done, I run them through my die-cut machine with their coordinating dies, then I added white highlights with Signo Uniball White Pen.
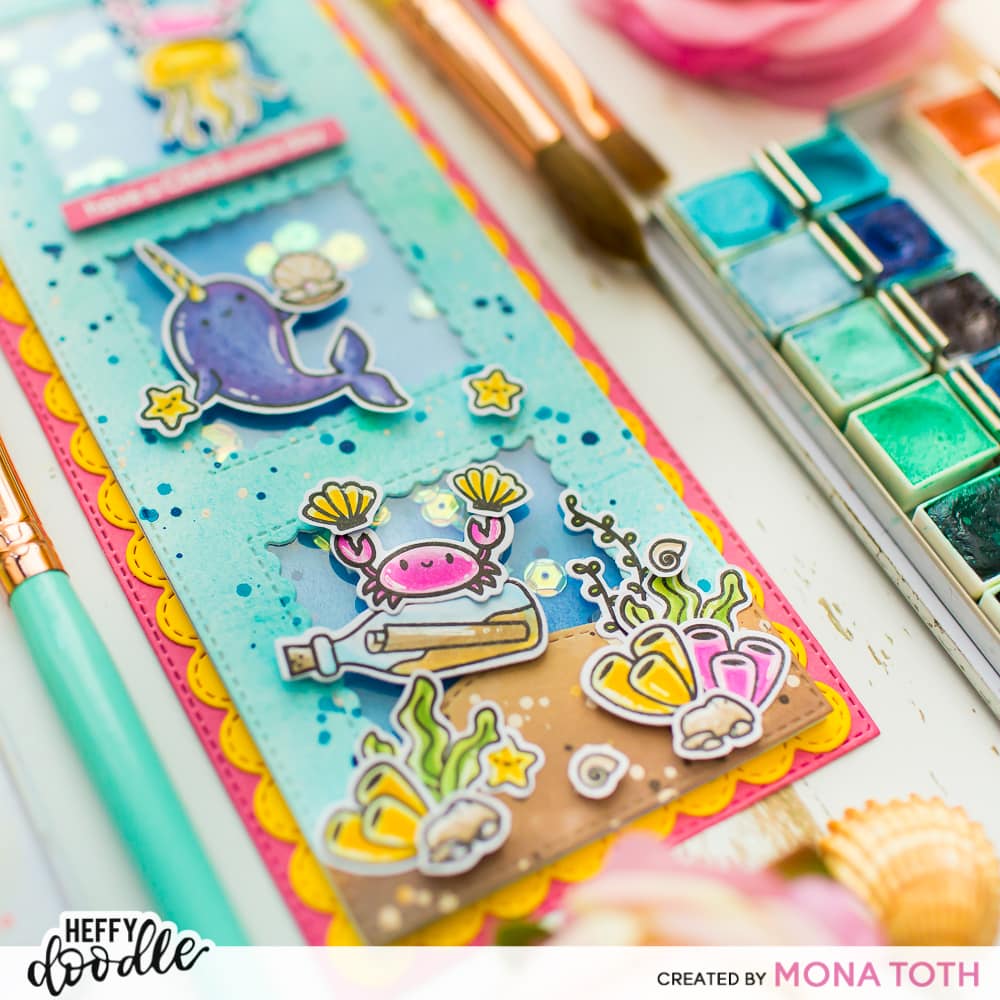
Next, I run the water colored background and pink “Razzleberry” cardstock with the Stitched Slimline Trio Dies and the Slimline pull tab dies with a yellow cardstock as well.
Next, I am creating the sand with the Stitched Slopey Joes border dies and made on it a quick ink blending with vintage photo distress oxide ink and Antique Linen Distress Mini Ink. Next, I splattered on it with white and brown watercolor, and now it’s time to add some white and blue splatters to the water colored background as well and let them air dry.
When the blue water colored backgrounds were dry, I decided to make the second background a bit darker. I applied blueprint sketch distress oxide color with stencil blending brush over the water coloring.
After this I stamped the sentiment from the “A little shellfish” stamp set. I stamped the sentiment with watermark ink to the Razzleberry cardstock, then I heat embossed with white embossing powder. When it was done I created the shaker part with my MISTI, be sure to check the video how I made it.