VIDEO: Cardmaking is my superpower!

Hello lovelies, I am back with another coloring video tutorial. From this video you will learn how to create this SUPER fun scene! You can find the video here. As always, you can find the used supplies below the post.
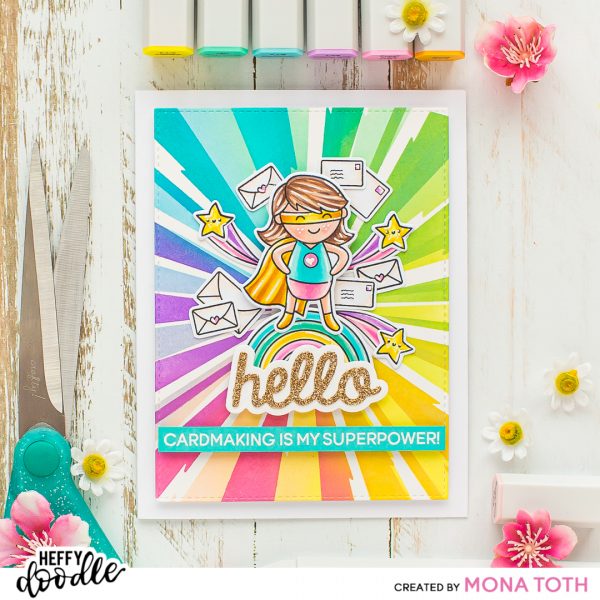
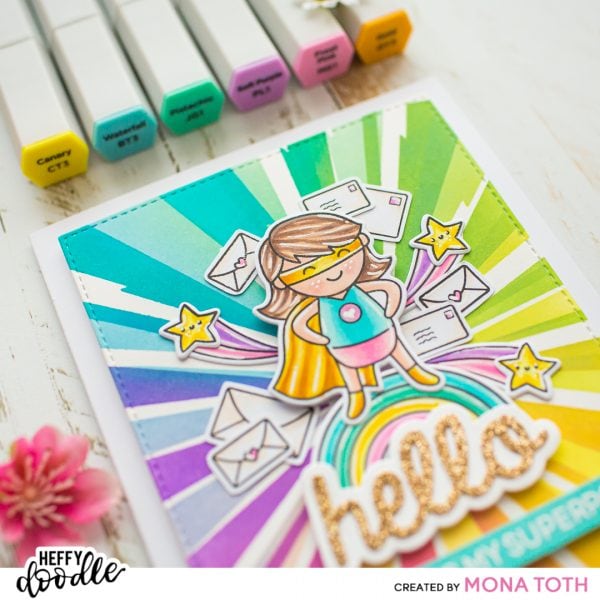
For this project I have used the superhero image from the Superdudes stamp set, as well as some envelopes from the Yappy Happy Mail, the rainbow from the Fluffy Puffy Unicorns and my favorite star from the Oceans of Love stamp sets.
For the coloring I have used Spectrum Noir Illustrator and Spectrum Noir Classique Alcohol markers on Neenah Solar White Cardstock, but feel free to try it with any type of markers you have with the right cardstock. For the coloring and the full process be sure to check out the video here.
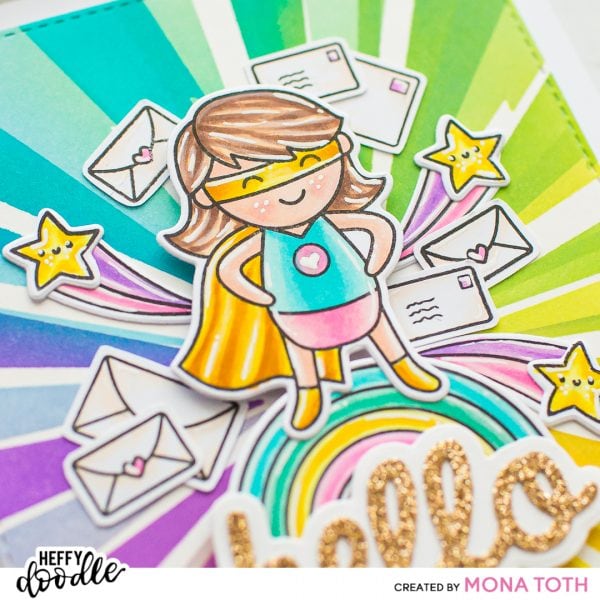
When the coloring part was done, my next step was the highlighting. First, I have used white pencil then I continued with white pigment pen to make them more eye catchy and to pop the images out. When the highlighting process was done, I run them through my mini die-cutting machine which is always next to me if I need to cut something small.
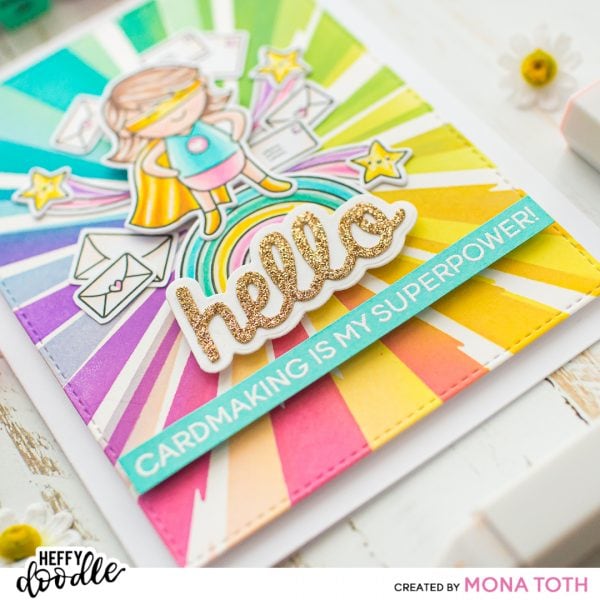
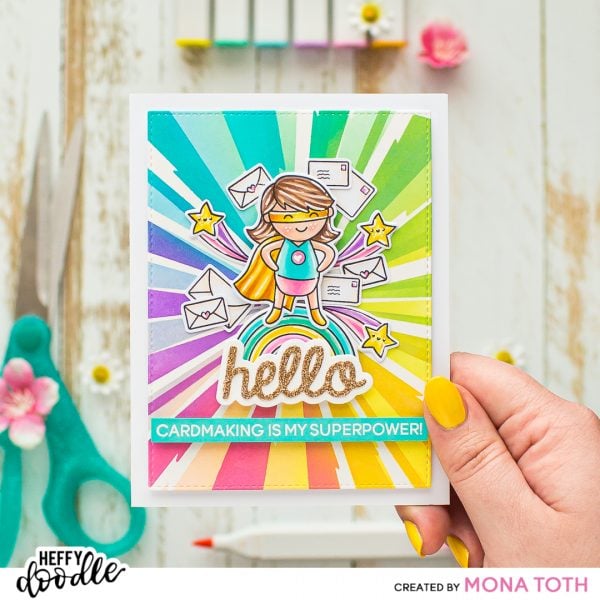
The next step was the die-cutting I created one die cut from Bristol smooth cardstock with the Imperial Stitched Rectangles Dies, then I continued with ink blending the Zapp Attack stencil. First I have used lighter Distress Oxide Inkpads in rainbow order in the following shades: Tumbled Glass, Cracked Pistachio, Twisted Citron, Squeezed Lemonade, Spun Sugar and Shaded Lilac.
When the light background was done, I turned the Zapp stencil a bit, and I continued with the second layer through it. I have used the Peacock Feathers, Mowed Lawn, Fossilized Amber, Picked Raspberry, and Wilted Violet Distress Oxide inkpads. The result is a pretty high contrasted rainbow comic background.
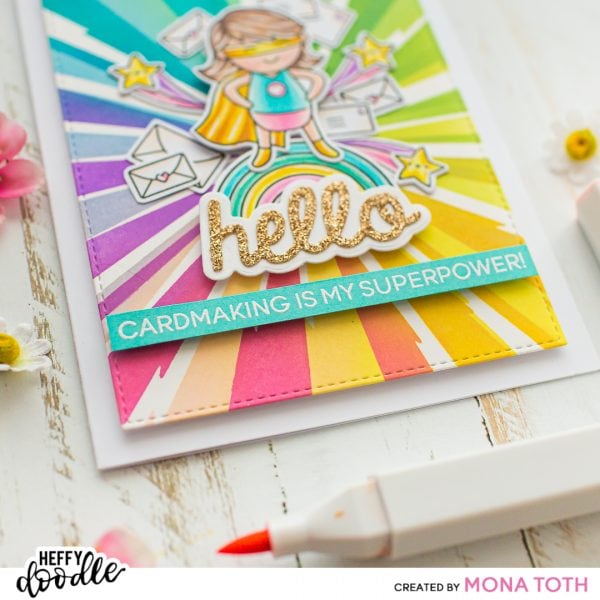
Next, I have created die-cuts with the Hello Shadow Heffy cuts Dies. The thinner one from gold, and the shadow from white, then I stamped the sentiment to the tealicious cardstock with the Super Dudes stamp set and watermark ink. Then I heat embossed it with fine white embossing powder then I cut it for the right size. In the end I styled all the colored images and die-cut pieces together and adhered them with 3D foam squares and liquid adhesive to their right place.
VIDEO TUTORIAL
Learn how to create this rainbow effect background and how to color the images from this video tutorial with extra tips and tricks. As always, you can find the used supplies below the post, and if you have any questions feel free to ask in a comment.
Thank you so much for joining me, this was the last Color it! with Mona post, I hope you had fun with this series like me! If you don’t want to miss my inspirations, let’s be friends on my Instagram, Facebook or YouTube channel! Have a sweet day!
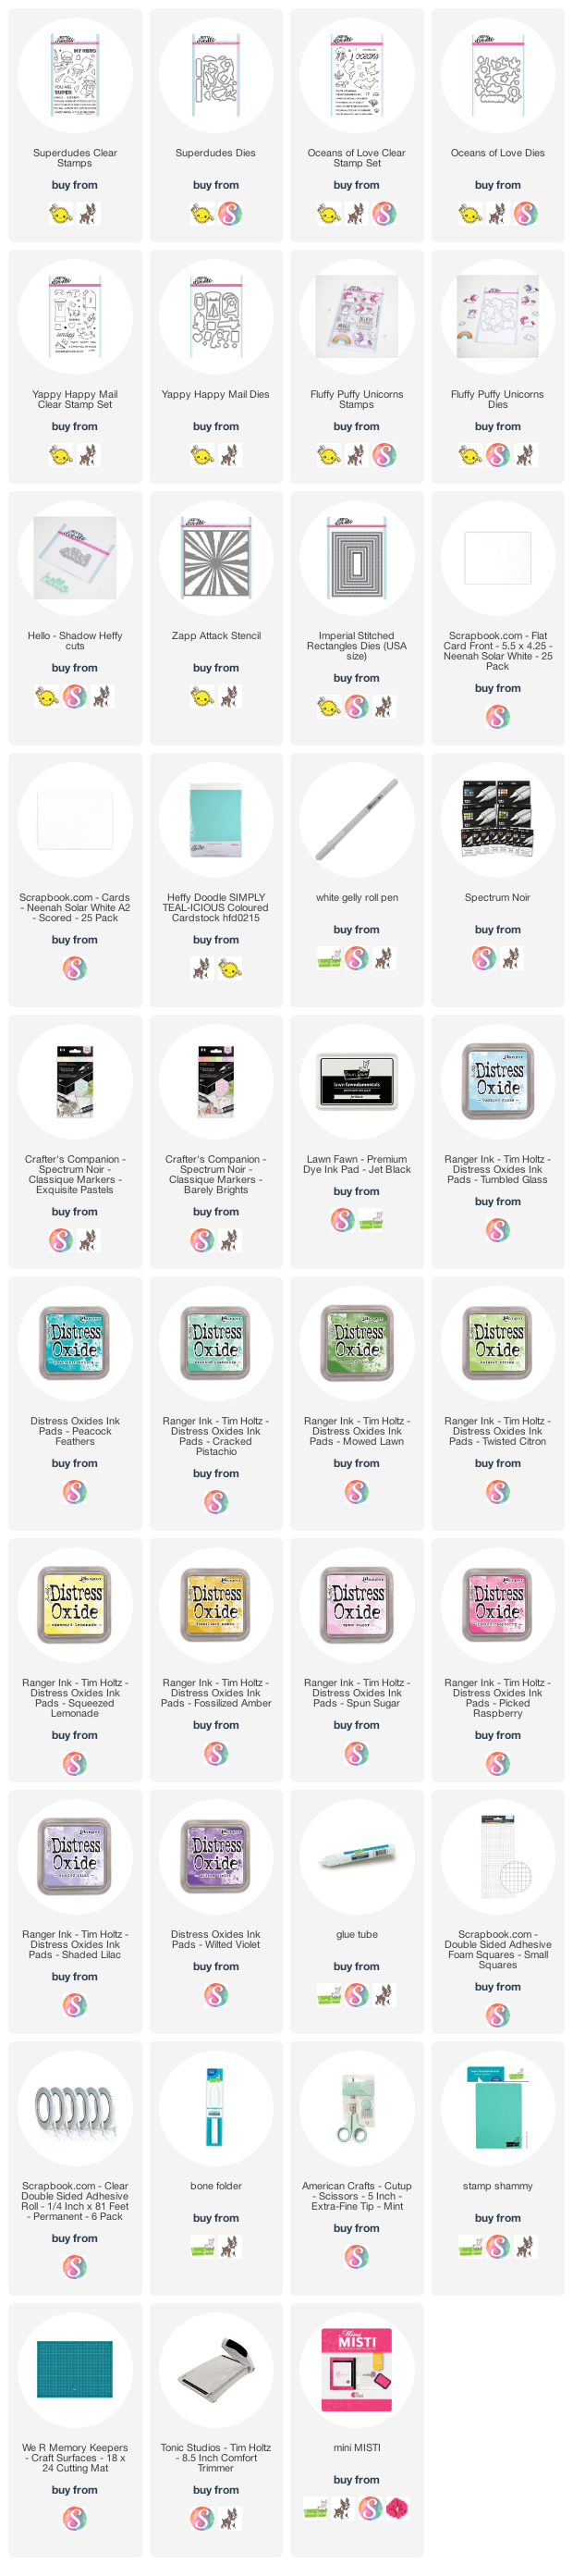
USED SUPPLIES