
Uplifting Card

Hello and welcome back to the Heffy Doodle Blog! We are SO glad you stopped by to see what crafty inspiration we have today! Today’s theme is “Stretch Your Supplies” with design team member – Tatiana!
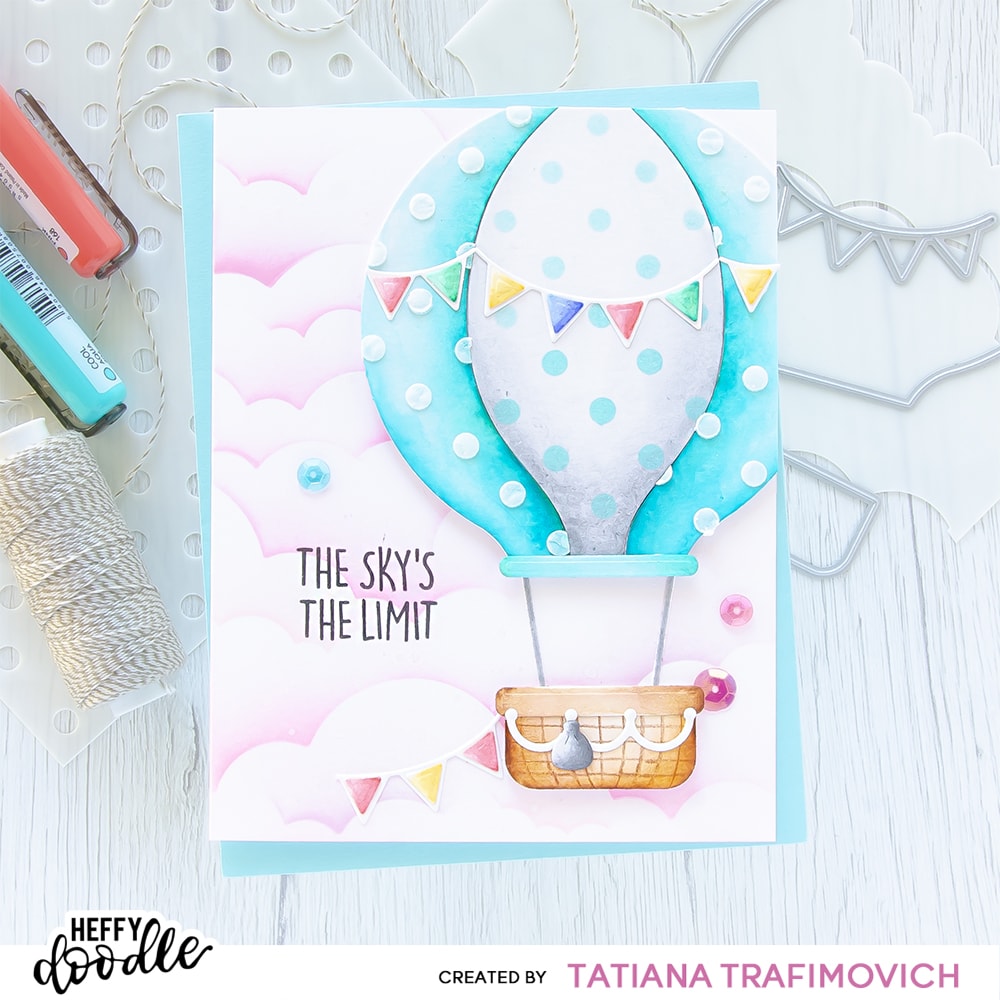
Today I would like to invite you to give another look at wonderful Hot Air Balloon Dies and give some ideas, tips and tricks how to put up together an uplifting greeting card, playing with watercolors and stencils. Hot Air Balloon Dies are so versatile and fun to play with. You can simply die cut the parts from a colorful cardstock or ink each section like I illustrated in this post. However today I decided to get crafty and start with a plain white paper that I’m sure all of you have in your crafty stash! So you have no excuse not try this technique!!! LOL!!! I like a slightly vintage and artistic look of the final project that was achieved by watercoloring hot air balloon parts first and then adding a fun polka dots pattern through Let’s Polka Stencil by simply inking the middle section and adding fun texture to both side pieces with a white embossing paste. The cute little basket underneath the hot air ballon was enriched with a couple of hand draw details added with a colored pencil.
One last thing that, I would like to mention is that I used Strathmore Bristol paper on my project since it works well with water based markers. However, if you want to try regular watercolors, then use you favorite watercolor paper instead.
Key Ingredients:
- OTHER CRAFT SUPPLIES:
Step By Step Instructions:
- Trim and score an extended A2 size card base (5 1/2″ x 4 1/4″) from Neenah Solar White paper.
- Snip away the connectors from Cloudy Skies Stencil and cut apart the middle section to work more comfortably.
- Ink the clouds directly on the card base with Spun Sugar Distress, Kitsch Flamingo Distress and Milled Lavender Distress inks. Use the blending brushes to achieve a soft and smooth result.
- Go over the whole inked background again with a leftover ink on the blending brushes to soften the sky and add more color.
- Splatter some tiny droplets of a clear shimmer spray and let the card base air dry well.
- Cut apart the sentiment from Flying High Stamp Set with the sharp small scissors and stamp it on the inked background with Memento Tuxedo Black Ink. If you use a stamping tool, ink and impress the sentiment a couple of times to achieve bold black lines.
- Die cut from Strathmore Bristol paper all the elements you need to assemble the hot air balloon, using the Hot Air Balloon Dies.
- Color the dies with water based markers. I used KARIN BRUSHMARKERS PRO:
- teal 204 & 377
- brown 272 & 105
- gray 278 & 276
- yellow 216
- pink 168
- green 377
- blue 305
- Let all the watercolor elements air dry or heat set them.
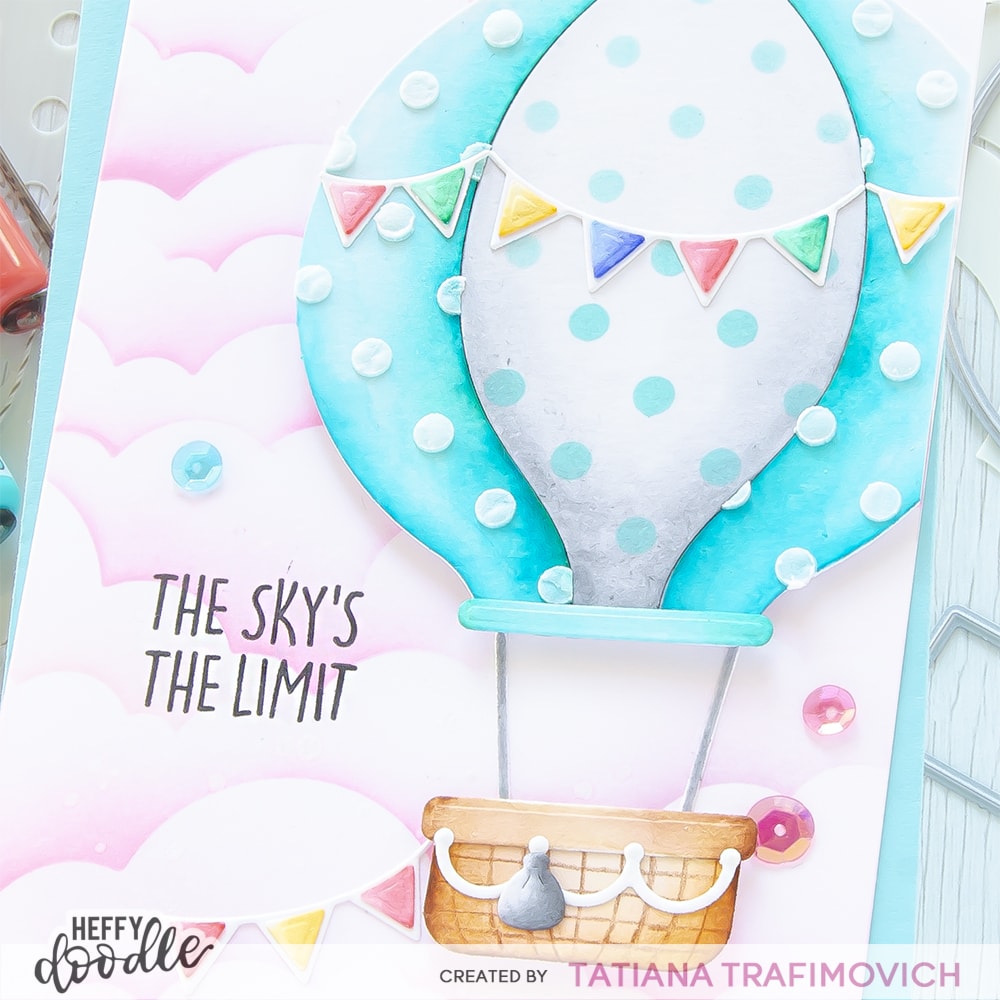
- Tape well the hot air balloon middle section to the back side of Let’s Polka Stencil with Heffy Doodle Memo Tape and ink a polka dot pattern with Salvaged Patina Distress Oxide ink.
- Clean the stencil with some water or a baby wipe and then tape again with Heffy Doodle Memo Tape both balloon teal sections from the back side of the stencil. Spread a white embossing paste with a palette knife, carefully lift up the stencil and immediately wash it with some liquid soap and warm water. Let the embossing paste air dry well.
- Hand draw some details on the basket piece with a brown pencil.
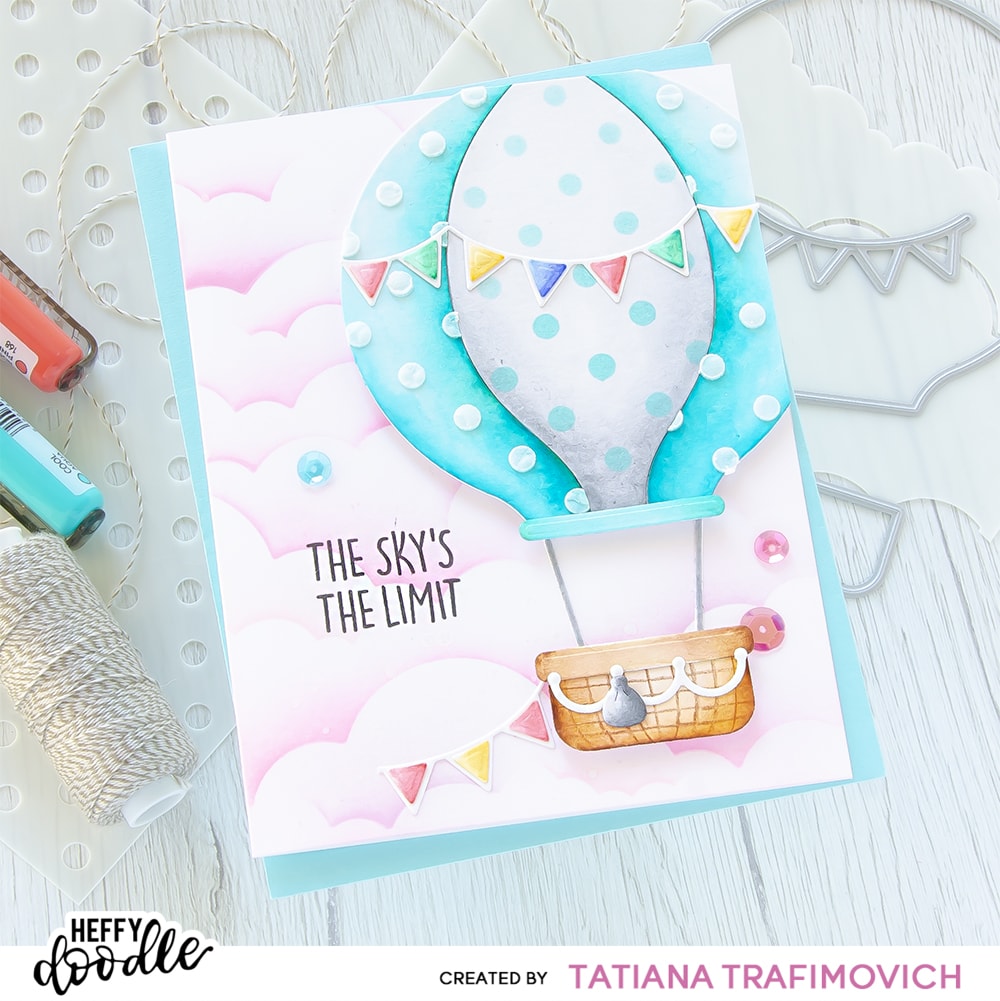
- Arrange and glue in place all the elements on the card front with Glubert – Craft Glue and a foam tape.
- Finish with a couple of matching sequins.
That’s all for today! Hope you like this lovely uplifting wishes card! Thanks so much for stopping by and have a fabulous day!
Hugs,
Tatiana