
Hello and welcome back to the Heffy Doodle Blog! We are SO glad you stopped by to see what crafty inspiration we have today! Today’s theme is “Stretch Your Supplies” with design team member –
Tatiana!
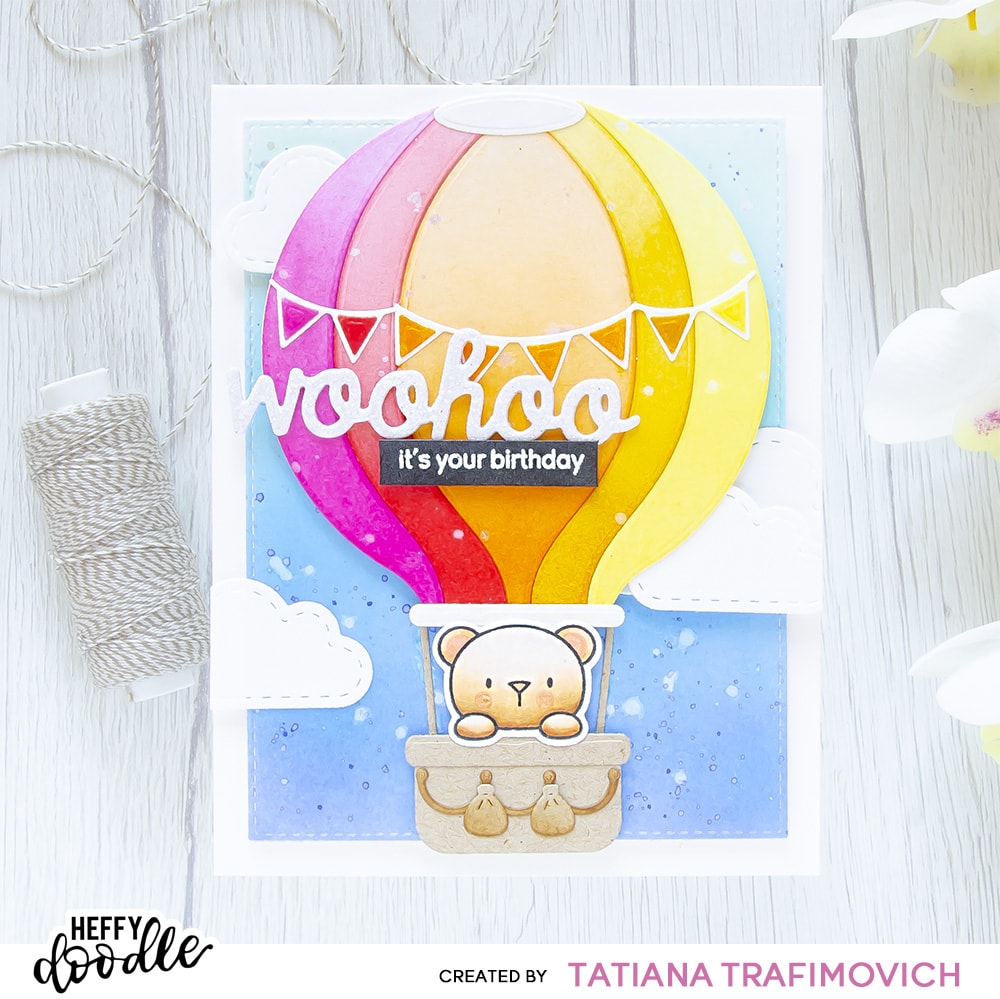
I’m so excited to get my hands on the Heffy Doodle’s new GORGEOUS fall release and my today’s card, as you can guess, features a couple of my favorite recently released goodies! I came out with a cheerful and colorful birthday card focusing on hilarious
Hot Air Balloon Die and giving you an idea how you can easily add multiple colors to the balloon. Creating this card, I simply inked each part of the Hot Air Balloon with Distress inks, using blending brushes to achieve a nice smooth result. Inking each die cut, I applied different pressure and kept my hand lighter towards the top part of the balloon to achieve an ombré effect. Don’t like to get your hands inky? You can die cut the ballon parts from colorful cardstock or use pattern papers!
Key Ingredients:
Step By Step Instructions:
- Die cut from Neenah Solar White and Neenah Desert Storm paper all the pieces using Hot Air Balloon Dies.
- Split the balloon into five pieces with the curve dies from Hot Air Balloon Dies. Use a craft mat to help yourself with the alignment and Heffy Memo Tape to hold the dies in place while you run them inside the die cutting machine.
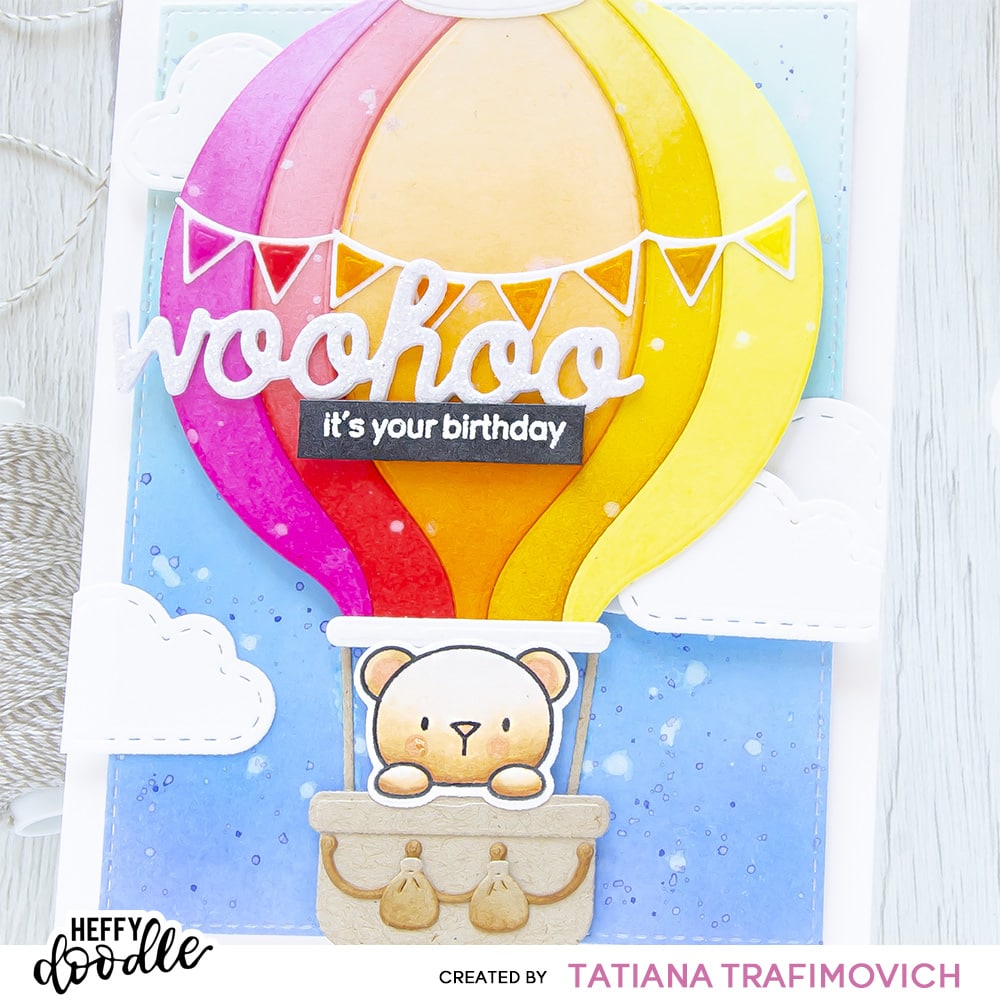
- Ink the parts of the hot air balloon with Distress inks, creating an ombré effect with the blending brushes. I used from left to right:
- Picked Raspberry Distress ink
- Candied Apple Distress ink
- Carved Pumpkin Distress ink
- Wild Honey Distress ink
- Squeezed Lemonade Distress Oxide ink
- Vintage Photo Distress ink
- Die cut another balloon shape from a scrap cardstock and glue in place all the inked parts using Glubert – Craft Glue.
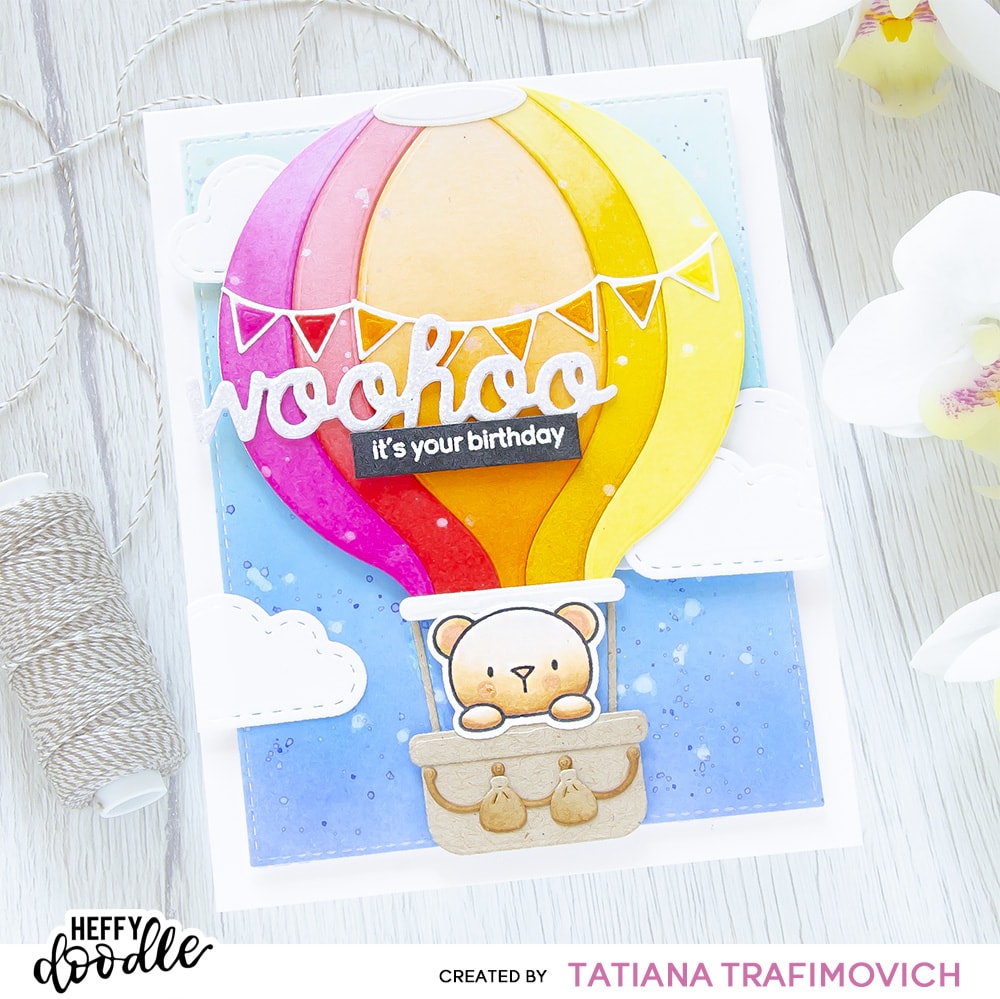
- Ink a piece of a Bristol cardstock for the sky background since it’s a bit smoother than Neenah Solar White paper. I used the blending brushes and Distress inks (starting from bottom):
- Blueprint Sketch Distress ink
- Salty Ocean Distress ink
- Mermaid Lagoon Distress ink
- Peacock Feathers Distress ink
- Cracked Pistachio Distress ink
- Frame the sky part with Imperial Stitched Rectangles Die.
- Splatter the balloon and the sky elements with some tiny droplets of a clear shimmer spray and colorful inks to add more interest.
- Die cut a few clouds from Neenah Solar White paper using Big Stitched Clouds Dies.
- Die cut three times WooHoo – Shadow Heffy Cuts: two times from a scrap cardstock and one – from a white glitter paper. Stack all three layers together.
- Die cut from Neenah Solar White paper a bear shape, using the coordinating Bed Heads Dies and Heffy Doodle Mini Die Cutting Machine. Save the negative part of the die.
- Stamp the bear illustrations from Bed Heads Stamp Set with Memento Tuxedo Black ink. Use the negative part of the die as a guide for a perfect alignment inside the stamping positioning tool.
- Color the bear with COPIC MARKERS: E0000-E30-E31-E33 & R11-R12.
- Heat emboss in white onto black the sentiment from Chimply The Best Stamp Set.
- Trim and score an extended A2 size card base (5 1/2″ x 4 1/4″) from Neenah Solar White paper.
- Arrange and glue in place all the elements, using Glubert – Craft Glue and a foam tape to add a bit of dimension.
That’s all for today! Hope you like this cheerful and bright birthday card! Thanks so much for stopping by and have a fabulous day!
Hugs,
Tatiana
