
Tone-on-Tone Double Stenciled Backgrounds with Guest Designer Tasha
Hey Crafty People!
My name is Tasha, but I go by HandmadeByTasha most places and I am both super excited & grateful to be Guest Designing for January!
For my first post, I wanted to offer some inspiration for this month’s Challenge which is tone-on-tone, so I created three backgrounds with different details using the same technique. (I’ve made some quick process videos too which I’ll be posting onto my IG/YT/TikTok)

Tone on Tone Background Technique
- To create these backgrounds, I first blended a very light layer of colour onto an a2 panel of white cardstock (specific colours for each card will be linked below)
- Place the Highlander Stencil over, to cover the entire panel and secure from behind with strips of Memo Tape. (This will hold the stencil in place to avoid it slipping whilst we continue our ink blending, but adding the tape from behind rather than in front means that we can cover the entire panel in beautiful colour!)
- Using a heavier hand for deeper colour payoff, now add more ink over the stencil. For the rainbow panel, I just added the exact same ink colours, this is a great way to stretch your supplies if you have just a small number of colours! (You can also use different inks which both have the same tonal qualities, as I did for my other examples.)
- Peel back the stencil and admire those beautiful backgrounds!!!
Rainbow Bright

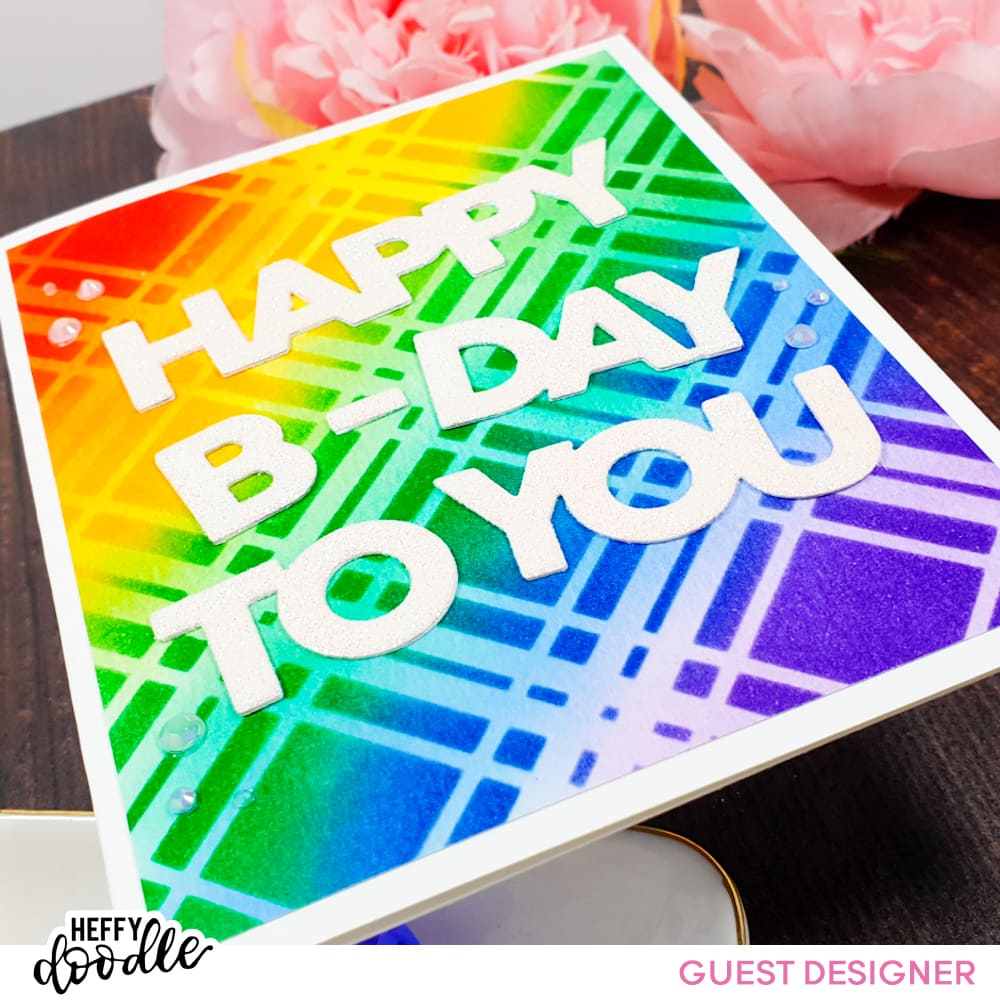
I love bright, bold backgrounds with a large sentiment as a focal piece and I used the sentiment from Stitched Birthday Trio (A2) die set.
To really help my sentiment stand out against a busy background my favourite tip is to stack those die cuts up…this gives you dimension and it just has this magic way of making that sentiment POP!
- Add double sided adhesive onto white cardstock before die cutting the sentiment, then peel back the release tape and cover in WOW! Essential Sparkles Crystal.
- Stack these glitter die cuts onto 1-2 more using Heffy Gluebert and then add to the background panel. Embellish with sparkly gems and/or sequins.
- Trim down to 4in X 5.25in and add to an a2 card base.
 Heffy Doodle Trio Frame Shop at: Heffy |
 Highlander Stencil Shop at: Heffy |
 WOW Crystal Sparkles Shop at: WOW UK | WOW US | CS UK |
 Tutti Frutti CPD Shop at: SBCOM | CPD |
 Tiara Shop at: SBCOM | CPD |
 Mardi Gras CP Shop at: SBCOM | CPD |
 CPD Suede Shoes Shop at: CPD |
 CPD Grape Crush Shop at: CPD |
Green on Green
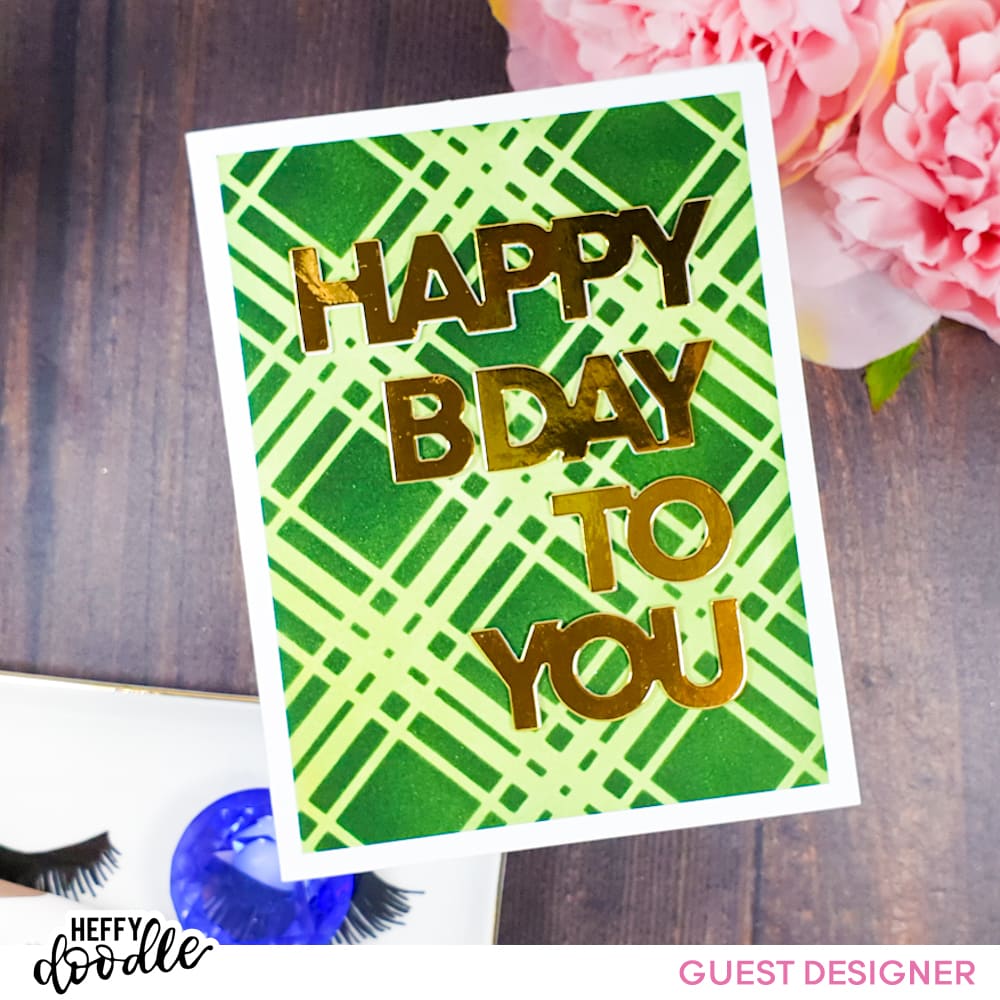
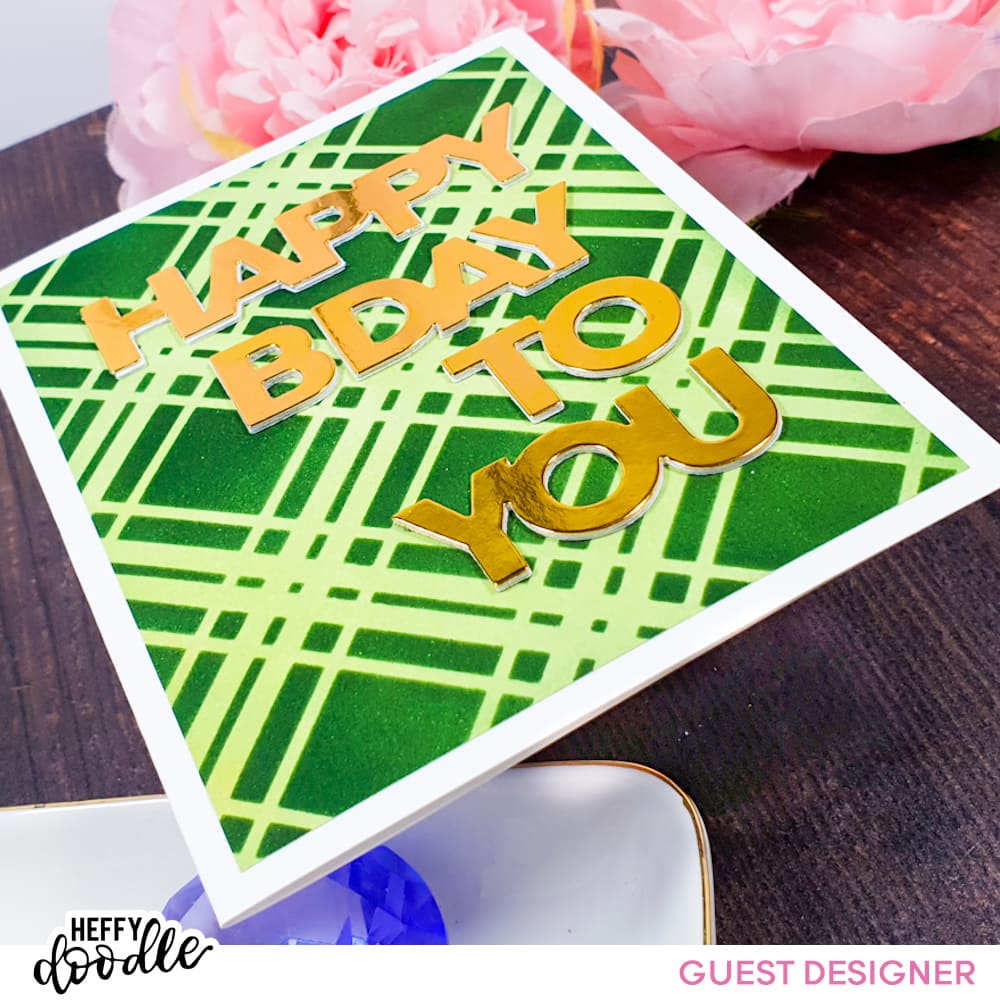
- Warm gold mirror cardstock on top of two white die cuts, and use a ruler to line up the ends of the four words to the right hand side and adhere.
- Trime the panel to 4in X 5.25in and adhere to an a2 card base.
This is definitely the quickest way to add some fun to those word die cuts, by using speciality cardstock.
Affiliate links are used at no extra cost to yourselfHeffy Doodle Trio Frame Shop at: Heffy |
Highlander Stencil Shop at: Heffy |
 Spruce CP Shop at: CPD |
 Wintergreen Shop at: SBCOM | CPD |
Warm Toned Browns
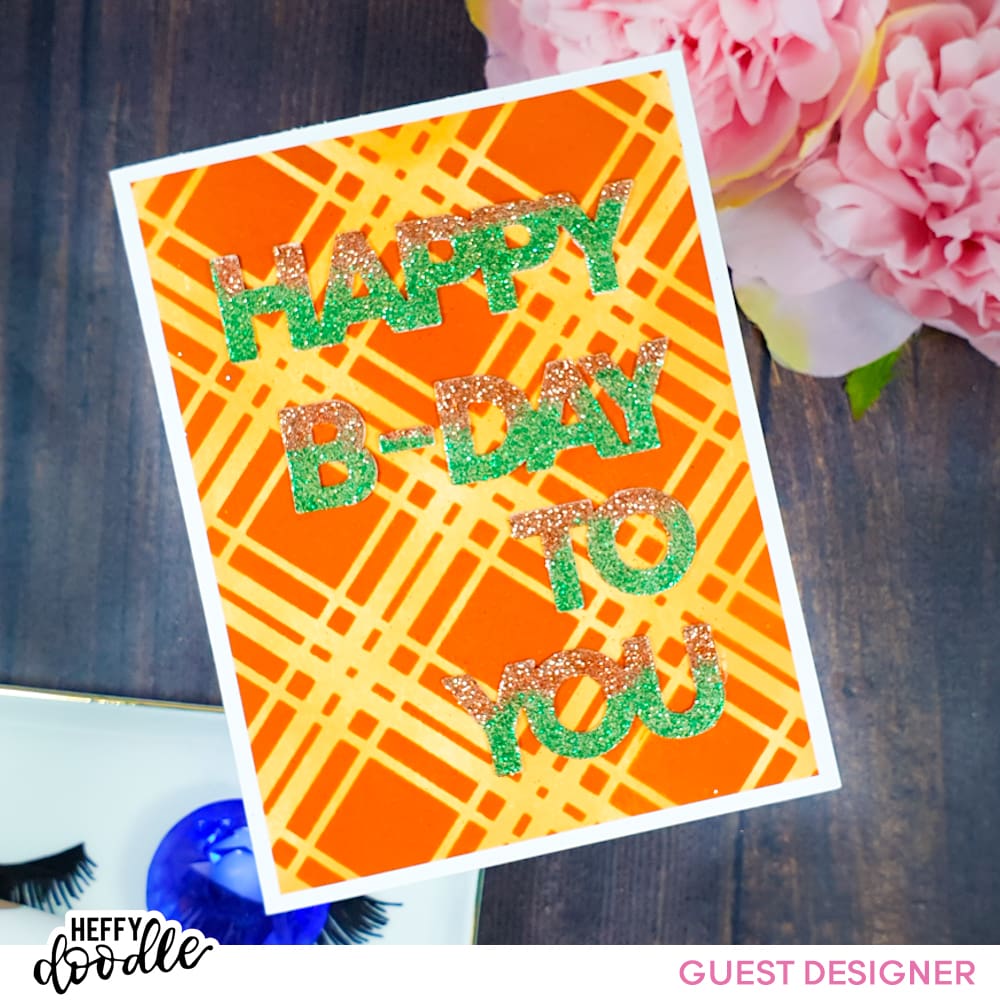
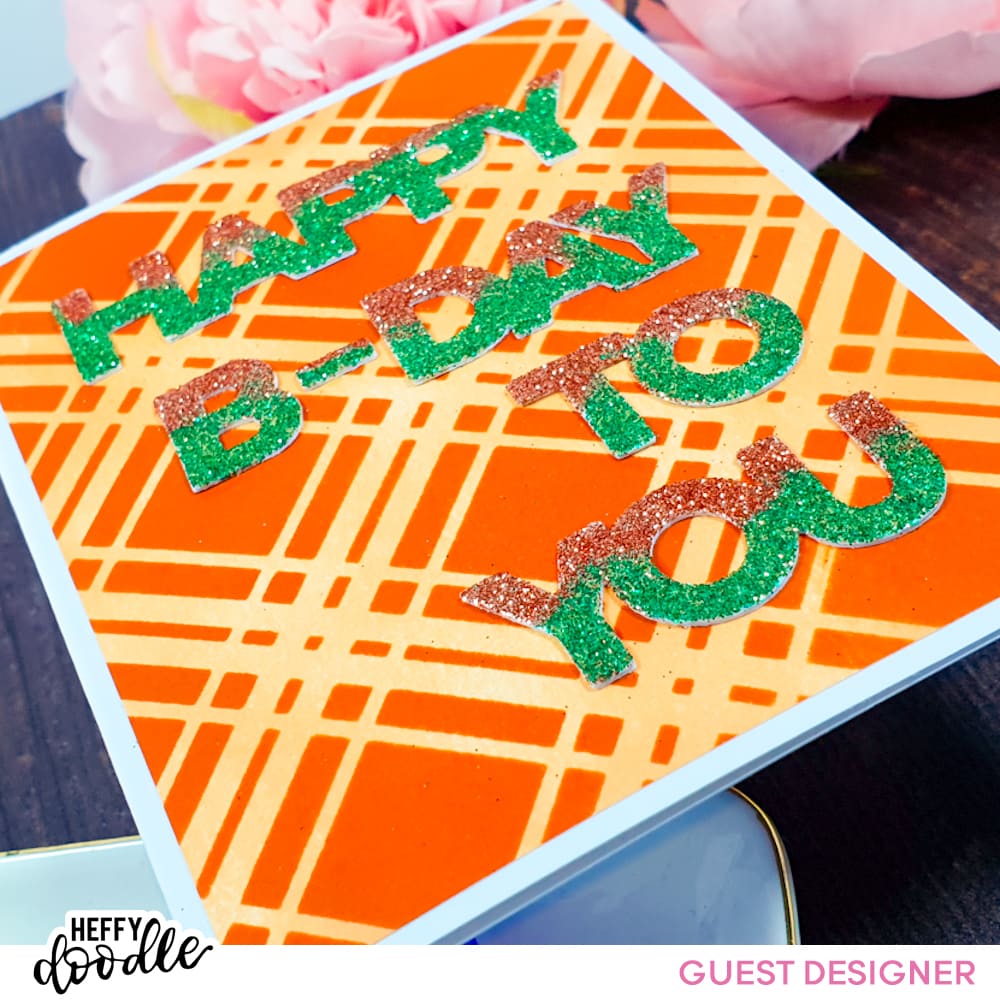
- Follow the same steps as for the Crystal Sparkle sentiment above, but to take this one even further, first apply Kelp Earth Sparkles to the bottom of the die cuts and tap off the excess.
- Then add Copper Fire Essential Sparkles to the top half of the sentiment. (Let the colours cross over each other a little to get a nice blend.
Heffy Doodle Trio Frame Shop at: Heffy |
Highlander Stencil Shop at: Heffy |
 Ginger Shop at: SBCOM | CPD |
 Apricot Shop at: SBCOM | CPD |
 Copper Fire Essentials Sparkles Shop at: WOW UK | WOW US |
 Kelp Earth Sparkles Shop at: WOW UK | WOW US |
I have lots of inspiration ready to share throughout this month both here and on my own personal blog/socials, so if you don’t already follow me be sure to hit those buttons so you don’t miss a thing!
Blog | Instagram | YouTube | TikTok
Thank you for spending this time with me, I hope to see you again soon!
Have a lovely, happy, safe and wonderful week!
Stay Crafty! Byeee!