
Soft Ink Blended Shaker Card
Hi Heffy Doodle Friends!

I’m so happy to be back again with a new card. It’s a fairly simple one, yet interactive because of the shaker element.
Let me tell you how this card came together.
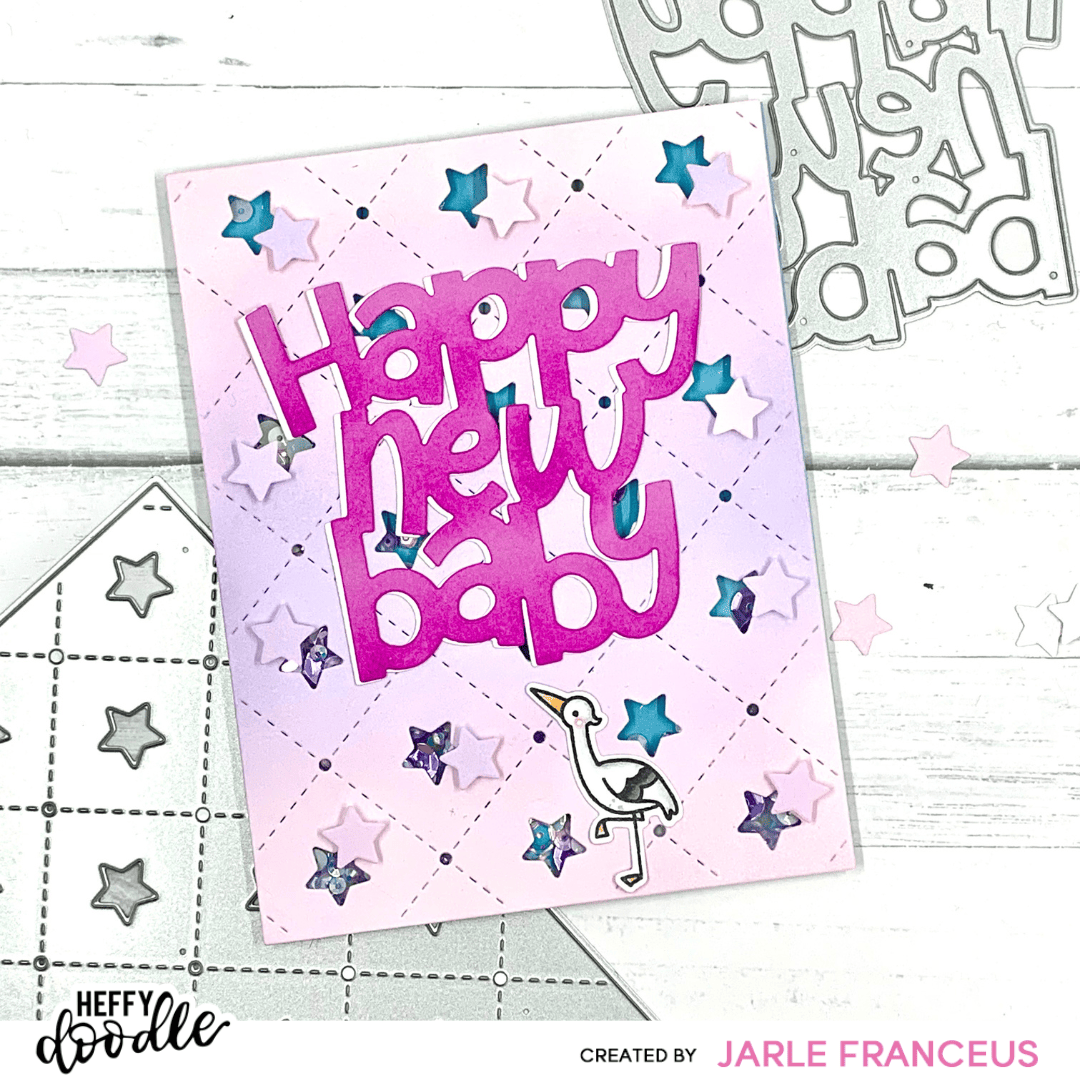
I started by ink blending a piece of Bristol Smooth cardstock (A2 size) with my Distress Oxides in the colors Spun Sugar and Shaded Lilac. After that, I die cut this ink blended piece with the Carnival Star Backdrop die. I did save the tiny little stars for later.

At the back of the blended background I adhered a piece of acetate with strong double sided adhesive. My piece of acetate was also A2 sized, so 4,25 by 5,5 inches. Then I put down thin Heffy Doodle foam strips all around the edges. In that ‘well’ I created with the foam strips, I poured in some Cloud Nine sequins. After removing the liner paper of the foam strips, I placed a piece of teal cardstock on top. The shaker background was already done. Super simple!

Tip: If you don’t want sequins to stick onto the sides of the foam strips, you can gently move your anti static powder tool around the strips.
I chose a BIG sentiment: the Happy New Baby Jumbo Sentiment die. I die cut it first with a piece of light purple cardstock. Then I die cut the words again with regular white cardstock. I did put a little bit of ink on the sentiment, for added interest and to go along with the ink blended background panel. I used Altenew dye ink in the color Purple Wine. I adhered the purple sentiment on the white sentiment at a little bit of an offset to create a shadow.
The Happy New Baby Jumbo die does come with a shadow but I wanted the shadow to be exactly the same as the sentiment, just a little bit at an offset. So I did not use the included shadow die of the set.
This card doesn’t need much more, but I did want to add a cute little stork from the Special Delivery stamp set. I stamped it with Lawn Fawn Jet black ink on alcohol marker friendly cardstock and colored it with these Copic markers:
- YR15 – YR12
- N2 – N0 – C00 – 0
- N6 – N4
- R22 – R30 (blushy cheeks)
I die cut the stork with the coordinating dies and the lovely mini die cutting machine. I can’t stop saying how much i love this mini die cutting machine. I didn’t think I was gonna use it much, but I am actually using it on EVERY card I make! Super fast and easy!
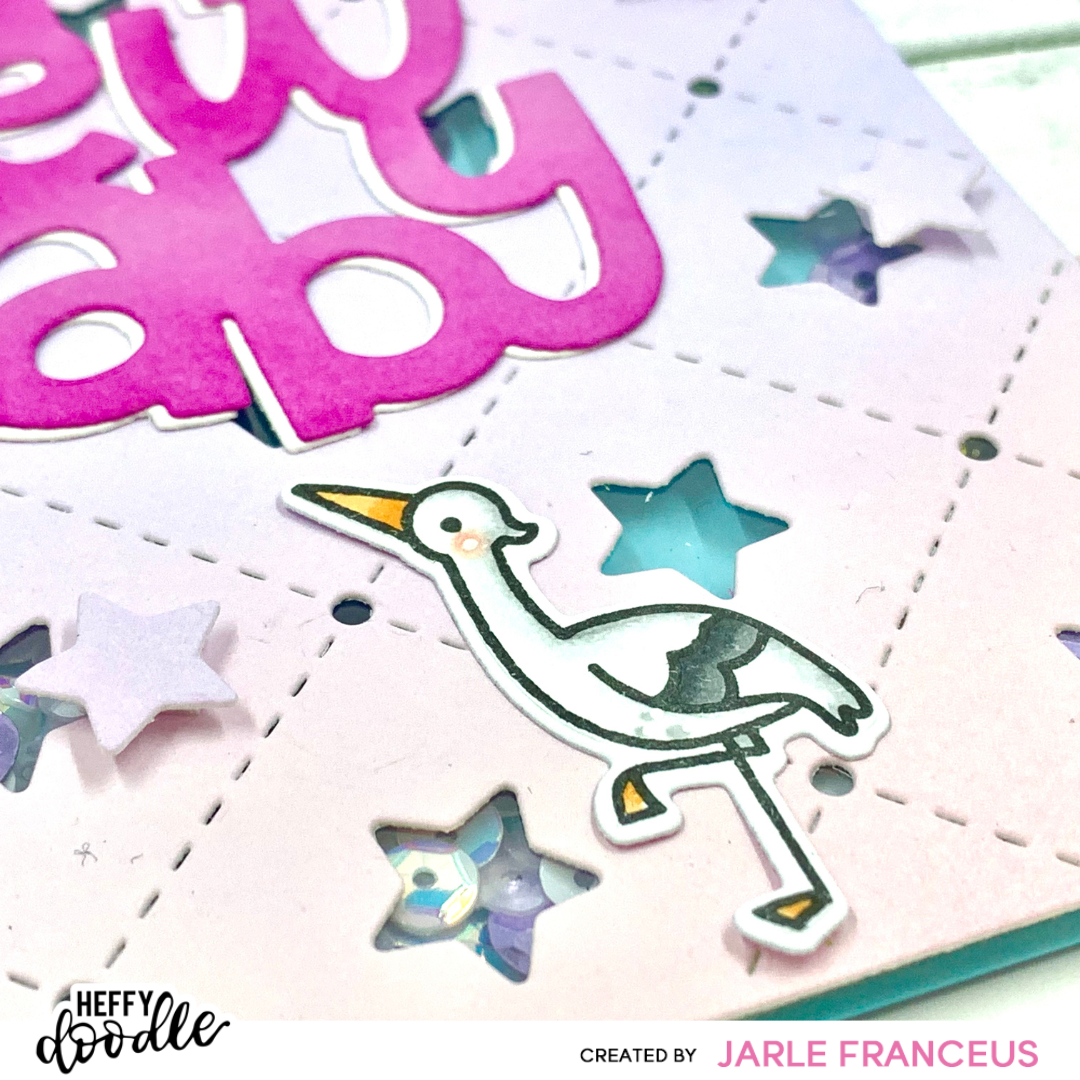
Time to assemble the card! I first adhered my stork to the shaker background with some liquid adhesive. After that, I adhered the Happy New Baby sentiment.
To finish it off I added a few of the die cut stars from that Carnival Star Backdrop on the card panel. I did use half foam squares for this, just for that little extra pop of dimension.
I adhered my shaker panel on a white card base and the card was all done. I love the soft colors and the shaker element.

Thank you so much for taking the time to be here. I truly appreciate you!
Have a great weekend!
Love, Jarle x