
Mix and Match Absotoothly Awesome + Party Palooza
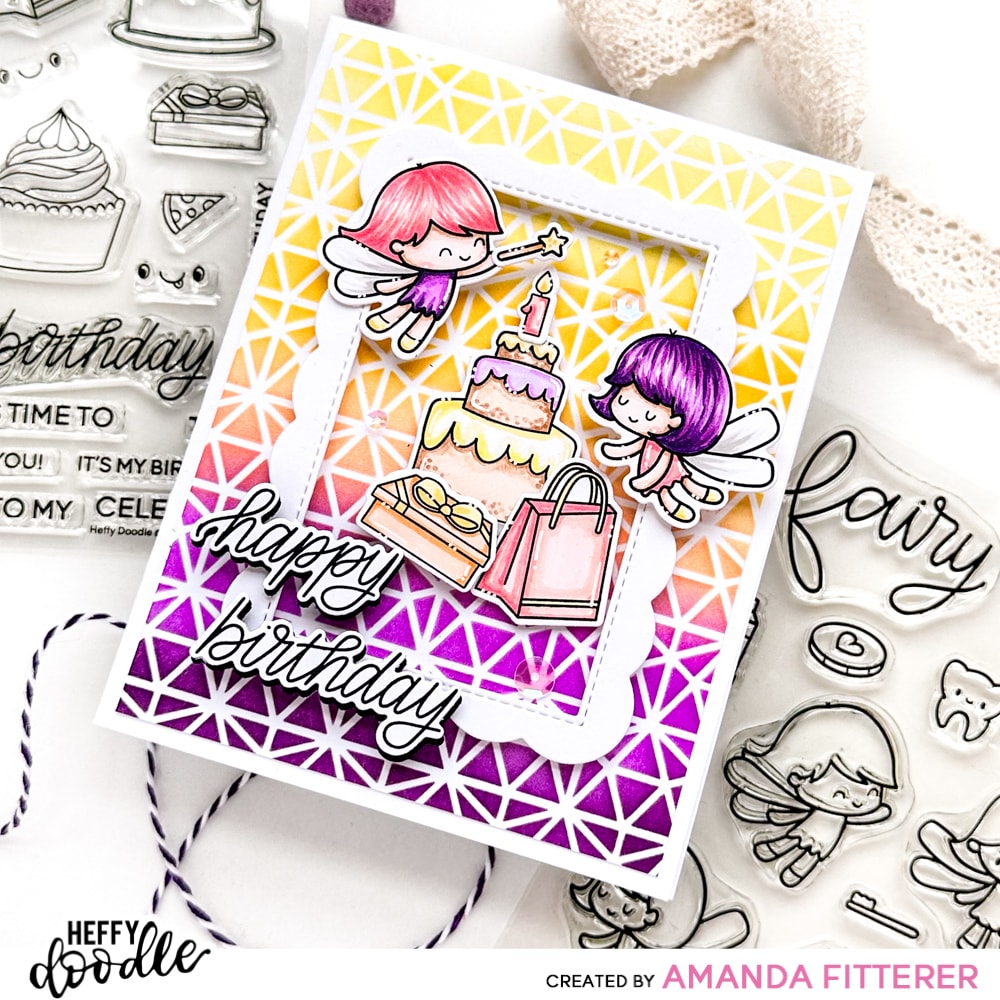
Hello friends! It’s Amanda Fitterer and I’m super excited to be here with you! If you missed my last Mix and Match post, you can find it here. Today, we’re going to make this vibrant and beautifully blended card!
So let’s get started!
To make this card, you’ll want to grab your:
* Party Palooza Stamp Set
* Party Palooza Coordinating Dies
* Absotoothly Awesome Stamp Set
* Absotoothly Awesome Coordinating Dies
* Notre Dame Stencil
* Scalloped Frame Dies
* Heffy Doodle Mini Die Cutting Machine
* Glubert Glue
* Medium/Large Die Cutting Machine (I use the gorgeous Petal Pink Gemini Jr. and I LOVE IT!)
* 3D foam squares
* 3D foam tape
* pre-scored card base
* Catherine Pooler Inks (or any inks, distress inks, or oxides)
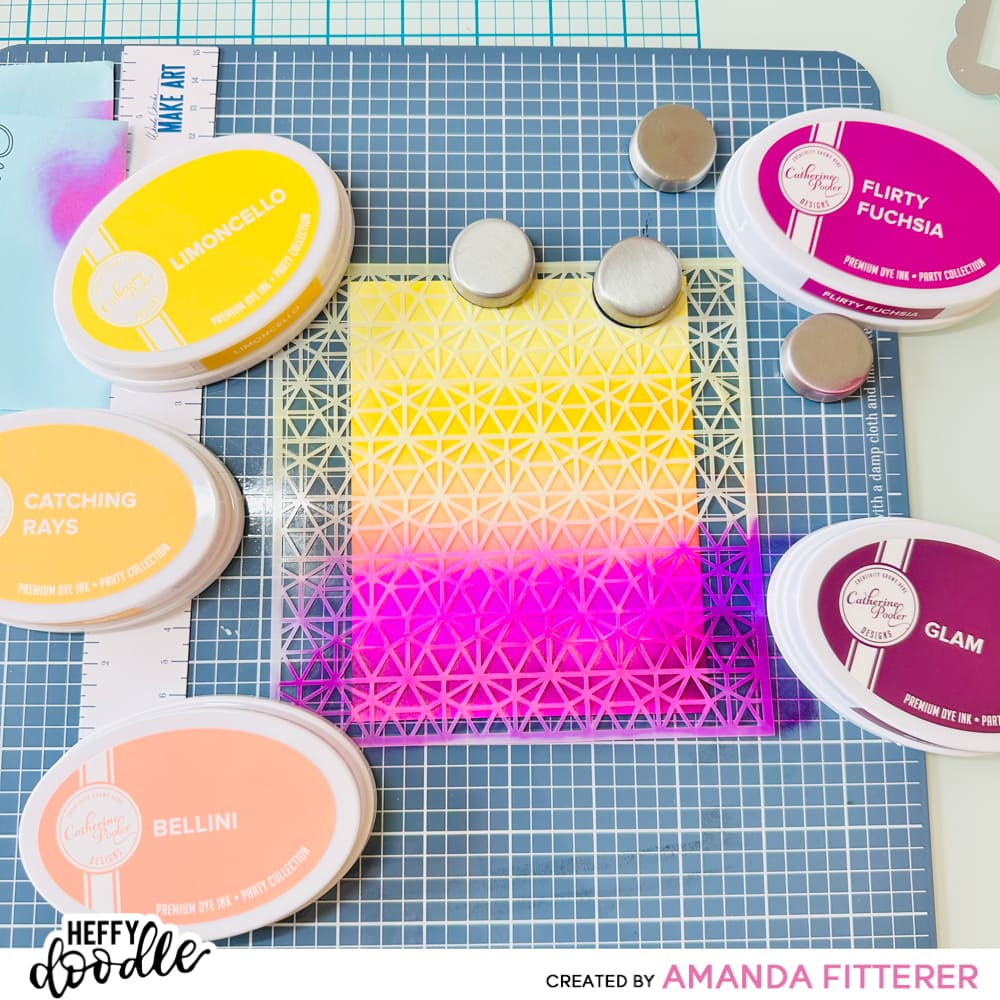
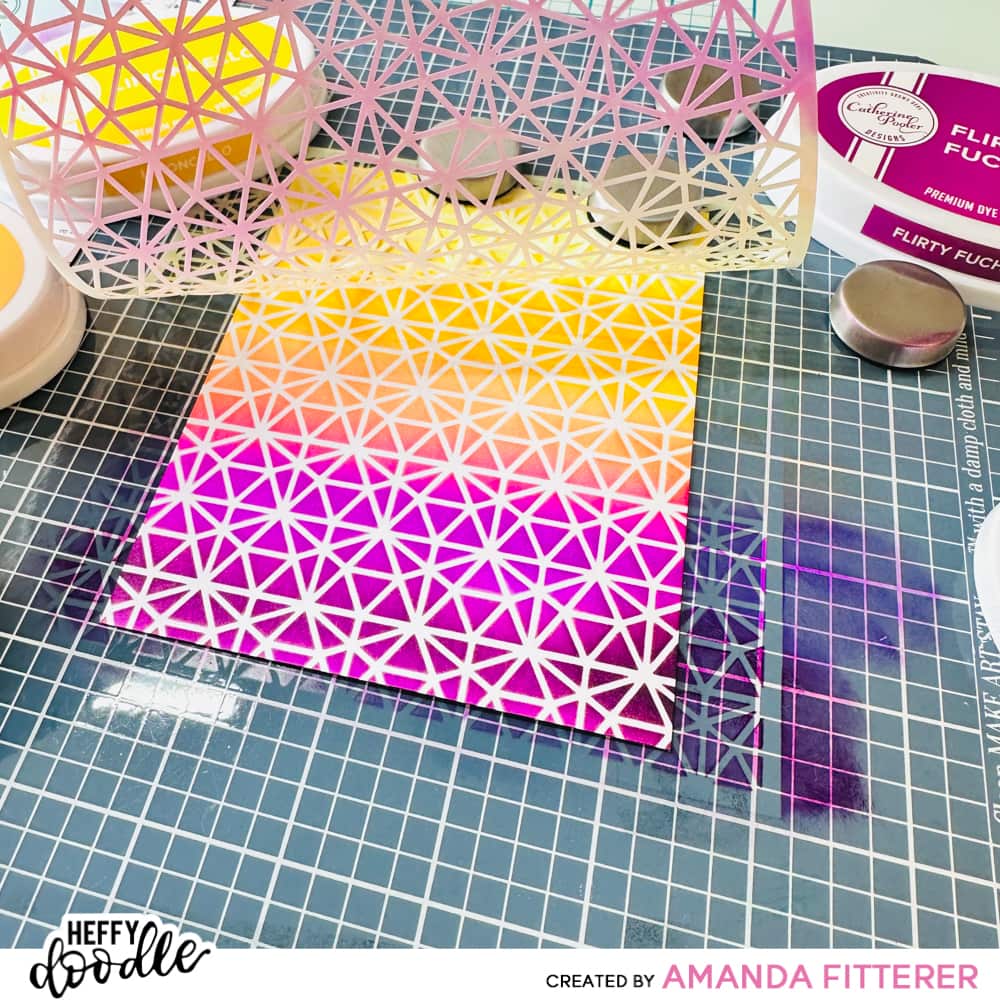
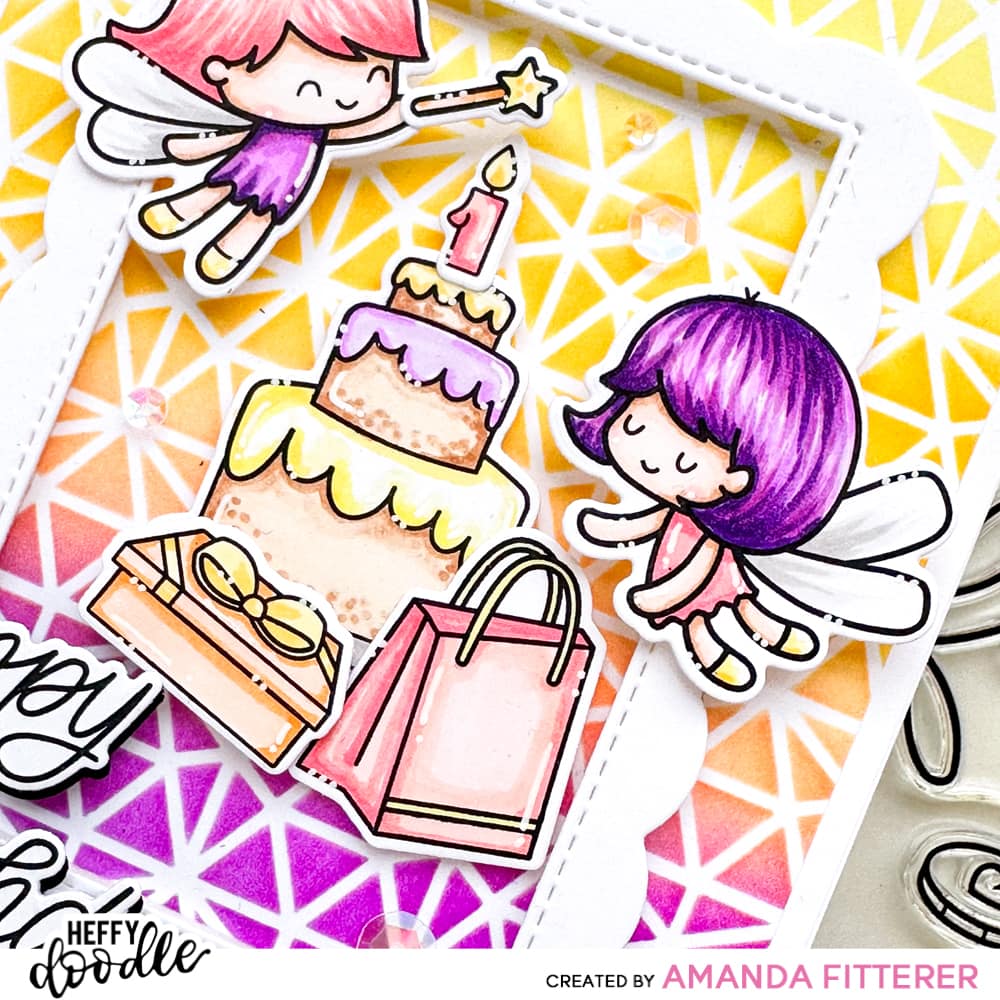
First, we’re going to create our beautiful background! When creating a blended background, I like to start with my lightest colors first, then my medium, then darkest, and then I go back and blend them all one more time! So I’m grabbing my Notre Dame Stencil and my Catherine Pooler inks.
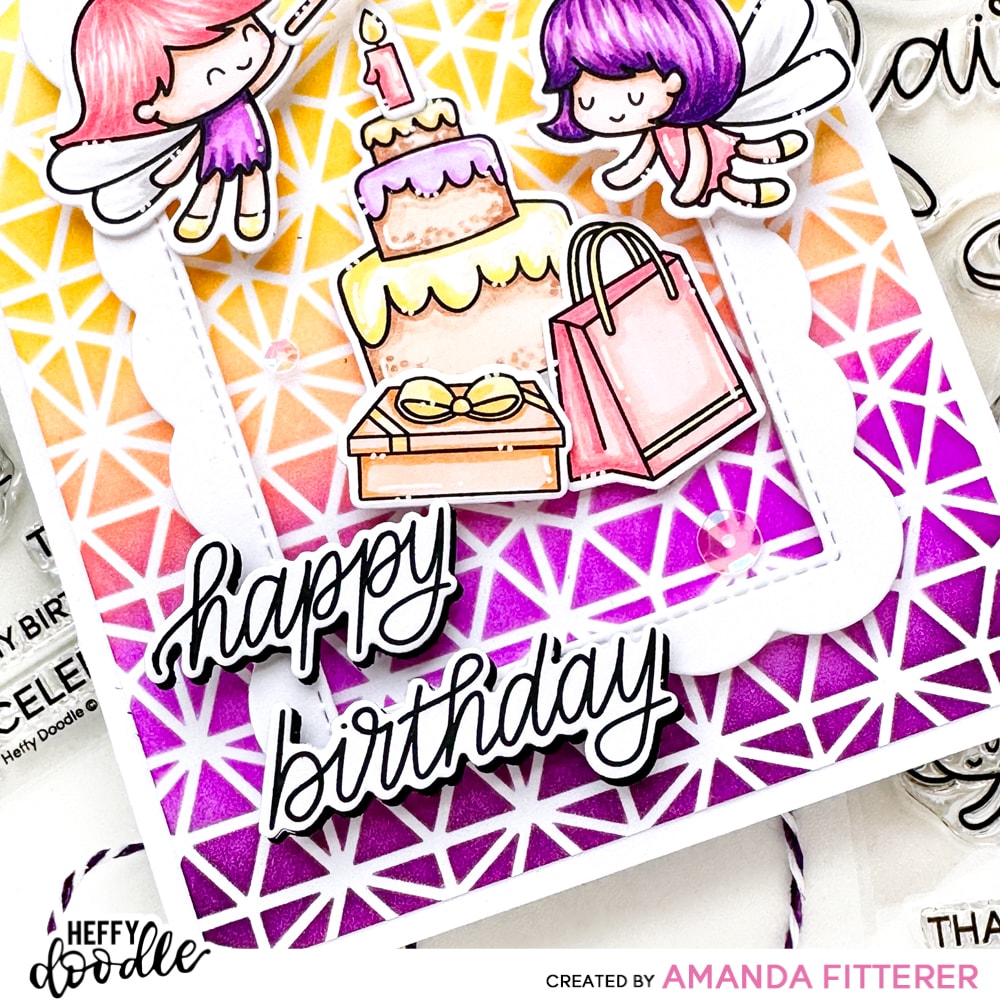
I’m starting with Limoncello, then Catching Rays, then Bellini, then Flirty Fuchsia, then Glam… and then I do it all over again, blending them one more time! I use my Wendy Vecchi Make Art Stay-tion to keep my stencil from moving. Pixie Spray also works well!
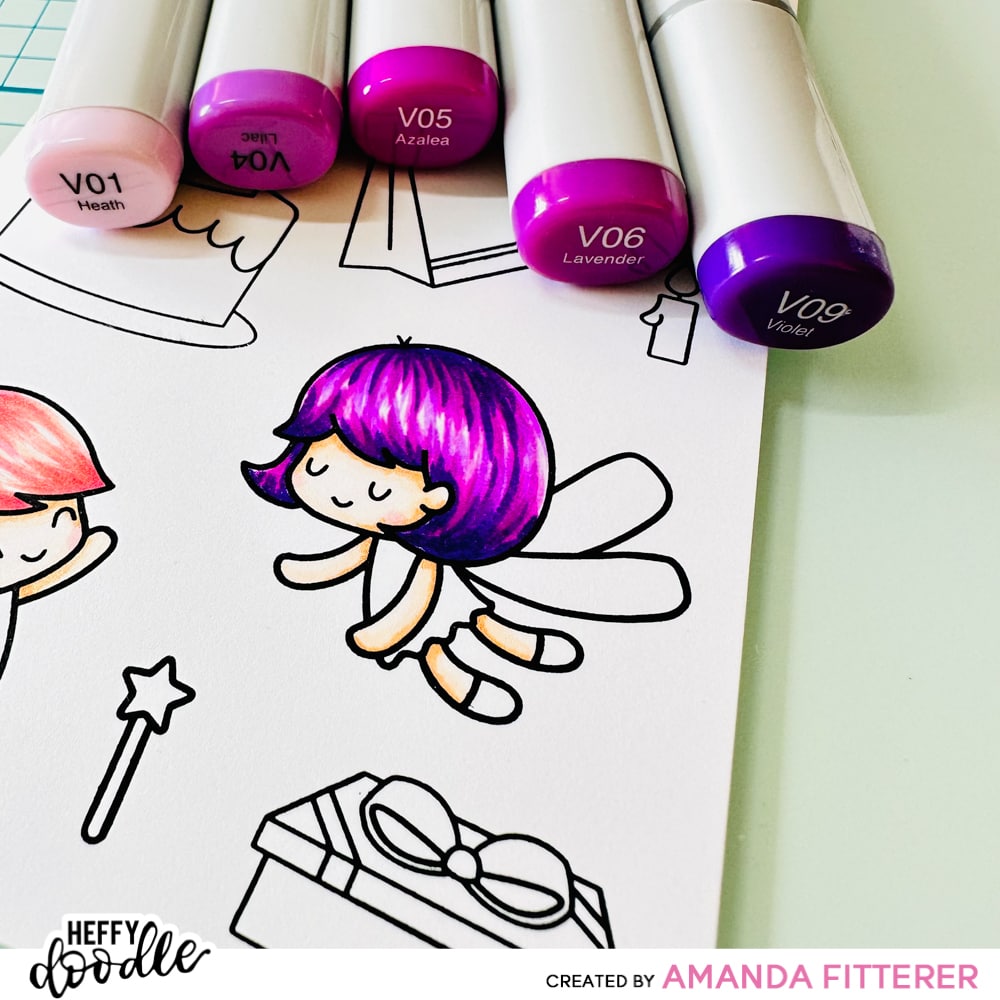
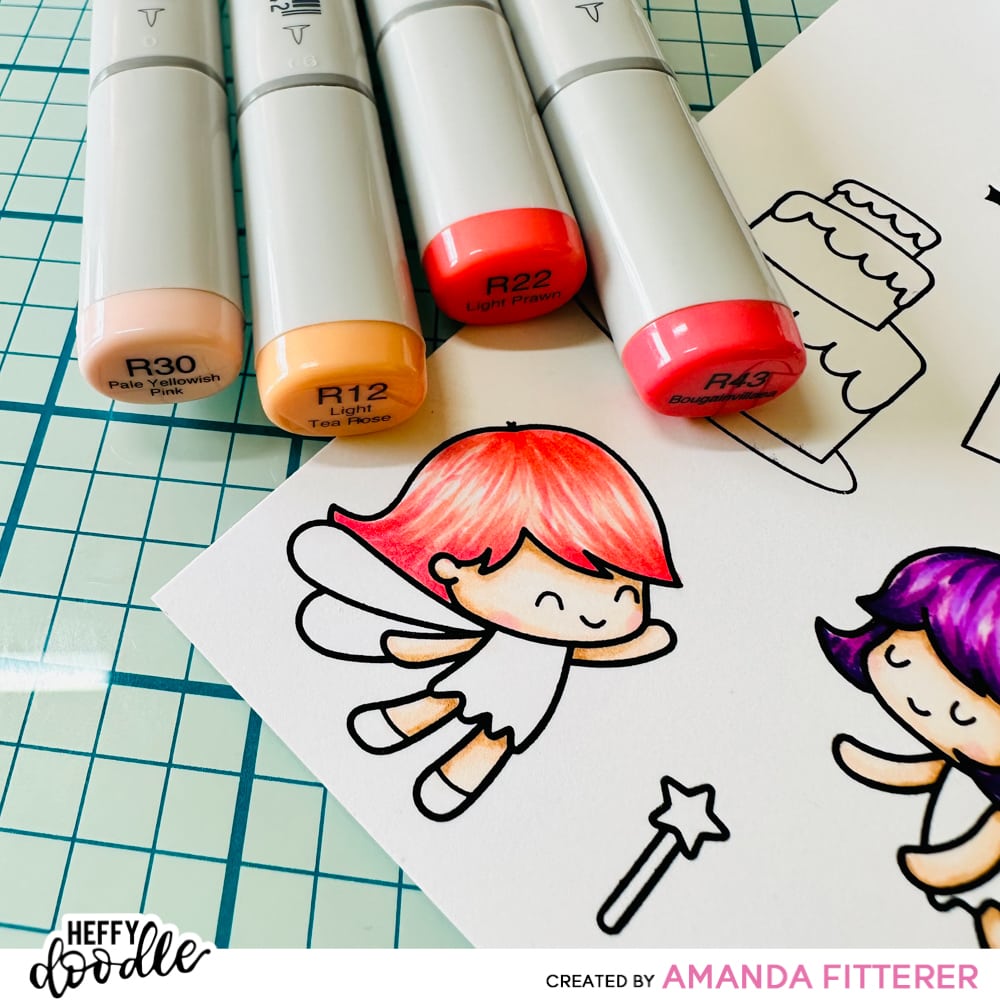
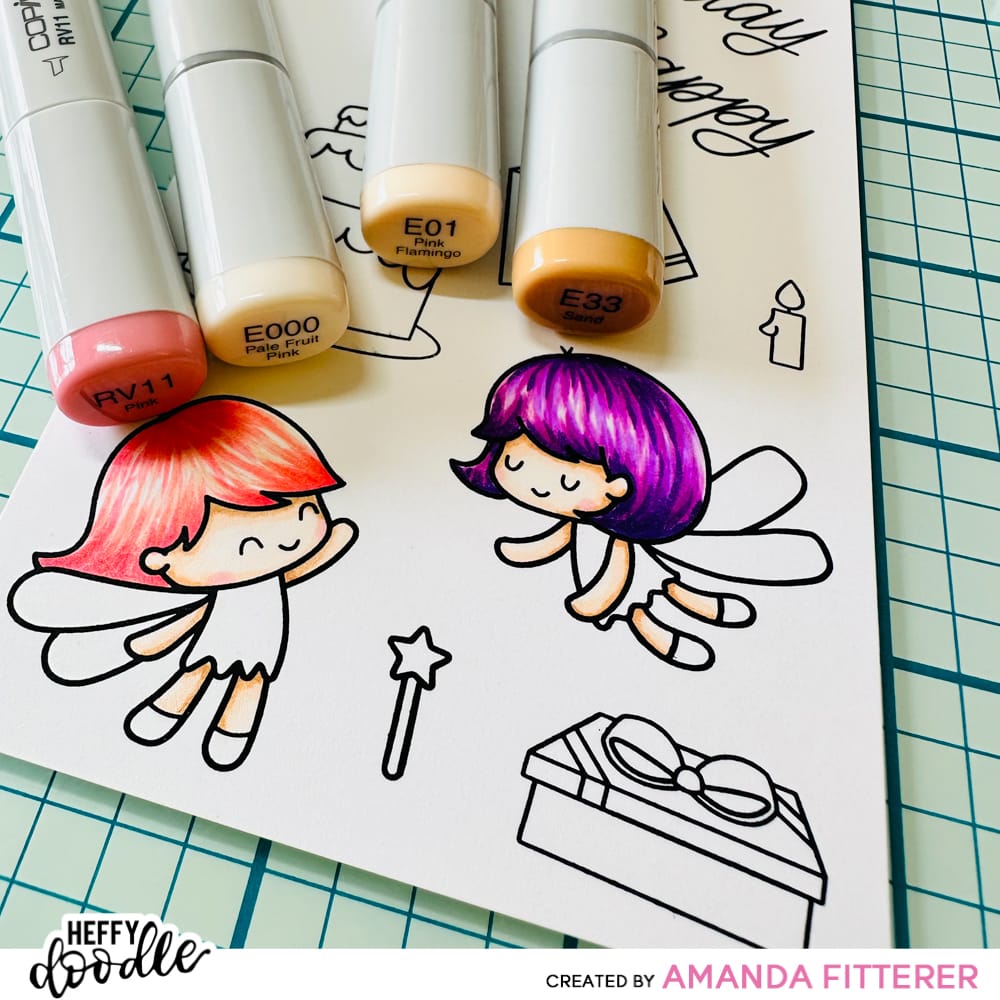
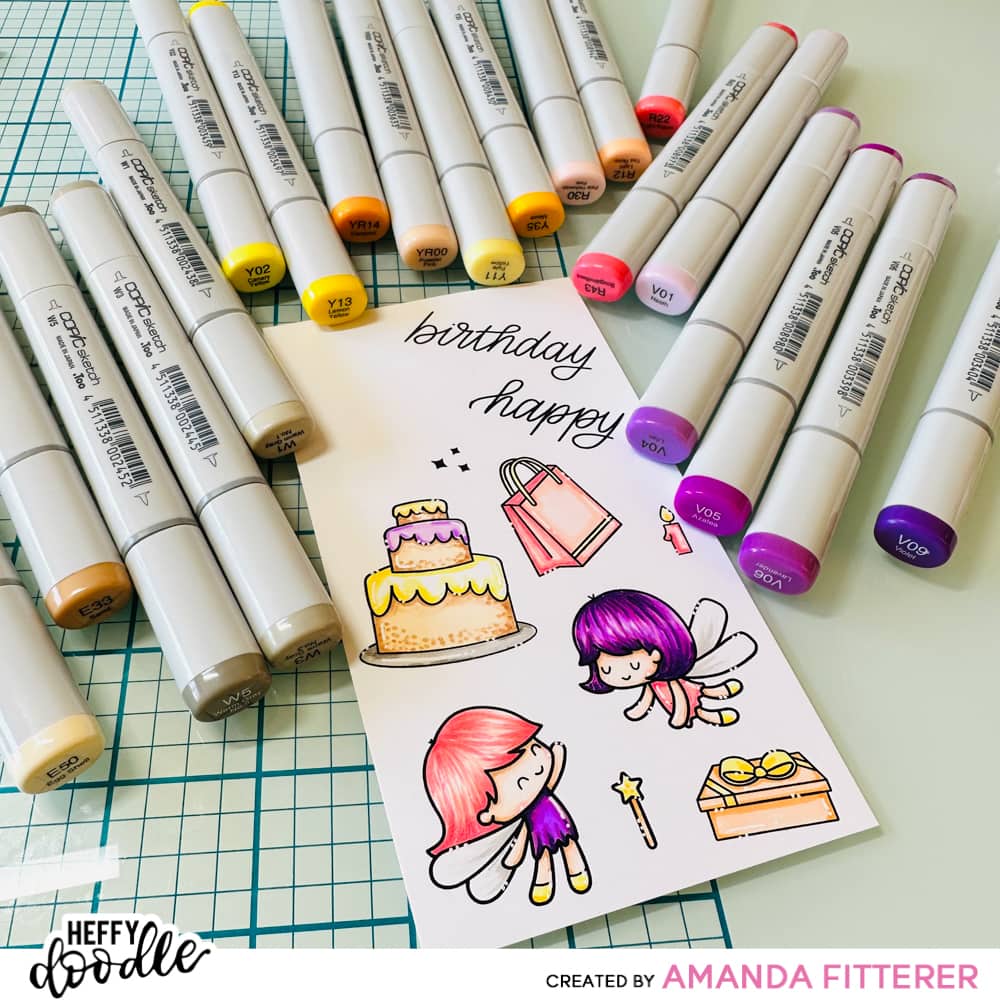
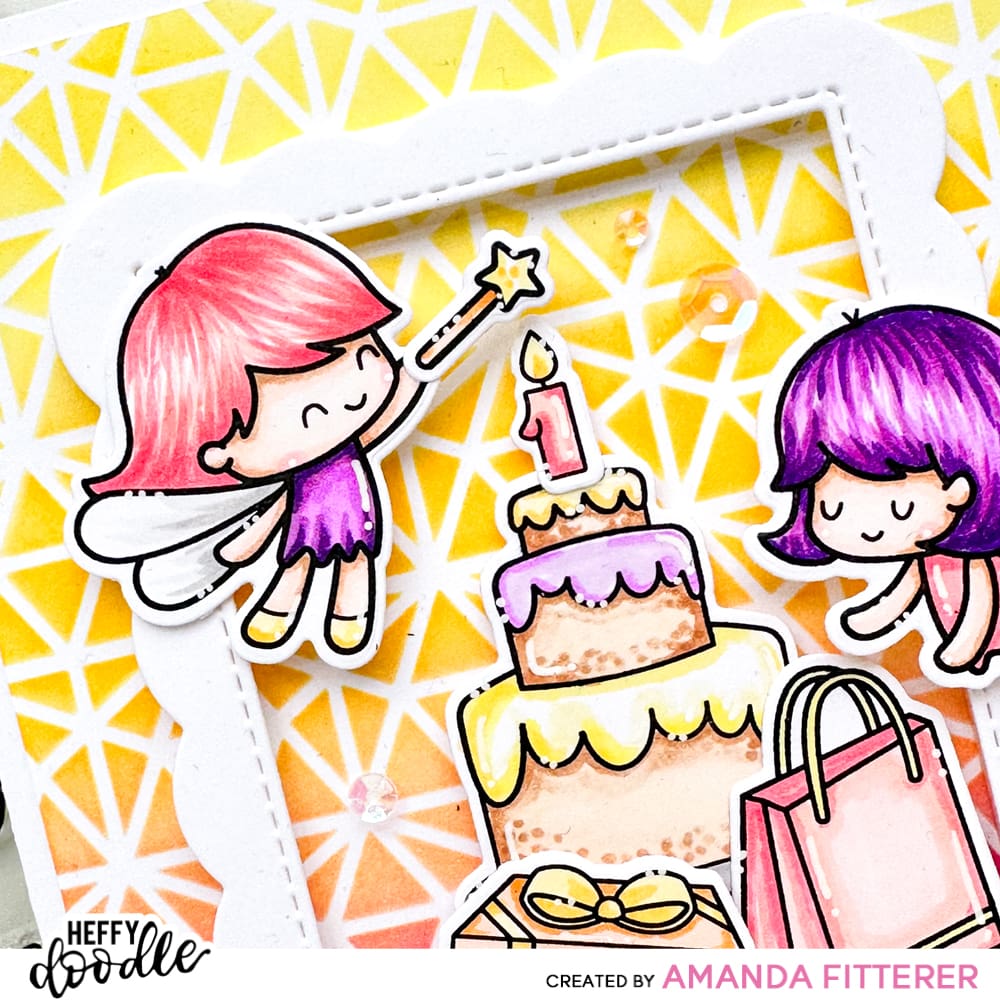
Next, we’re going to stamp and color our images from the Party Palooza Stamp Set and Absotoothly Awesome Stamp Sets. To color my images, I’m using Copic markers as they have given me the best results and blend the best out of all the alcohol markers I’ve used.
Now that I’m finished coloring the images, I’ll die cut them out with my Heffy Doodle Mini Die Cutting Machine!
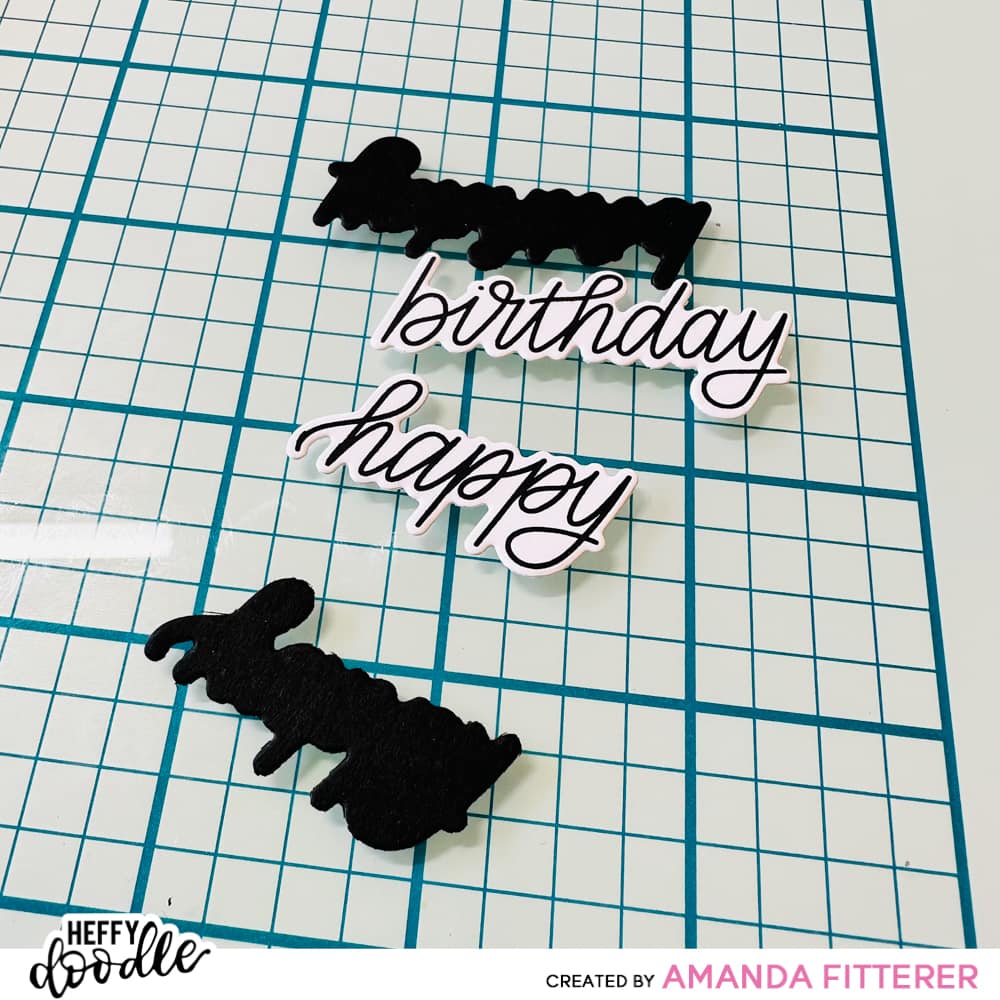
For my sentiment, I’m stamping the “happy” and “birthday” on white cardstock and then die cutting them with my Heffy Doodle Mini Die Cutting Machine. I’m also cutting just the dies with black cardstock. This will allow me to create a “shadow” for the sentiment, which will really help it POP!
Now we’re ready to start assembling the card! I’ve die cut one of the Scalloped Frame Dies and propped it up with 3D foam tape. Next, I’m using 3D foam tape to prop up my stamped images and sentiments. The last step is to adhere this panel to my pre-scored card base.
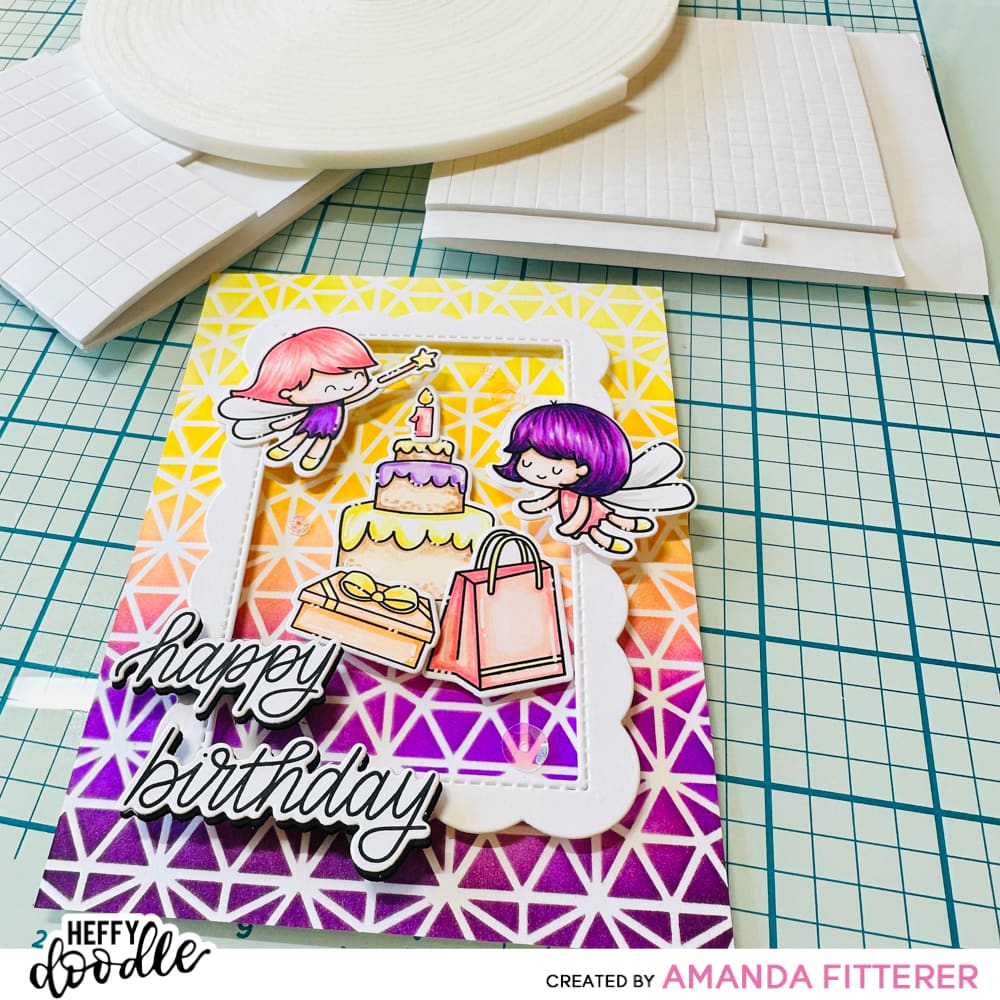
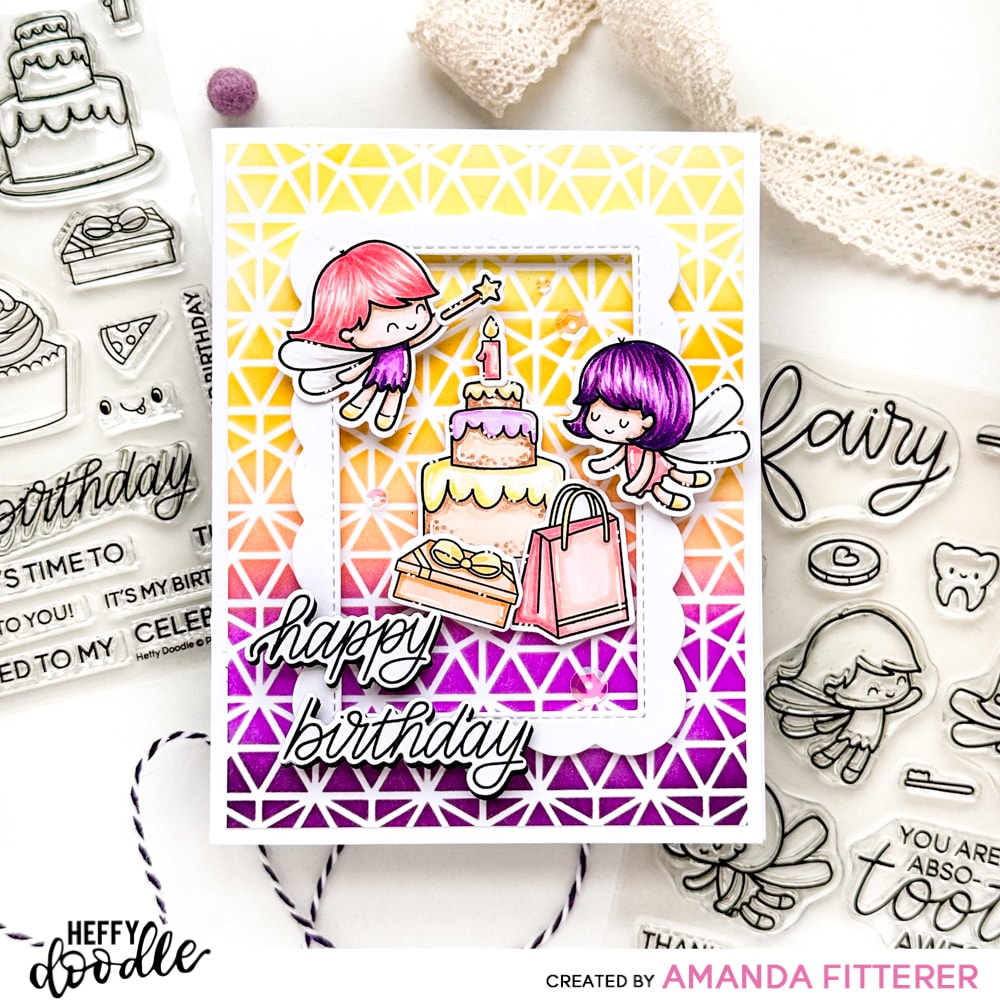
And, that’s it! The card is complete! I’m so excited to give this card to my niece for her birthday! Thanks for stopping by the blog today! Xx, Amanda
Thanks for using my affiliate links (some of the links above)! You all are the BEST! Using an affiliate link in this post costs you nothing, but it gives me a teeny percentage of your sale to buy more crafty goodies to continue to share card tutorials with YOU! So, thank YOU! Xx, Amanda