Designing and selling clear photopolymer stamps and metal craft dies for card making and scrapbooking
November 19, 2021
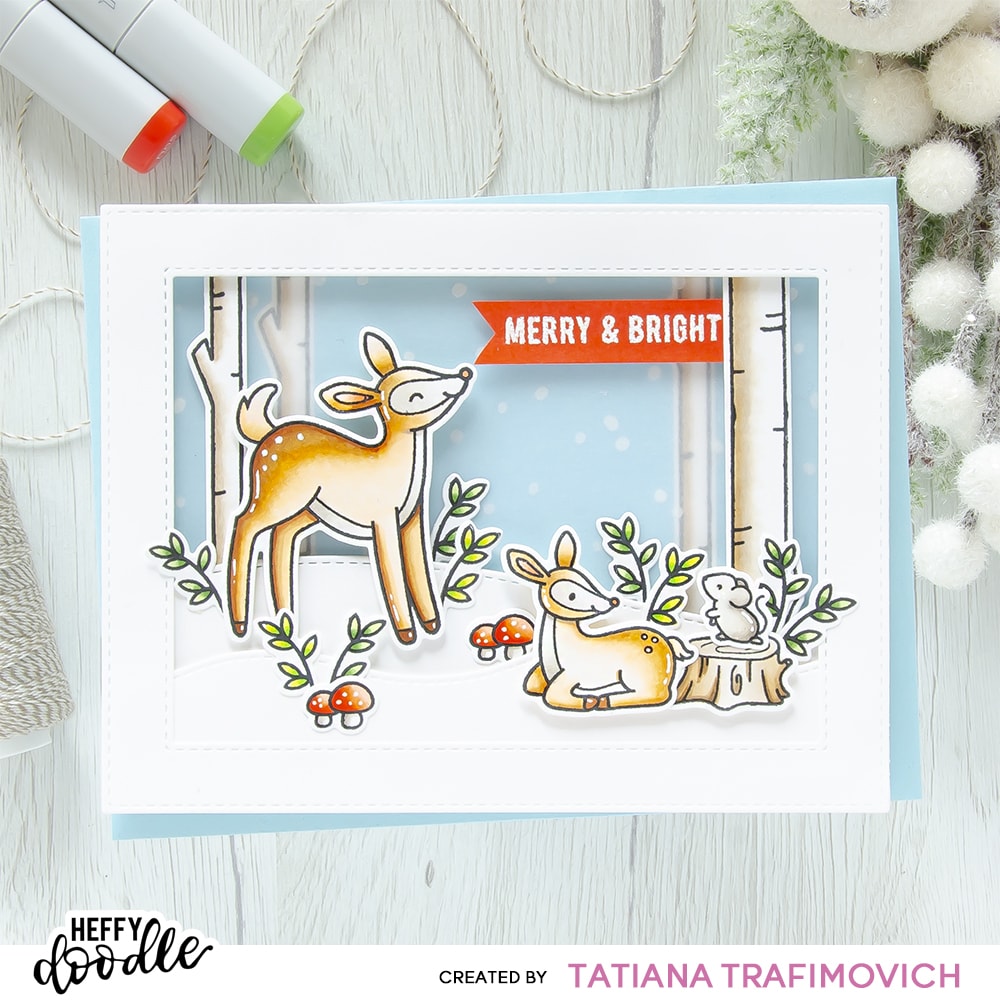
Merry & Bright Card
Hello and welcome back to the Heffy Doodle Blog! We are SO glad you stopped by to see what crafty inspiration we have today! Today’s theme is “Stretch Your Supplies” with design team member – Tatiana!
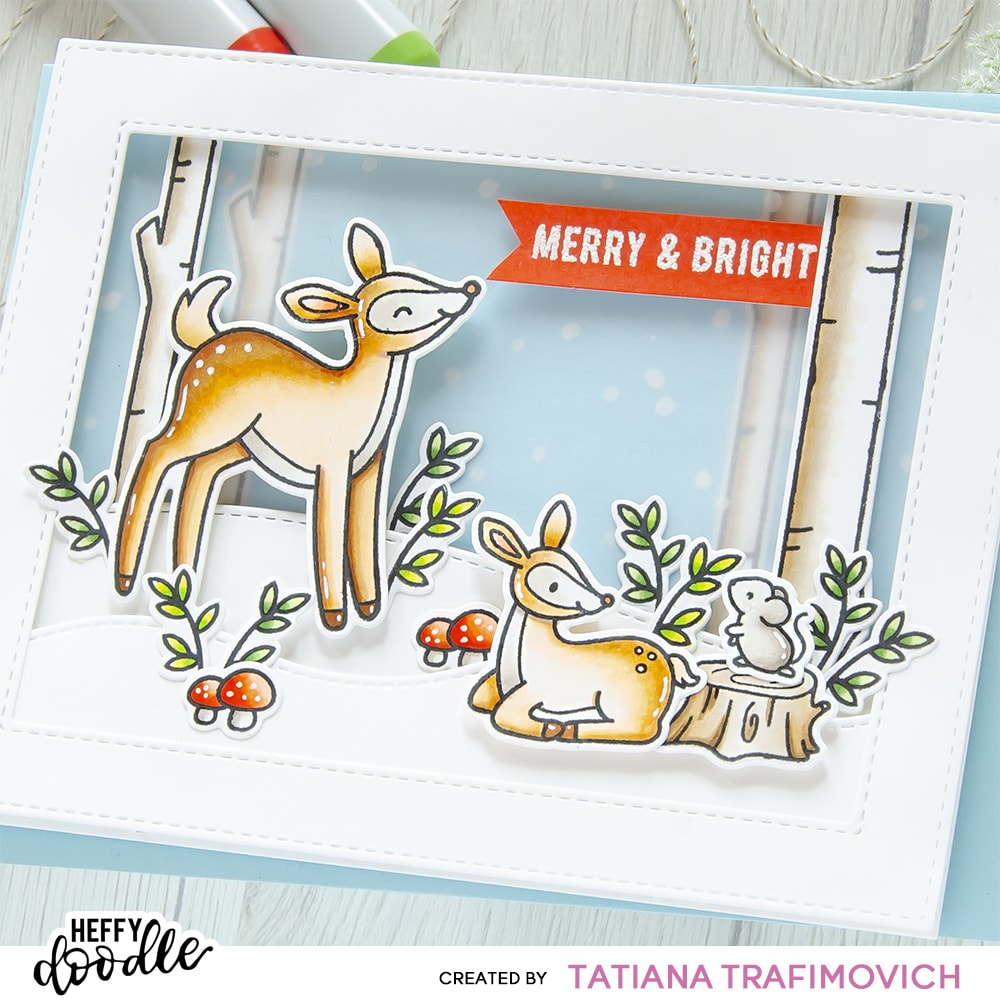
Today I came up with a sweet holiday card, creating a winter scene with lots of dimension. I used the most adorable Deer To Me Stamp Set that includes cute critters and many scene elements that can be used all year round. To keep it simple, I reached to Heffy Doodle light blue cardstock for the sky piece and then covered it with a vellum layer to give more depth to the first layer without adding any dimensional adhesives. I continued by popping different layout elements on a foam tape. I have to double up the foam tape for the second layer. I really love the final result with all the dimensional layers that it’s kinda hard to capture on the pictures, but I assure you that in real life this project looks absolutely gorgeous. I purposely kept very simple the coloring, using lighter than usual shades since I didn’t want to overwhelm the whimsical layout.
Stamp the outline illustration from Deer To Me Stamp Set with Memento Tuxedo Black Ink. Use the negative part of the dies as a guide for a perfect alignment inside the stamping positioning tool.
Color the stamps with COPIC MARKERS. I used on this card:
deers E0000-E30-E31-E33-E37 & R000-R02
grey W00-W0-W1-W3
brown E40-E41-E43
red R00-R02-R05
green G20-G24 & YG21-YG23
Trim and score an extended A2 size card base (5 1/2″ x 4 1/4″) from Neenah Solar White paper.
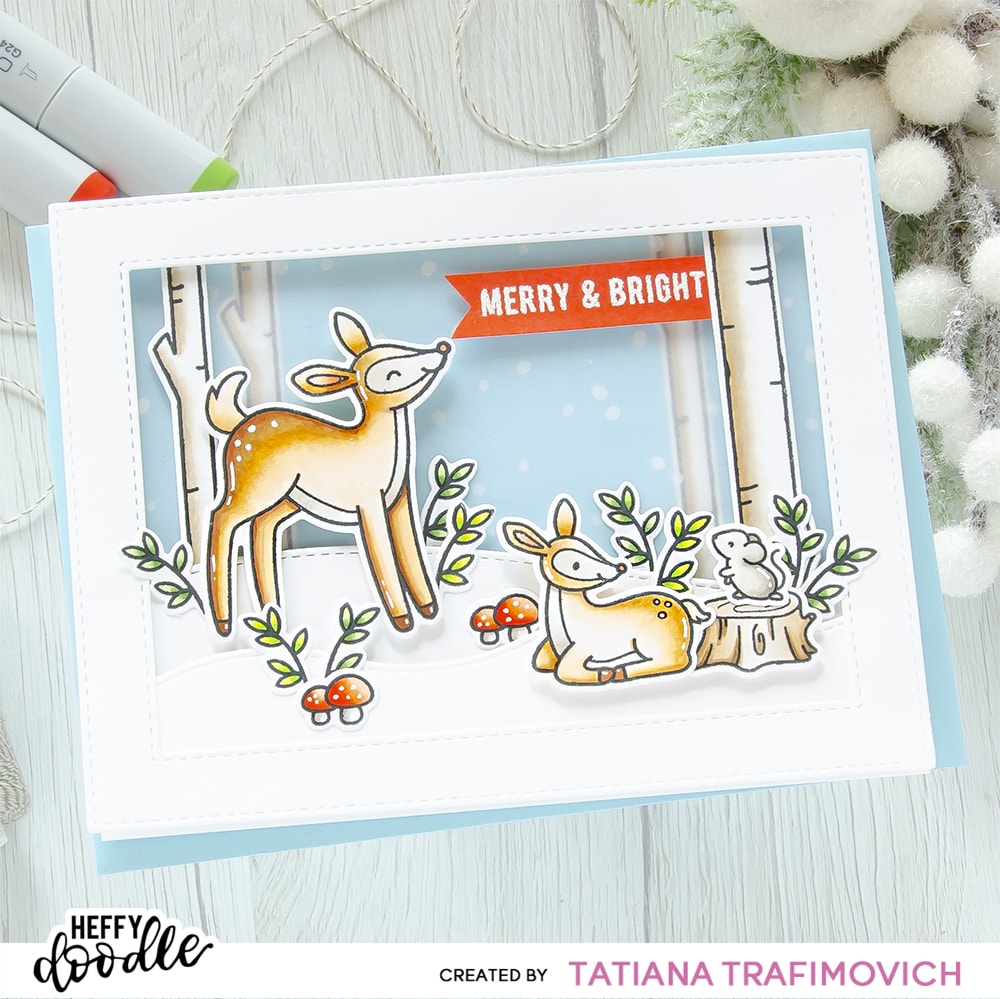
Arrange and glue in place, using the same Glubert – Craft Glue, two birch trees one from the left and one from the right sides.
Tape well First Snow Stencil with Heffy Memo Tape on the blue background and apply a white embossing paste all across. Lift up the stencil and immediately wash it with warm water a little bit of liquid soap.
Once the embossing paste is dry, add a vellum layer directly on top of the snowy background, securing it with tiny glue dots.
Die cut from Neenah Solar White paper two snow hills, using Slimline Scenery Dies, and a faux stitched frame, using
Paint a piece of Neenah Solar White paper with R05 copic marker to create a perfectly matching red paper for the sentiment.
Heat emboss in white onto red the sentiment with VersaMark Clear Embossing Ink. Don’t forget to prep the cardstock with a Powder Tool Applicator to prevent the embossing powder to stick where you don’t want it!
Shape the sentiment into a fish-tail banner with the sharp small scissors.
Arrange and glue in place all the elements, using Glubert – Craft Glue and a foam tape (double and triple layers) to add a lot of dimension.
Finish with some highlights added with a white gel pen.
That’s all for today! Hope you like this sweet winter scene card! Thanks so much for stopping by and have a fabulous day!
Hugs,
Tatiana

 Hello and welcome back to the Heffy Doodle Blog! We are SO glad you stopped by to see what crafty inspiration we have today! Today’s theme is “Stretch Your Supplies” with design team member – Tatiana!
 Today I came up with a sweet holiday card, creating a winter scene with lots of dimension. I used the most adorable Deer To Me Stamp Set that includes cute critters and many scene elements that can be used all year round. To keep it simple, I reached to Heffy Doodle light blue cardstock for the sky piece and then covered it with a vellum layer to give more depth to the first layer without adding any dimensional adhesives. I continued by popping different layout elements on a foam tape. I have to double up the foam tape for the second layer. I really love the final result with all the dimensional layers that it’s kinda hard to capture on the pictures, but I assure you that in real life this project looks absolutely gorgeous. I purposely kept very simple the coloring, using lighter than usual shades since I didn’t want to overwhelm the whimsical layout.

 That’s all for today! Hope you like this sweet winter scene card! Thanks so much for stopping by and have a fabulous day!
Hugs,
Tatiana
That’s all for today! Hope you like this sweet winter scene card! Thanks so much for stopping by and have a fabulous day!
Hugs,
Tatiana