
Lil Lighthouse Interactive Card

Hello and welcome back to the Heffy Doodle Blog! We are SO glad you stopped by to see what crafty inspiration we have today! Today’s theme is “Stretch Your Supplies” with design team member – Tatiana!
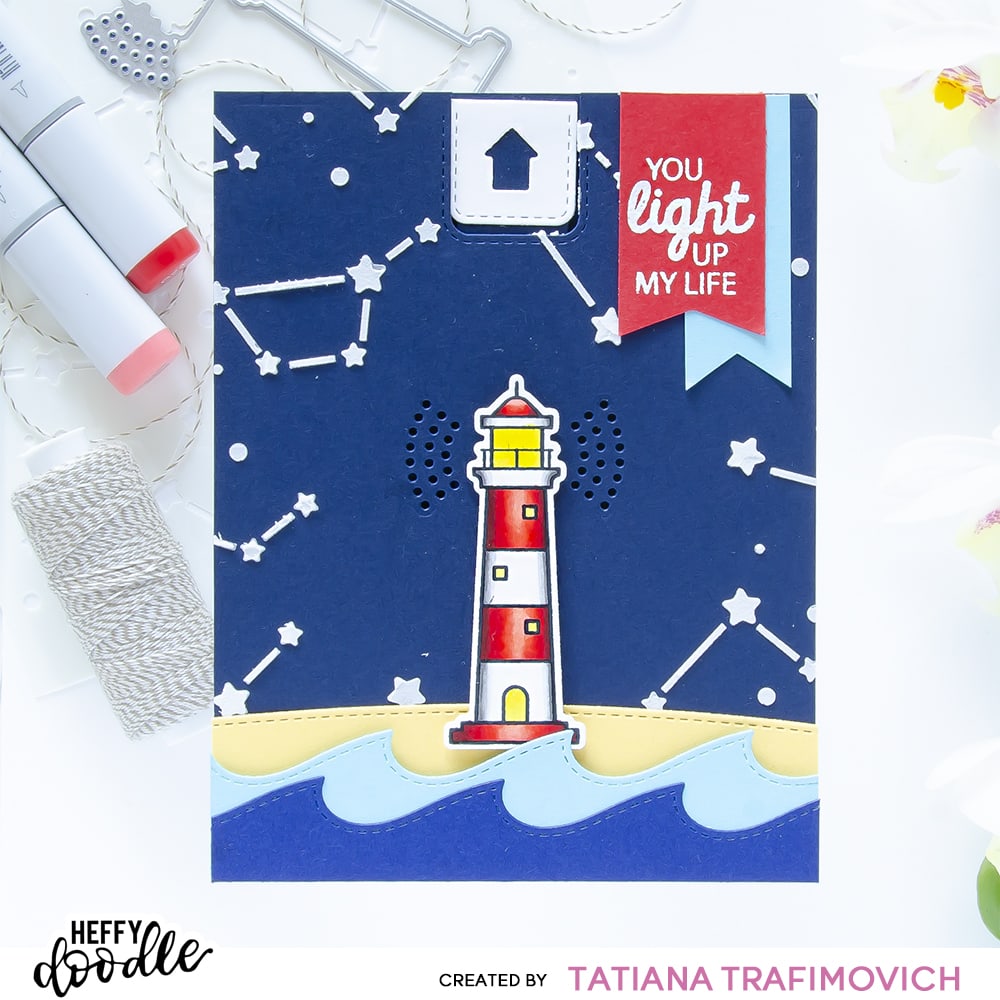

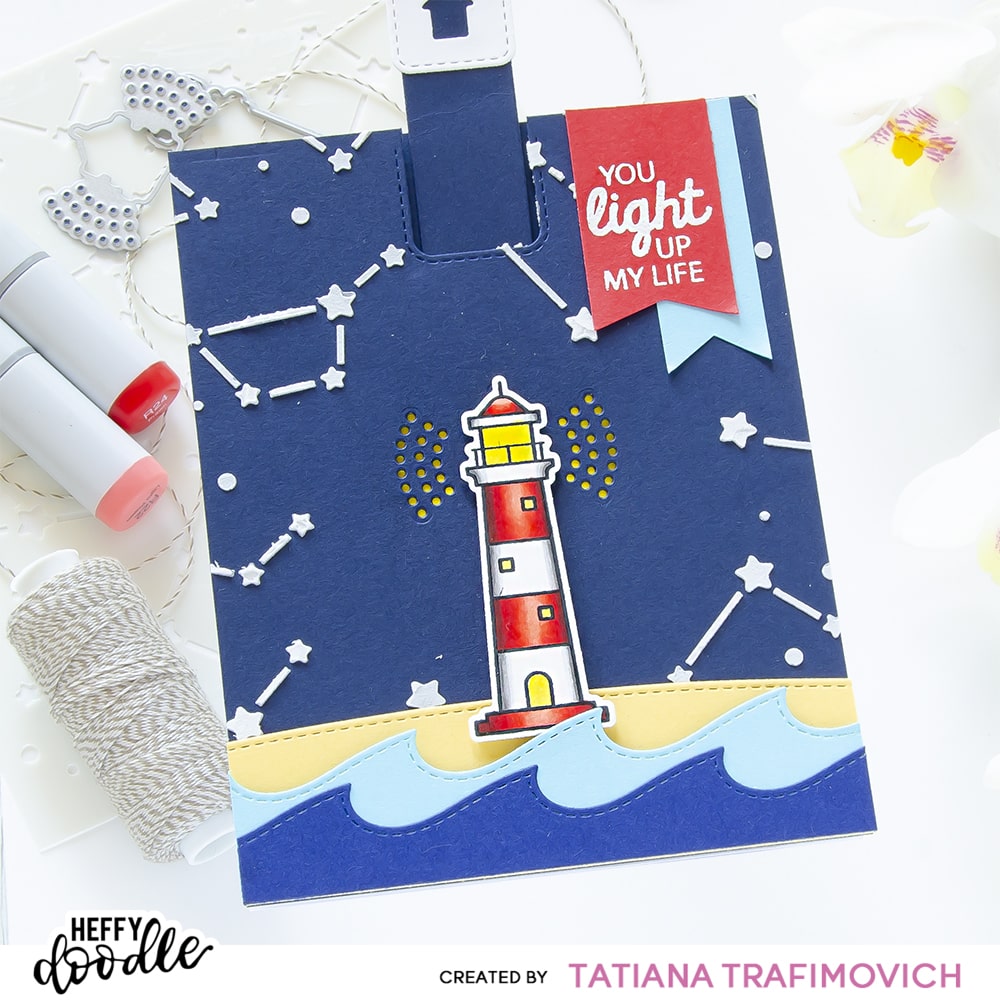
Today I decided to play with the darling Lil Lighthouse Stamp Set and find a creative way to light it up without using LED circuits. For that I prepared a very simple pull tab mechanism made with elements from Slimline Pull Tab Dies. To keep everything clean and easy I used Heffy Doodle coloured cardstock and a couple of scene element dies along with a Constellation Prize Stencil to add a bit of interest to the night sky.
Key Ingredients:
- STAMPS AND DIES:
- OTHER CRAFT SUPPLIES:
Step By Step Instructions:
- Die cut from Neenah Solar White paper the lighthouse shape, using the coordinating Lil Lighthouse Dies and Heffy Doodle Mini Die Cutting Machine. Save the negative part of the die.
- Stamp the outline illustration from Lil Lighthouse Stamp Set with Memento Tuxedo Black Ink, using the negative part of the die as a guide for a perfect alignment inside the stamping positioning tool.
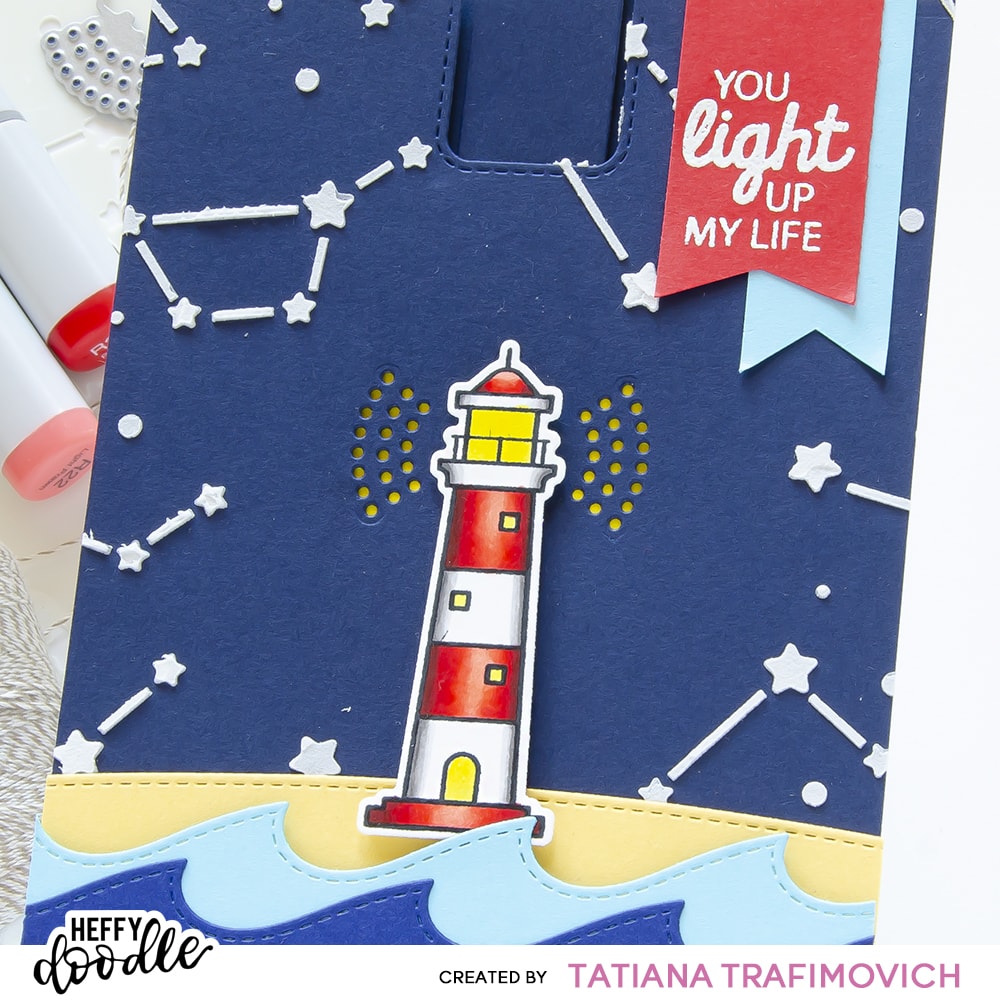
- Colour the stamp with COPIC MARKERS. I used on this card:
- red R00-R20-R22-R24-R27-R89
- grey T0-T1-T3
- yellow Y13

- Create a CARD FRONT:
- Trim a 5 1/2″ x 4 1/4″ panel from Heffy Doodle Huckleberry cardstock.
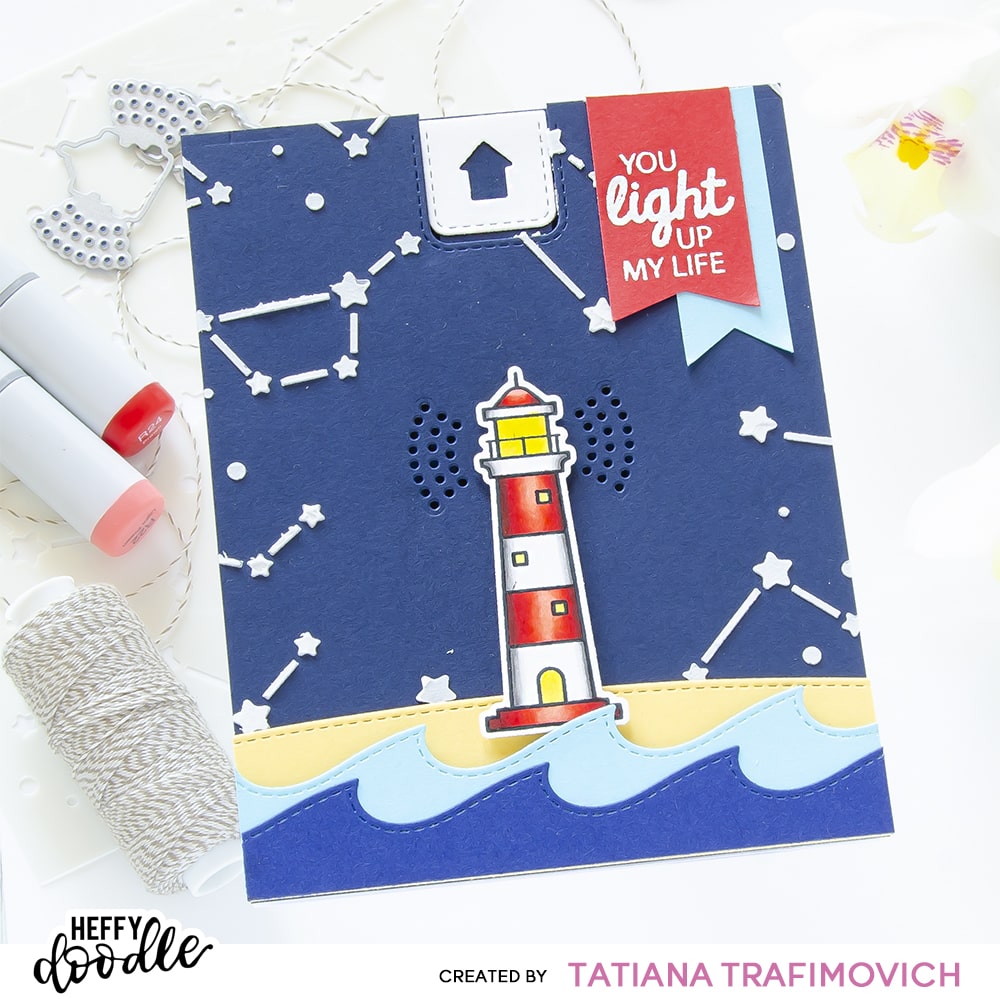
- ELEMENT A. Die cut a hole at the top of your card front with a notch die from Slimline Pull Tab Dies.
- ELEMENT B. Measure 2 1/2″ from the top part of the card front and die cut the rays for the light with the coordinating pinholes die from Lil Lighthouse Dies .
- Secure the Constellation Prize Stencil with a Heffy Memo Tape on the card front, roughly mask the center with the same Memo Tape and spread a white embossing paste all across. Lift up the stencil and let the embossing paste air dry.
- Create a CARD BASE:
- Trim and score an extended A2 size card base (5 1/2″ x 4 1/4″) from Heffy Doodle 8.5″ x 11″ White Cardstock.
- ELEMENT C. Adhere with Glubert – Craft Glue a scrap piece of Huckleberry cardstock large enough to cover the pinholes on the card base directly on the card front so that you don’t see the white card base underneath.
- ELEMENT D. Die cut from the same Heffy Doodle Huckleberry cardstock the pull tab die from Slimline Pull Tab Dies.
- ELEMENT E. Die cut from Heffy Doodle Banana Split cardstock a circle die from Stitched Circles Dies.
- ELEMENT F. Die cut from Heffy Doodle Huckleberry cardstock a wrap around belt die from Slimline Pull Tab Dies, score it and glue in place with Glubert – Craft Glue. Please, note that I used a white cardstock for the belt die only for the illustrative purpose, to make it visible in the picture for you.
- ELEMENT G. Arrange the pull tab die in place, trim the excess, die cut from Neenah Solar White paper and glue on top the pull tab topper die (with an arrow) from Slimline Pull Tab Dies.
- Pop the card front on a foam tape and adhere it to the card base.
- Die cut from Heffy Doodle Butterscotch cardstock the hill, using Slimline Scenery Dies set.
- Die cut from Heffy Doodle Ice Blast and Blueberry Bliss cardstock two waves, using Breaking Waves Border Dies.
- Heat emboss in white onto Heffy Doodle Cherry On Top cardstock the sentiment from Lil Lighthouse Stamp Set with VersaMark Clear Embossing Ink. Don’t forget to prep the paper with a Powder Tool Applicator to prevent the embossing powder to stick where you don’t want it!
- Shape the sentiment into a fish-tail banner with the sharp small scissors and hand cut another fish-tail banner from Ice Blast cardstock.
- Arrange and glue in place all the elements on the card base, using Glubert – Craft Glue and a foam tape to add a bit of dimension.
That’s all for today! Hope you this fun interactive card! Thanks so much for stopping by and have a fabulous day!
Hugs,
Tatiana