
It’s a wedding. Let’s seal-ebrate!
Hi Heffy Doodle friends!
This is Sylvie from @kaliscards again. So happy to be guest designing for Heffy Doodle and share my second project with you.
Today I have another one layer scene and I think love is in the air today!
For this project, I mixed and matched the You go, gull and Sealy friends sets.
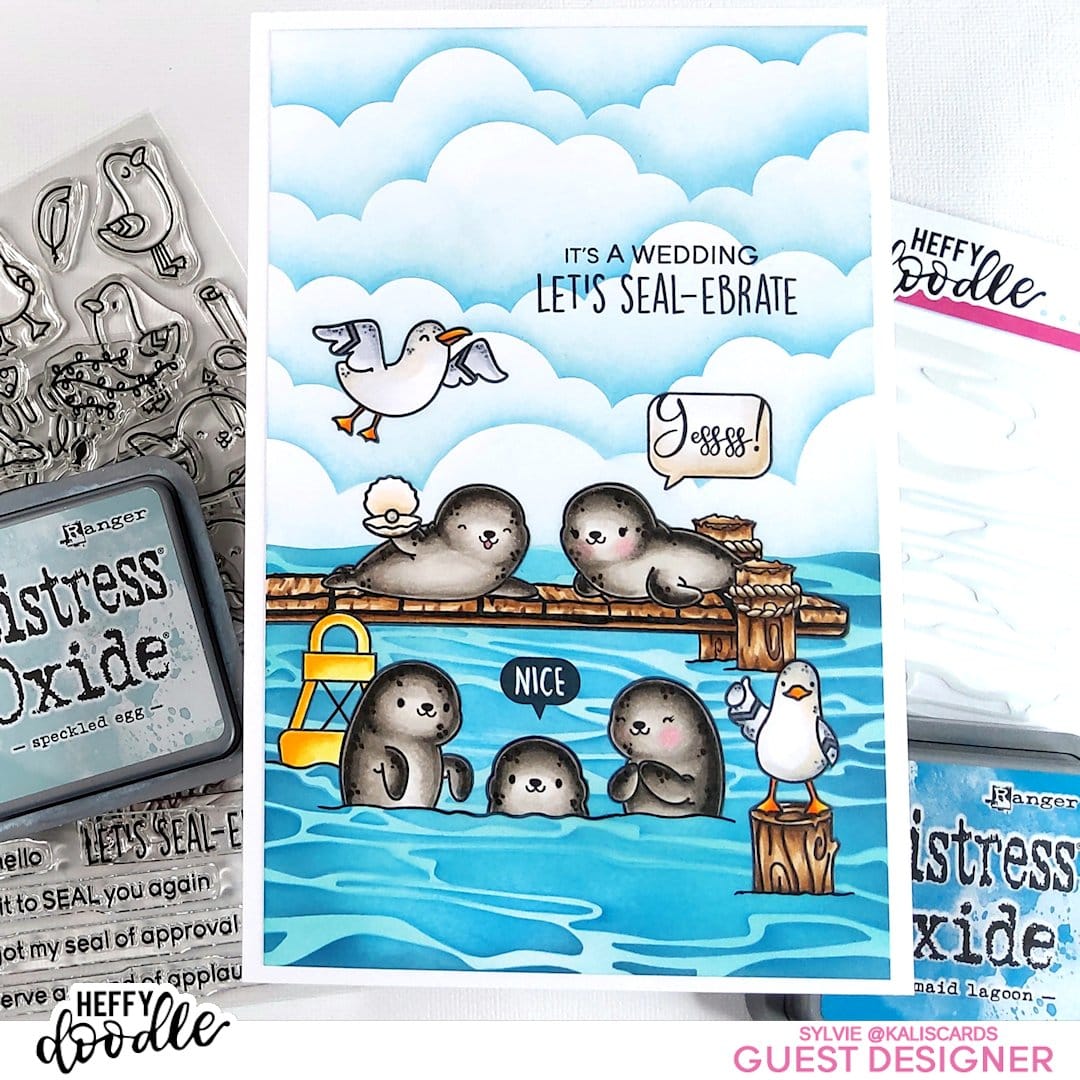
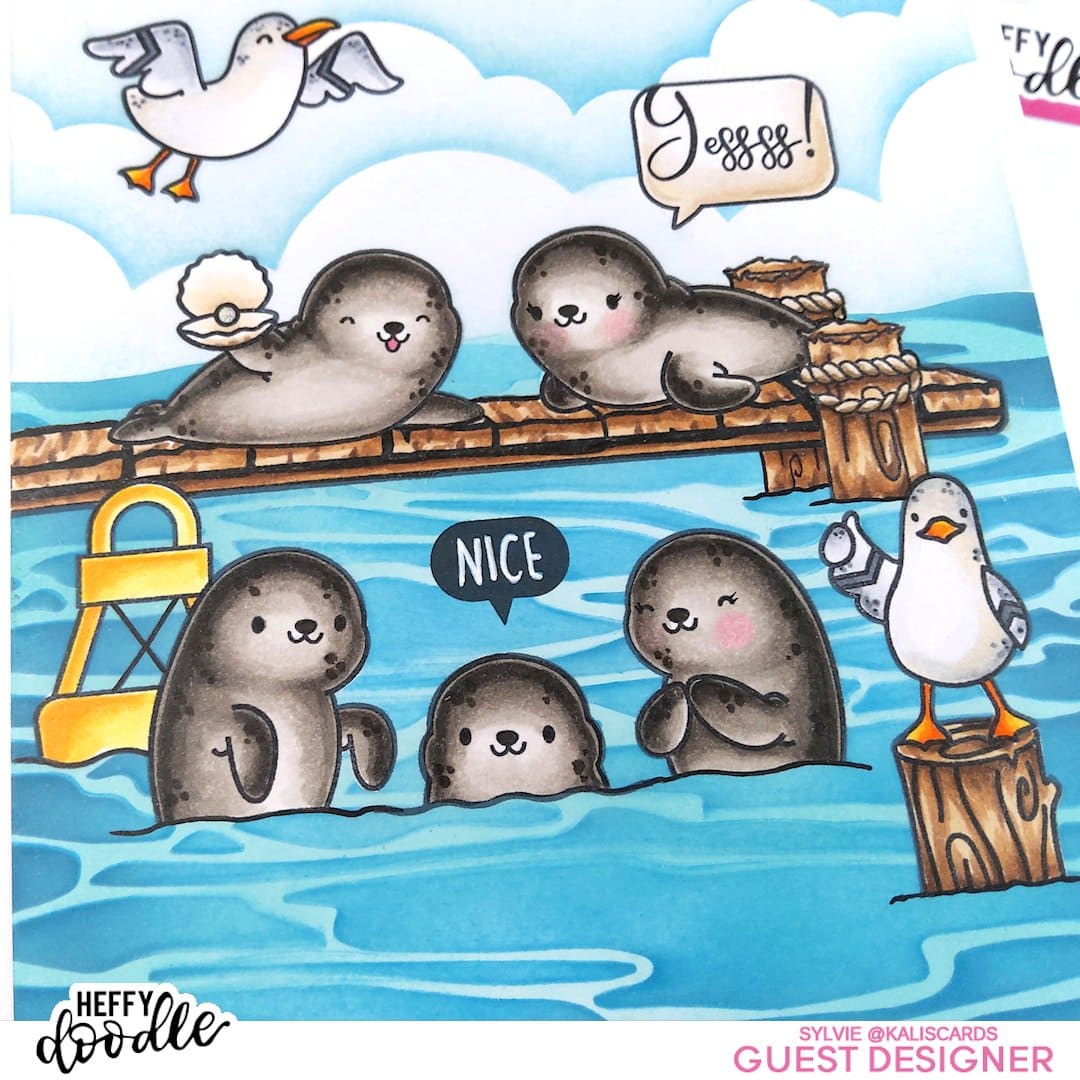
To create the card, I stamped the various images, using the masking technique. I stamped first the front images, then masked them to stamp images at the back. I also masked the bottom of two seals so they would appear in the water. To complete the scene, I also used images from others sets from my stash. I love to do that, even if scales are different. It is suprising how well sets can blend and you can create unique cards, tell amazing stories and customize the cards for your recipients, by mixing sets this way!
I also stamped a speech bubble from one of the Watcha saying stamp sets. The word Yessss! is from a set I have in my stash.

Once I stamped and masked all images, I created a mask to separate the sea and sky by using large masking tape and cutting it through in a wave shape. For the sea, I blended Distress oxides Salvaged patina and Peacock feathers. I then used the Ripple waves stencil with Mermaid lagoon and Uncharted mariner to give that cool wave and reflection effects. This was the first time I was using the stencil and I just love the result!
For the sky, I blended Distress oxides Speckled egg and Salty ocean, using a cloud stencil from my stash. If you don’t have a cloud stencil in your stash, the Cloudy skies stencil is a must have!

I then stamped the sentiment, composing the first sentence from various other sets (Happily ever crafter and Elfish antics) and the second sentence from the Sealy friends set. Did you notice how the “It’s” is smaller than the rest of the sentence? I think this is not a problem and actually adds interest to the sentiment! I also stamped the “Nice” speech bubble from the same set and went over the letters with a white gel pen.
I then unmasked all images and colored them with my alcohol markers. I went over the pearl with a glitter gel pen to add some shine. I also added eye lashes to the seal girls, using a liner pen.
Hope the project inspires you. Again, if one layer cards are not your thing, this project would look great using the coordinating dies for the Sealy friends and You go, gull sets, and why not use 3D foam to give a little dimension to the scene.
Hope you liked this project. If you are interested in watching the creation process, you can stop by my Instagram feed where I’m sharing the reels.
Thank you for stopping by and have a beautiful day!
Hope to connect with you on my social media, on Instagram, Facebook or my personal blog.
Take care!
Sylvie