
Hello Friend–die cut dino card!
Today I’m sharing a card that uses a lot of dies and some bright pops of color!

Hi, everyone! It’s Cassie here, and I’m back to share another fun card with you all. Today I’m using lots of dies for this cute dino card. I started by die cutting the two tag pieces from the Tag Along dies. The full piece from white card stock and the frame from gray card stock. On the white full die cut I used the Rays the Roof stencil to create the rainbow of rays for the background. I also splattered some gold paint over the piece, as I knew I was going to be using more gold later in the card. I adhered the frame to the piece and tied some black and white twine through the hole at the top.
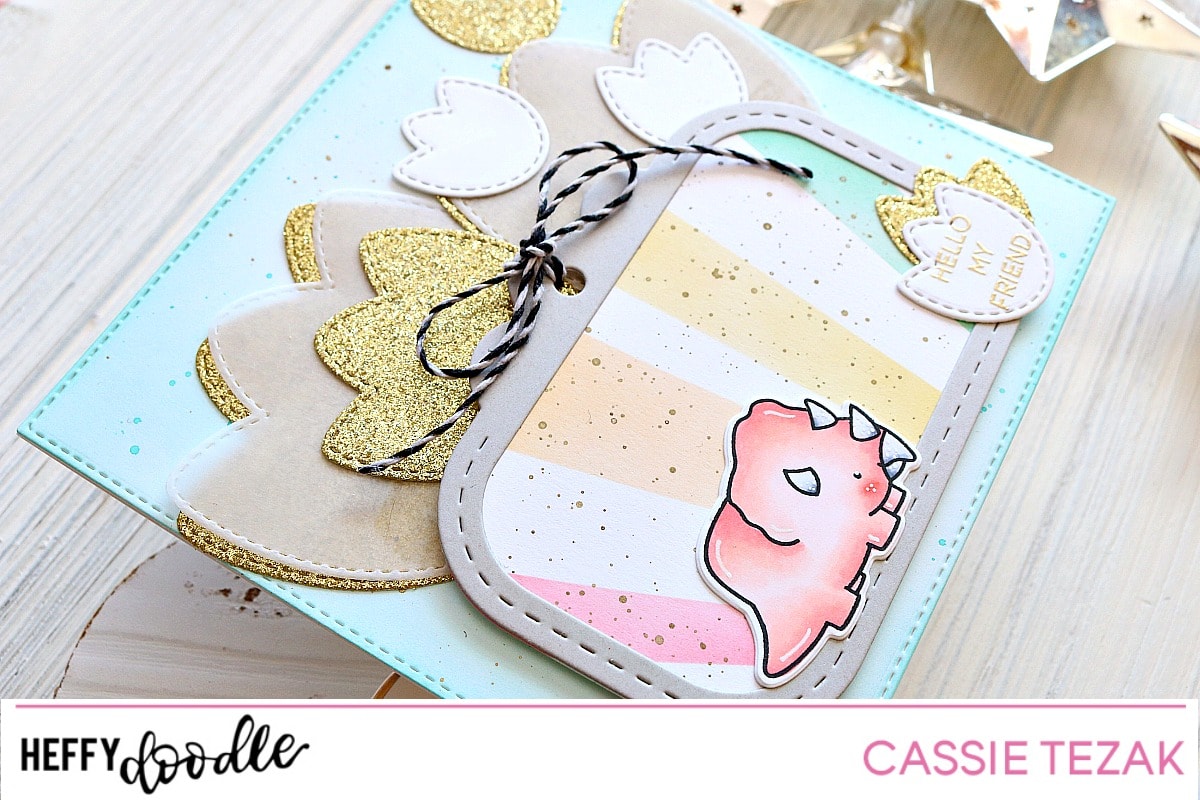
The next thing I did was die cut one of the larger squares from the Stitched Square Dies set and ink blended some Broken China Distres Oxide ink over the entire piece. I also splattered this piece with gold paint and some of the Broken China ink for some texture and interest. I love to splatter everything!
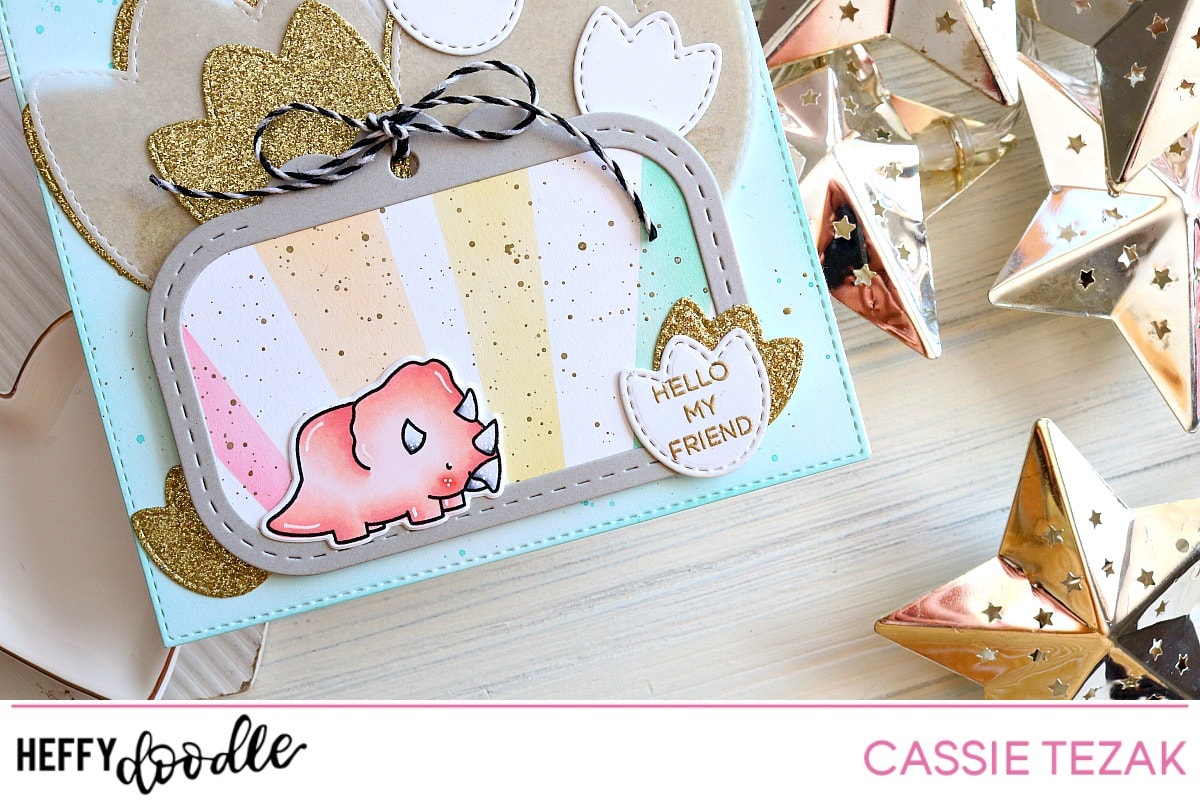
Next came a lot of die cutting! I die cut all of the different sizes of the Dino Prints dies from white card stock, vellum and gold glitter card stock. Then I arranged the dino prints die cuts all over the square. I heat embossed a sentiment from Whatcha Sayin’ on one of the tiny prints. Once all the footprints were adhered down I adhered the tag down as well with foam tape, and added the final footprints to the tag with the sentiment. Finally, I had one of the dinosaurs from Dino Time already colored and ready to go, so I adhered him to the tag to finsih it off! I love having pre colored and cut images just for that reason 🙂 And my card was finished!! I hope you enjoyed the card I created today. It was heavy on the die cutting, which was fun for a change. Thanks so much for stopping by, and I’ll see you again soon with another card!