Happy Easter Slider with Davina

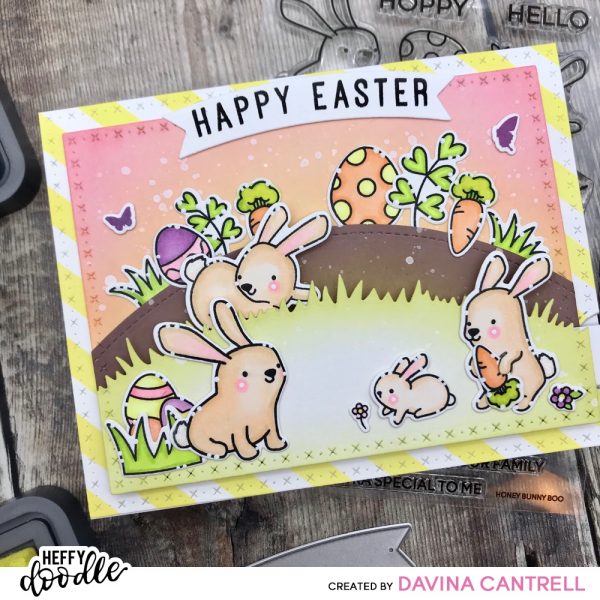
Hello Crafty Friends! Davina here on the blog, and hoping to bring a little bit of Spring Cheer to your day. I have another interactive card to share with you and it was very simple create. But also can easily be recreated without the sliding mechanism, for a cute and easy scene.
I used a few sets to bring this card together. The majority of images is from a previous Easter release called Honey Bunny Boo and the coordinating Honey Bunny Dies. I also used some grass and leaf images from the Big Bug Hugs stamp set, and the Happy Easter sentiment is from Special Day Sentiment Duos.
I started this card by cutting several Bristol smooth cardstock layers for inking. The largest is standard A2 sized and then 3 additional pieces 1/2 inch smaller (one from Kraft cardstock). Of the three, I left one whole, cut one in half with a hill (the Kraft piece), and the final with a sloped grass layer. I like my stitched details to carry onto all visible layers seemlessly, but I am not wasteful and I use the remaining portions for shorter layers, banners, and in this case, the internal sliding pieces.
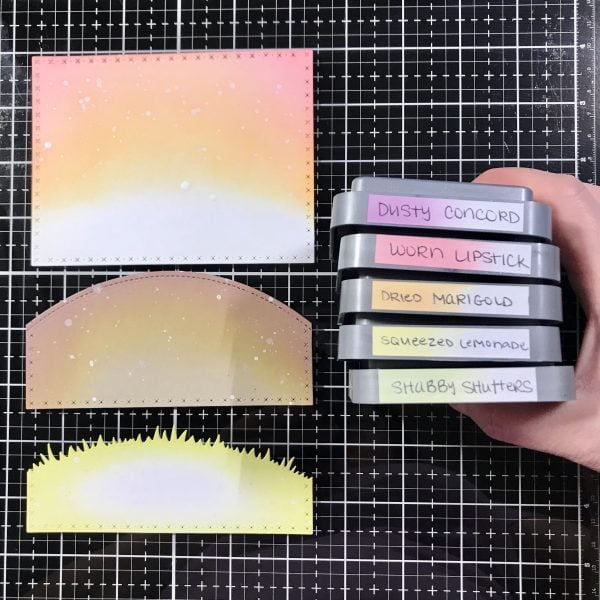
On my largest layer I inkblended the bright yellow stripes using the Candy Store thin diagonal layer striped stencil. Then, on my smaller layer panel I inked the upper sky portion in soft orange and pinks. On the grassy layer I gently inked some soft sage green but kissed with the same bright yellow from the stripes on the grassy portion and on the Kraft hill, I added some light brown but kissed it with a dusky purple to give a twilight shadow effect. I sparkle red all of these layers and put them aside to dry.
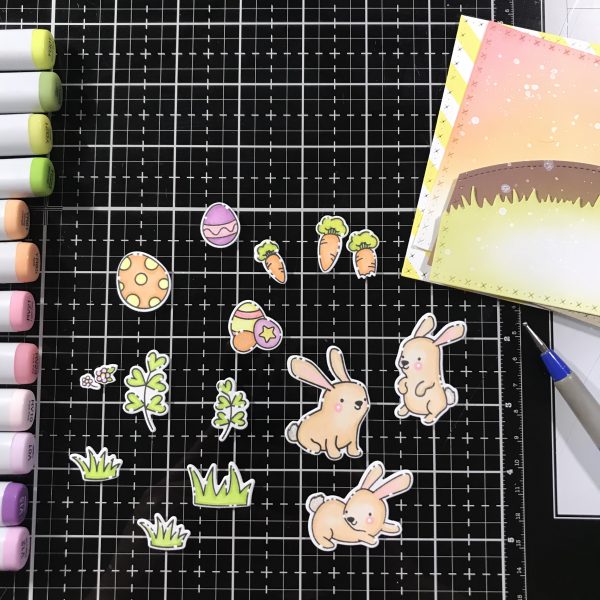
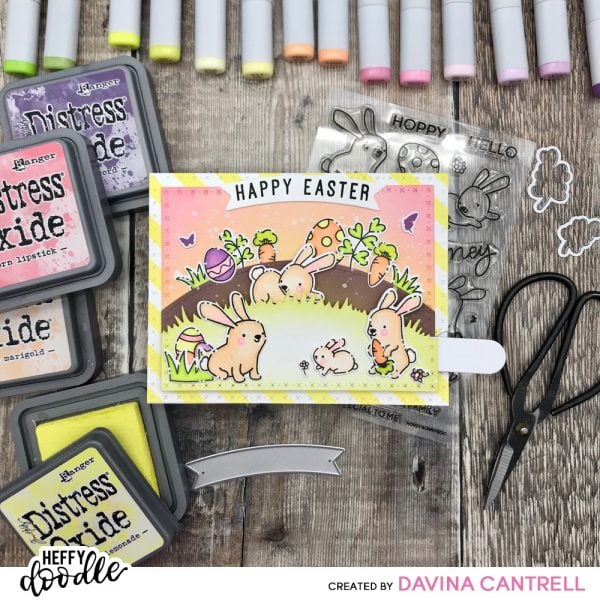
After stamping and coloring all of my images in the limited color palette of yellow, orange, pink, purple and few little greens for the grass, I die cut the images and highlighted with a few white dots and a little glittery Wink of Stella. I played with the placement and tried to figure out how my bunny was going to hop along the scene. Originally, I planned on using a basic slider channel, but I was digging through my dies for a pull tab I found an unused set of slider dies that I haven’t tried yet… so I decided to experiment.
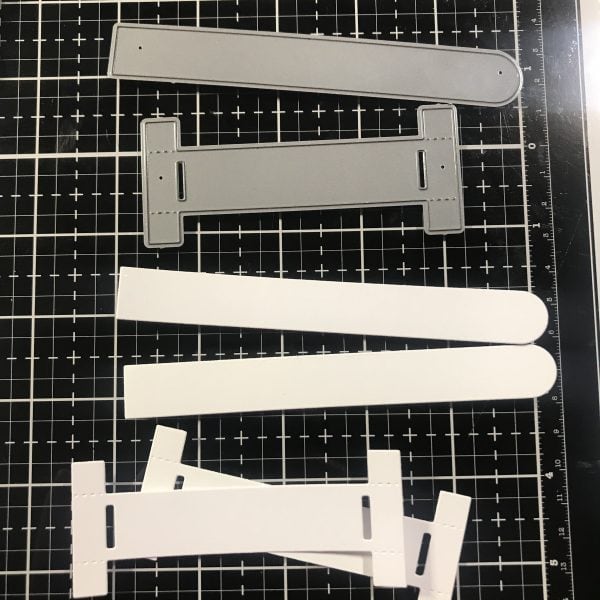
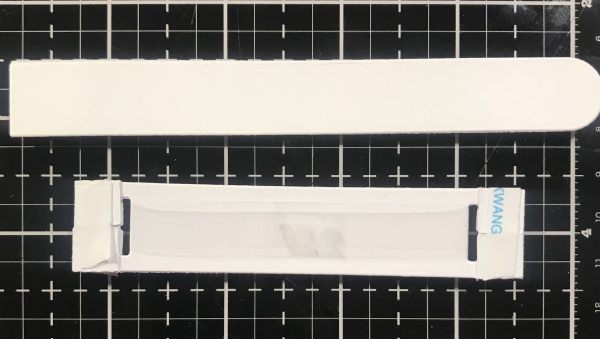
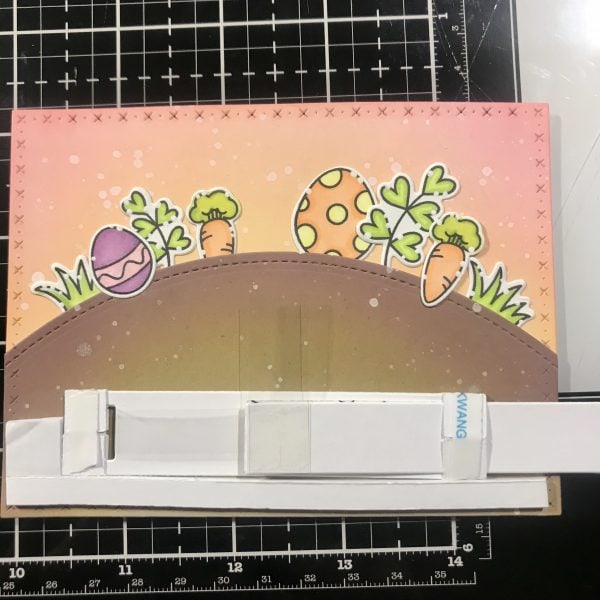
Scrounging around my scrap paper pile, I cut two of each die piece, then glued them together back to back. I used my trimmer to slice a 3/8 inch strip of plastic stamp packaging, and secured it through the slots to be the “sliding belt”. I adhered it with a piece of double stick scor tape, and trimmed off the rest. I used some more small pieces of scor tape to hold the flaps down of the sliding mechanism. I found a remnant of acetate that I trimmed into a little strip. After trimming the pull tab, I adhered it to the plastic “belt” over the seam, and the acetate strip onto the tab. That is what will be visible extending beyond the grass and what I will attach my bunny to.
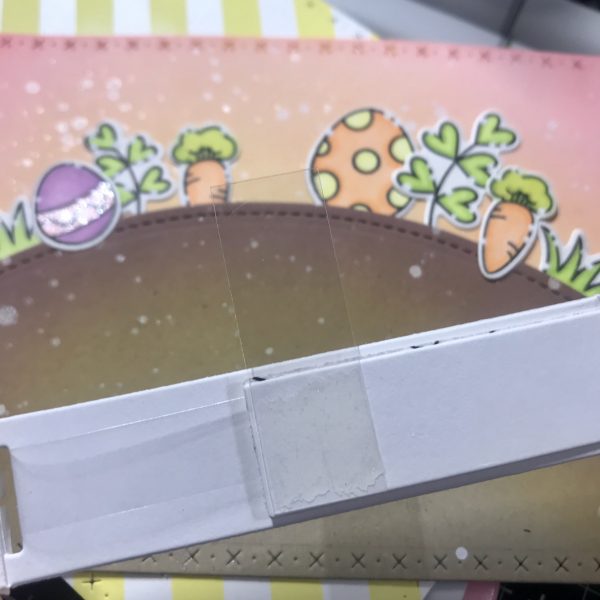
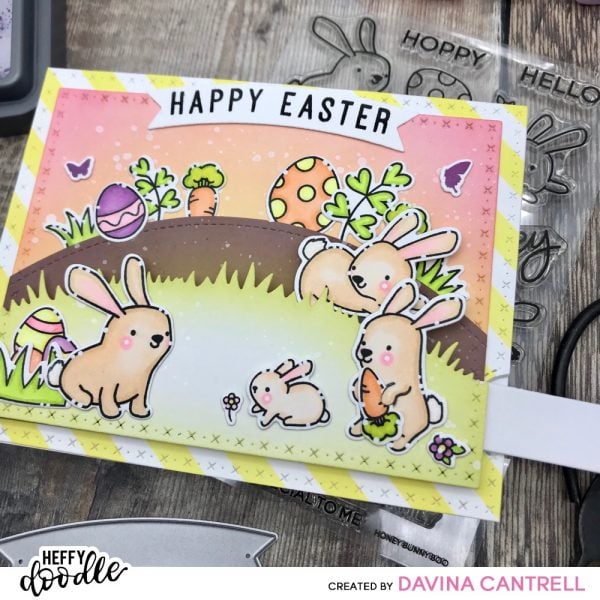
I adhered the hill to the sky and tucked the grass and eggs into place. Then I used some foam tape across the bottom the cradle the sliding mechanism. Releasing the score tape paper baking that was holding the flaps down, I adhered the mechanism to the hill and mounted the grass on top. Happily it worked, and the flaps with the score tape felt more sturdy that I thought they would they were also the same height as the foam tape, which made me feel better about the whole experiment. I adhered the rest of my images making sure everything still moved freely while doing it.
Before mounting this onto the striped panel, I cut a little reverse tab from the striped panel and cardbase so that I could easily access the pull tab. I finished it off by stamping Happy Easter onto a curved banner cut using the Tag Along Dies. Once finished, I played with it quite a bit.
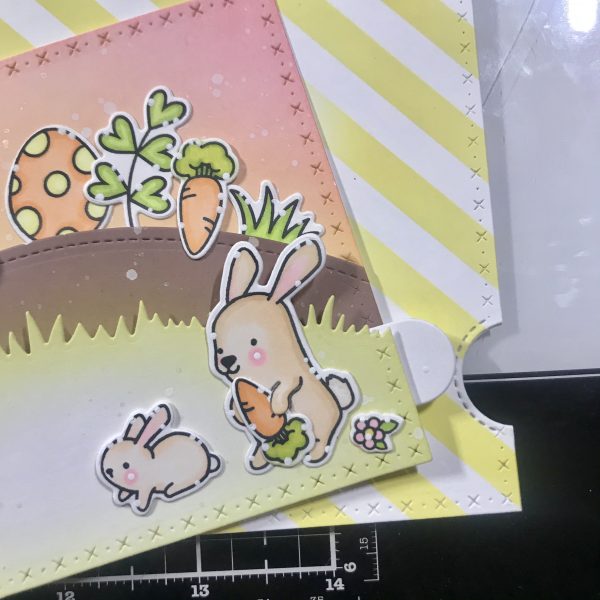
I really love the final results, but I think even without the interactive portion, it would be adorable with a stationary bunny on top of the hill. Thanks so much for stopping by,
Davina