
Happily Ever Crafter with Guest Designer Elaine
Hi crafty friends! It’s Elaine here (you may also know me as Pink Peppermint Cards on Instagram & YouTube). I’m so so excited to be guest designer on the Heffy Doodle blog today! Thank you to Lesley and Laura for having me, I’m so honoured and grateful for the opportunity.
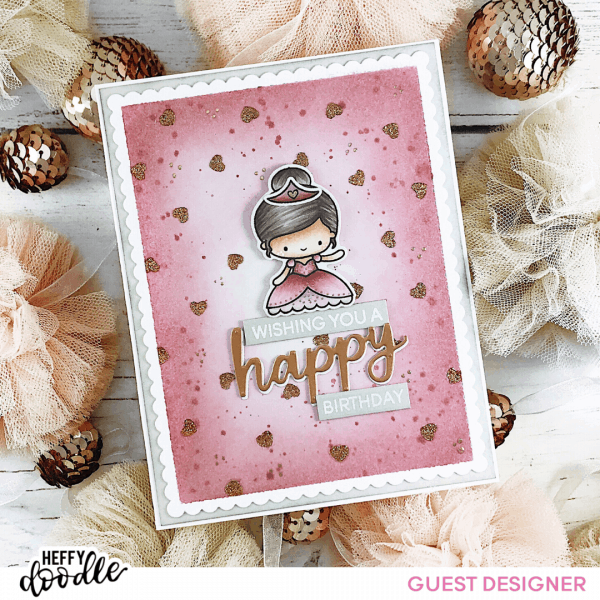
I decided to work with Happily Ever Crafter stamp set because I thought it was so versatile for this time of year…birthday’s, Valentine’s day, weddings….today I’m making a cute girls birthday card.
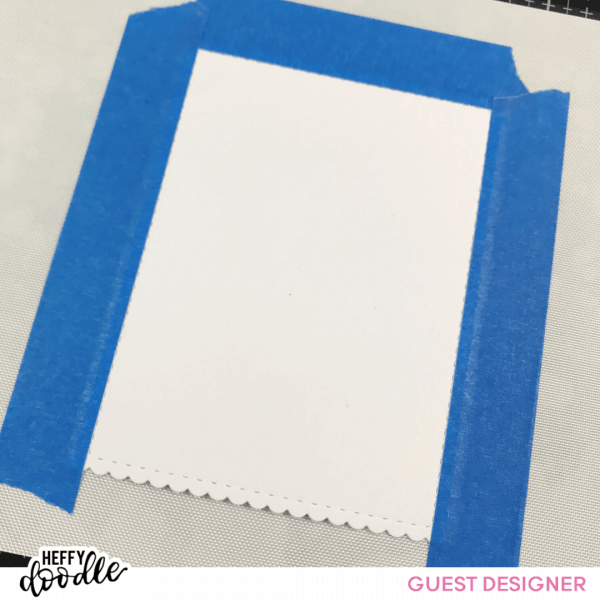
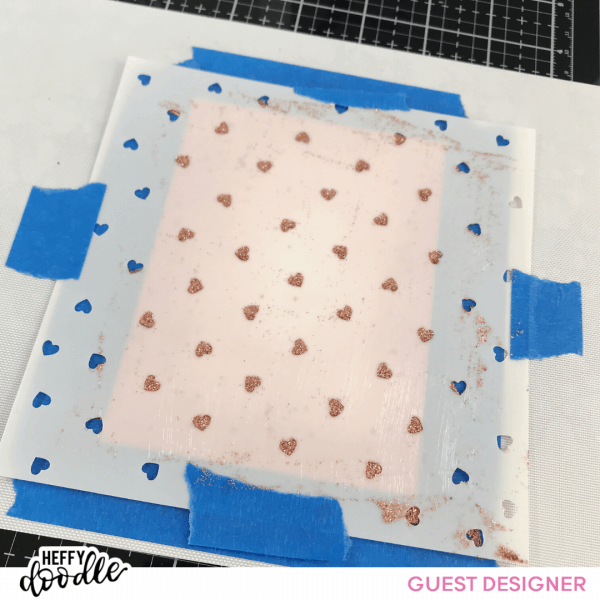
The first step was to take a piece of white card stock and run it through my die cutting machine with a scalloped rectangle die slightly smaller than 4.25″x5.5″ as I want a small border around the edges. I used the scallop rectangle from ‘All Prettied Up’ by Mama Elephant. I used some blue painters tape to mask off around the stitched edges on the card stock to give myself a nice border.
I used one of my favourite Distress Inks, Victorian Velvet to ink blend a soft vignette on to the cardstock….focusing more ink around the edges and getting lighter towards the centre.
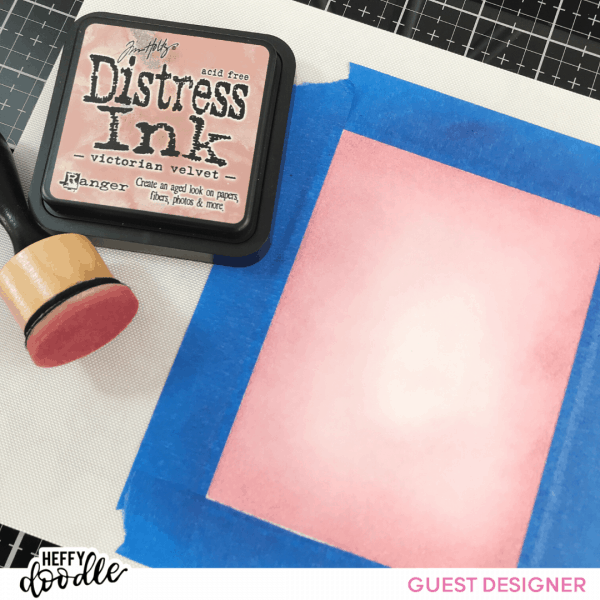
Before removing the tape I smooshed some more of the Victorian Velvet Distress Ink on to the craft mat and ran a small wet paint brush through the ink to add some splatters on to the panel. I let the panel dry for a few minutes.
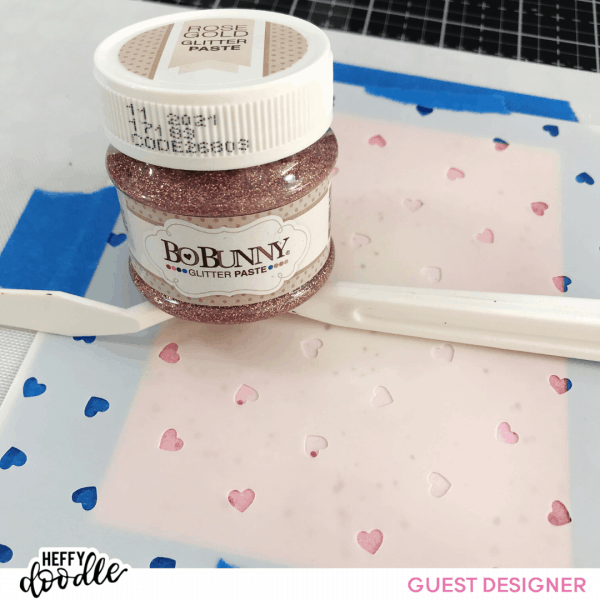
To add some more texture to the card I used the new Confetti Hearts stencil with some beautiful rose gold embossing paste. I secured the stencil over the ink blended card panel with some blue painters tape and then used a small amount of paste to smooth over the top of the stencil using a pallet knife. I smoothed the paste through the heart openings in various directions to ensure the full shape of the heart was formed. I carefully removed the tape and stencil from the card panel and quickly washed my stencil and pallet knife. I also removed the tape from card panel to expose the white border.
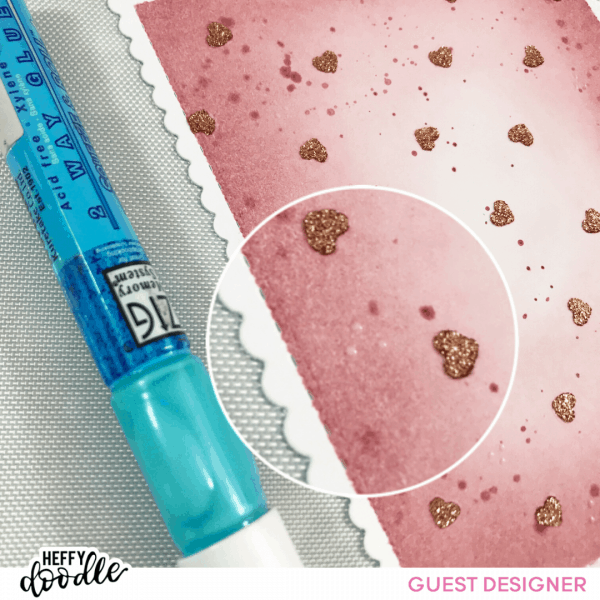
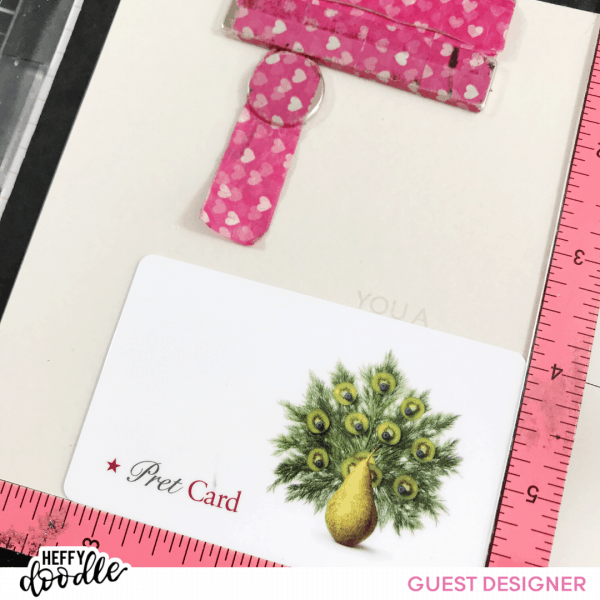
Whilst the embossing paste was still wet, I added some little foil dot detail between the hearts. I use a small tipped glue pen, I find a Quickie glue pen the best as it has a very fine nib but for today’s card I used my Kuratake glue pen. I added several groupings of three dots all over the card base inbetween the glittery hearts and left the dots to dry/go tacky for 10 minutes. I have shown this enlarged image below:
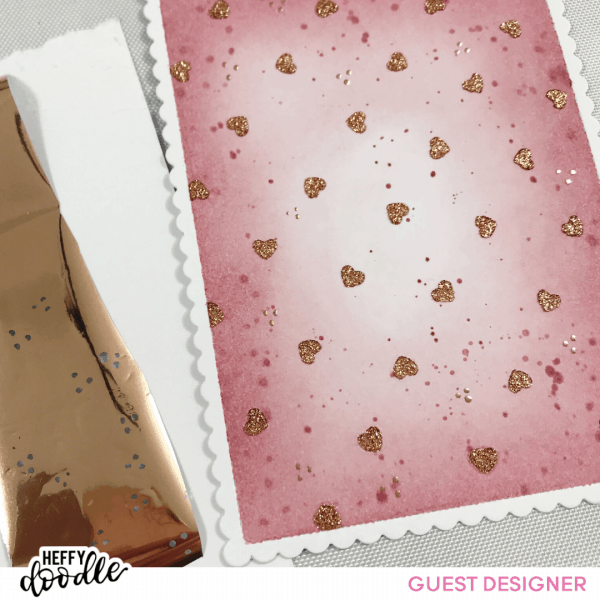
Once 10 minutes or so had passed (you can work on the images at this point!) I laid some rose gold foil over the dots and applied pressure with my fingers. Click here to see the one I like to use. The effect is so pretty!
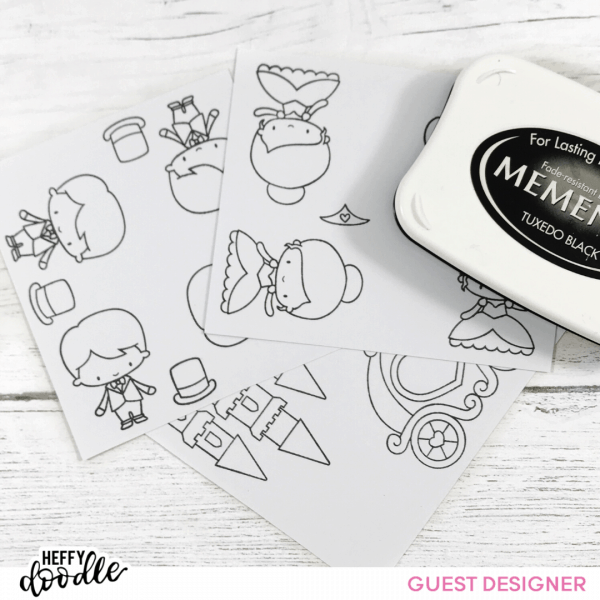
Setting the panel aside for a while, I stamped out a few images from the Happily Ever Crafter stamp set on to some copic friendly card stock with Memento Tuxedo Black Ink. I like to stamp a few images at a time in case I make mistakes and have extras for more projects.
To pick out the colours for my cute princess image I brought my Sandy Allnock Hex Chart over to my card panel to see what Copic markers would look nice and decided to use R56, E04, RV32 for the main part of the dress and RV32 &RV91 for the underskirt. These are new combinations for me, I can’t recommend using a Hex Chart enough! For her skin I used E13, E11 & E00 and the hair E77, E74 & E71. I added a few foiled gold dots on to her dress using the same technique as above.
Once I finished colouring in the princess and her tiara/crown I used the Happily Ever Crafter Co-ordinating Dies to cut out my images.
For the sentiment on my card I used the ‘wishing’, ‘you a’ and ‘birthday’ stamps in the set and heat embossed them in white on to some light gray cardstock. To get the ‘wishing’ and ‘you a’ perfectly straight I popped a gift card in to my mini misti and lined the stamps flush with the edge of the gift card….so much straighter than me eyeballing it! I used Versamark Ink and a Ranger Superfine White Embossing Powder then heat set with a heat tool. I trimmed the sentiments out with a guillotine trimmer.
For the ‘happy’ I used Heffy Cuts Happy Die and die cut it from white card stock and also some rose gold pearlescent cardstock and glued them together leaving a little white shadow to make the word pop.
To bring all the elements of the card together I created a side folding A2 sized card base and adhered a light grey piece of card on top leaving 1/16th of an inch border around the edge. I lightly ran some Iced Spruce Distress Ink around the edge of the light grey card before adhering it to make it pop against the white card base. Next I adhered the pink ink blended panel centred to leave an even border all the way round. I applied the some thin double sided tape to the grey sentiment strips and adhered these to the card, for the ‘happy’ I adhered it to the card with liquid adhesive. I popped some dimensional foam tape on to the back of my princess and adhered her to the card and applied some liquid glaze to the crown.
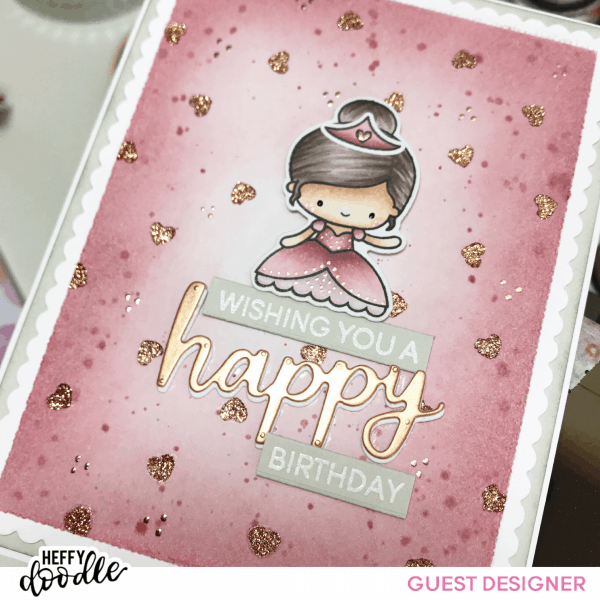
This finishes off my card for today! I hope you liked it and found some inspiration in my design.
Have a wonderful crafty day!
Elaine x