
Fairy Helpers Interactive Card
Hello Heffydoodlers! Ali here with another interactive card that’s lots of fun! How often do you wish for a “fairy helper” or two? – to do the washing, cleaning, post all those cards that you’ve been meaning to send (or is that just me??). Well that’s what lead me to creating this card! It’s so much fun and I’ve used both the Absotoothly Awesome set and the Yappy Happy Mail set to create this fun interactive card!
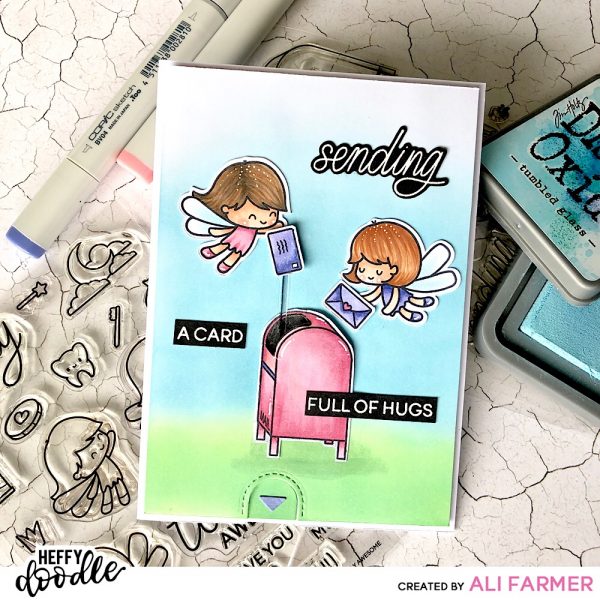
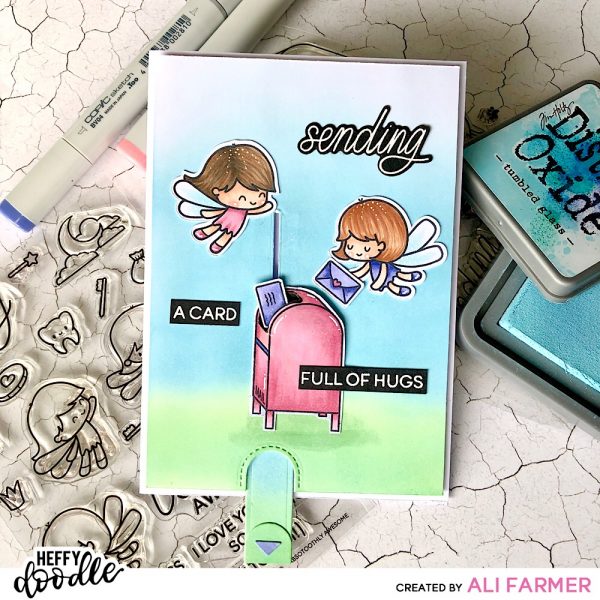
Here’s the card in action!
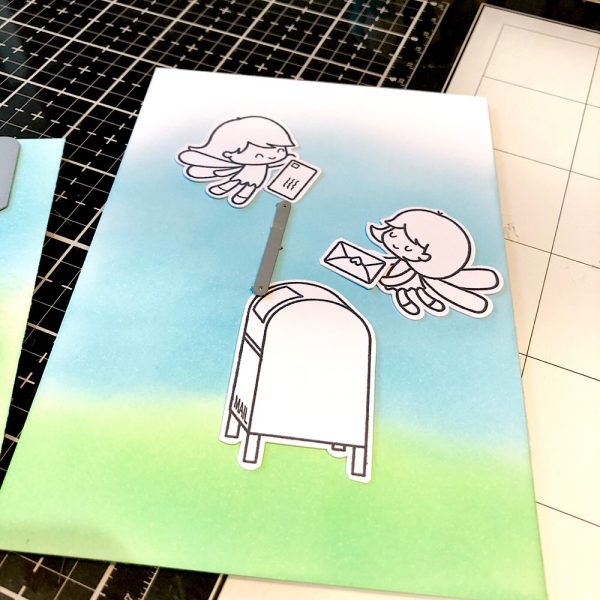
To begin the card I coloured a background card piece with Tumbled Glass and Cracked Pistachio Distress Oxide Inks. I also coloured another piece of card in the same colours and used a Lawn Fawn tab die to cut a tab that would slide up and down on the card. I reinforced this tab with an extra strip of card adhered on the back of it.

I stamped out the images in Momento Tuxedo Black Ink, die cut them and placed them on the card in order to think through the design and the interactive ‘working’ elements. I wanted the letter to “fall” into the mailbox like the fairy was posting it. I positioned the small slider channel die on the card where it would need to go so I could ‘picture’ what I needed to do to make the card work.
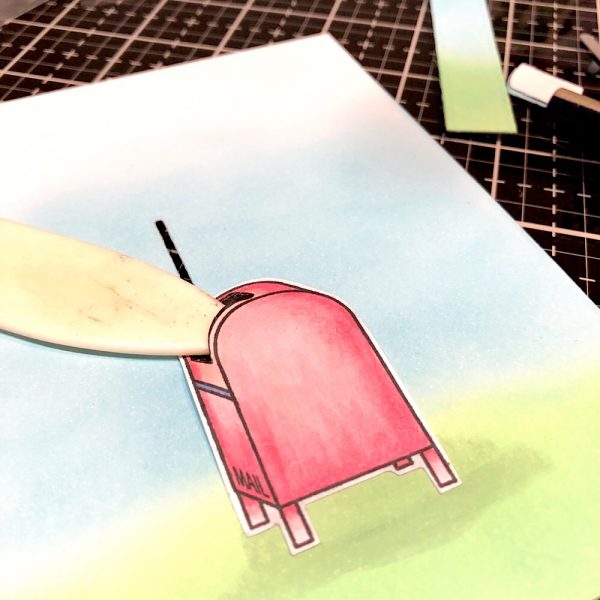
By doing this I knew that I would need to colour the postbox first. I also cut out the opening for the letter box – extending the opening to make it bigger. I then adhered black card to the back of the letter box (only adhering it to the very top at the back as you need the letter to ‘slide’ between the black card and the front panel of the letterbox it as it falls into it). Idea shown below using my bone folder to show where the gap needs to be ‘open’. I placed the letterbox in place (not adhering it yet) and ran it through my die-cutting machine to cut the slider channel (keep the thin strip of card that the channel cuts out). I ended up extending the channel downwards with my scalpel a little so the letter disappears a little lower into the letterbox.
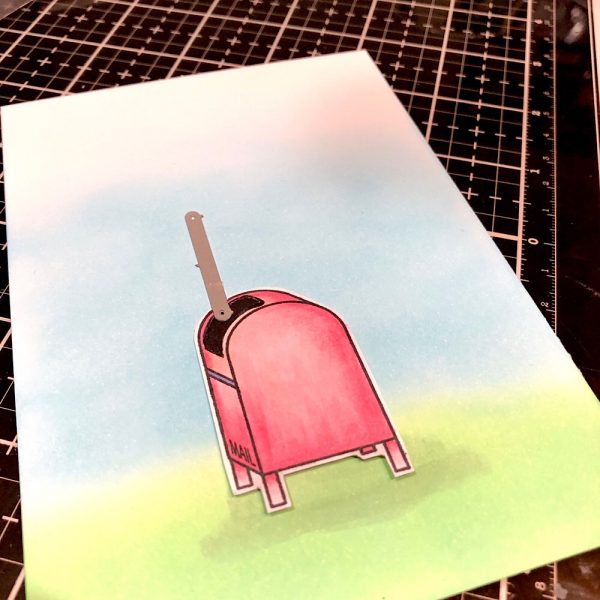
I used the tab die to cut the ‘notch’ at the bottom of the card for the tab to be pulled from. I then adhered the letter box to the front of the card making sure the channel lined up. I placed some 3D foam on the back of the middle of the postbox to help ‘open’ the hole for the letter to slide in. I placed the slider tab in the channel and trimmed the flaps so they were small enough to not show behind the envelope. Once the pull-tab was in place, I adhered the small die cut channel piece into position so that, when the tab was ‘up’, the channel blended into the background. I trimmed the tab at the bottom and added the arrow.
I coloured all the remaining images with Copic markers and stamped and white embossed the words/sentiments and adhered them all to the front of the card. I added detail with a white gel pen.
Hope you enjoy this fun little card and that it inspires you to get crafty!!
Ali xx
Andre M.
October 16, 2019 at 2:08 pmPure delight, your colouring is fantastic! Thanks for sharing this fun idea.
Ali
October 18, 2019 at 12:07 pmThanks so much!
Carla Hundley
October 17, 2019 at 5:26 amOh too cute and
so clever!
Carla from Utah
Ali
October 18, 2019 at 12:07 pmThank you Carla 🙂