
Enchanting Fairy Godmother Interactive Card

Hello again! Megan here and I am on the blog today to share an interactive card with you. It was inspired by the timeless fairytale Cinderella. This beloved story is one that I remember fondly from my childhood and I hope that my card takes you back to a simpler time too.
Has anyone else ever wished that they had their very own fairy godmother? One that will revamp your car, give you a makeover, and line up an exciting evening out? Where do you sign up for that because I am in! Haha!
I started the card by choosing images from Absotoothly Awesome, Happily Ever Crafter, Fluffy Puffy Unicorn, Veggie Patch, Big Bug Hugs, and Hello Squeakheart. Then, I stamped them onto Alcohol Marker Friendly Cardstock using a brown hybrid ink. After coloring them with Copic Markers, I used the coordinating dies to cut them out.
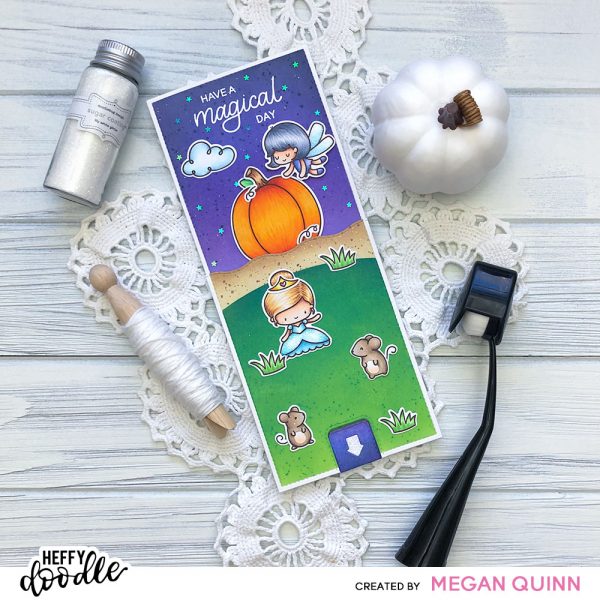
For the scene elements, I die cut two pieces of Bristol Smooth Cardstock using the largest rectangle from Stitched Slimline Trio Dies. To trim down the foreground panel, I used a die from the Breaking Waves Dies. I then masked off the edges of both panels using Heffy Memo Tape. I ink blended both panels using Distress Oxide Inks. For the sky, I used Shaded Lilac, Wilted Violet, Chipped Sapphire, and Black Soot. For the foreground, I blended on Twisted Citron, Mowed Lawn, Lucky Clover, and Black Soot for the grass and Antique Linen and Vintage Photo for the soil.
To create the slider mechanism, I used a die set from My Favorite Things called the Double Slider Loop Slots Die-namics. (I have used this mechanism on a couple of my previous Heffy Doodle projects. My Favorite Things has a very helpful video on YouTube showing how to use this die set that I will link here.) For the slider loop, I trimmed down a freezer Ziploc bag into a 1/2″ strip. I then threaded the plastic strip thru the slots made by the Double Slider Loop Slots die and attached the ends using 1/8″ double sided tape.
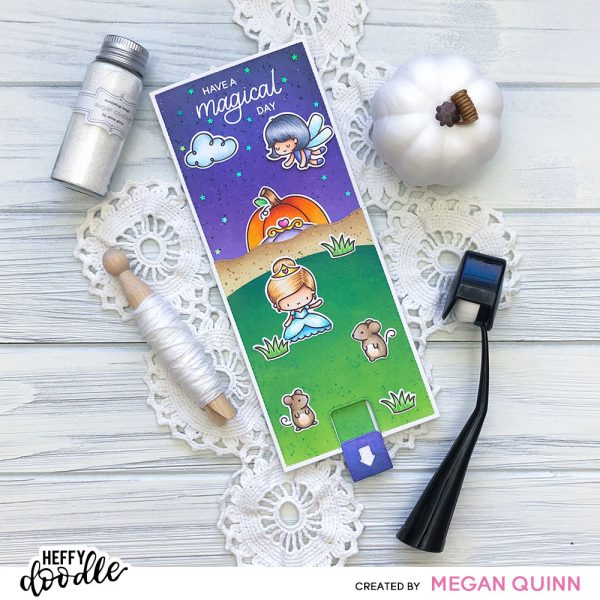
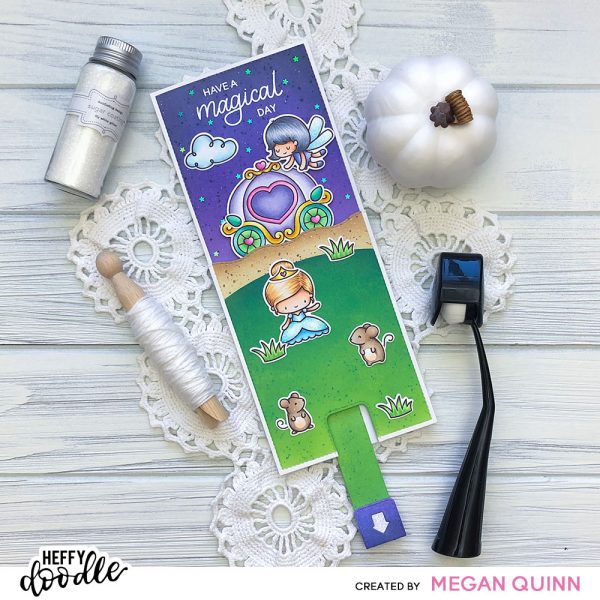
On the front side of the loop, I attached a strip of acetate with the carriage image over top. On the backside of the loop, I attached another strip of acetate with the pumpkin image on it and the pull tab strip. As you pull the pull tab downward, the pumpkin slides down and the carriage appears. Magic!
I heat embossed a sentiment from Happily Ever Crafter at the top of the card using white embossing powder. I then sprinkled tiny iridescent stars across the sky to finish off the design.
I had a blast creating this card! I hope that you enjoyed your time here and that you have a great day!
Megan