
Easy Interactive Swinging Hot Air Balloon Card
Hello crafty friends, it’s Joy (Create It With Joy) here and I’m so excited to be a guest on Heffy Doodle’s blog. If you want to check out more of my work, head over to my IG, YouTube or Blog. I created a 5×7 interactive swinging card using the Hot Air Balloon Die. I gave it a magical feel by using purples for the ink blending. You can watch how I made this card in the YouTube video on the Heffy Doodle Channel, then read on below for more pictures of the finished card. I hope you enjoy!
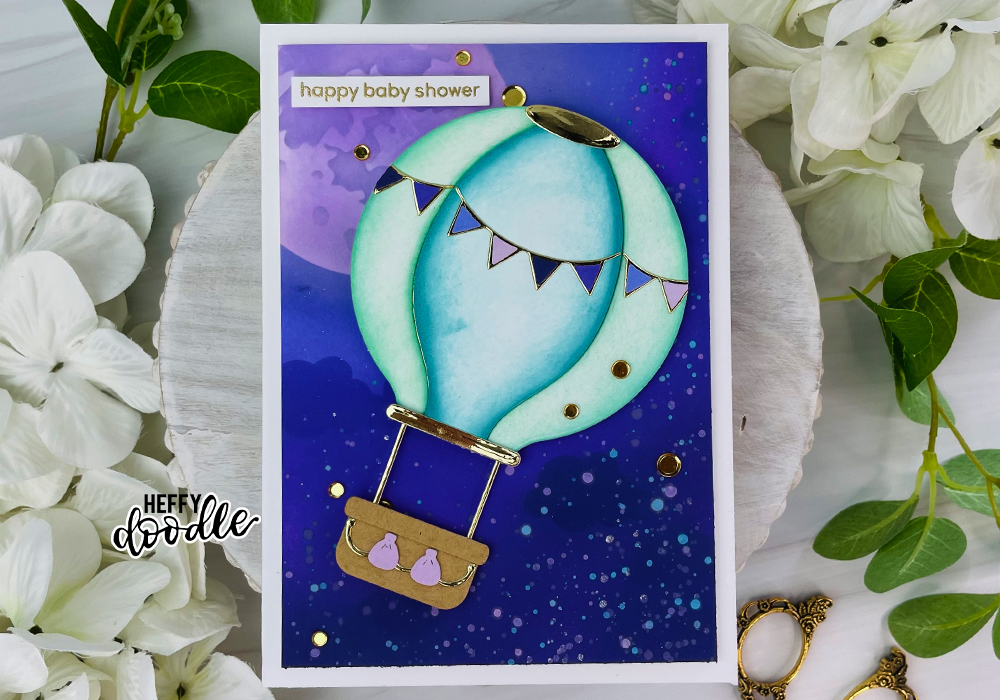
I trimmed a piece of white cardstock to 4 3/4 x 6 3/4, I will be ink blending this card panel. I wanted this to feel magical, so I used Shaded Lilac, Wilted Violet and Villainous Potion Distress Oxide inks for the background. I also wanted a large moon, so I used Tim Holtz Moon Masks. I placed the solid moon mask on the top left corner and then ink blended all of the purples, keeping it light around the moon and getting darker towards the bottom right. Then I used the Head In The Clouds Stencil and added a few clouds around the background.
I added splatters with Peacock Feathers, Cracked Pistachio and Kitsch Flamingo Distress Oxide Sprays. I also splattered Villainous Potion Distress Oxide Ink. I smooshed some ink onto my work surface and added a little bit of water, then used a paint brush to splatter. I kept it light at the top and really heavy towards the bottom right corner. I finished the splatters with Bee Shimmery watercolor.
I removed the Moon Mask and added the second mask, I ink blended with Shaded Lilac. I removed the second mask and lightly ink blended with Milled Lavender Distress Oxide ink.
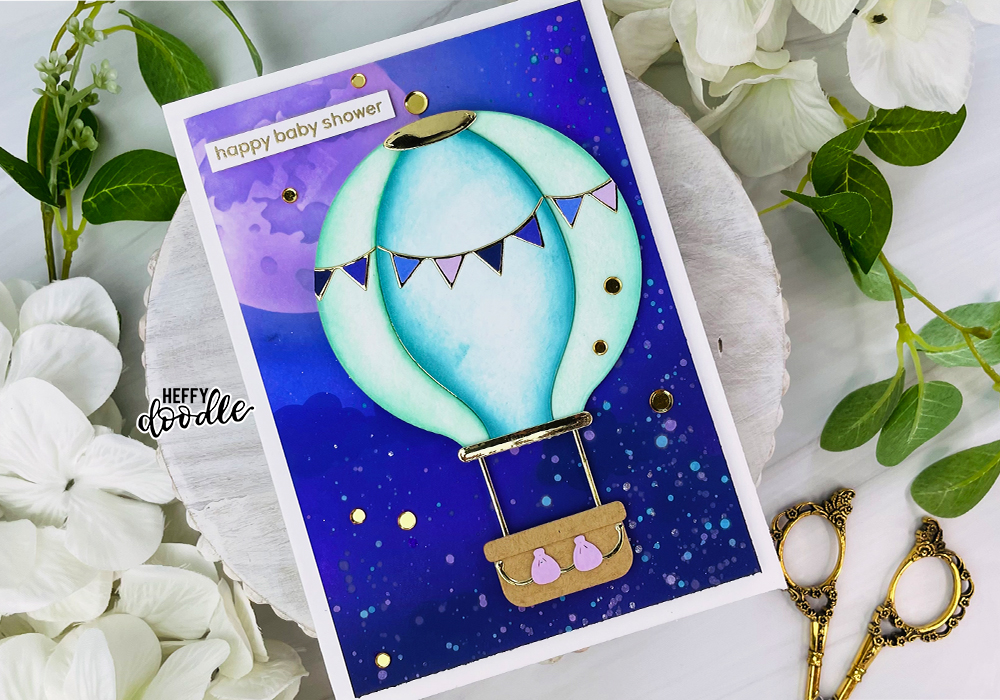
I die cut the Hot Air Balloon from white cardstock, gold mirror cardstock and kraft cardstock. I ink blended the balloon with Peacock Feathers and Cracked Pistachio Distress Oxide Inks. I also inked the pendants with the same colors I used for the background. I assembled the Hot Air Balloon, using foam tape and liquid glue.
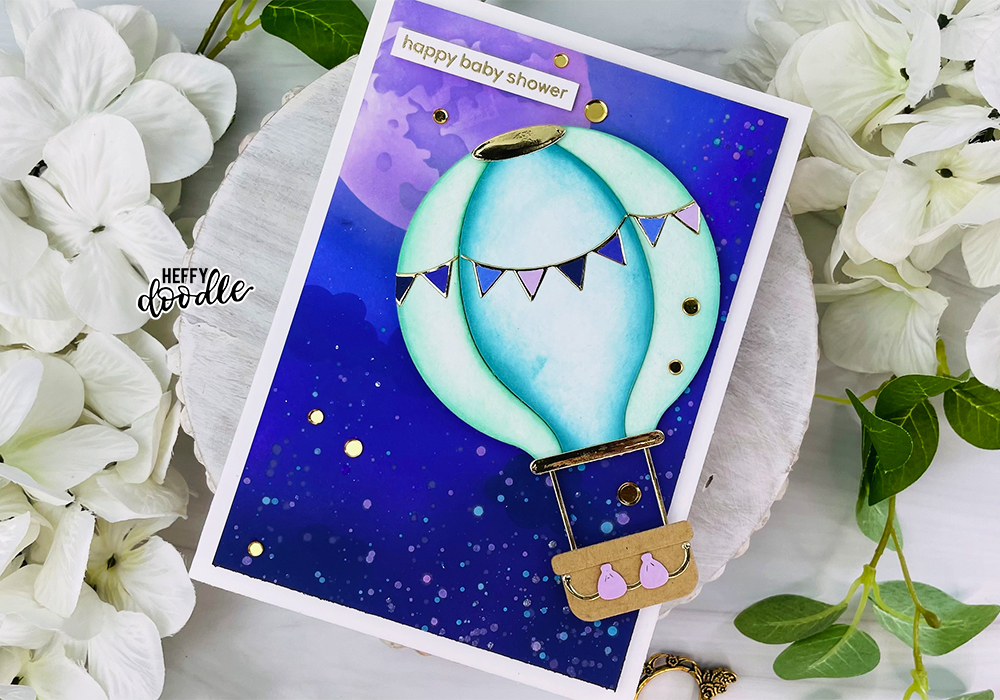
Now for the interactive part, I die cut a small hole (about the size of a nickel) in the background behind the upper part of the balloon. Then I die cut two larger pieces of cardstock (about the size of a quarter). I placed on of the larger circles down, then added a Glider (which is small and round) to the top of the die cut circle and adhered that down with liquid glue. Then I place the inked background over that, through the hole we die cut in it. I placed the second die cut circle over the glider and adhered that with liquid glue. Now the glider is sandwiched between both die cut circles and it moves freely.
I adhered another glider to the top of the last die cut circle, this will give the balloon dimension. I also added a glider underneath the basket, this will help it swing back and forth. I adhered the balloon to the glider and now it swings.
I stamped and gold heat embossed the sentiment from the Classic Sentiments, trimmed it out and popped it up with foam tape. I added gold sequins, making sure they were not in the way of the balloon swinging. Then added the card panel to a white 5×7 card base.
Thanks for stopping by, have a wonderful day!
Hugs,
Joy Baldwin
Create It With Joy