
Die Cut Floral Circle Card

Hello and welcome back to the Heffy Doodle Blog! We are SO glad you stopped by to see what crafty inspiration we have today! Today’s theme is “Stretch Your Supplies” with design team member – Tatiana!
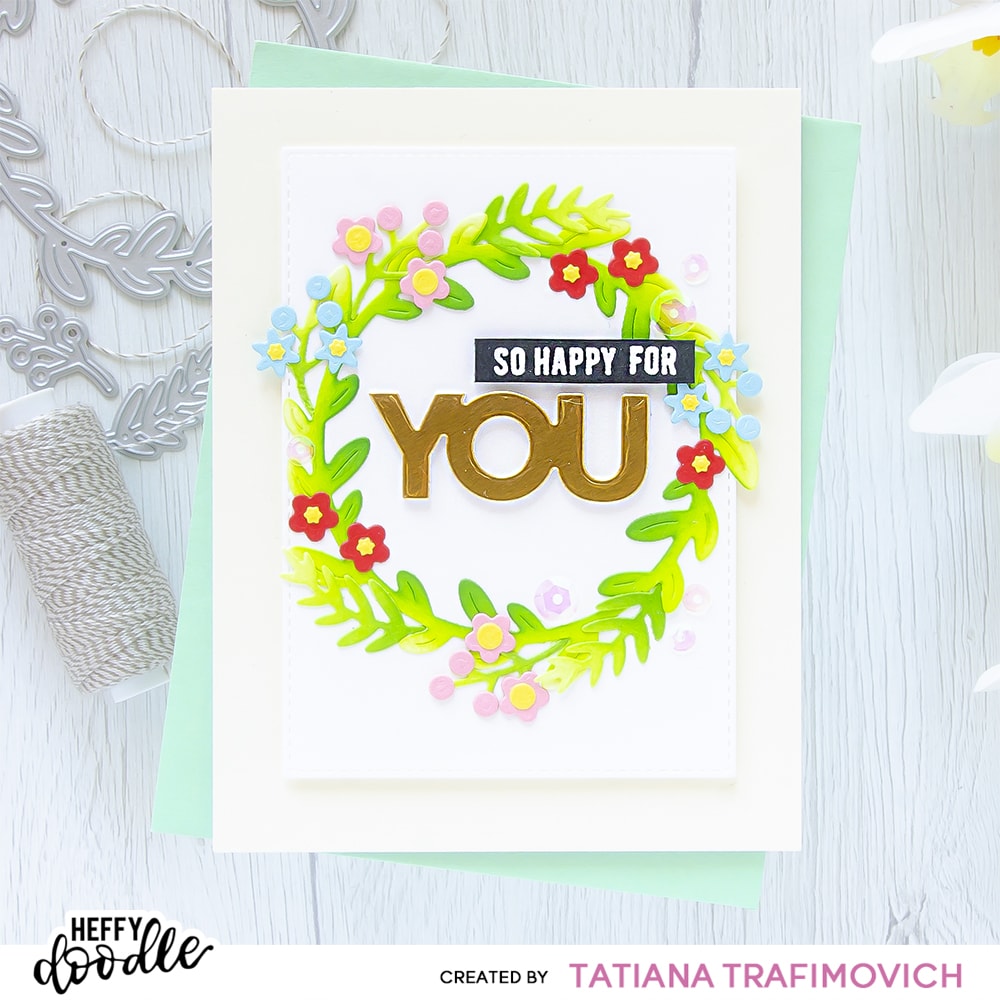
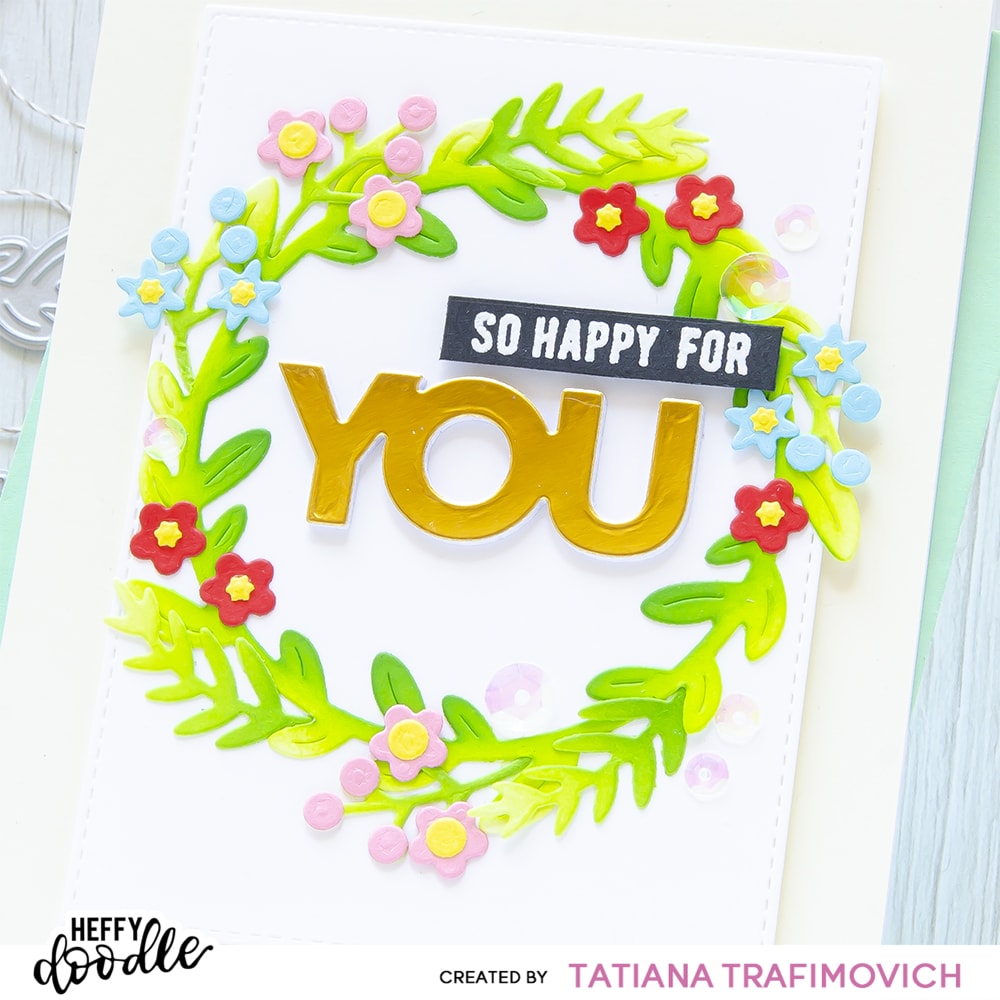
Today I just cannot escape to play more with the Heffy Doodle amazing new release! There are so many fabulous products to choose from! Have you already picked your favorites? I was inspired by a beautiful floral wreath from Leafy Laurel Circle Dies. I decided to focus on wonderful dies and keep the layout clean and simple, just highliting them with happy vibrant colours! Working on this project, I wished to illustrate you two different ways of adding colours to the dies: the small floral elements were simply die cut from Heffy Doodle brand coloured cardstock, while the greenery and leaves were first die cut from a white cardstock and then inked with two tones of Distress inks. The small blending brushes came so handy this time to create an ombré effect and add more interest on the small die cuts!
Key Ingredients:
- STAMPS AND DIES:
- OTHER CRAFT SUPPLIES:
Step By Step Instructions:
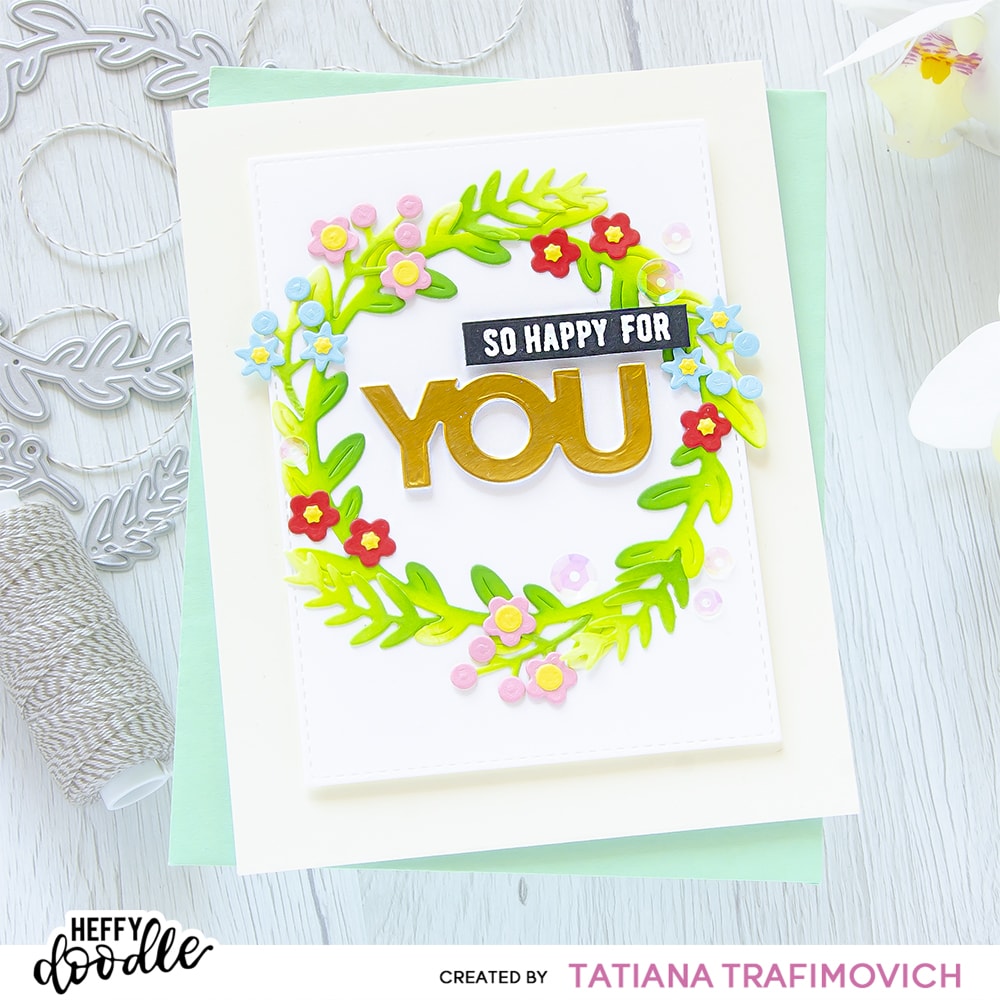
- Trim and score an extended A2 size card base (5 1/2″ x 4 1/4″) from a cream cardstock.
- Die cut a stitched rectangle from Neenah Solar White paper, using Imperial Stitched Rectangles Dies.
- Die cut a leafy circle and some branches from the same Neenah Solar White paper, using Leafy Laurel Circle Dies, and ink them with Twisted Citron Distress, Mowed Lawn Distress inks and the small blending brushes.
- Die cut a bunch of small flowers and berries from colourful cardstock, using the same Leafy Laurel Circle Dies. I chose: Cherry On Top, Bubblegum Blush, Ice Blast and Banana Split colors from Mix 1 and Mix 2 packs.
- Die cut the word “YOU” two times from a scrap cardstock and once – from a metallic gold paper, using Stitched Birthday Trio (A2) Frame Dies.
- Stack all three layers together with Glubert – Craft Glue.
- Heat emboss in white onto black the sentiment with VersaMark Clear Embossing Ink. Don’t forget to prep the paper with a Powder Tool Applicator to prevent the embossing powder to stick where you don’t want it!
- Arrange and glue in place all the elements on the card base, using Glubert – Craft Glue and a foam tape to add a bit of dimension.
- Finish with a couple clear iridescent sequins.
Hope you like this sweet spring card! Thanks so much for stopping by and have a fabulous day!
Hugs,
Tatiana