
Creating a One Layer Card with Masking

Hello everyone, Jordy here with another fun card design. This time I am using masking to create a one layer card, that’s super fun to do and packs a lot of punch. This method is easy to use for any stamp set to create a fun little scene. You can read on to see how I made the card or watch the video down below.
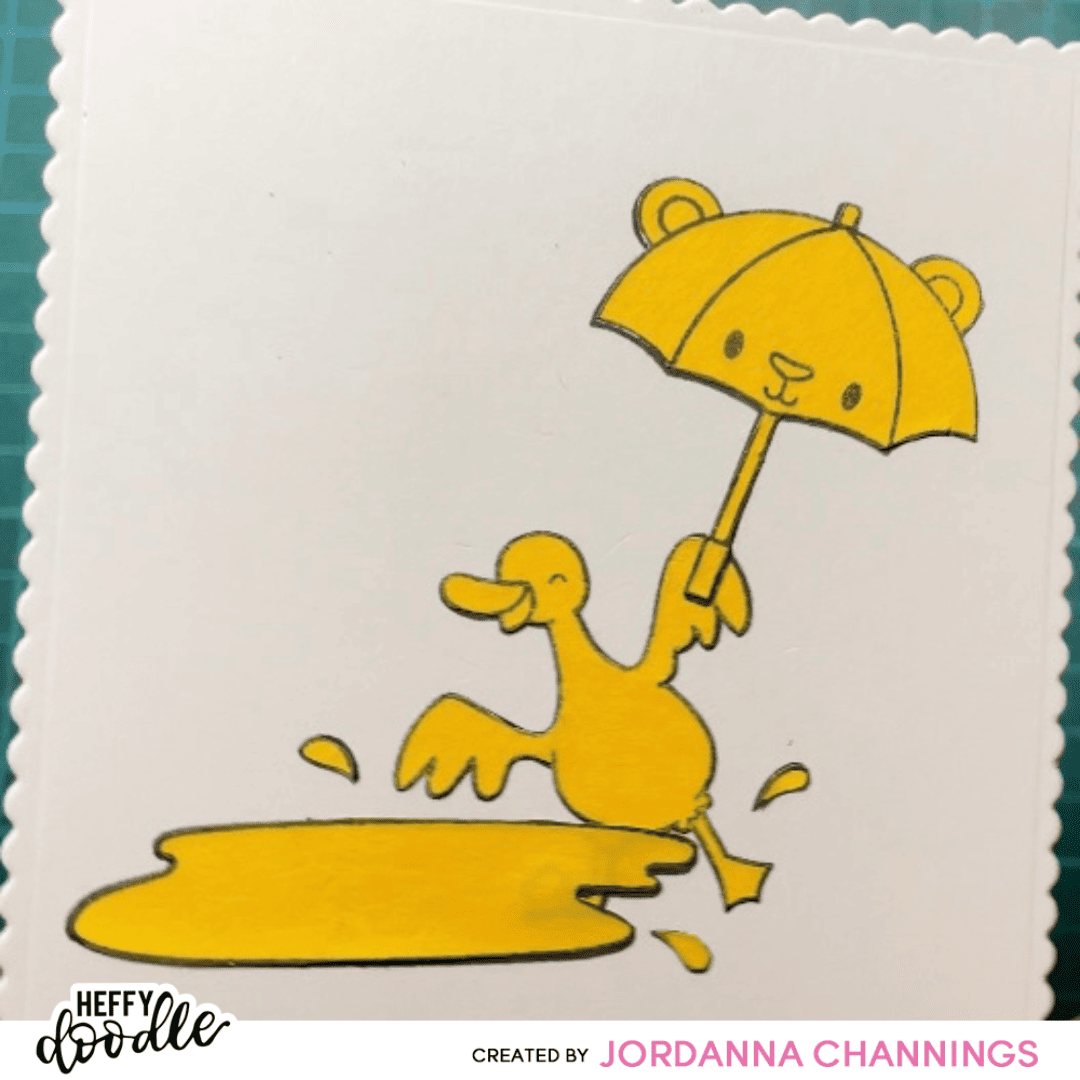
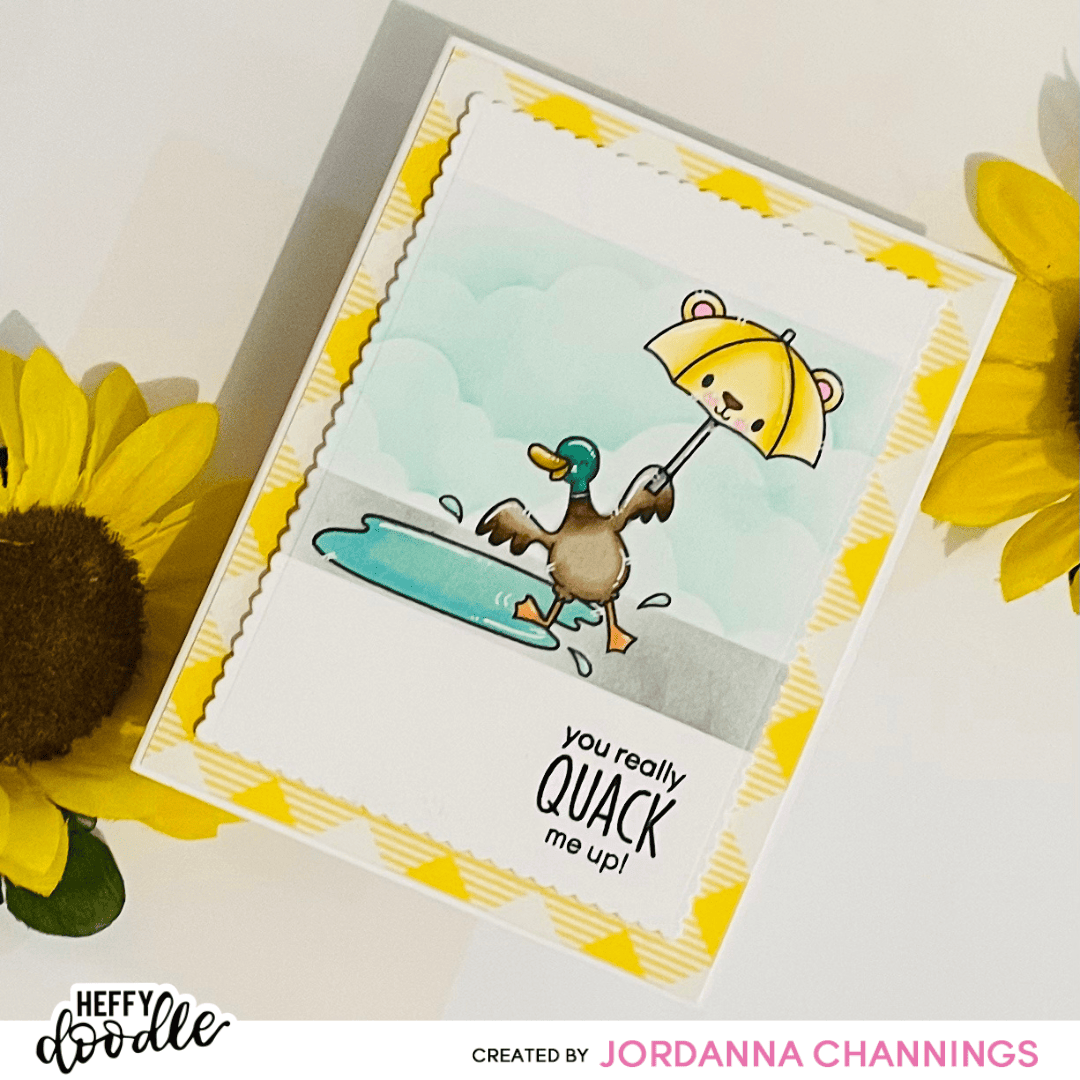
I began by using the second largest of the Mini Scalloped Imperial Rectangle Dies to cut a piece of White Cardstock. I stamped my images (I used the Quack Me Up Stamp set which is now discontinued, but you can substitute any stamp set you like) out onto that cardstock, using masks to layer my images. Make sure that the image you want to be at the front of your scene gets stamped first, then mask it and add your subsequent images in order.
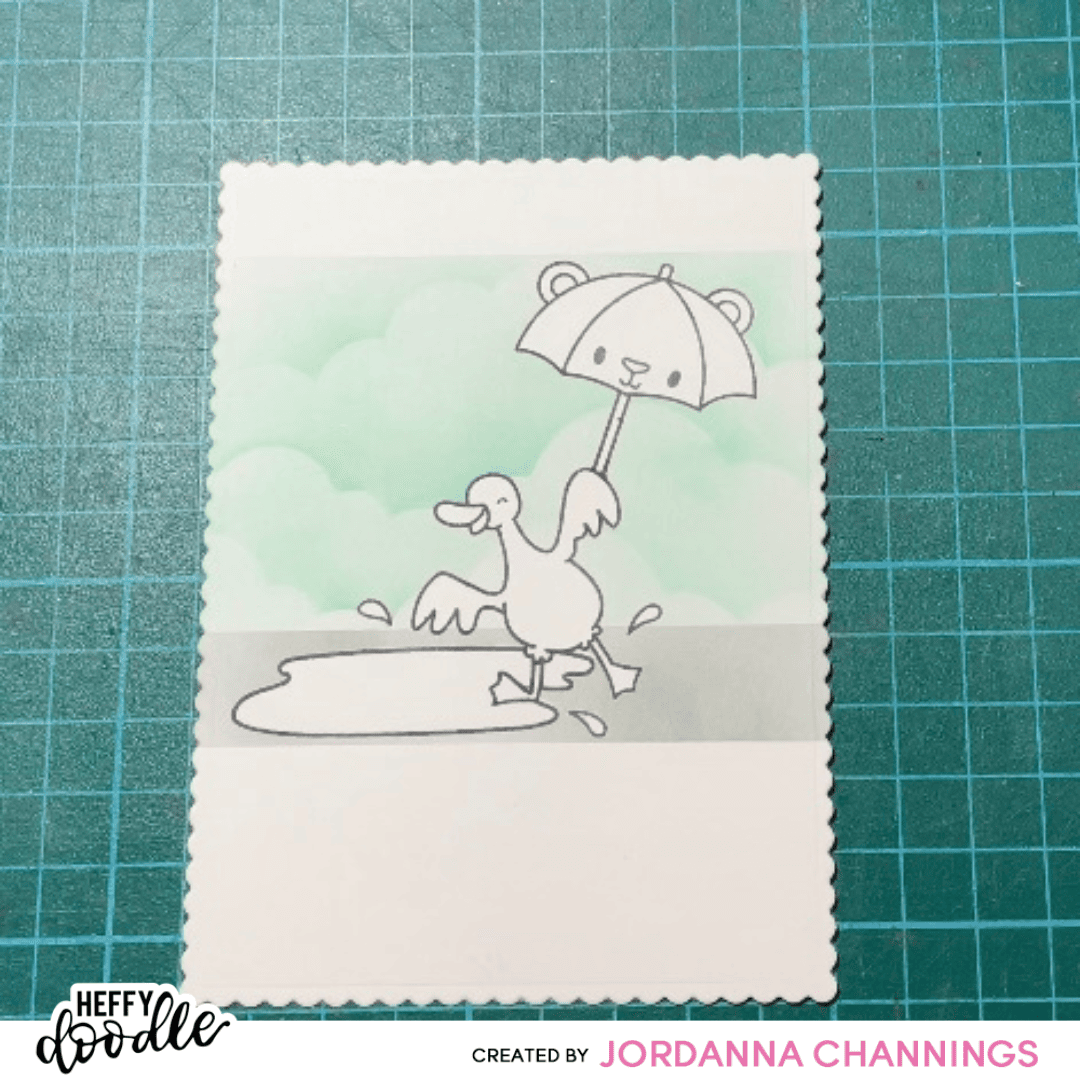
I wanted to ink blend a background, so I used some of the Heffy Doodle Memo Tape to mask off the top and bottom of my scene. I used a third piece of memo tape to add a ground where I ink blended a grey strip to look like pavement.
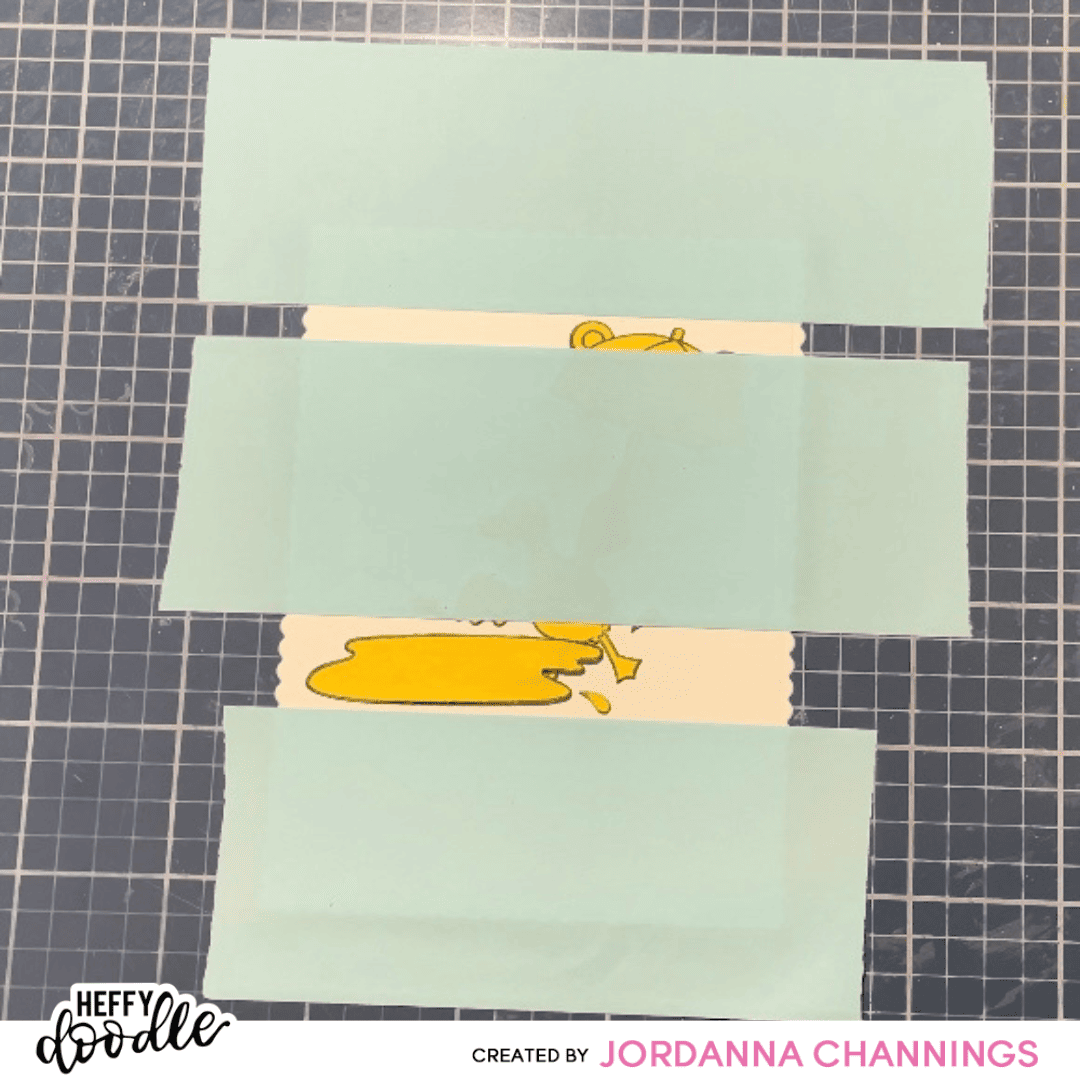
After using the grey ink, I shifted the third piece of memo tape down to cover the piece I had already inked, so that I could add a sky. I used a cloud stencil to create a nice cloudy sky, perfect for my rainy day scene. Once all my ink blending was done, I could remove the masks, ready for the colouring.
I used my Ohuhu markers to colour my images today and I added a stamped sentiment from the same stamp set to the bottom right of my panel.

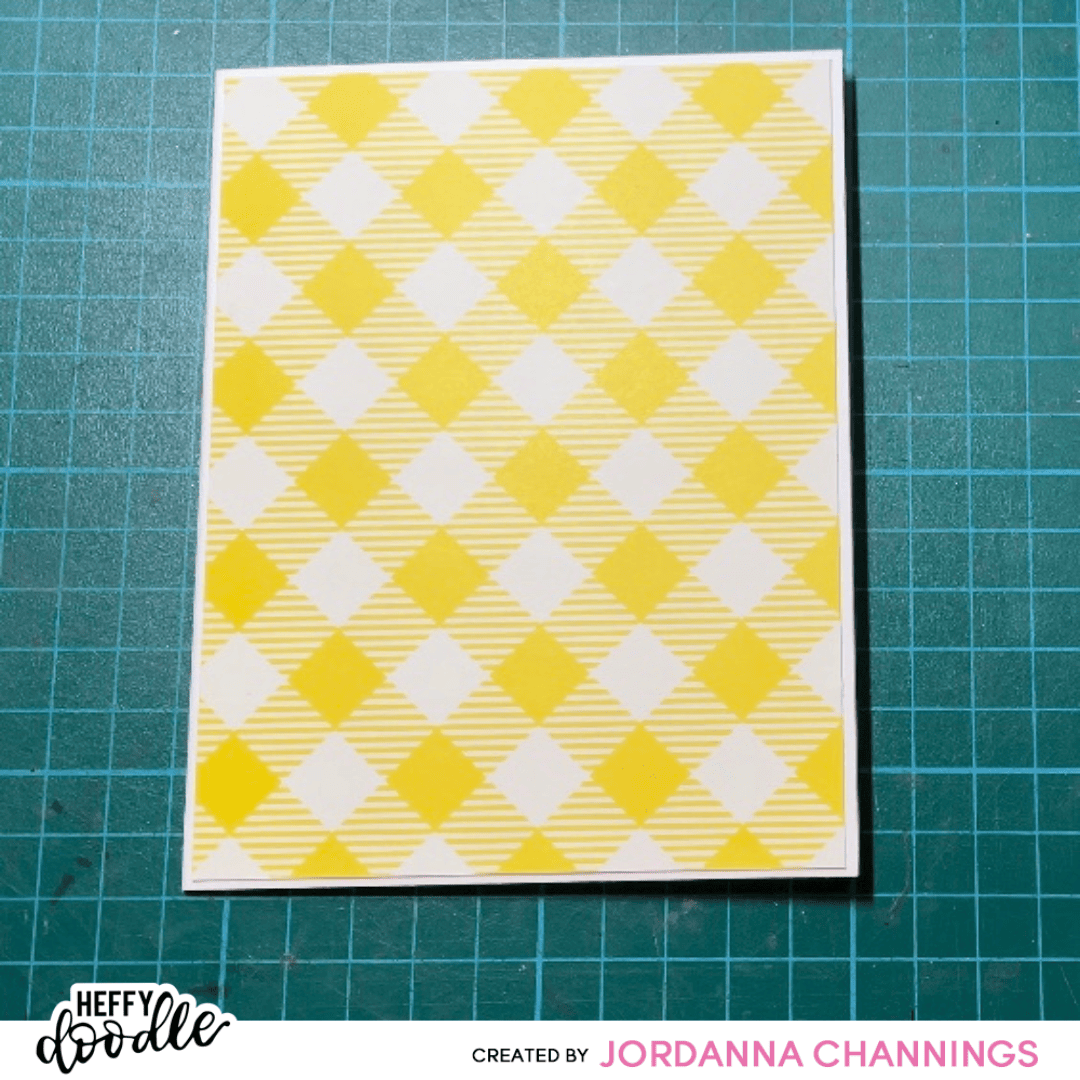
Next I chose to layer some patterned paper onto a 5.5″ x 4.25″ card base. I chose a bright, sunny yellow to match the umbrella I had coloured and left a small 1/16th of an inch border all the way around the edge for a nice pop of white.
Finally, I attached my card panel on top with some foam tape for added dimension. This was a really easy and quick card to make, but it was so fun and the possibilities for creating different scenes are endless!
I hope you enjoyed this project today. I’ll be back next week with another fun card for you to try. Happy crafting!
Jordy
Follow me on Instagram / Subscribe to my YouTube channel