
Cardmaking 101 with Amanda – Flying By to Say…

Hey Heffy Doodlers!
Welcome back to Cardmaking 101 with Amanda Fitterer! To see my last post, click here.
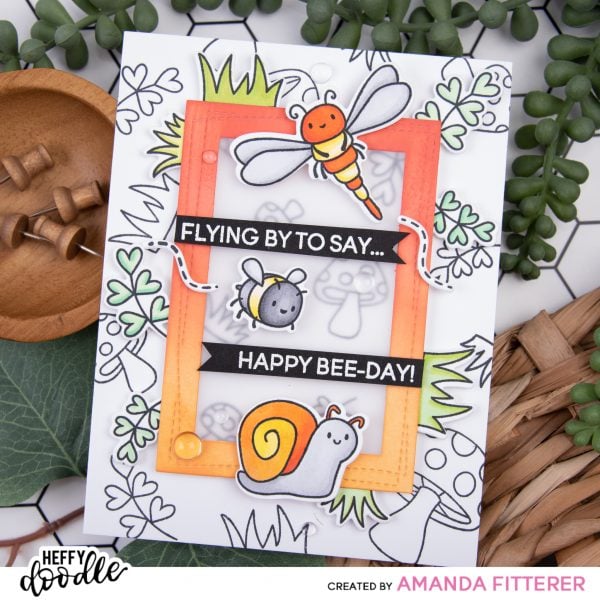
Let’s dive in to this next project using Big Bug Hugs stamps and dies!
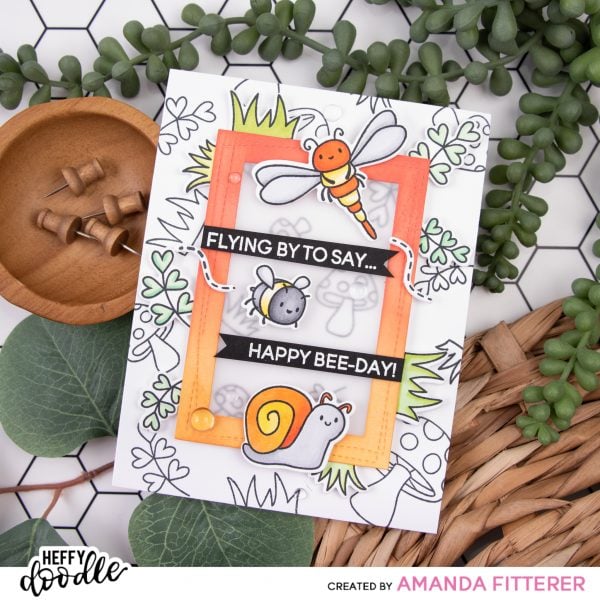
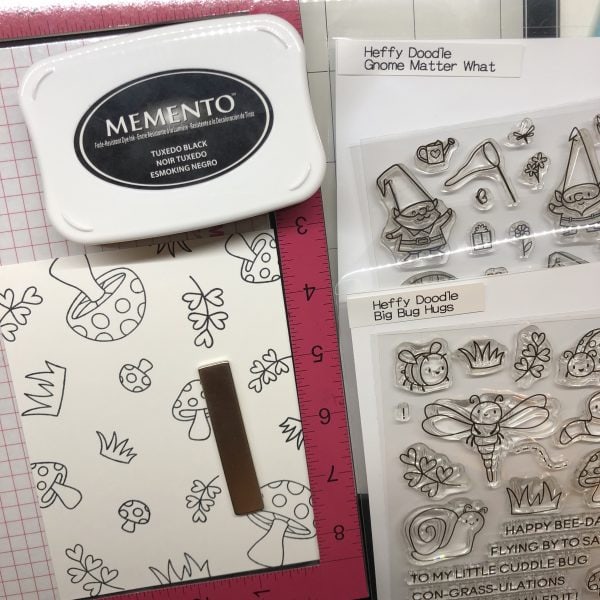
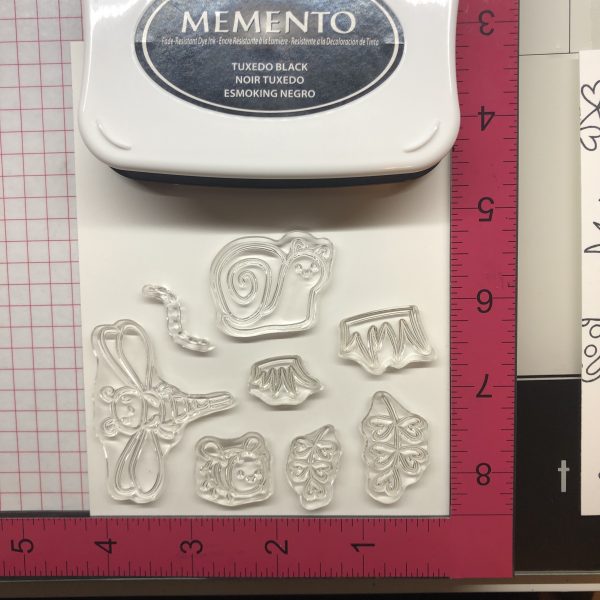
For this card, I am using the standard A2 size (5.5″x4.25″). I use a MISTI stamping platform to stamp my images using Memento Tuxedo black ink. This ink pad is very alcohol marker friendly. Since I will be using Copic markers to color my images, I want to be sure to use the correct kind of ink! Other inks may bleed, so just be certain to check first before applying color! You also don’t need to use a stamping platform. You can use any clear acrylic block!
I am using Heffy Doodle’s Gnome Matter What clear stamps for the large mushroom and the Big Bug Hugs stamp set for the rest of the images.
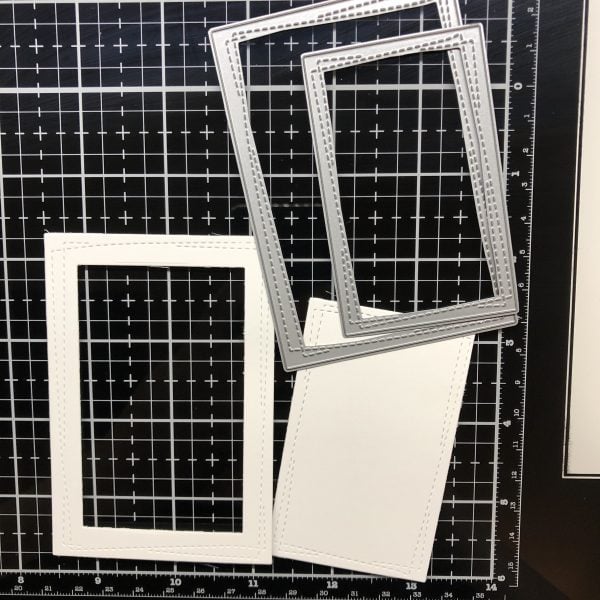
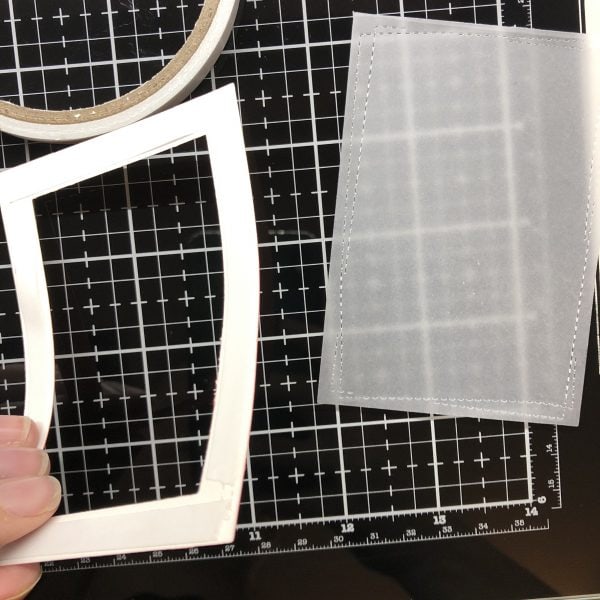
I am using some wonky stitched rectangle dies to create a frame. It doesn’t matter what kind of dies you use for this, as long as you end up with a rectangle frame in the end!
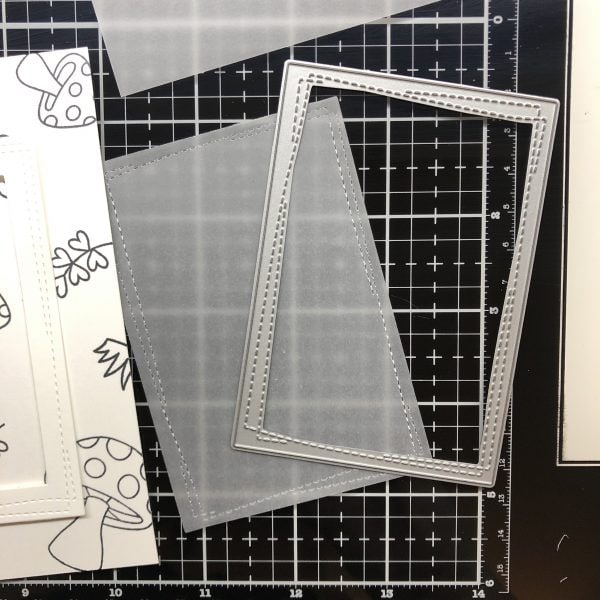
Using only the larger die, I cut a piece of vellum.
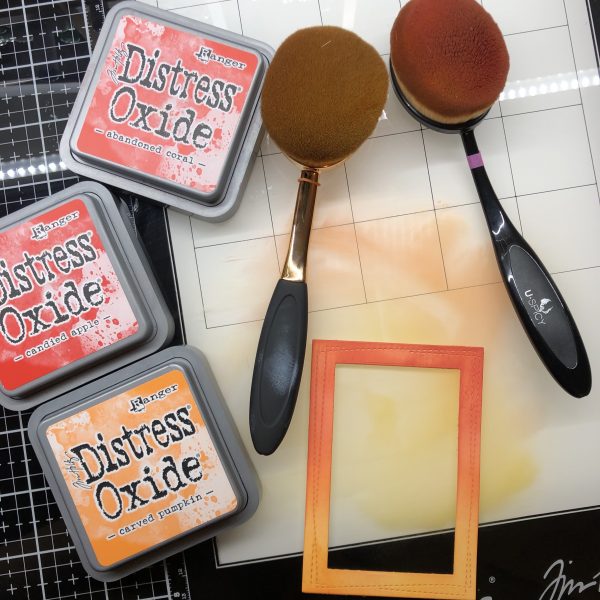
Using some cheap makeup brushes I purchased, I am blending the distress oxides onto my frame. I am using Abandoned Coral, Candied Apple, and Carved Pumpkin. These brushes can be rinsed with soap and water. I have a brush for every color family (i.e. Reds, Blues, Yellows) so I don’t typically rinse them out.
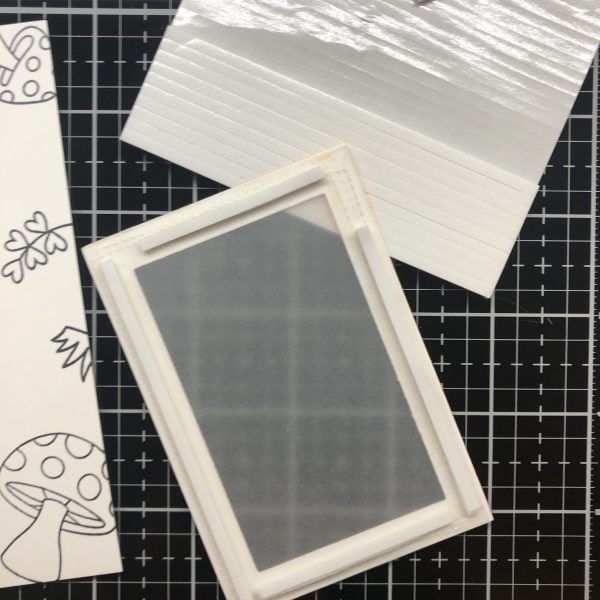
I use some double-sided flat tape on the back of my colored frame to adhere my vellum BEHIND my frame.
Then, I use Darice 3D foam strip adhesive to adhere my frame to my card front. The reason I am using 3D foam is because if the vellum is directly against my card front, you won’t be able to see it. I want the vellum to create a blurring effect in the center of the card, so you can still see the stamped images, but they’re not a focal point. If you wanted to blur the background even more, you could use 2 strips of 3D foam on top of one another!
Now it’s time to stamp my happy little bugs! Again, using the same Memento ink pad and my MISTI stamping platform. I am not lining them up in any particular order, as I’m going to cut them out using the coordinating dies. I do need to make sure they’re far enough apart that I can put the dies around each image. You could also fussy cut them with scissors, use a scan-n-cut machine, or a PixScan mat with a Silhouette Cameo.
Yay! Coloring time!! I love my Copic markers, but I have used Spectrum Noir alcohol markers, colored pencils, watercolor markers, etc. Any coloring medium will work as long as it makes you happy! I love taking the time to learn how to blend the colors together to create shadows and highlights, but that doesn’t mean it’s for everyone! If you’re not using Copics, just scroll past the next few photos! 🙂
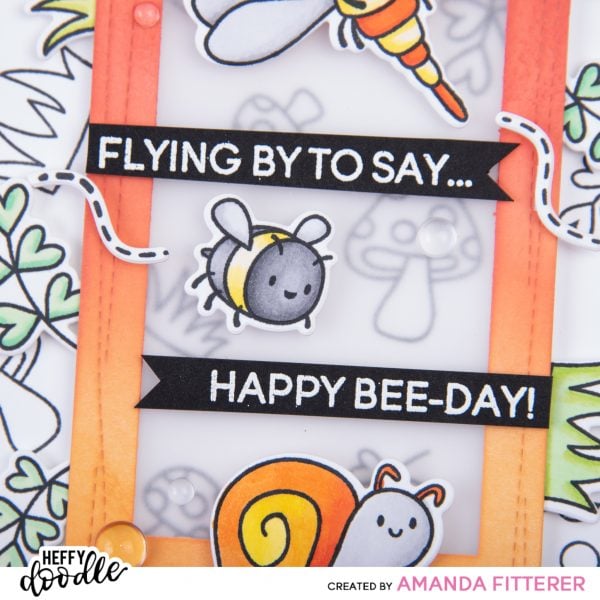
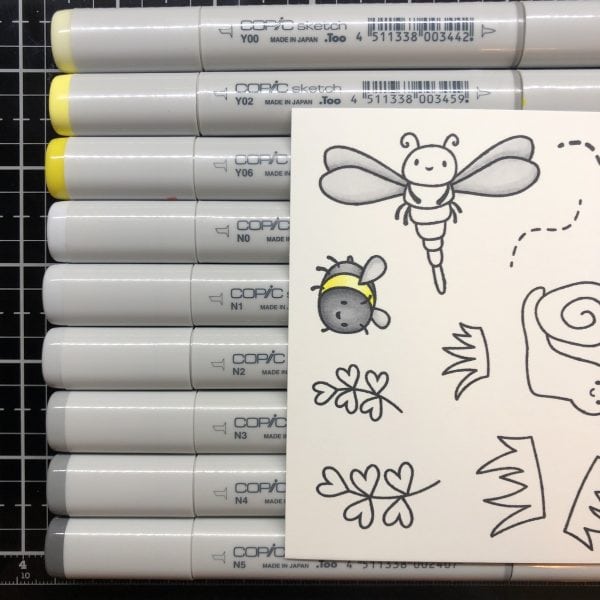
For the cute little bee, I am using Y00, Y02, Y06, N0, N1, N2, N3, N4, and N5. I used N0, N1, and N2 on the wings of the bugs.
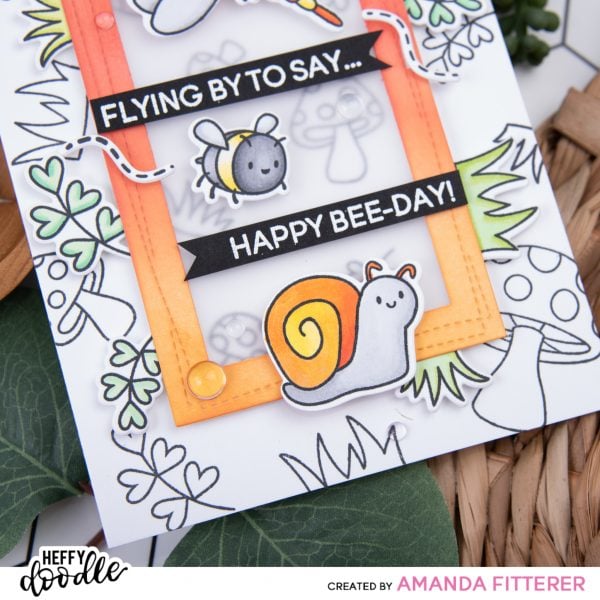
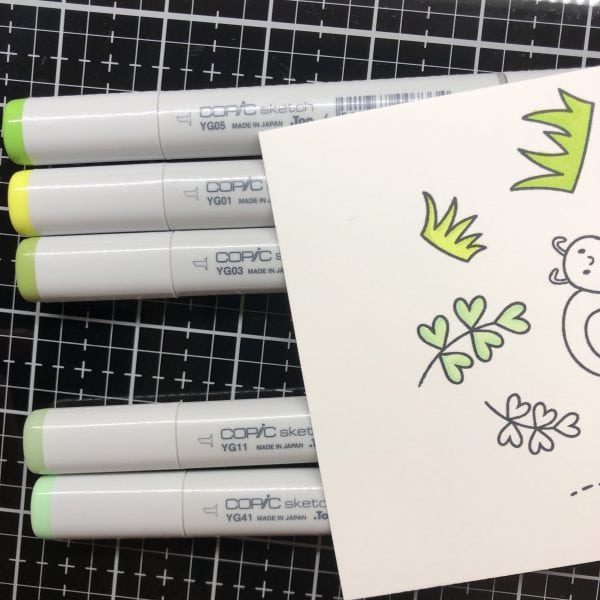
For the grasses and leaves, I am using combinations of YG01, YG03, YG05, YG11, YG41, and G02.

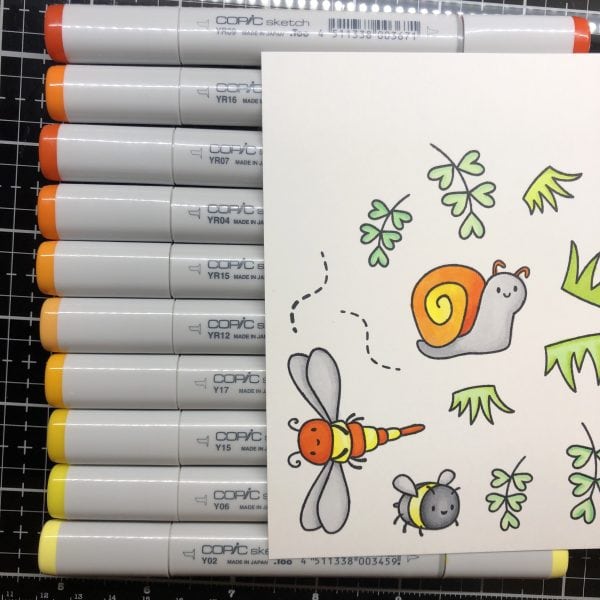
For my other happy bugs, I am using YR09, YR16, YR07, YR04, YR15, YR12, Y17, Y15, Y06, and Y02.
I cut them out with my die cutting machine.
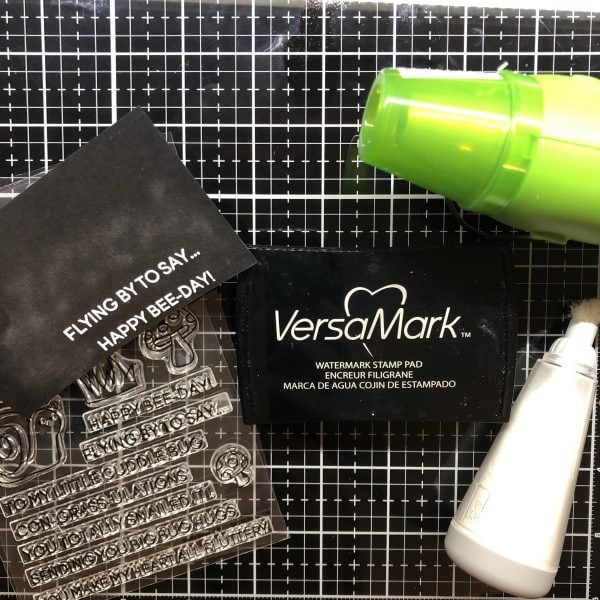
Next, I’m going to stamp my sentiments! On black cardstock, I stamp my sentiments with VersaMark Watermark ink, apply white embossing powder, and then heat with my heat tool. For detailed instructions on how to do this and step-by-step photos, check out my last post!
I am using small 3D foam squares to adhere my grasses, leaves, bugs, and sentiments to my card front. I’m also using a glue pen that dries clear to adhere some cute little water bubbles.
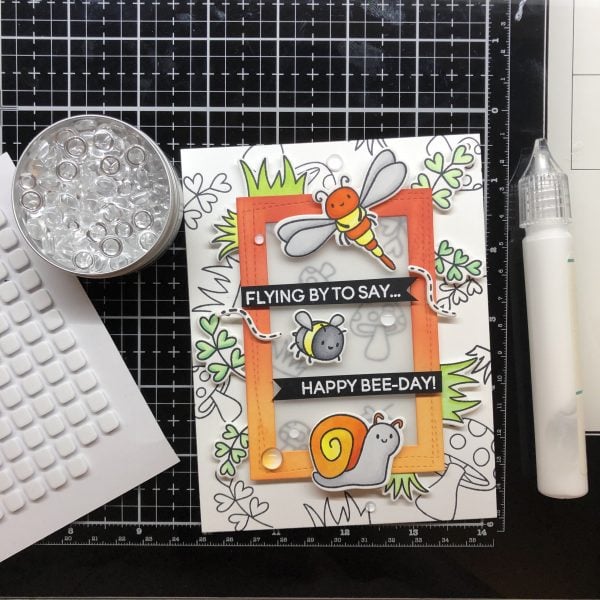
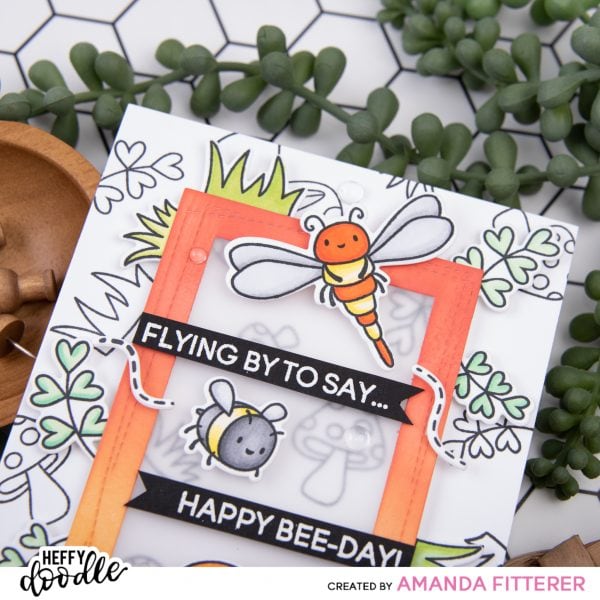
Here’s one more photo of the finished card!
Thanks so much for stopping by!
XOXO, Amanda
Heffy Doodle products used:
Gnome Matter What stamp set
Valerie Ward
November 20, 2019 at 9:31 pmAmanda, this card is just so cute! I love the layout, and how clean and adorable it is. Everything is perfect on this one! Saw it on FB, and I HAD to come over and comment!
Amanda Fitterer
November 27, 2019 at 2:15 amThat is so sweet!!! Thank you so much, Valerie!!! It means so much to me! Hugs!!!
Shar Zar
November 23, 2019 at 10:10 pmSo precious.
Amanda Fitterer
November 27, 2019 at 2:15 amThank you so much, Shar!!!!!