Cardmaking 101 – Elephant of Surprise Interactive Card

Hey Doodlers!!!
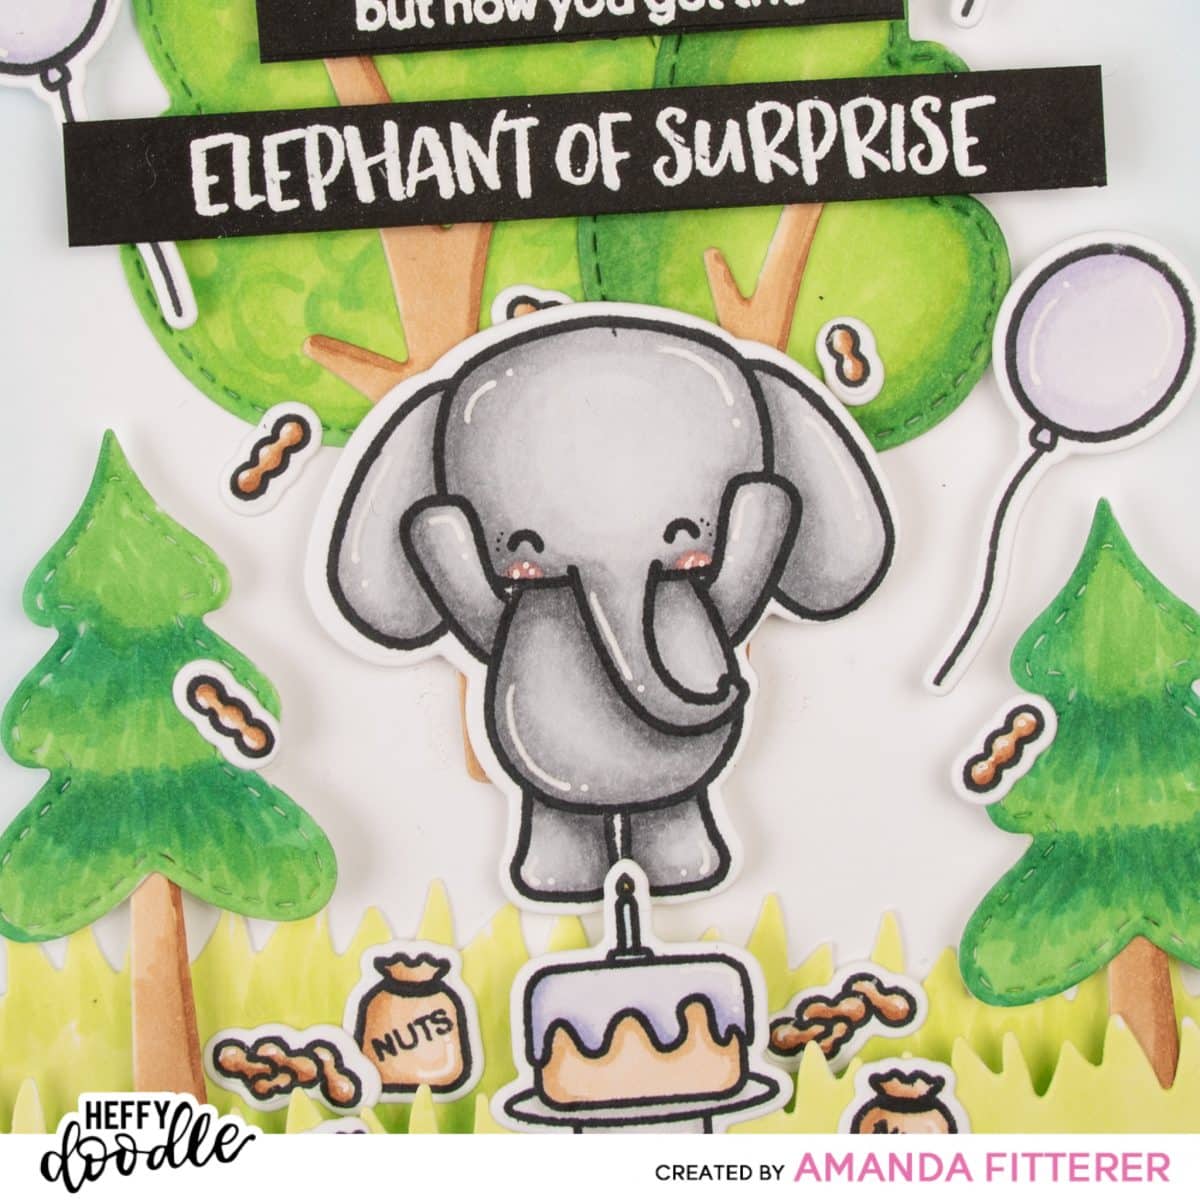
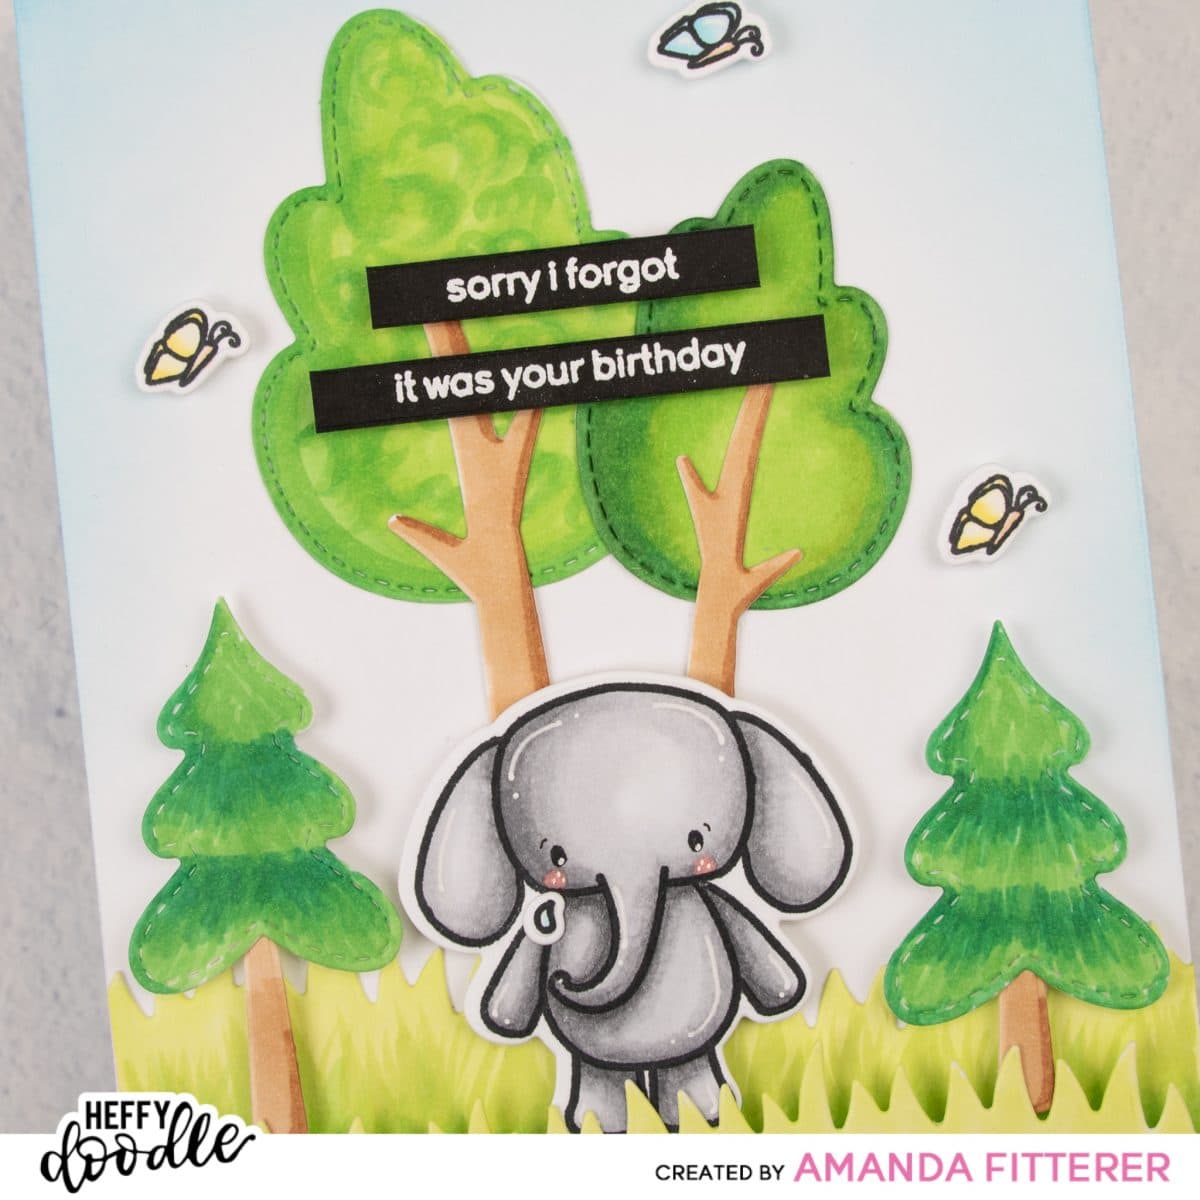
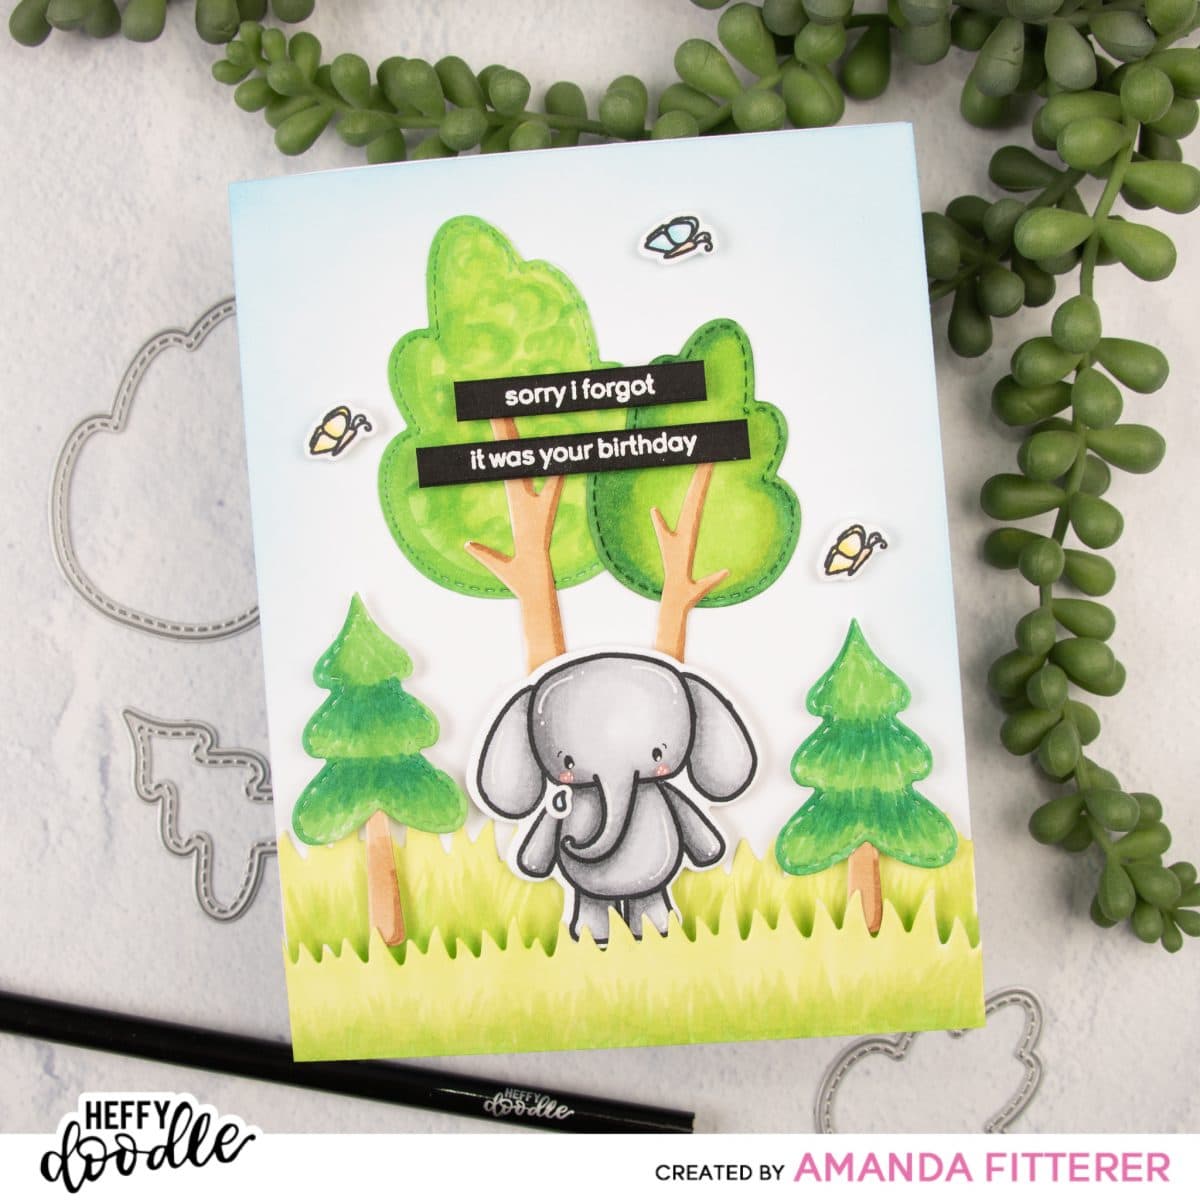
I am super excited to share this fun interactive Elephant of Surprise card with you!
Beware, there are TONS of photos ahead! I’m so happy that I can share each step of the process with you! Enjoy!!
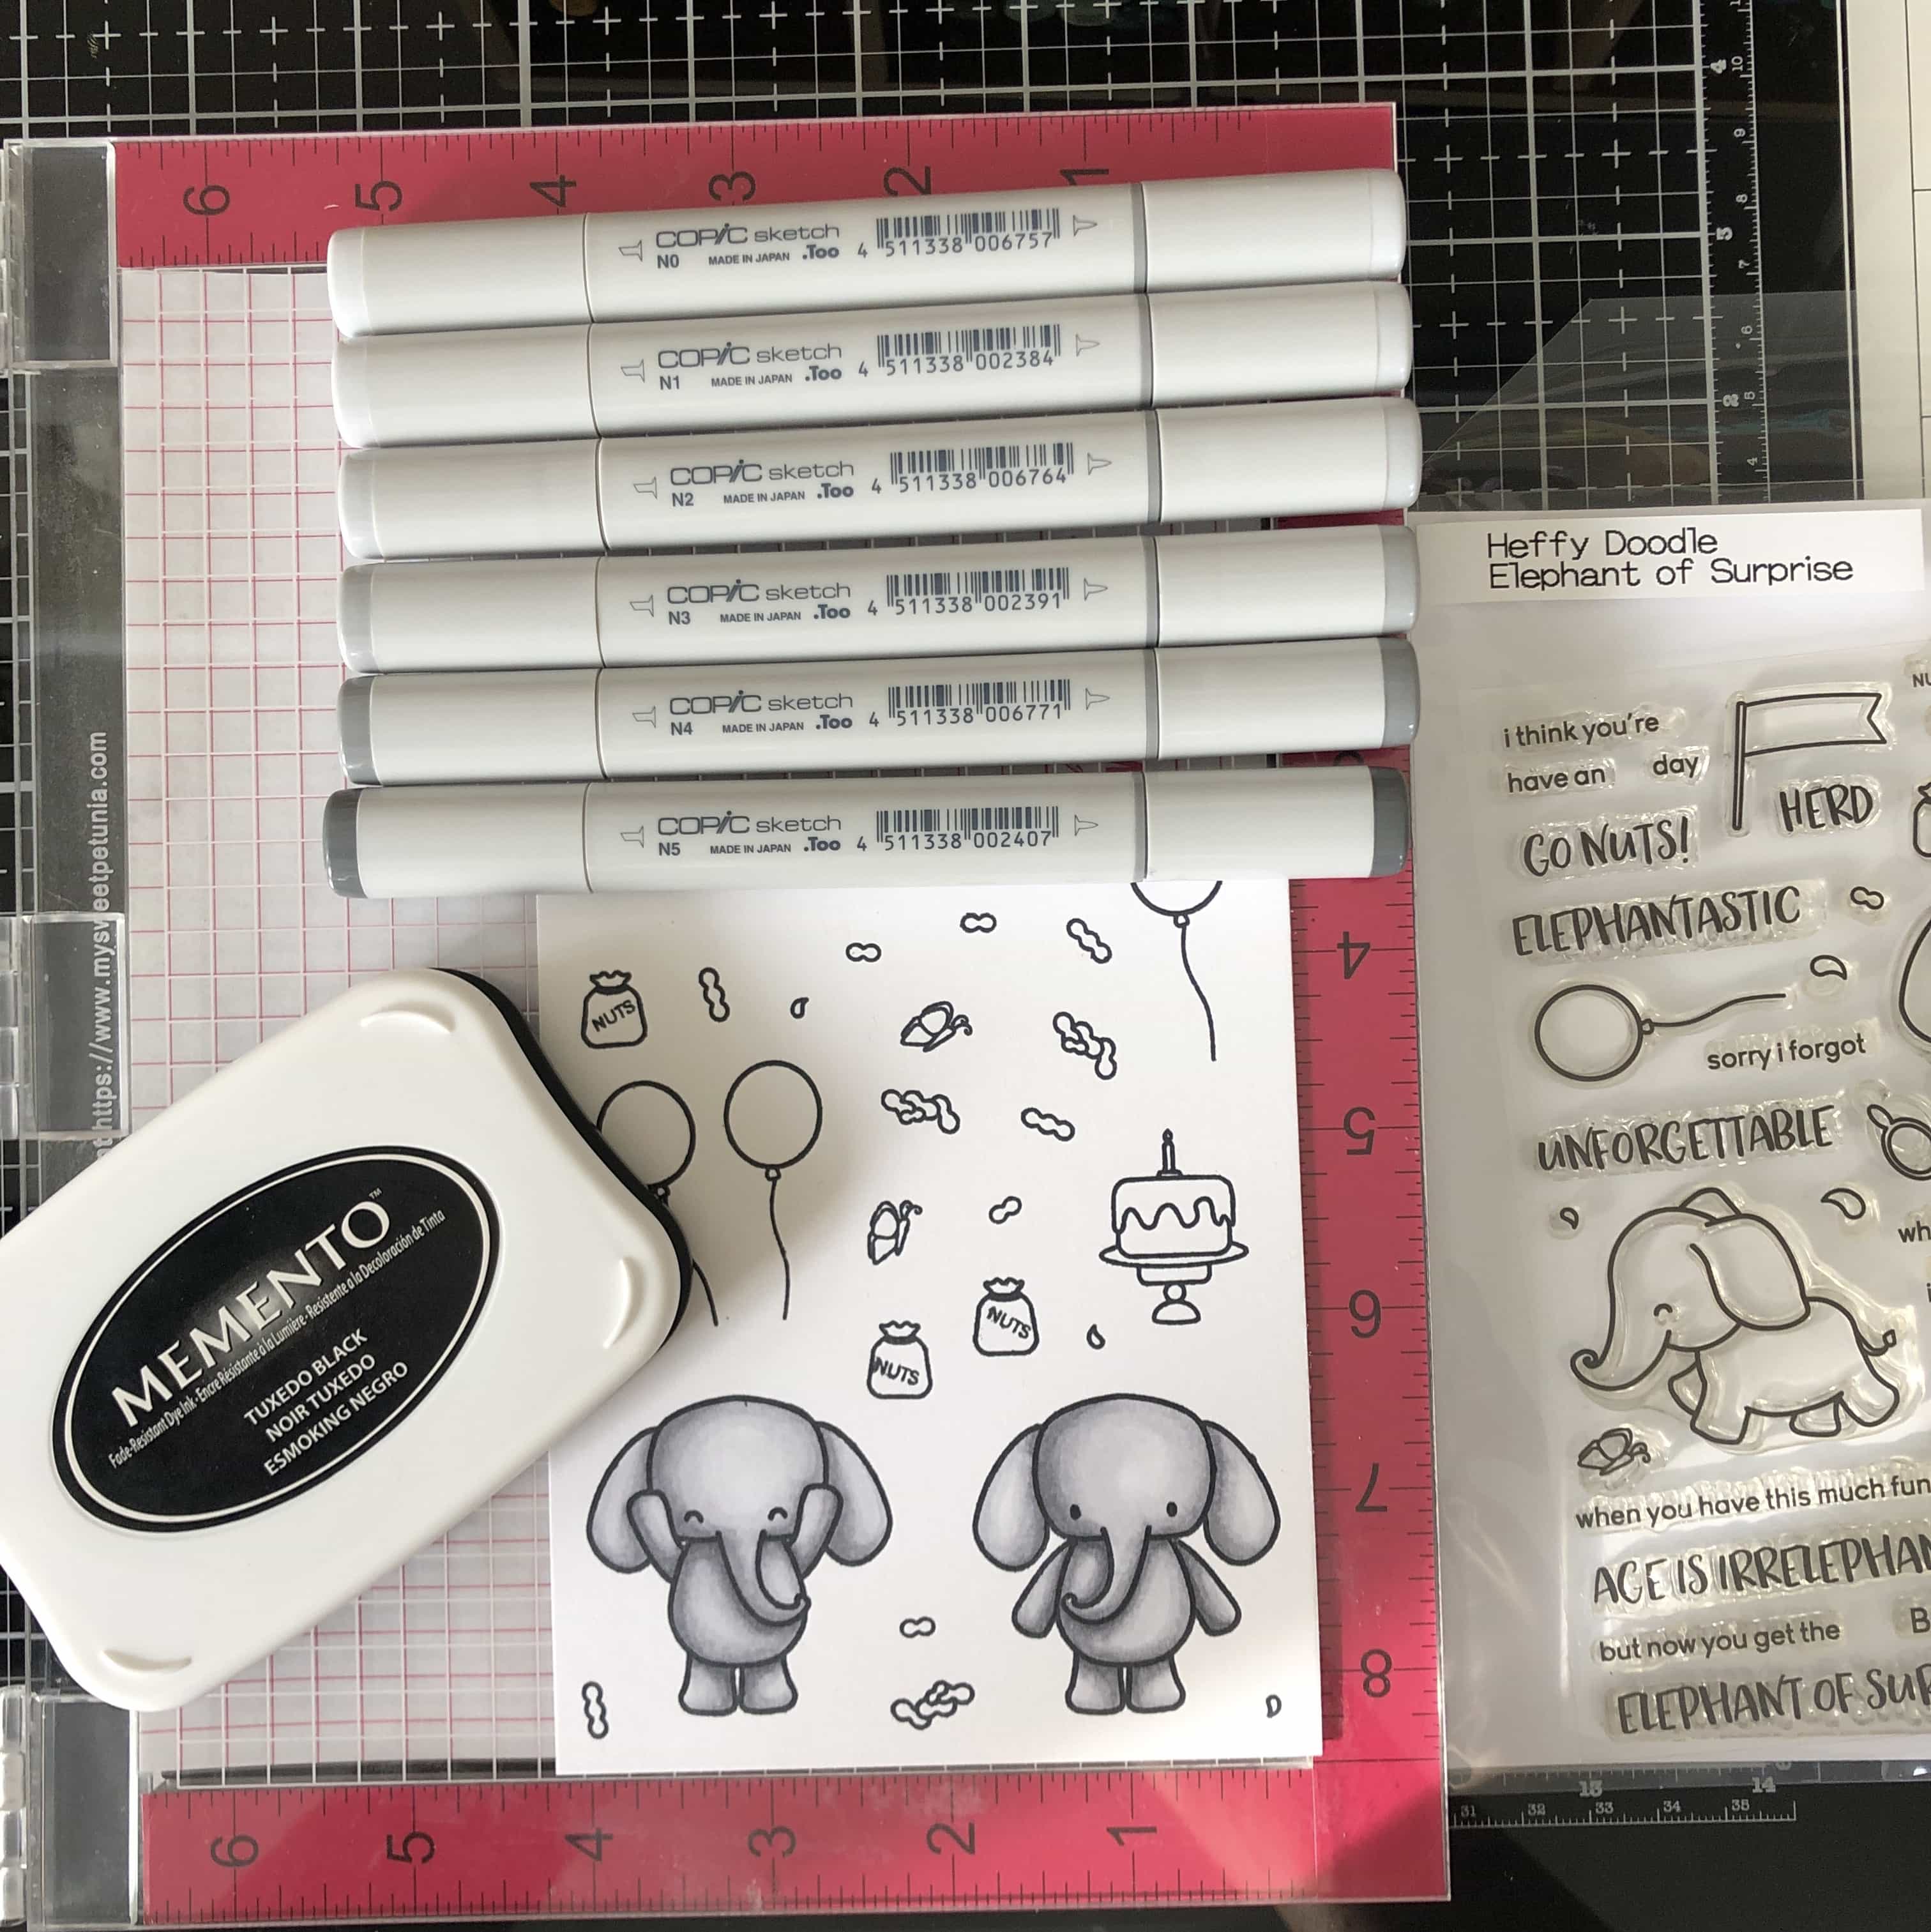
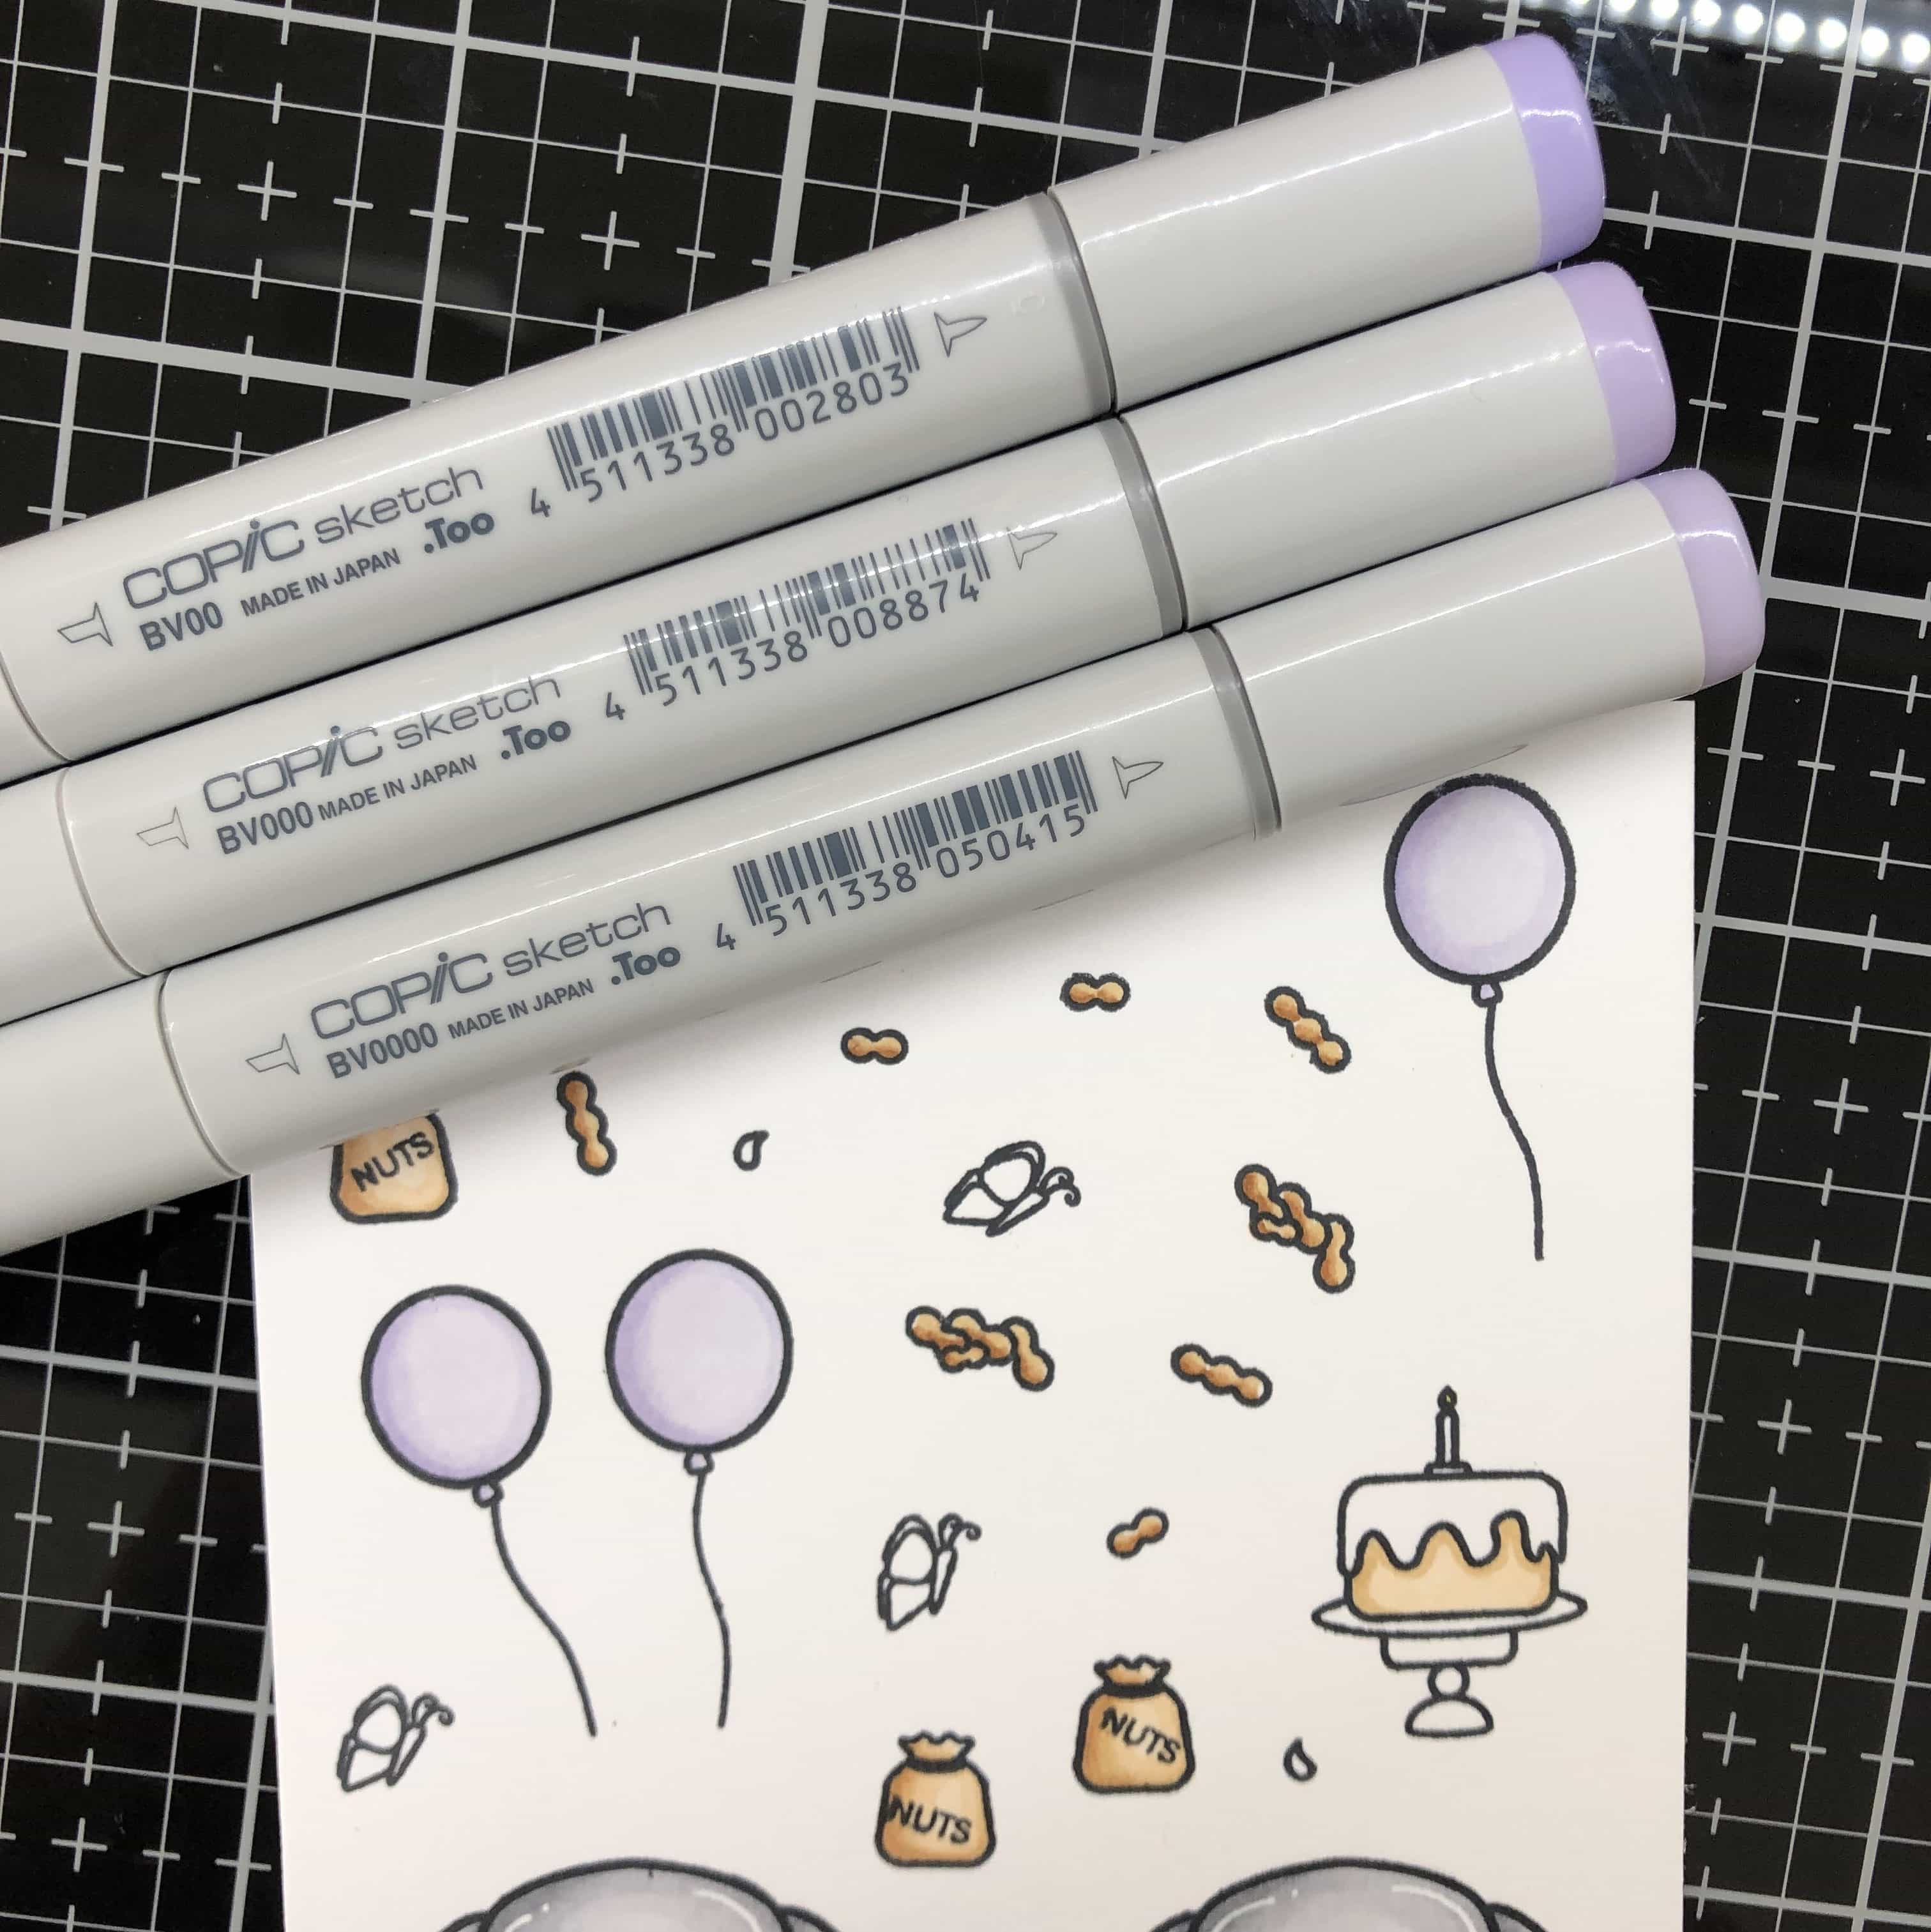
The first step is to stamp the images from Elephant of Surprise with a Copic-friendly black ink pad, like Memento Tuxedo Black Ink. To see more detail about stamping images, click here.
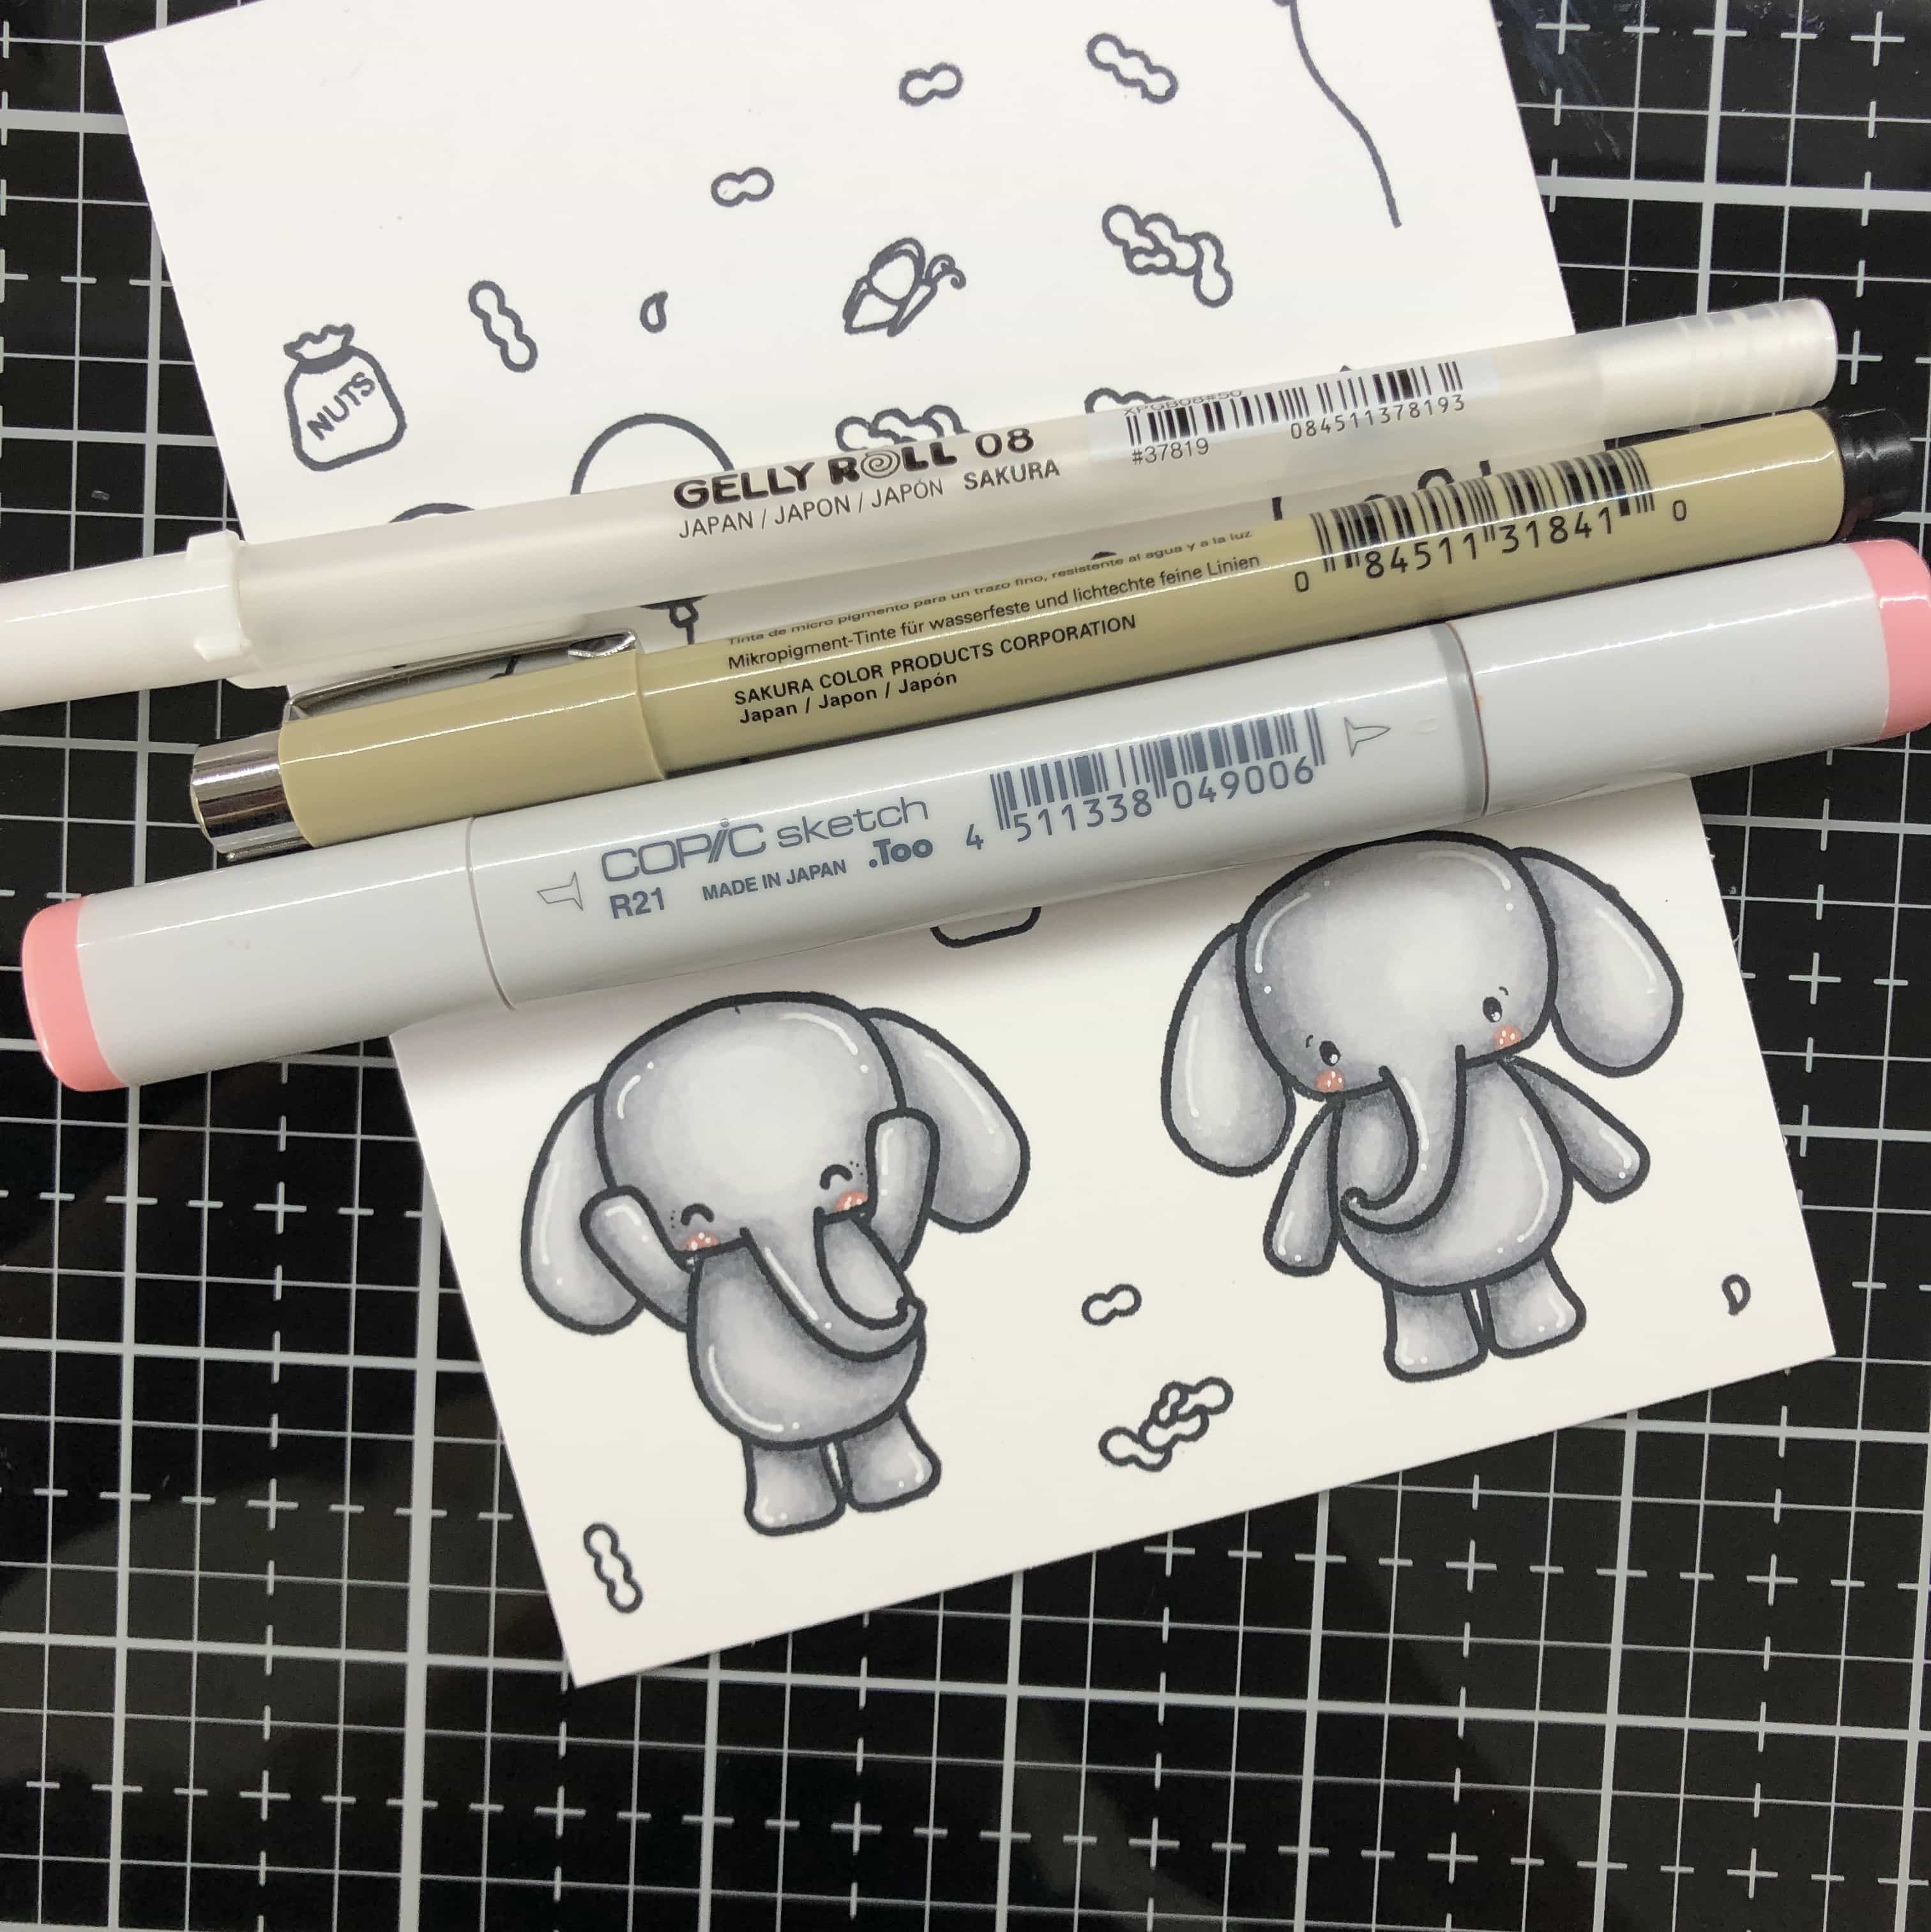
Next, I’m going to color my stamped images with Copic markers. Any medium will work, but my favorite is Copics!
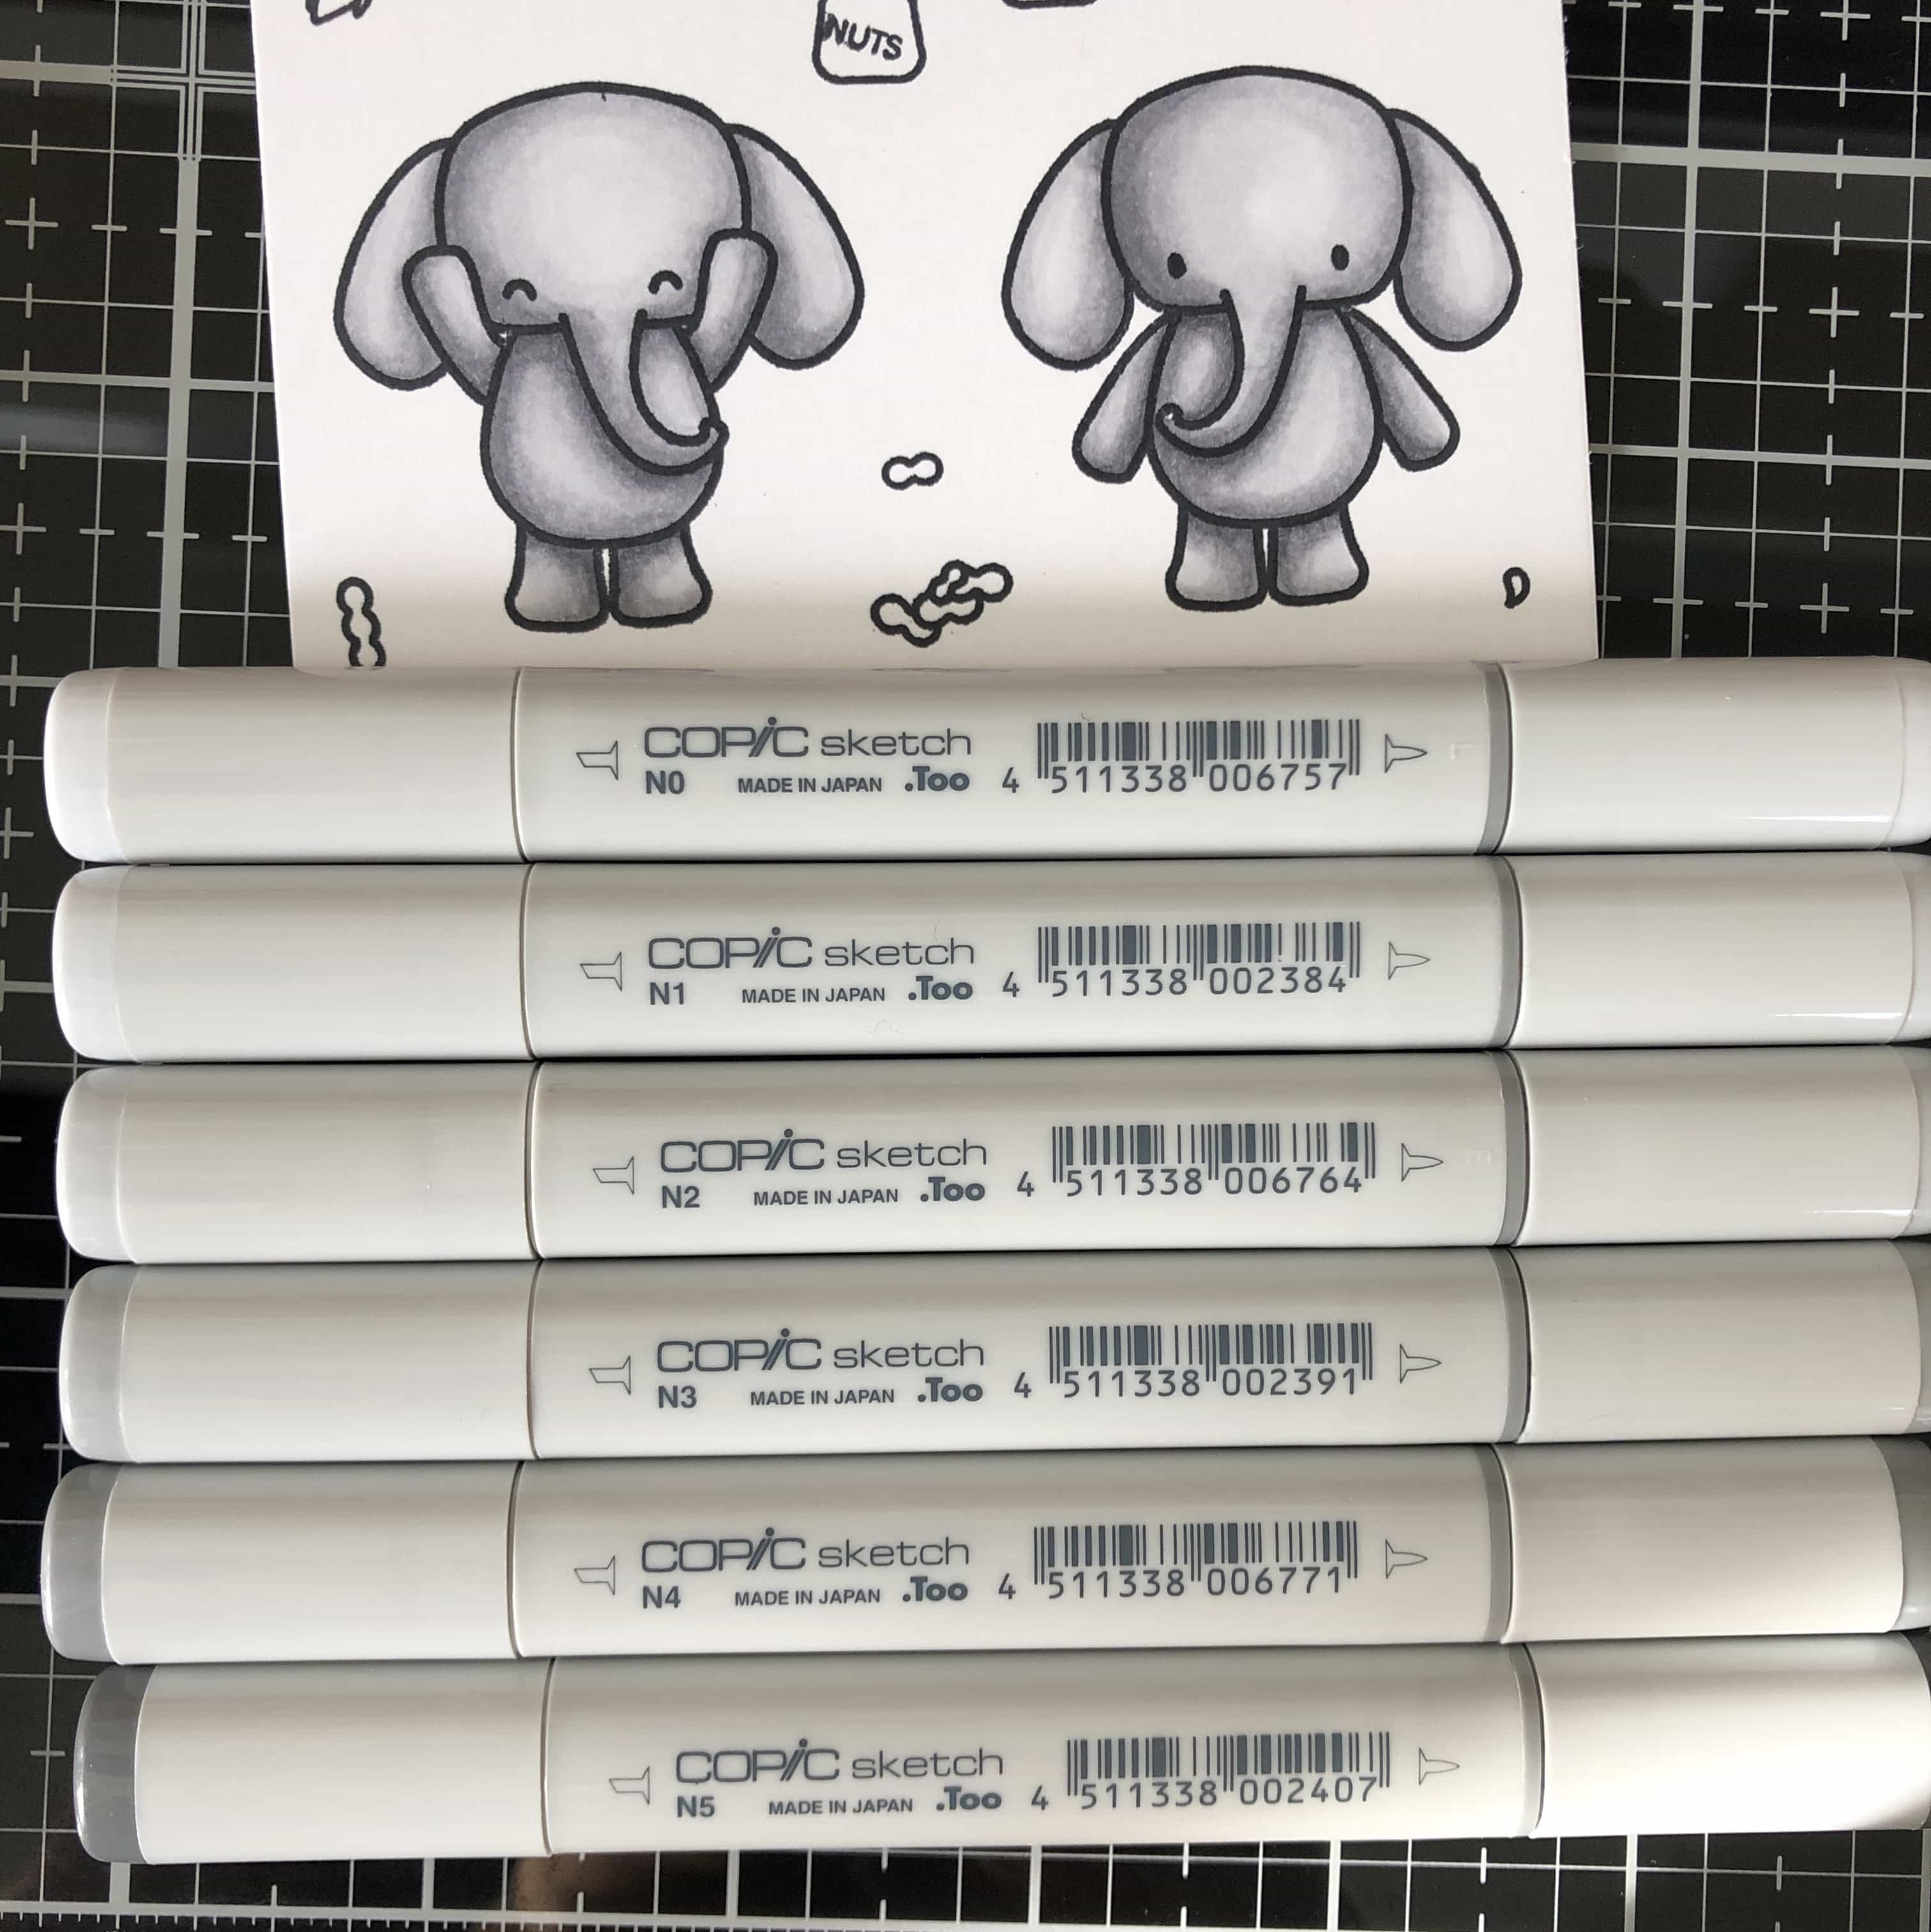
Elephants: N0, N1, N2, N3, N4, N5, R21
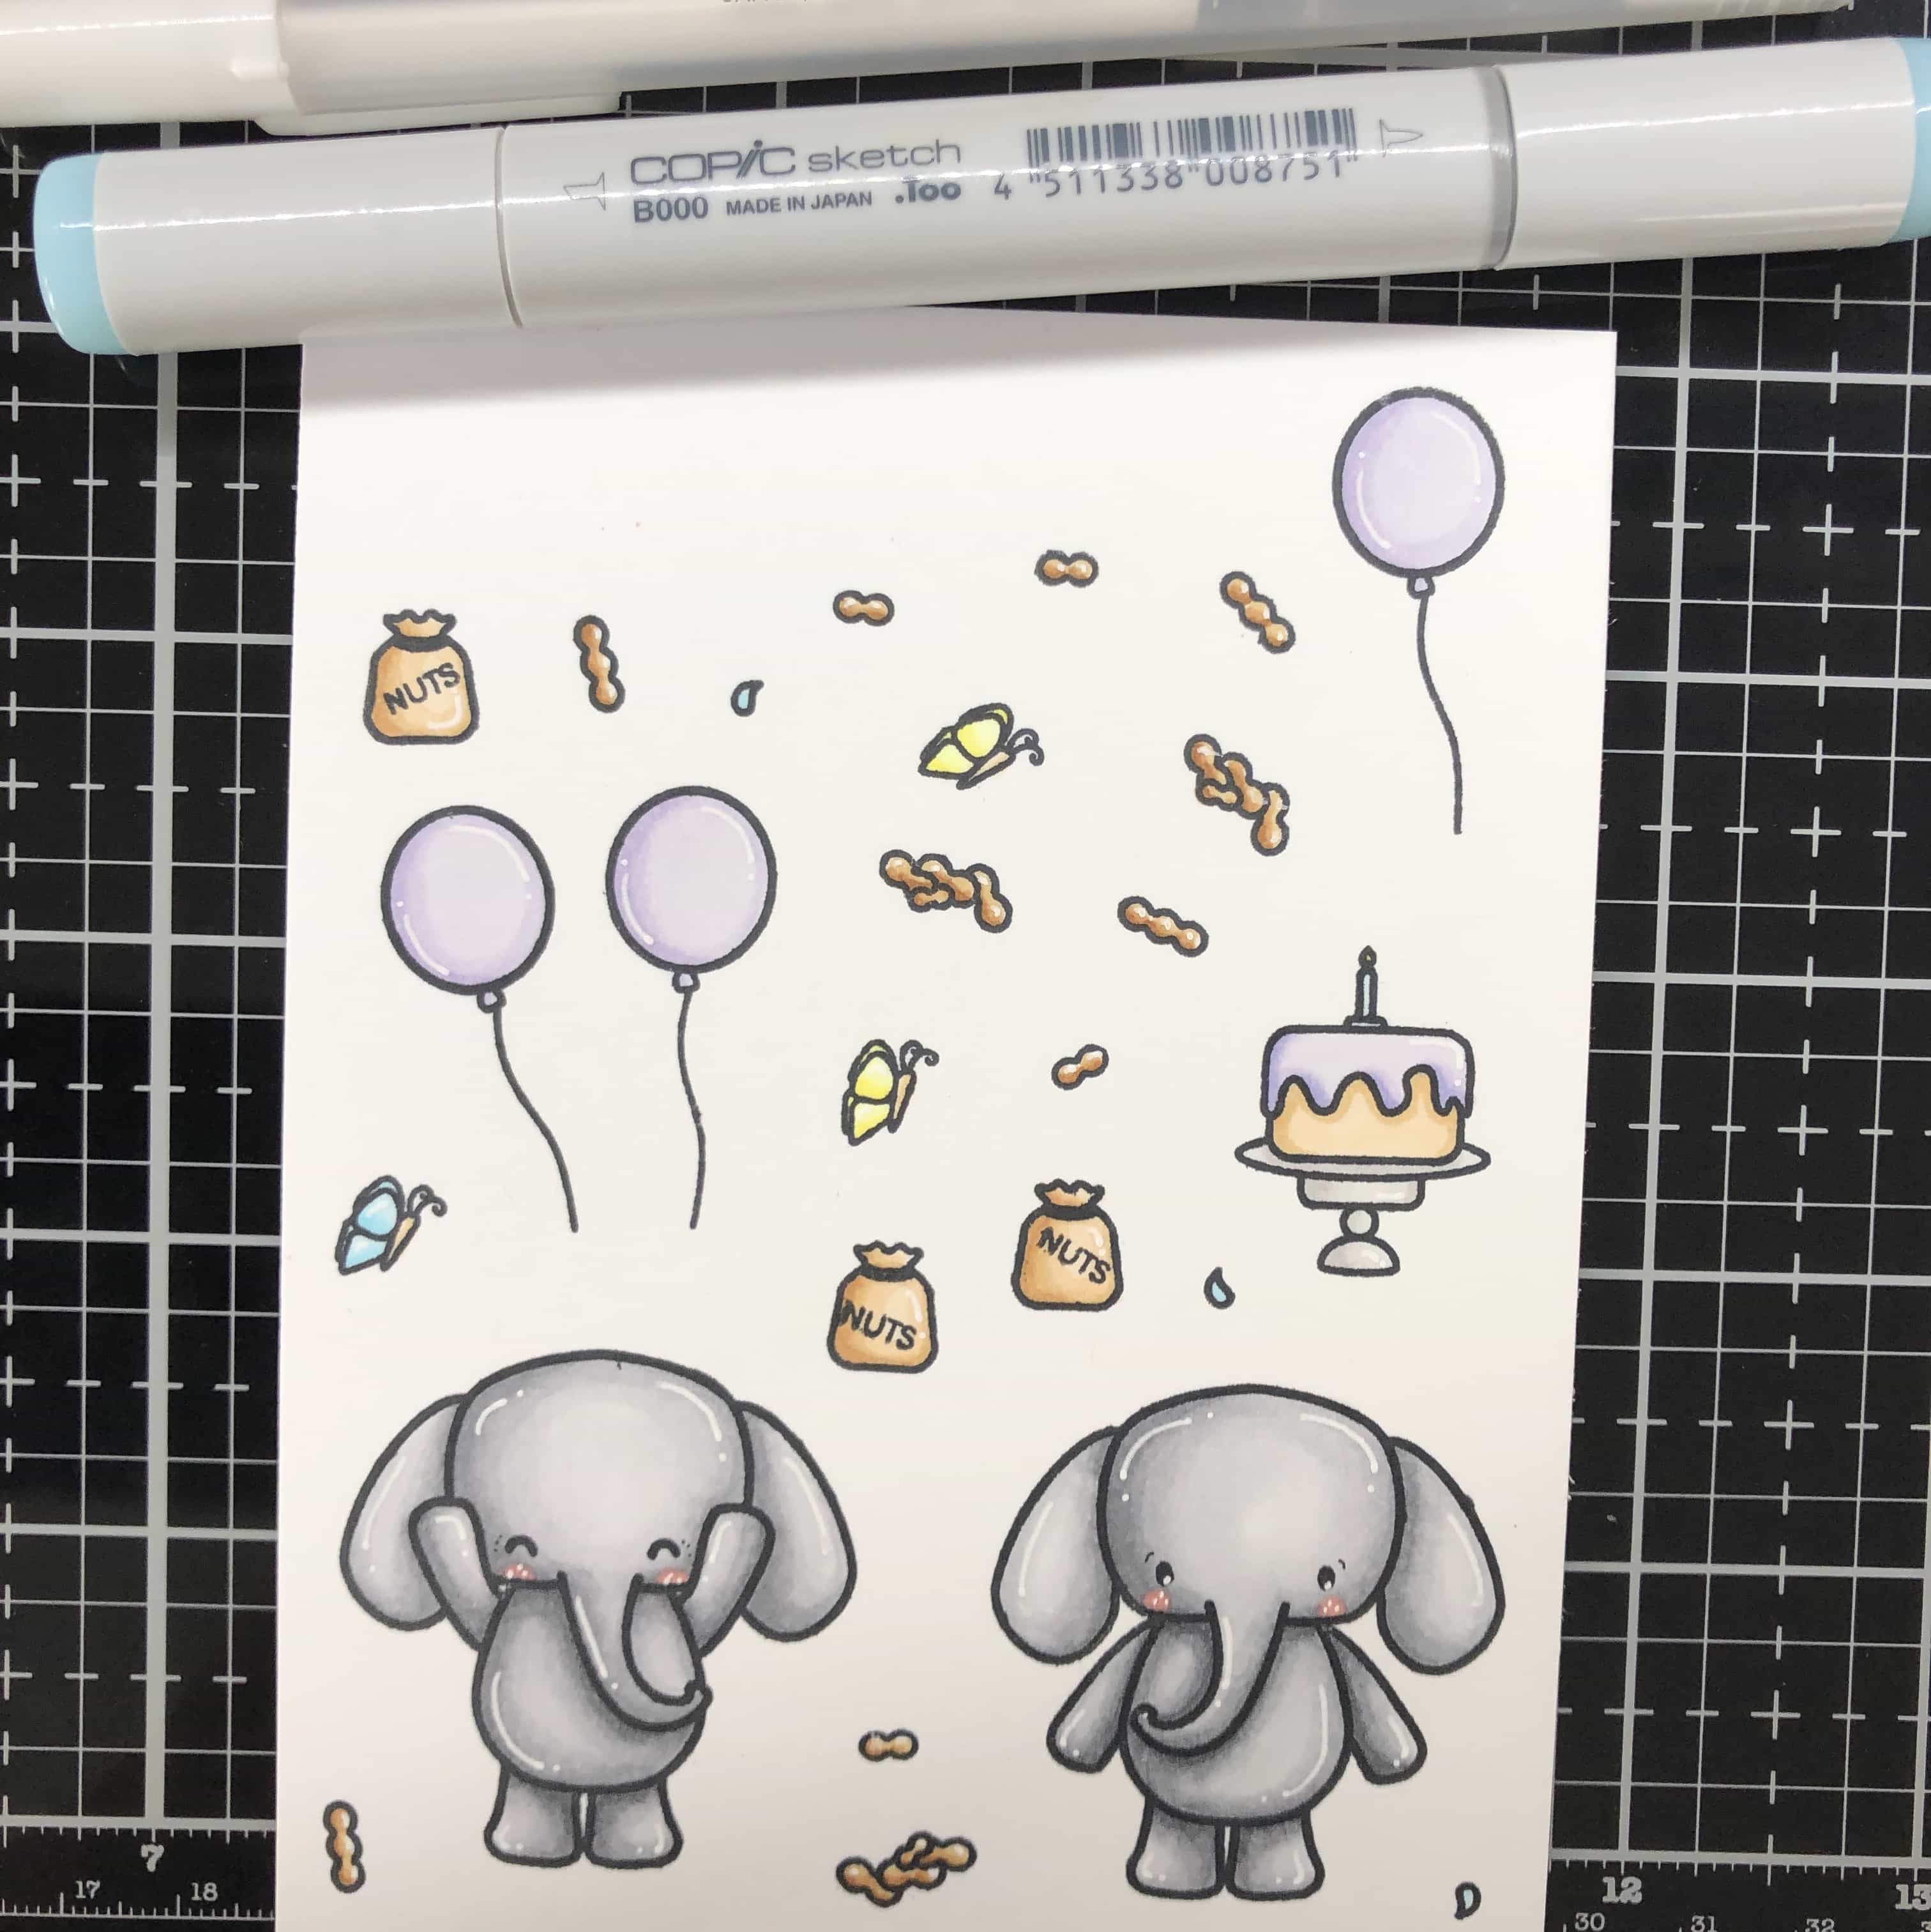
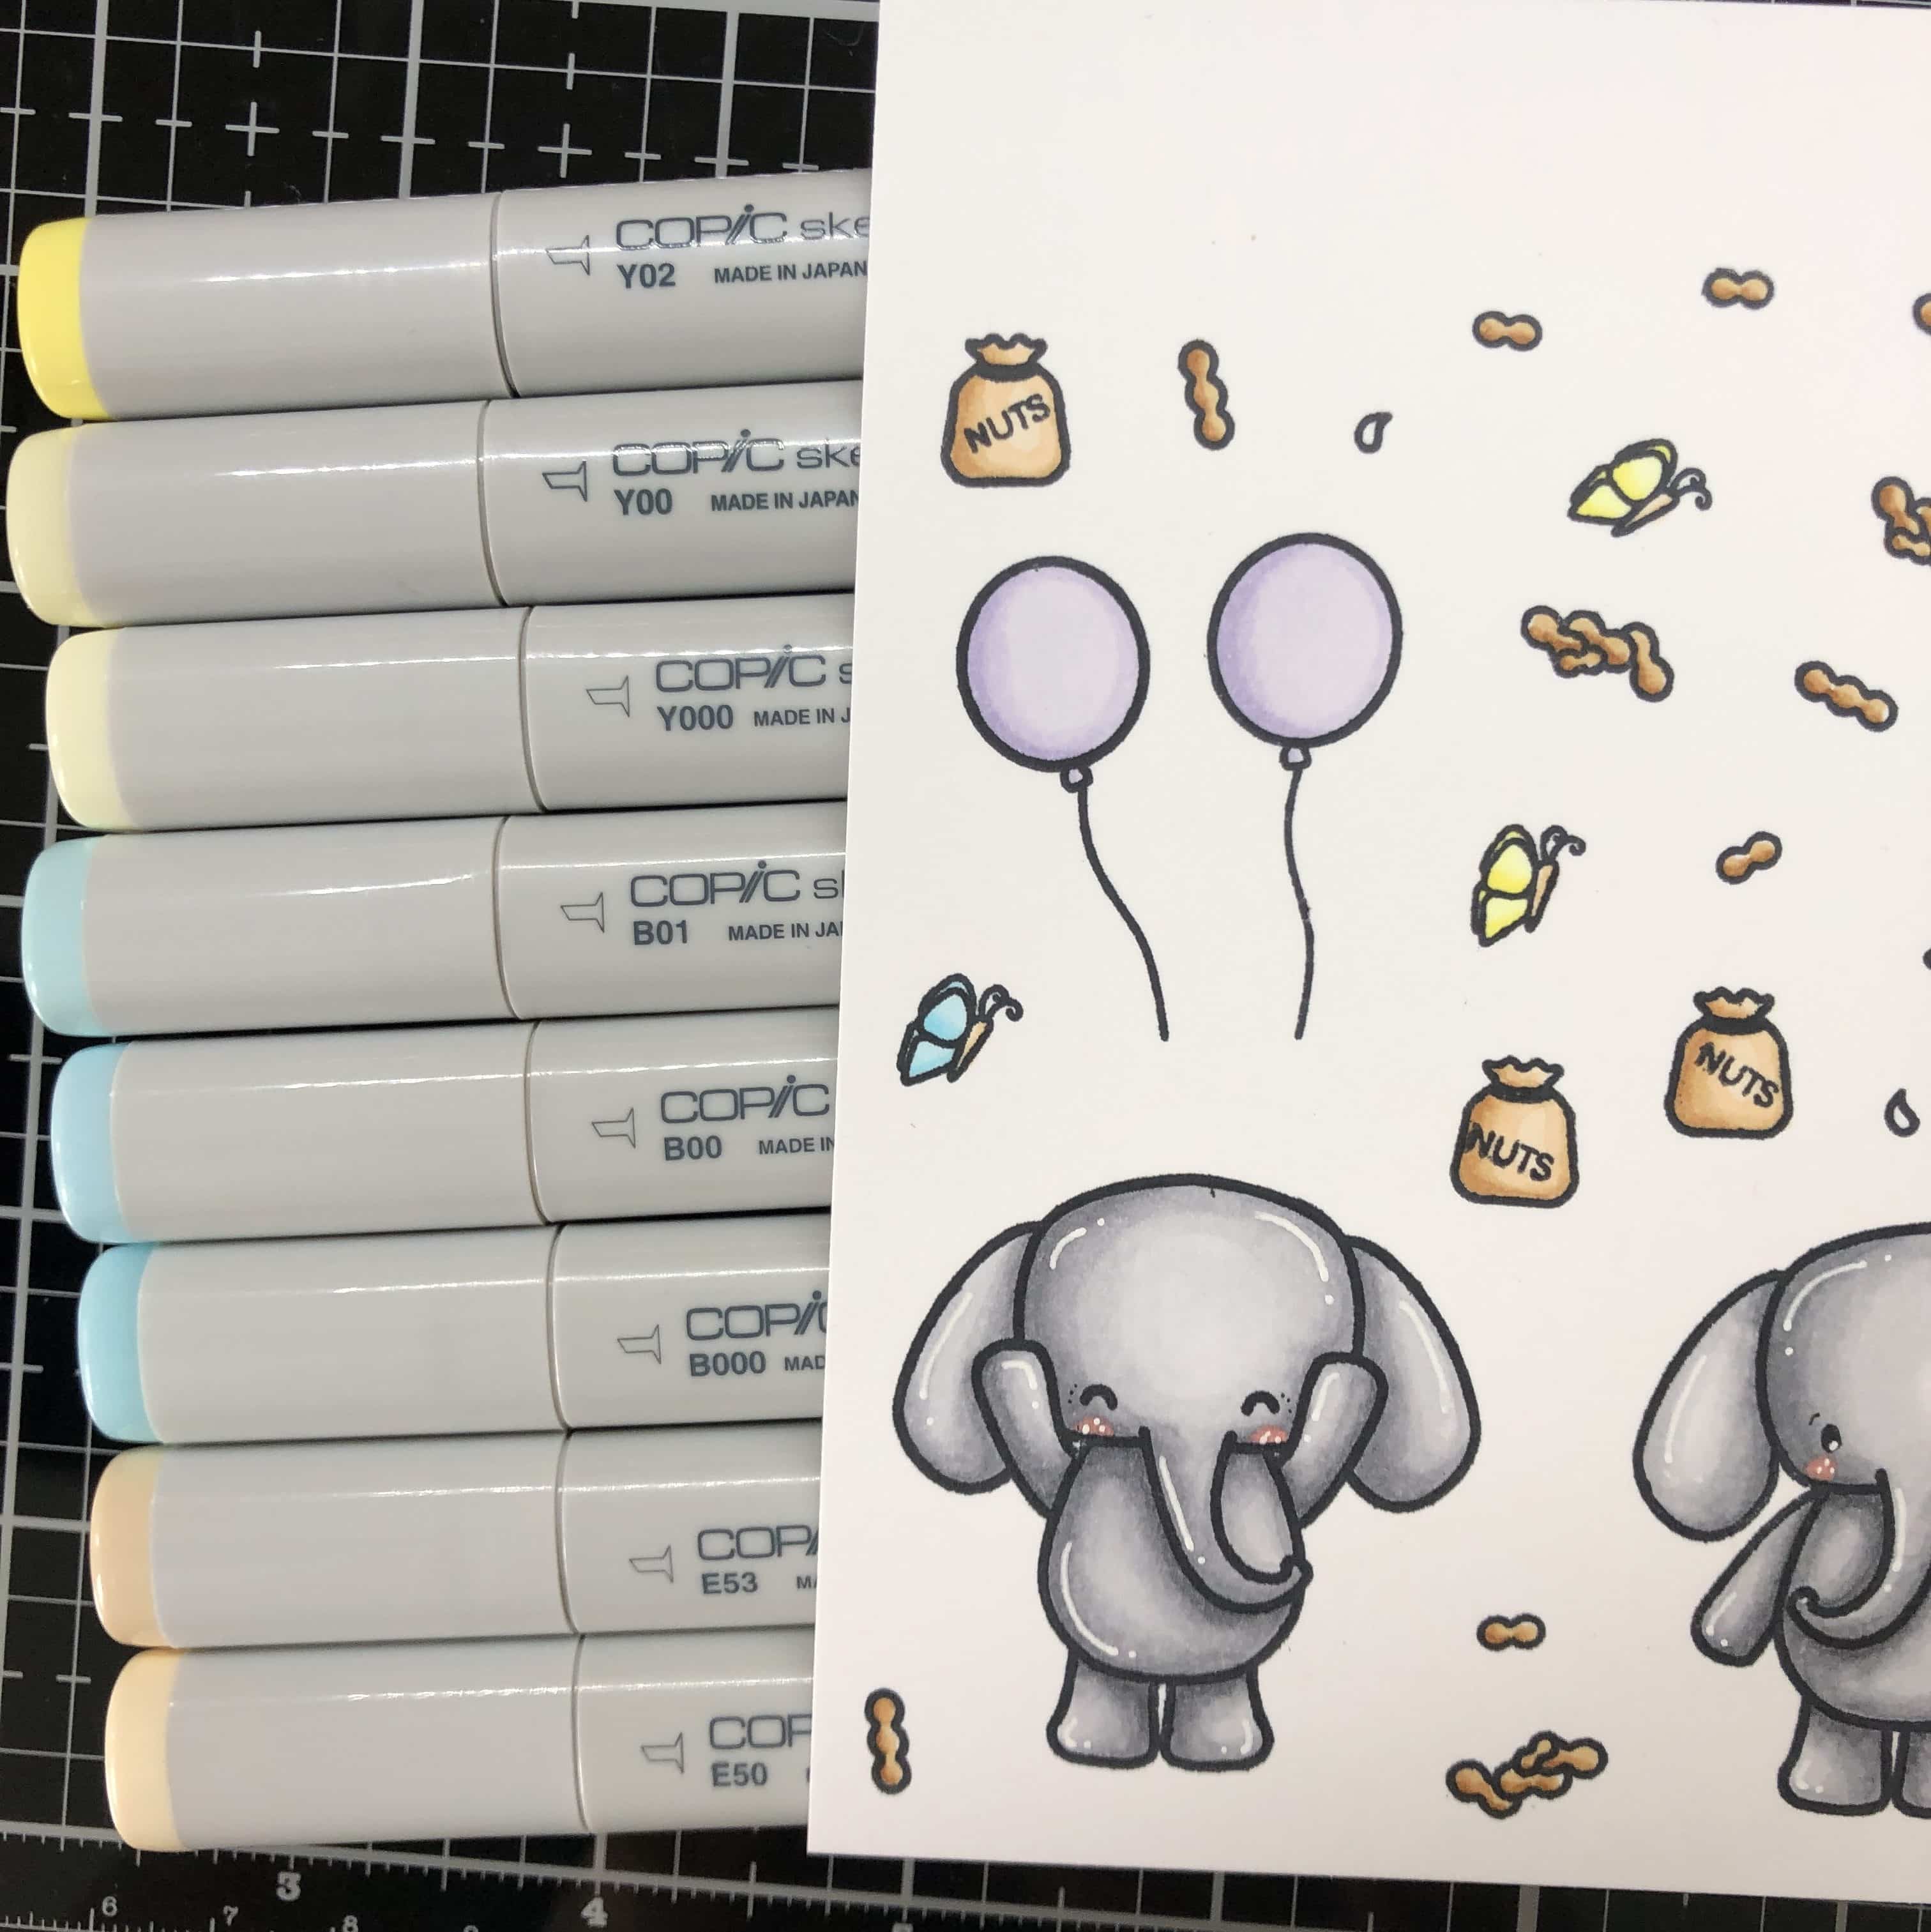
Peanuts and Bags: E30, E31, E34, E35
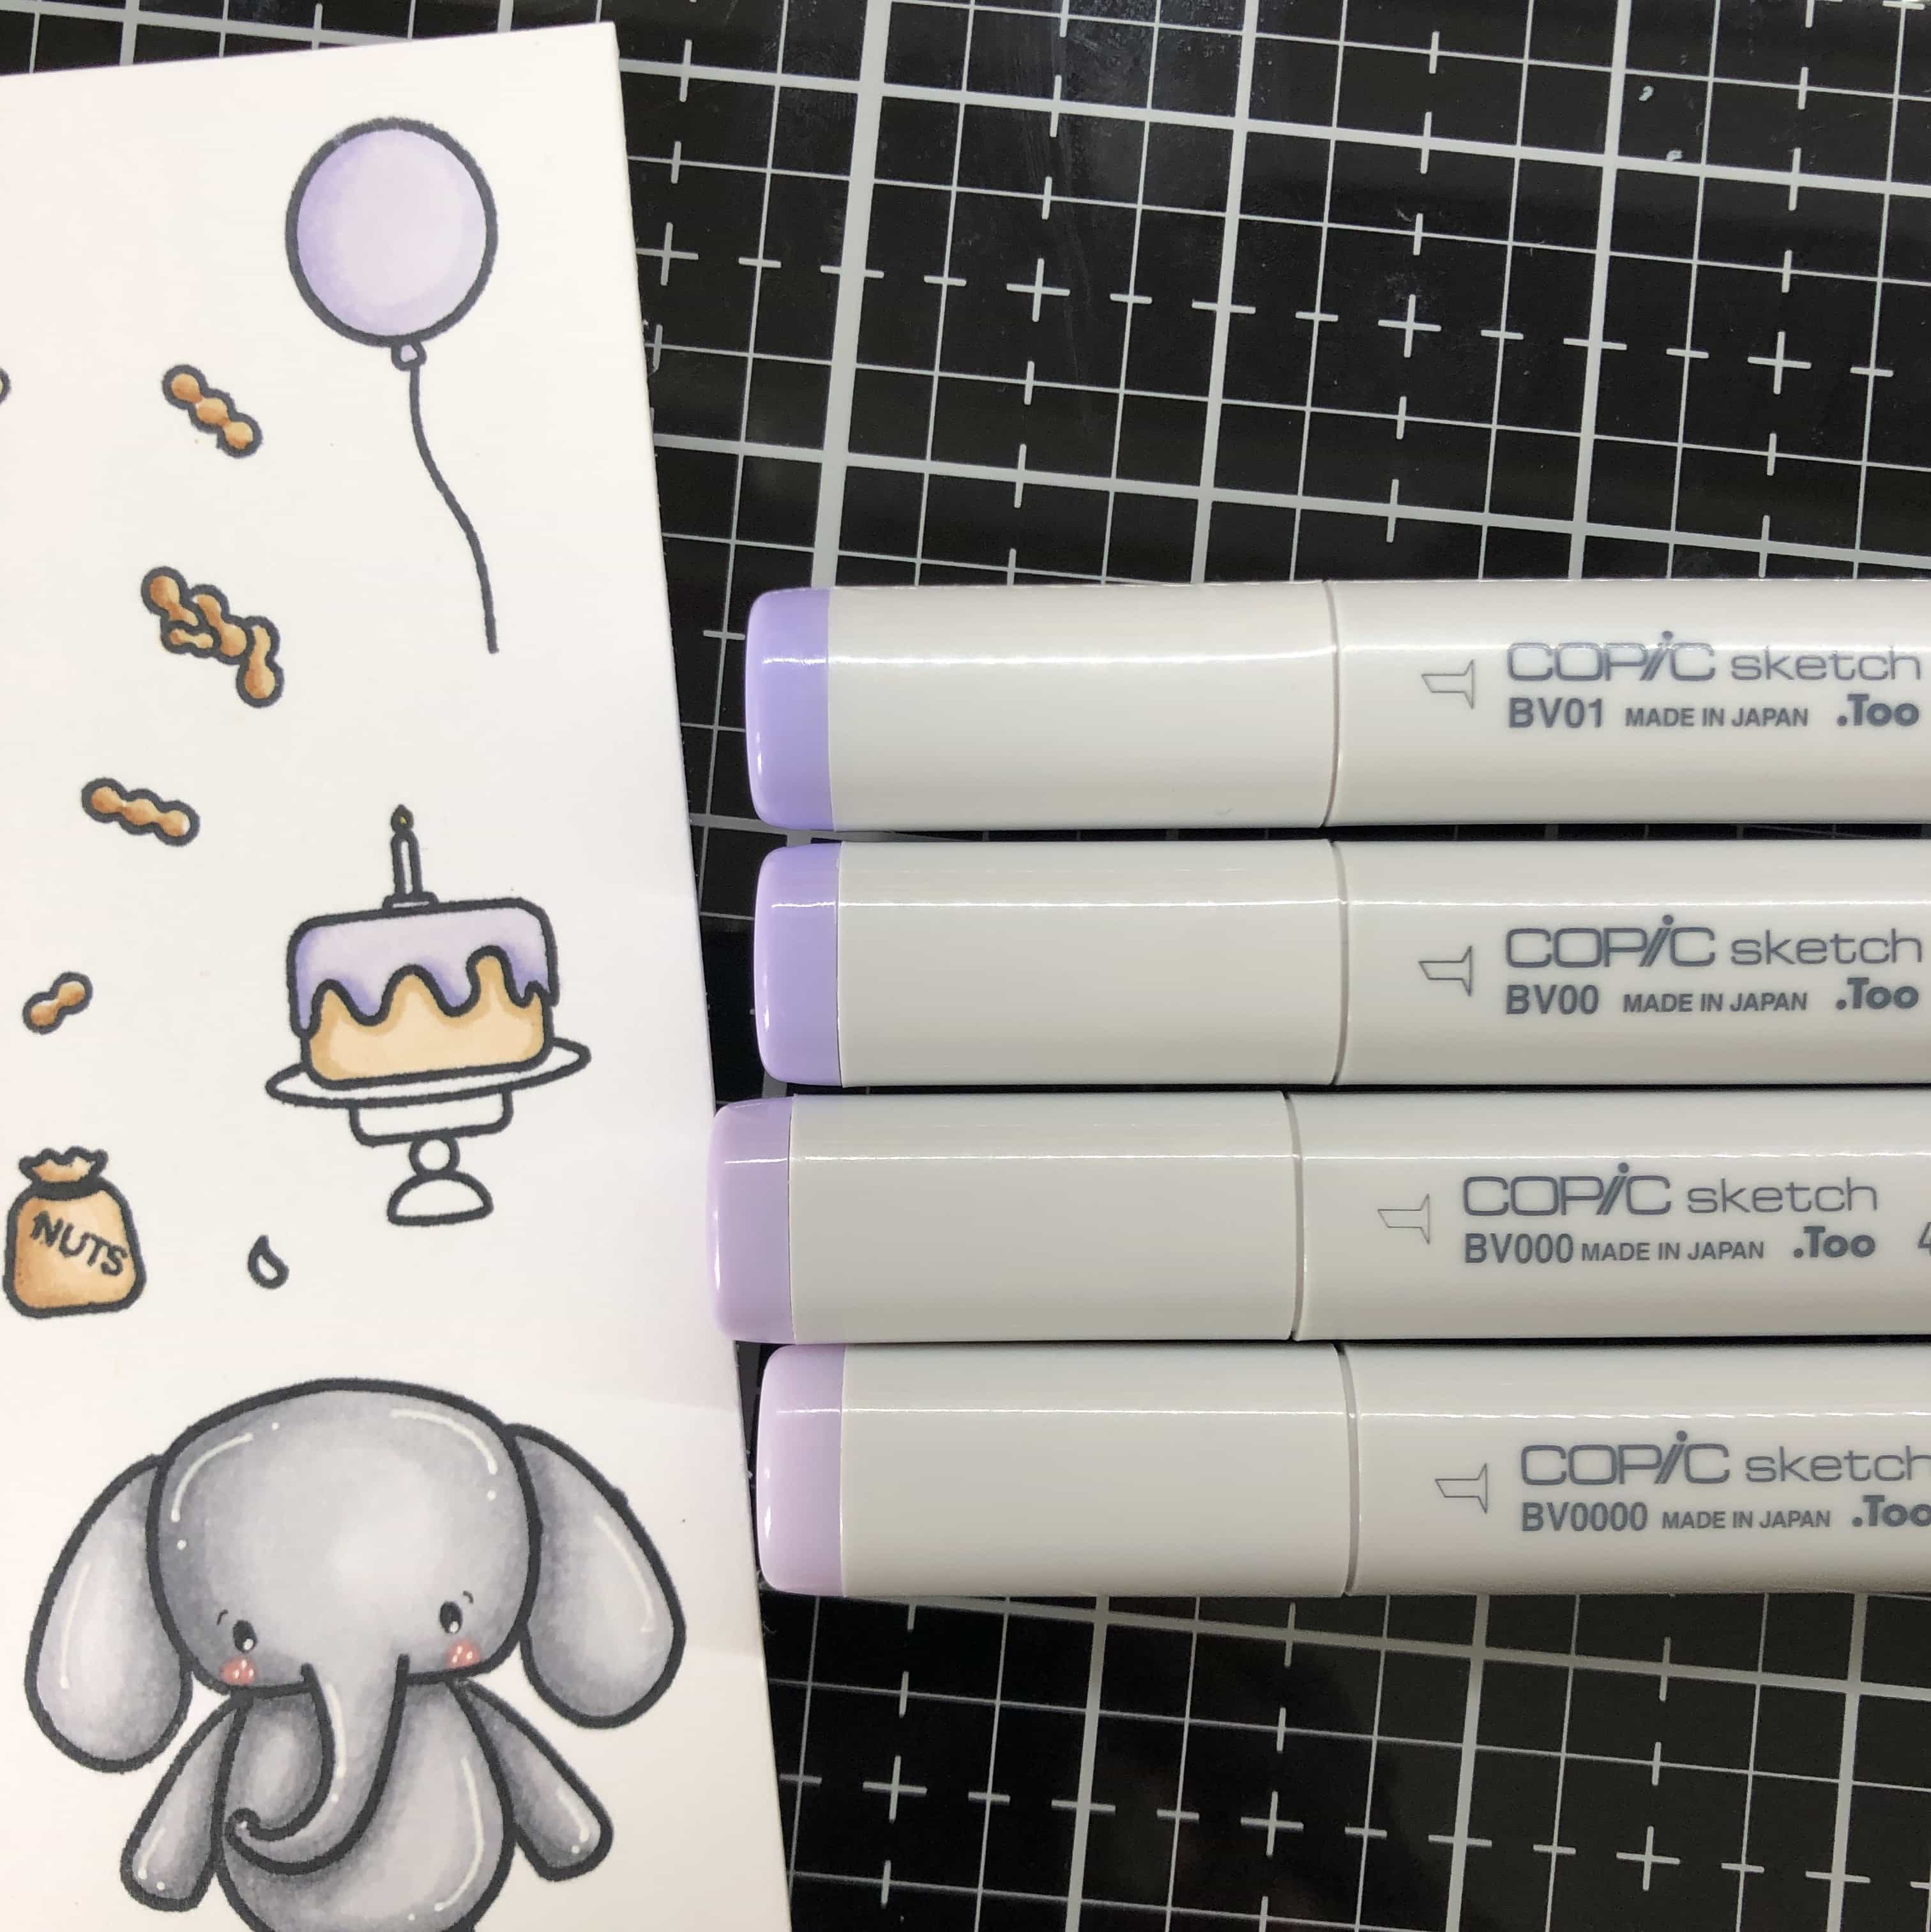
Ballons and Cake: BV0000, BV000, BV00
Cake Plate: T0, T2
Butterflies: Y000, Y0o, Y02, B000, B00, B01, E50, E53
I use a white Gelly Roll pen for all of my highlights.


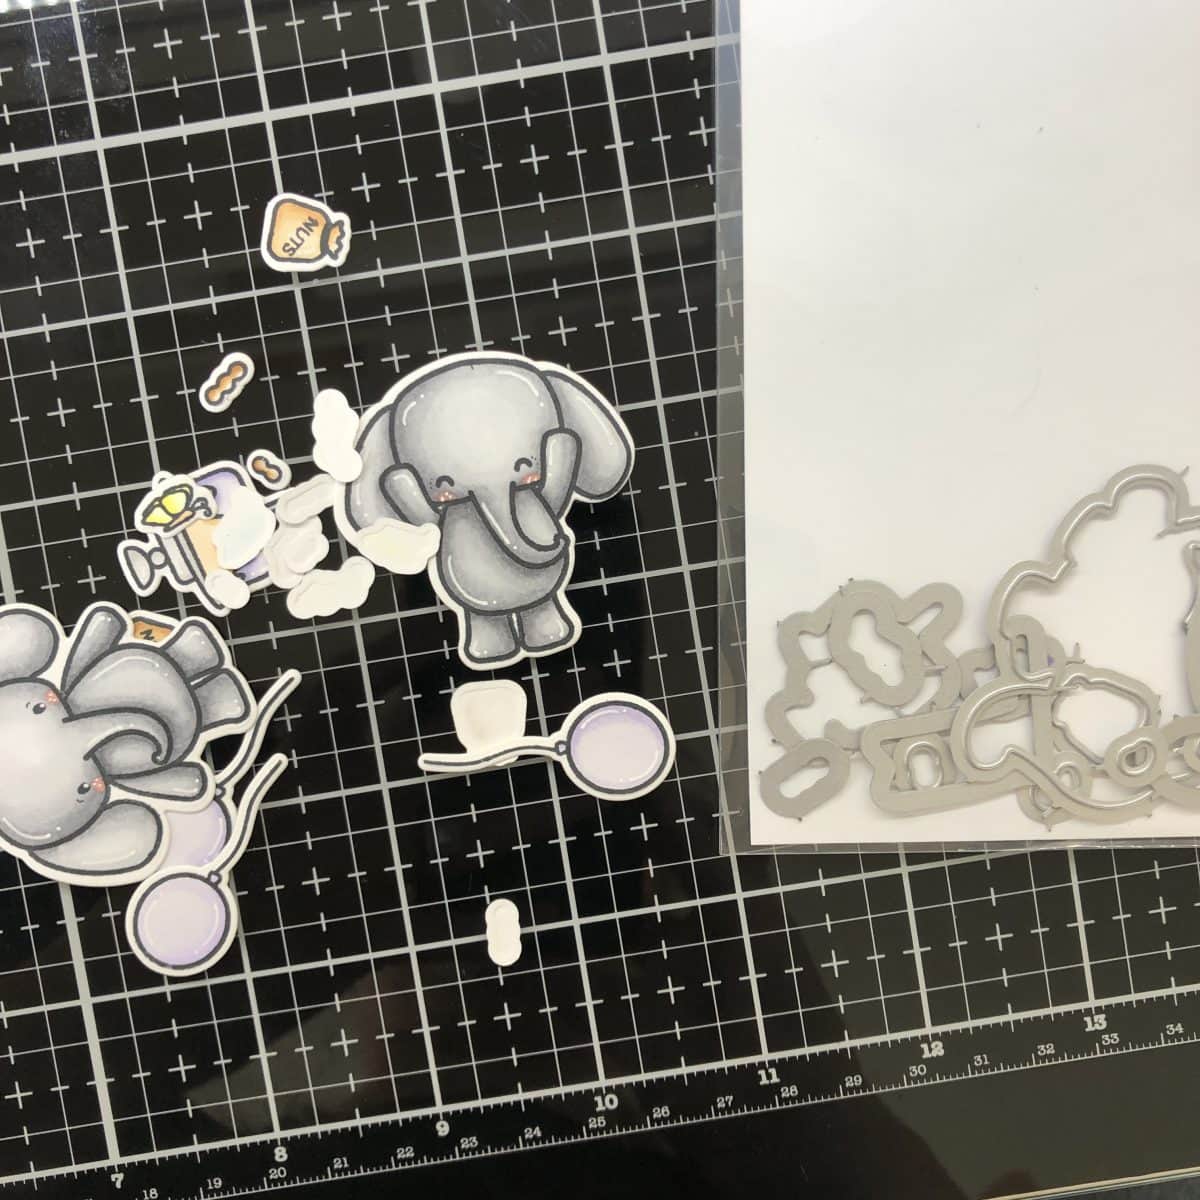
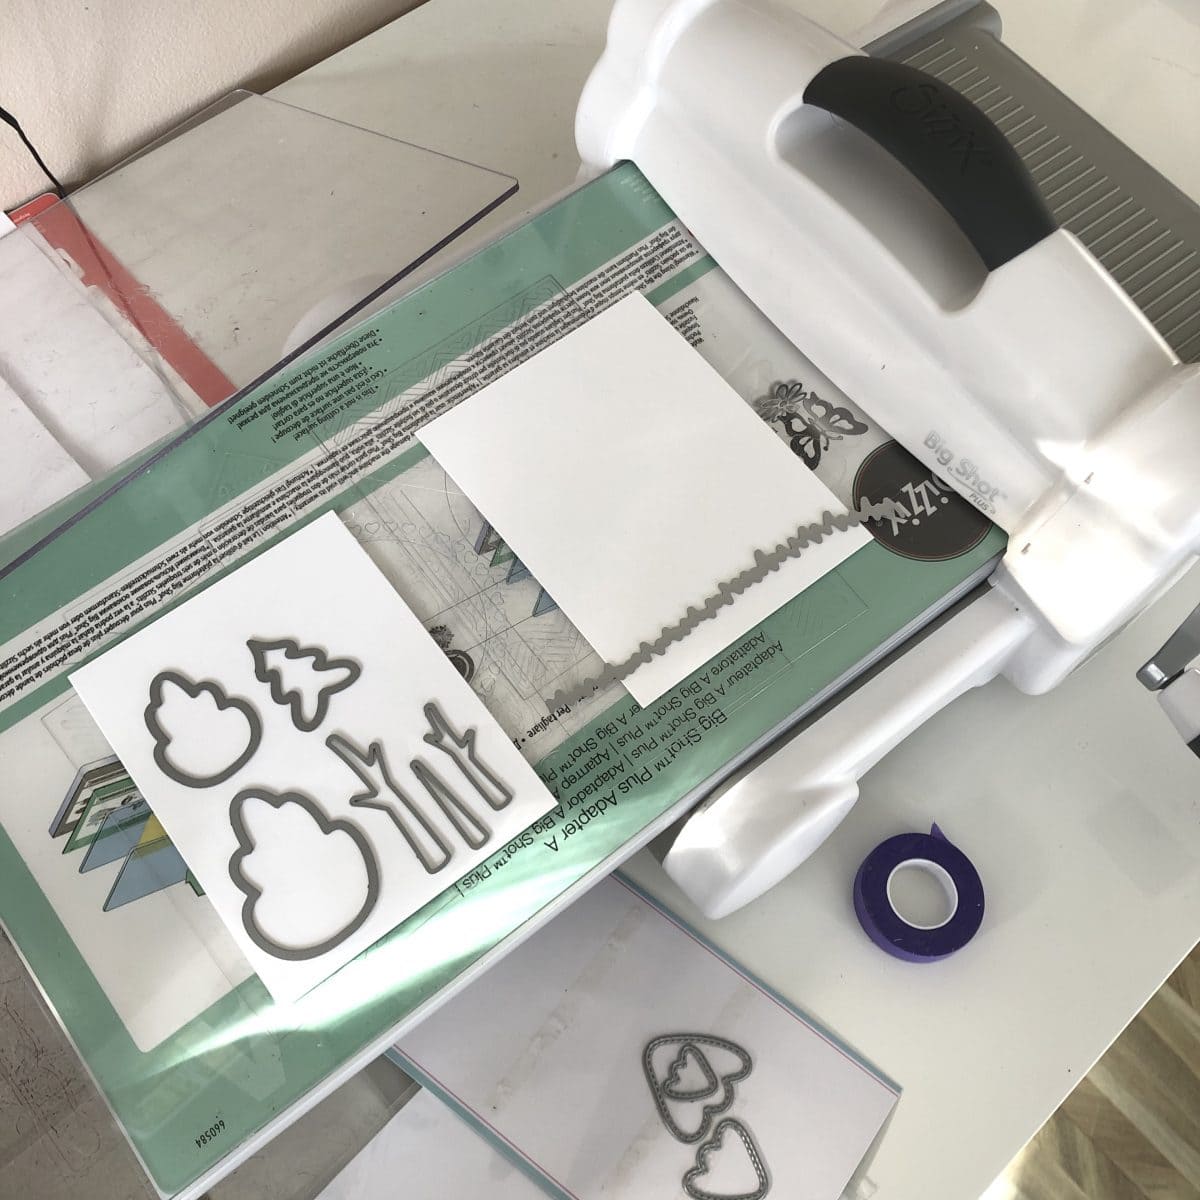
I am using the coordinating dies to cut out all my stamped and colored images. I use a Big Shot Plus machine, but any die cutting machine will work!
I cut down 2 pieces of 80 lb Neenah Solar White card stock to 5.5″ x 4.25″. This is the size my final card will be (A2).
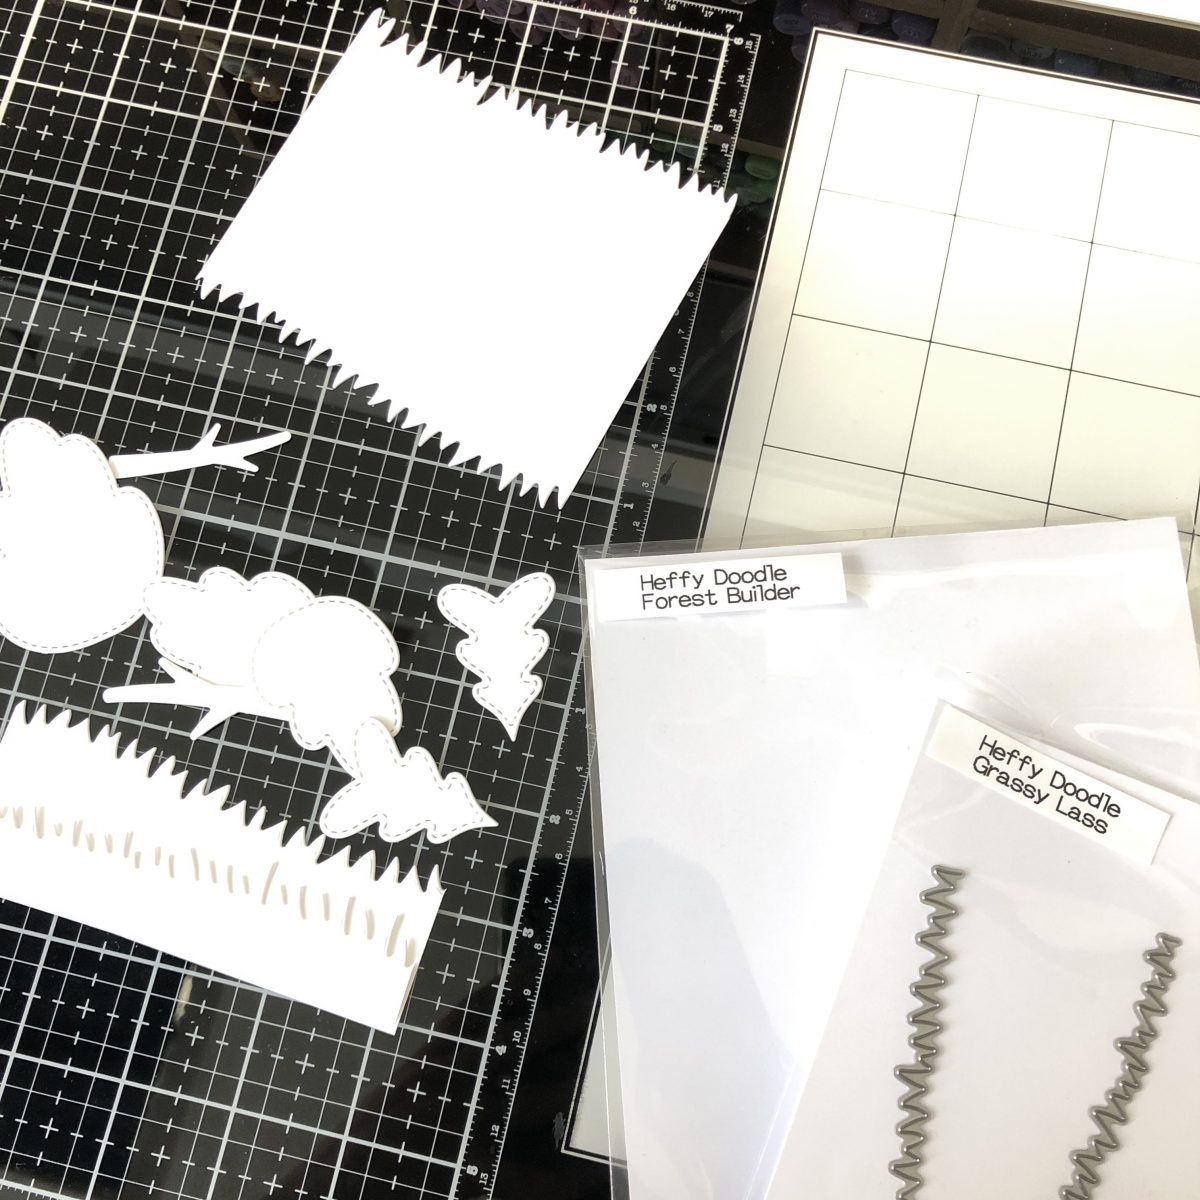
I am using the Forest Builder and Grassy Lass dies to cut out some grass and trees that I will use for my background. I am cutting out 2 sets of everything – 1 for the front of my card and 1 for the inside.
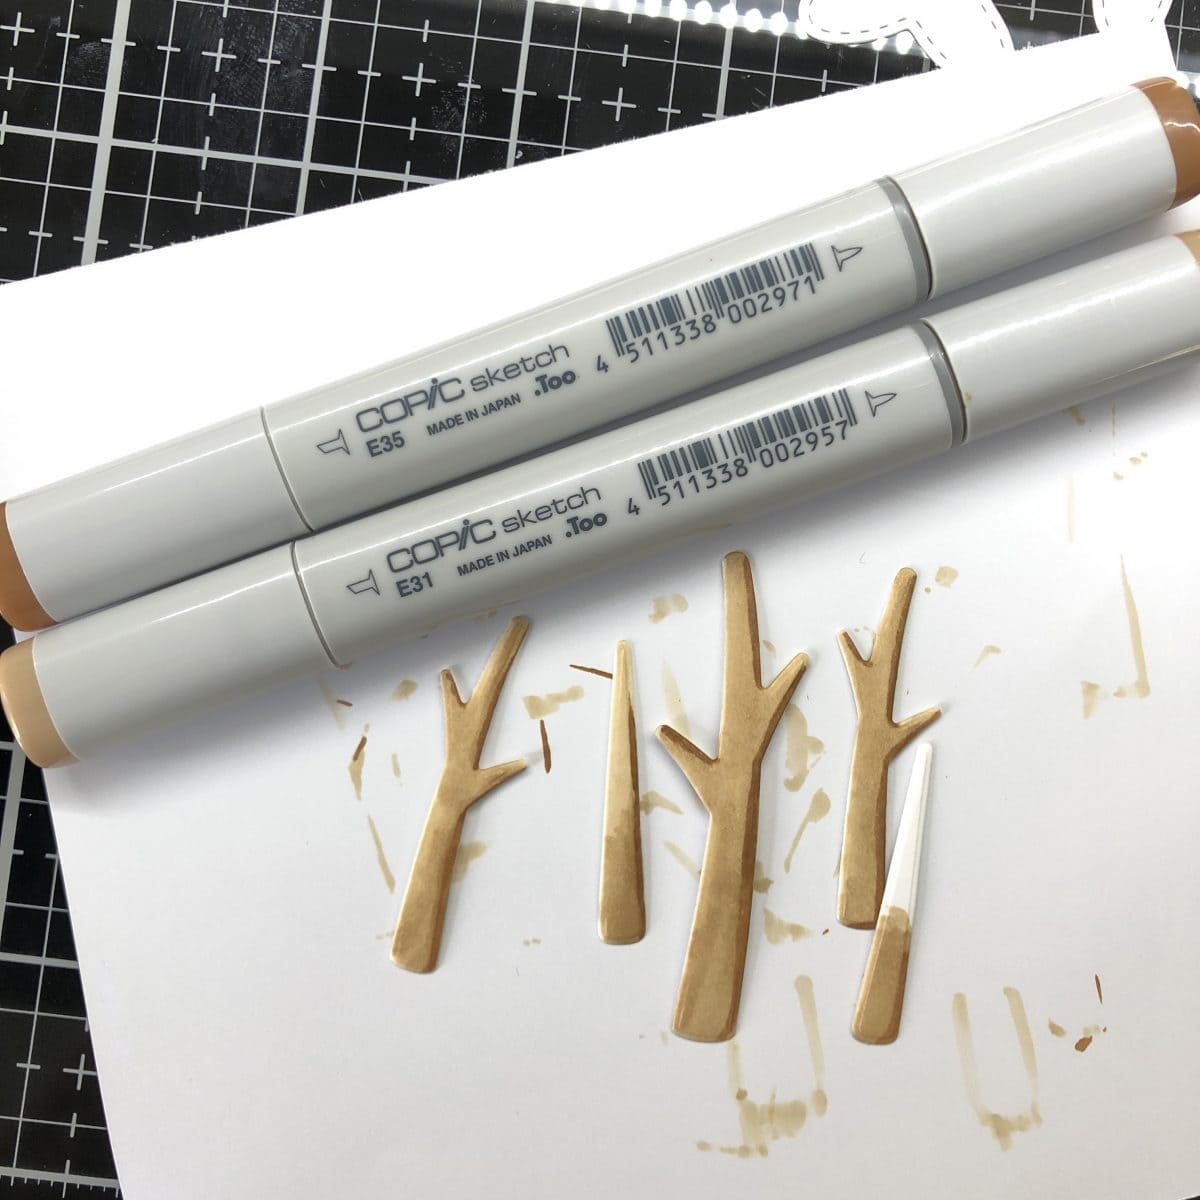
I am coloring in all the branches with E31 and E35.
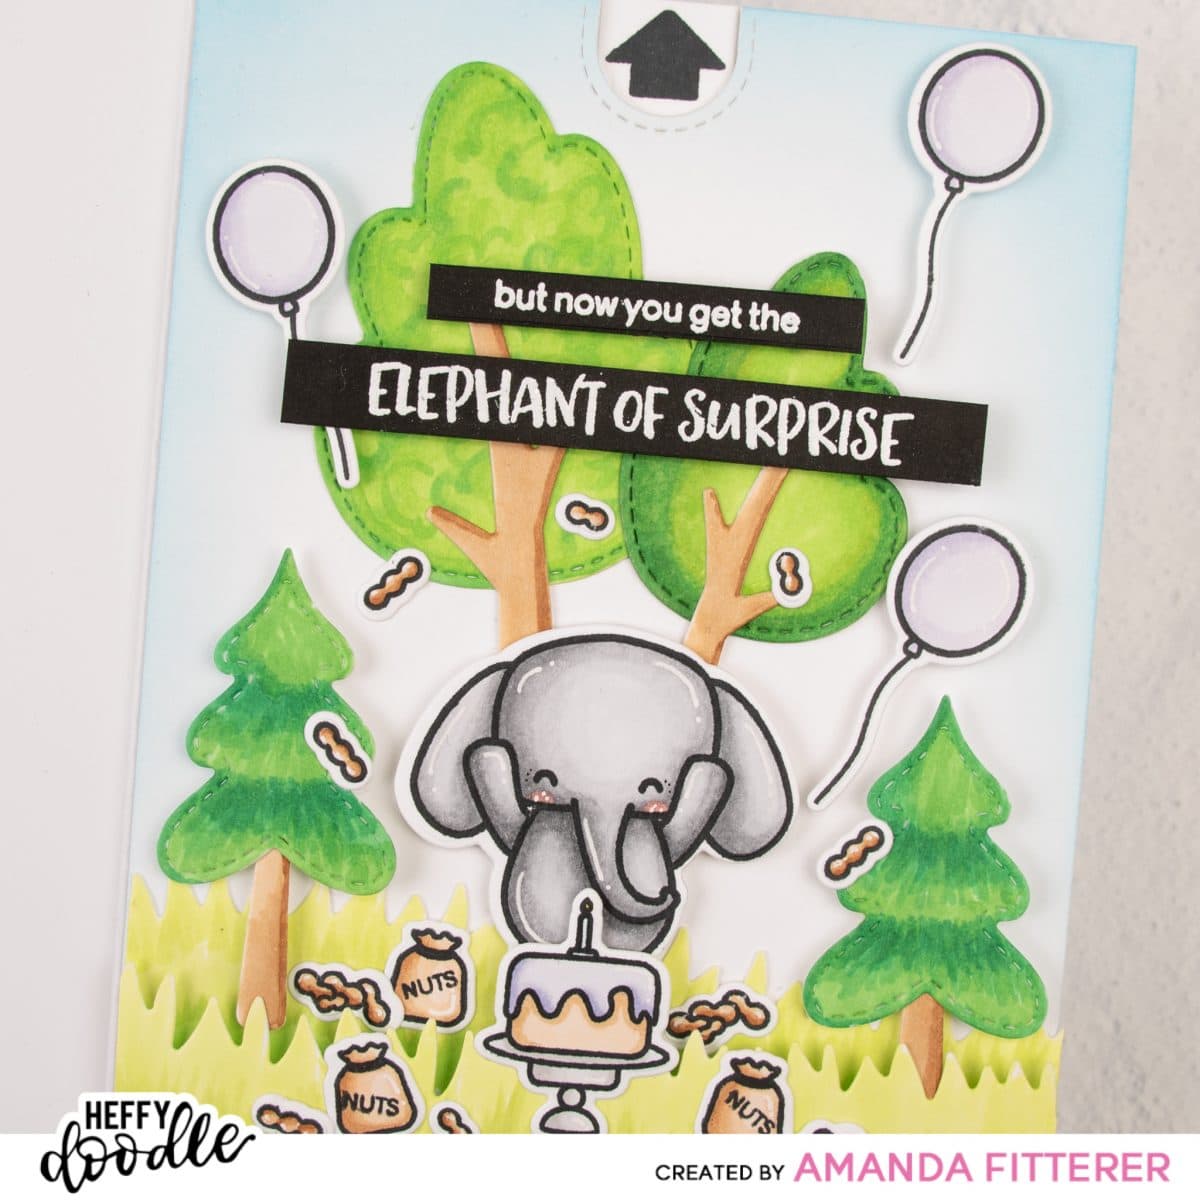
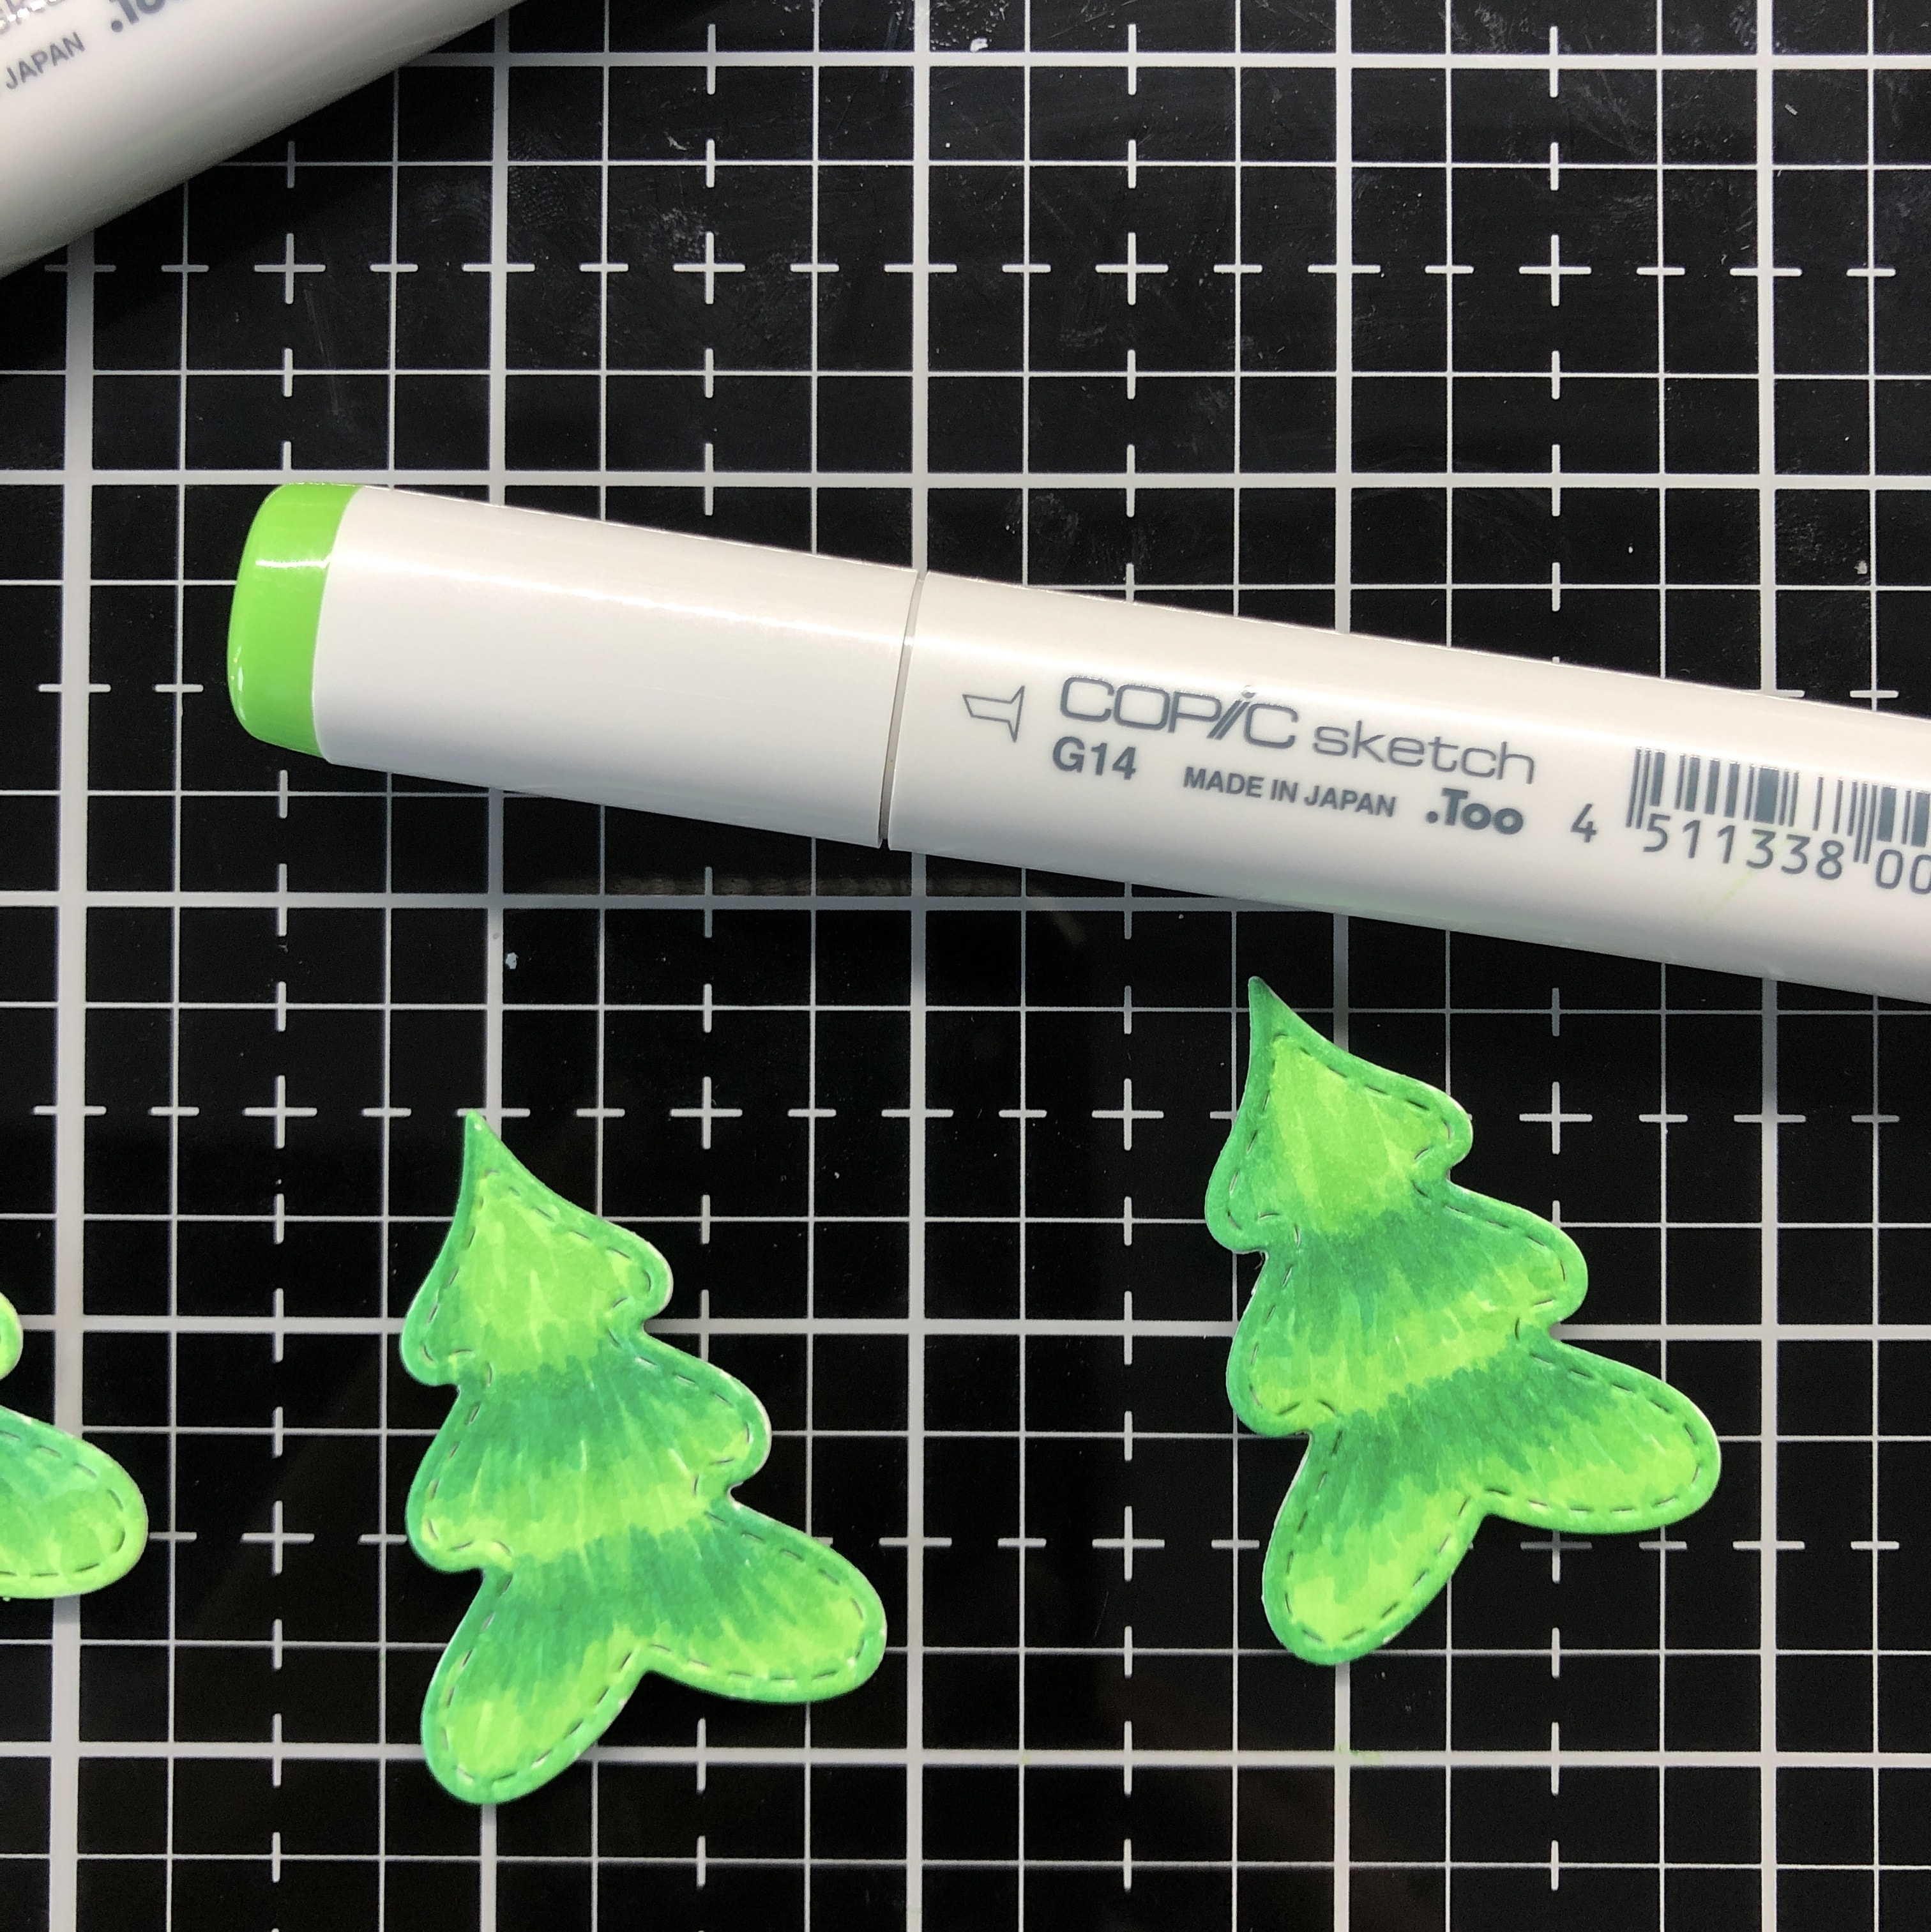
For these cute little trees, I am starting with G09 and used a flicking motion to imitate pine needles. Next, I’m using G05 and then G14 to finish them off.


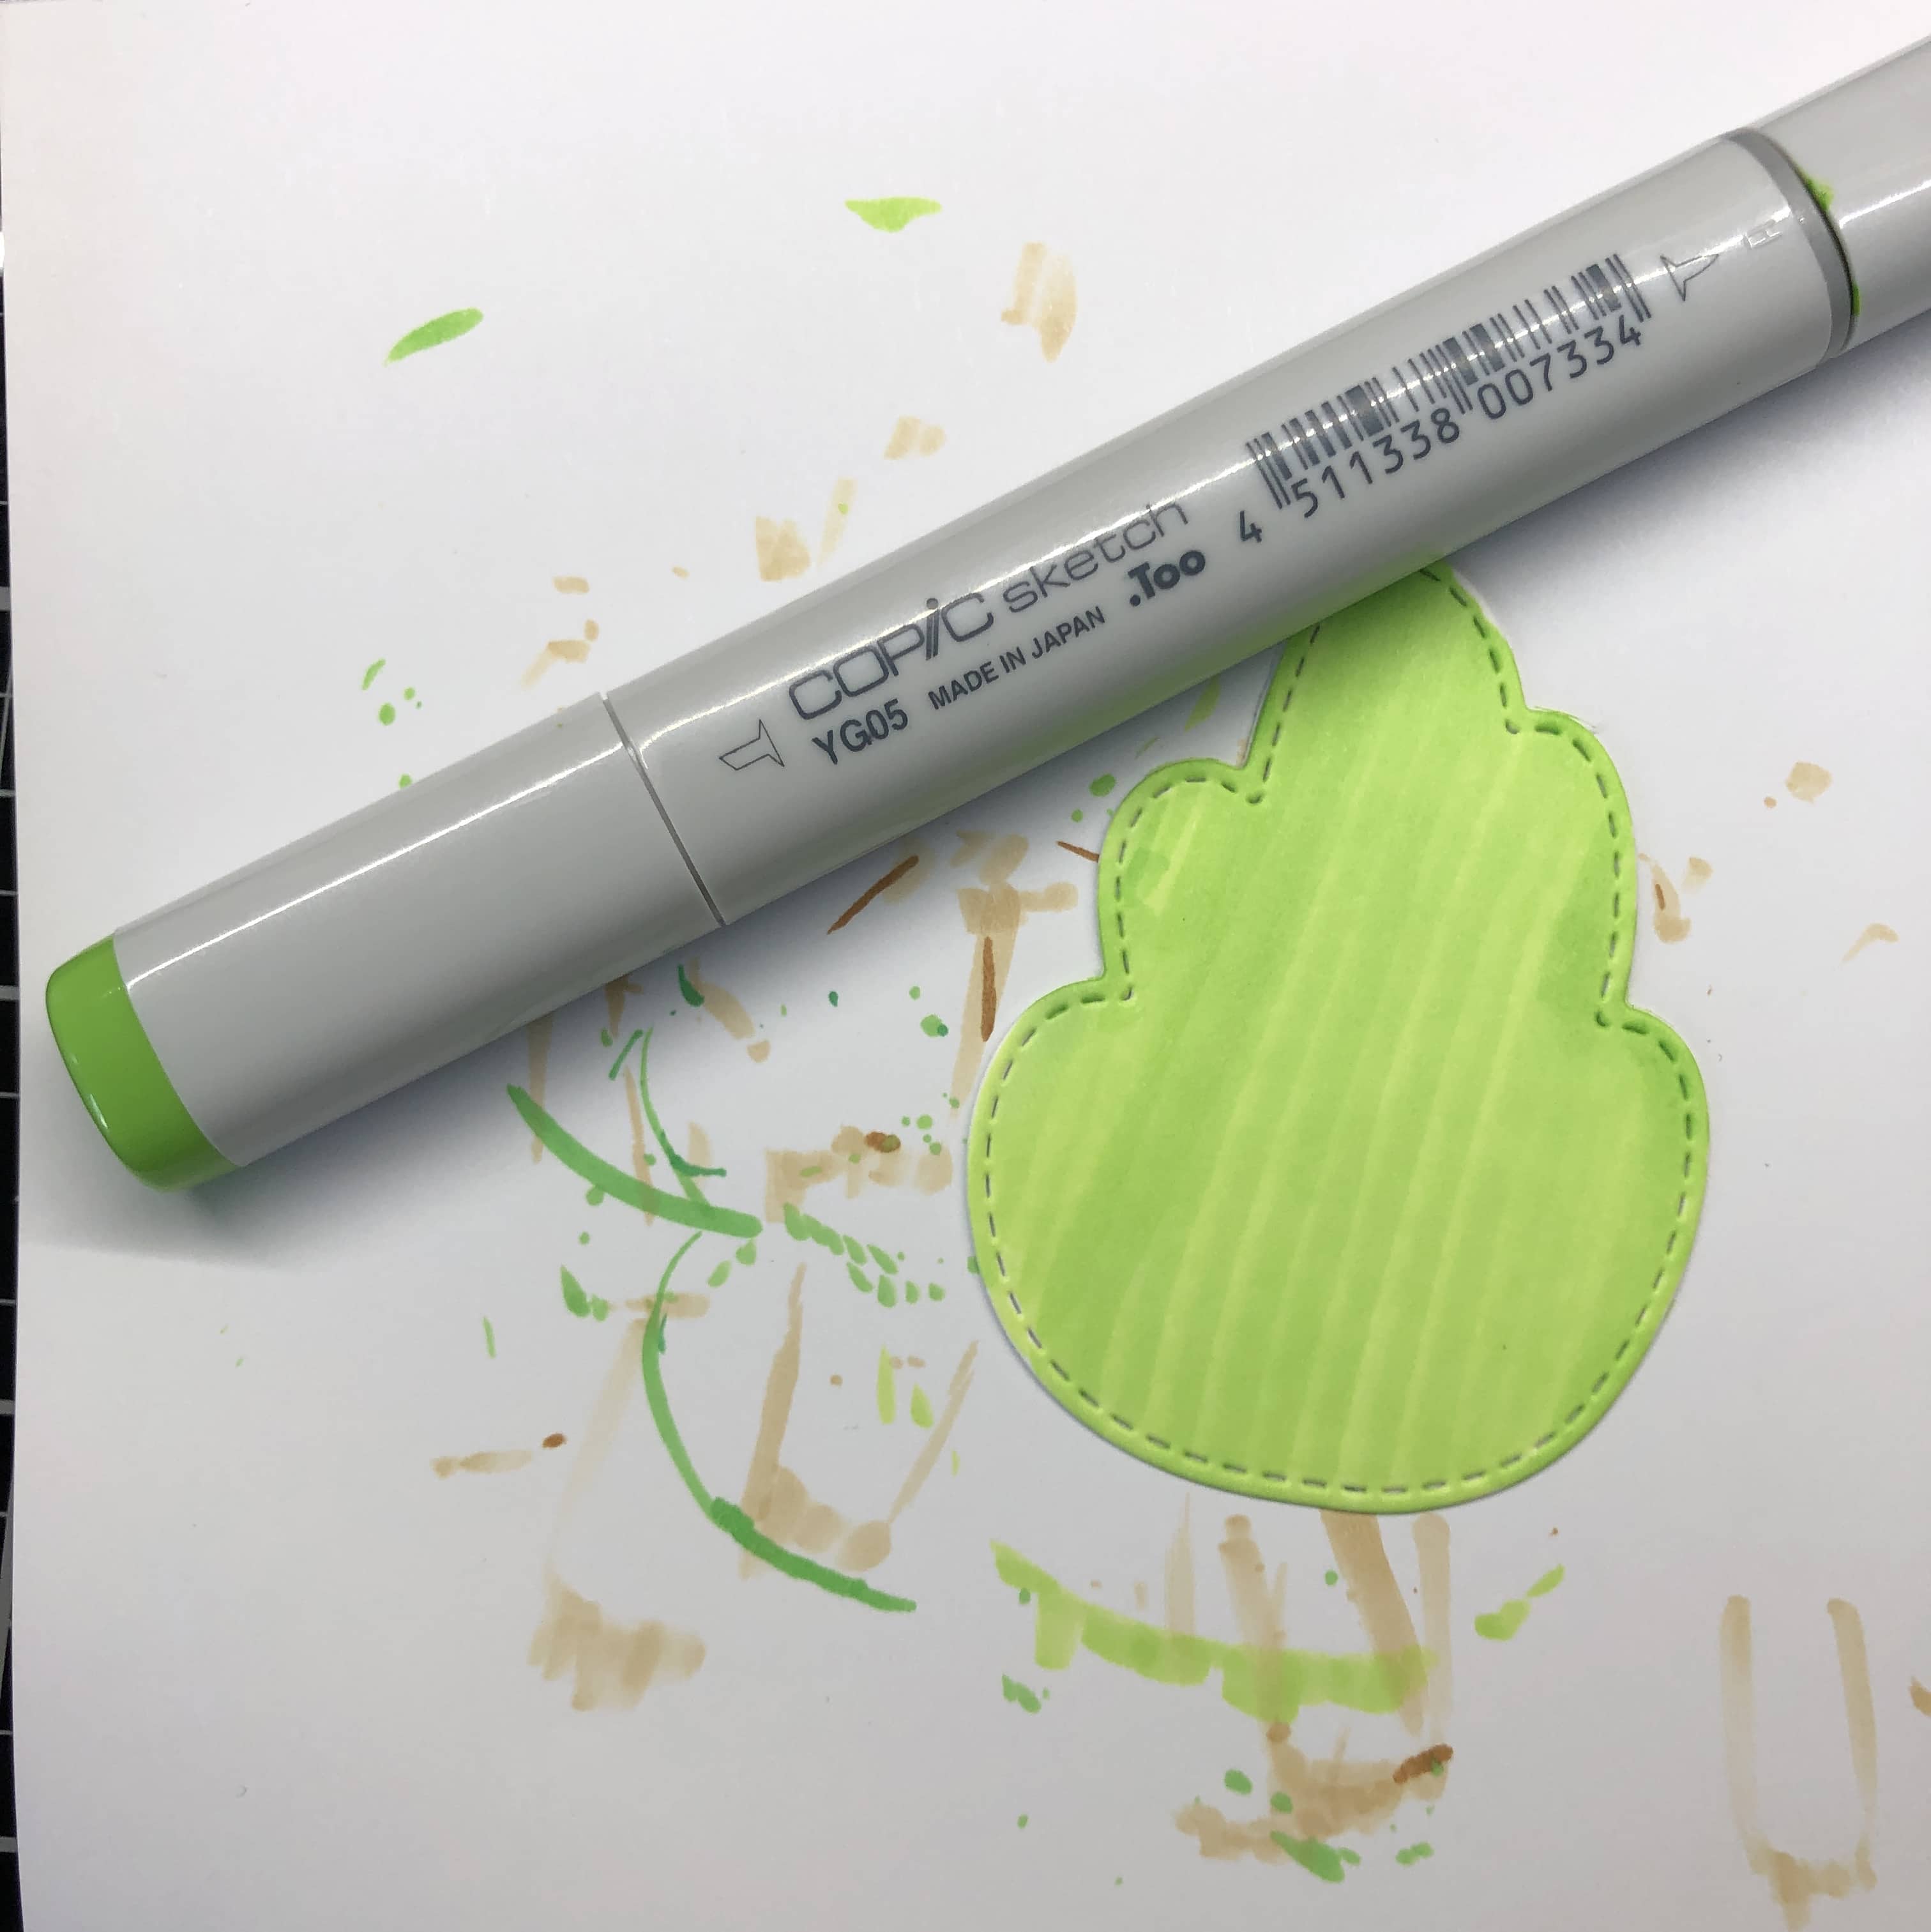
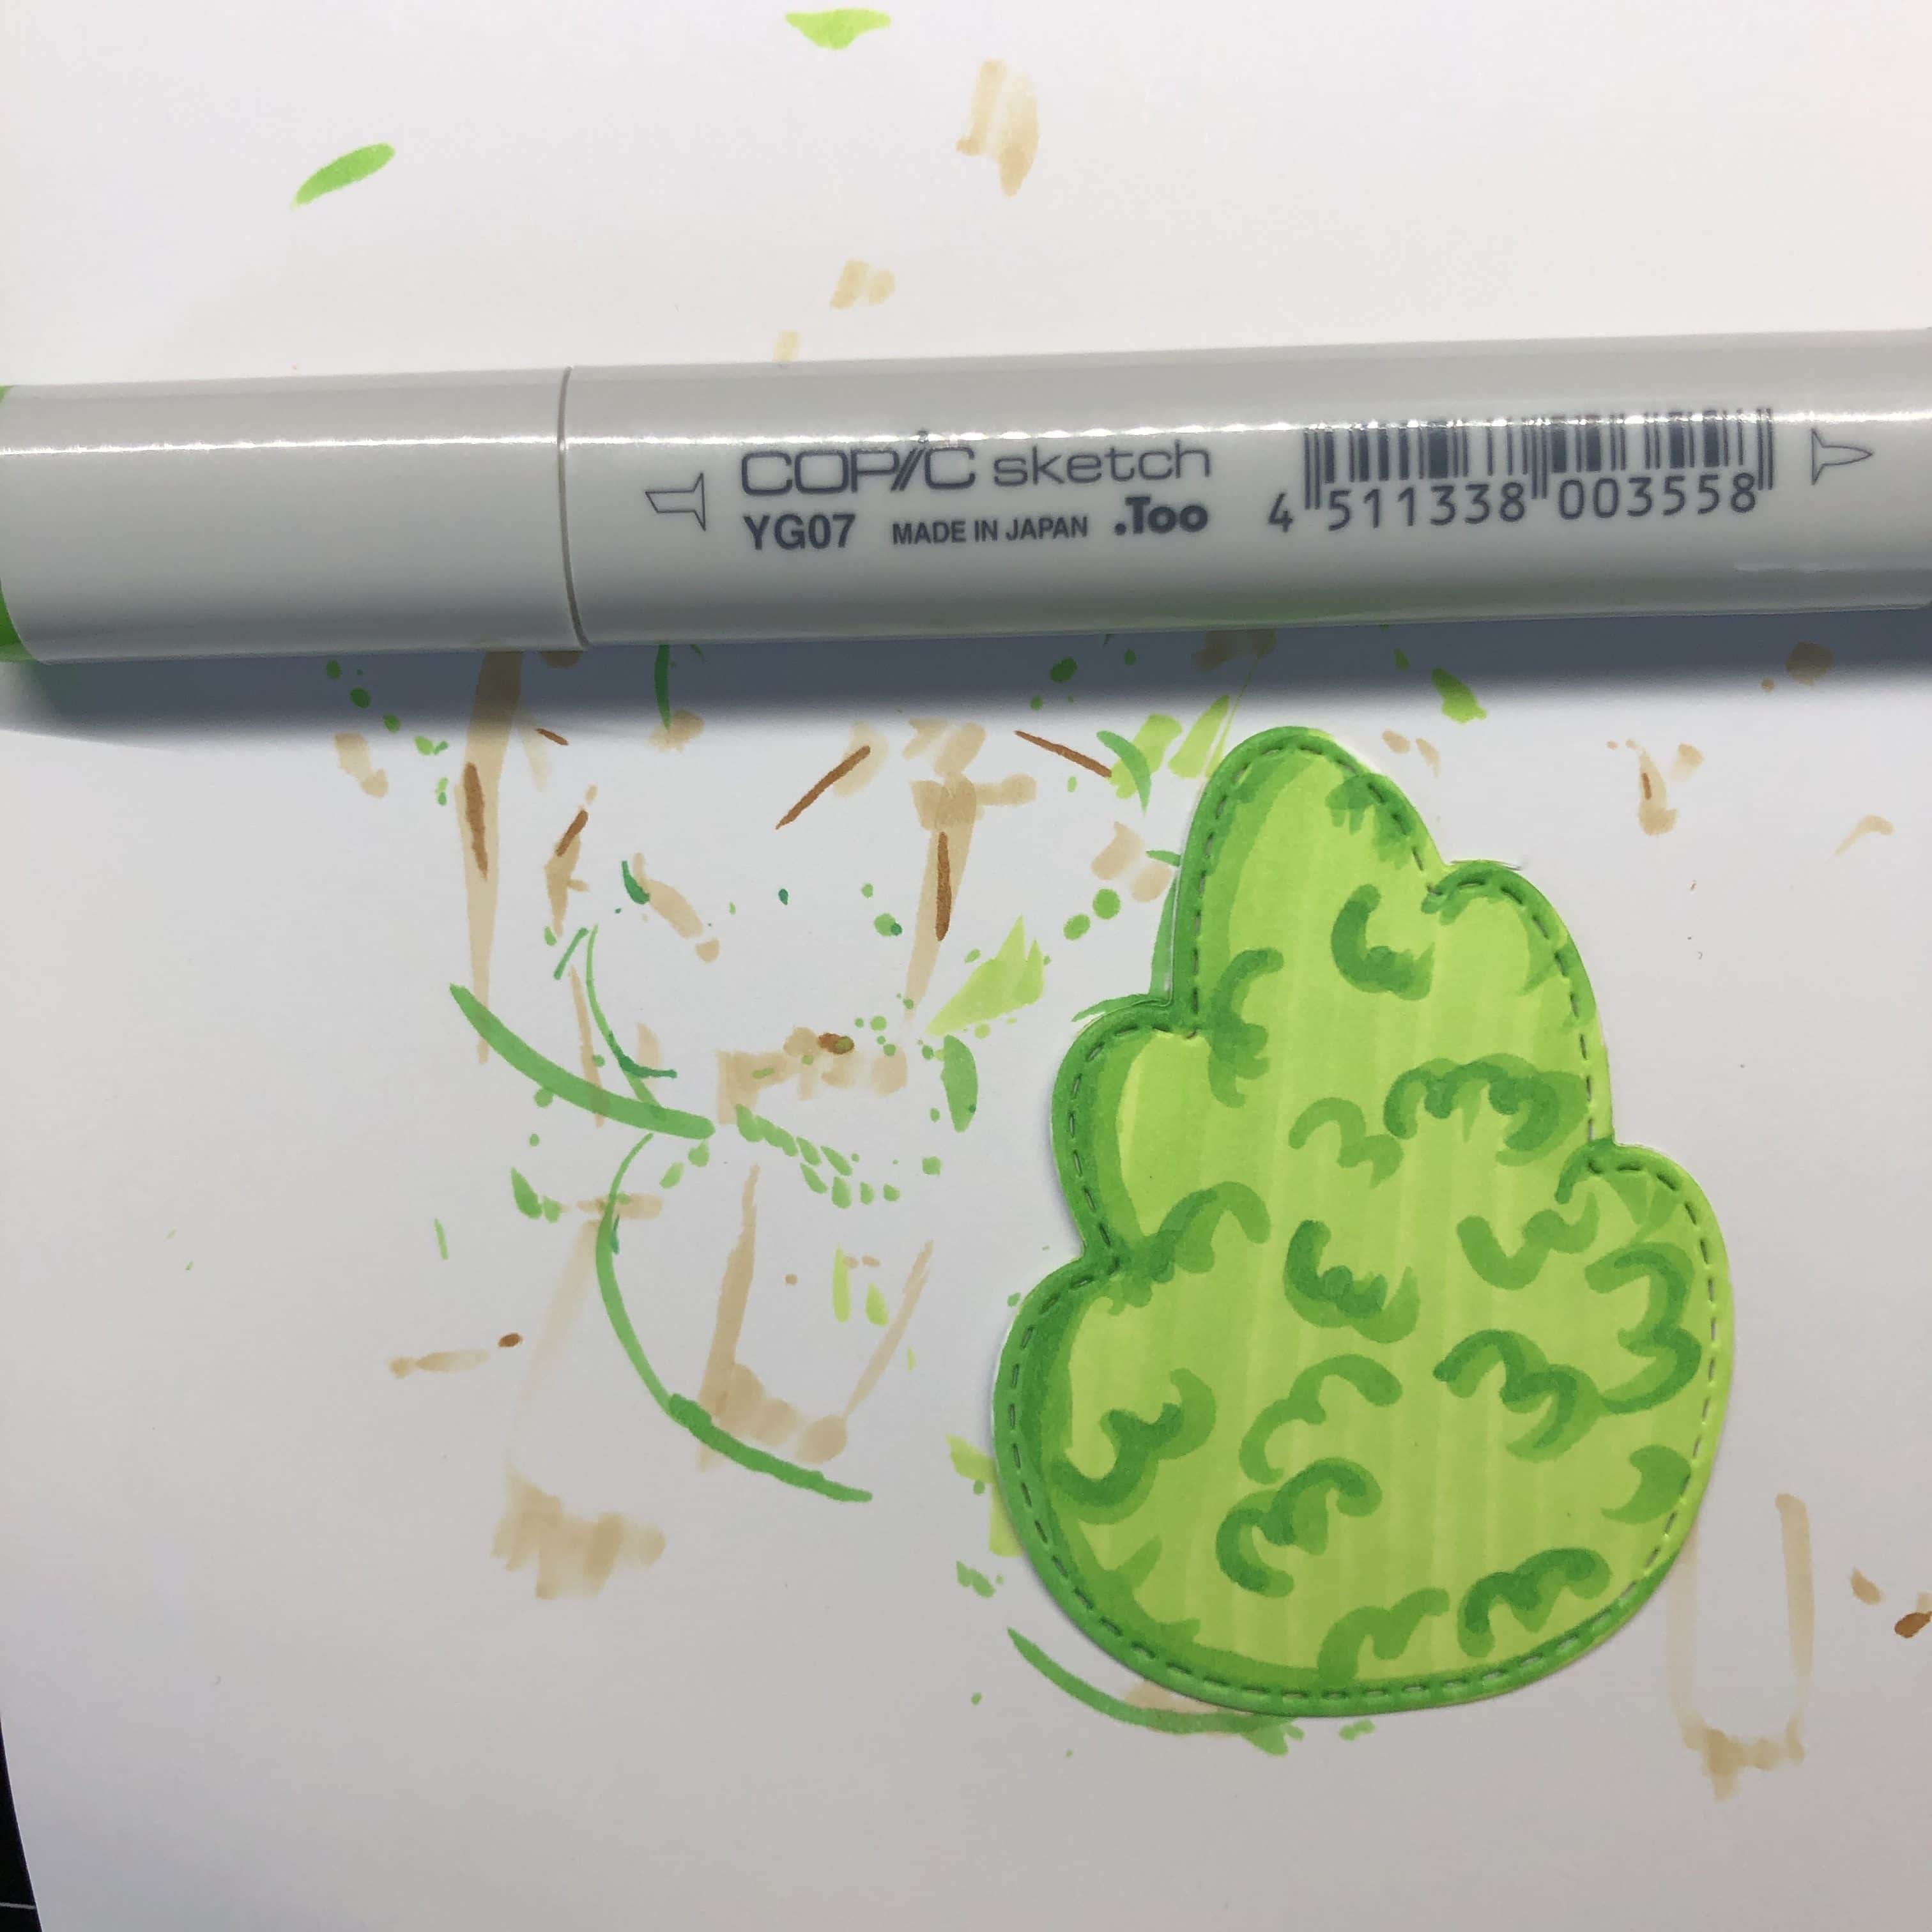
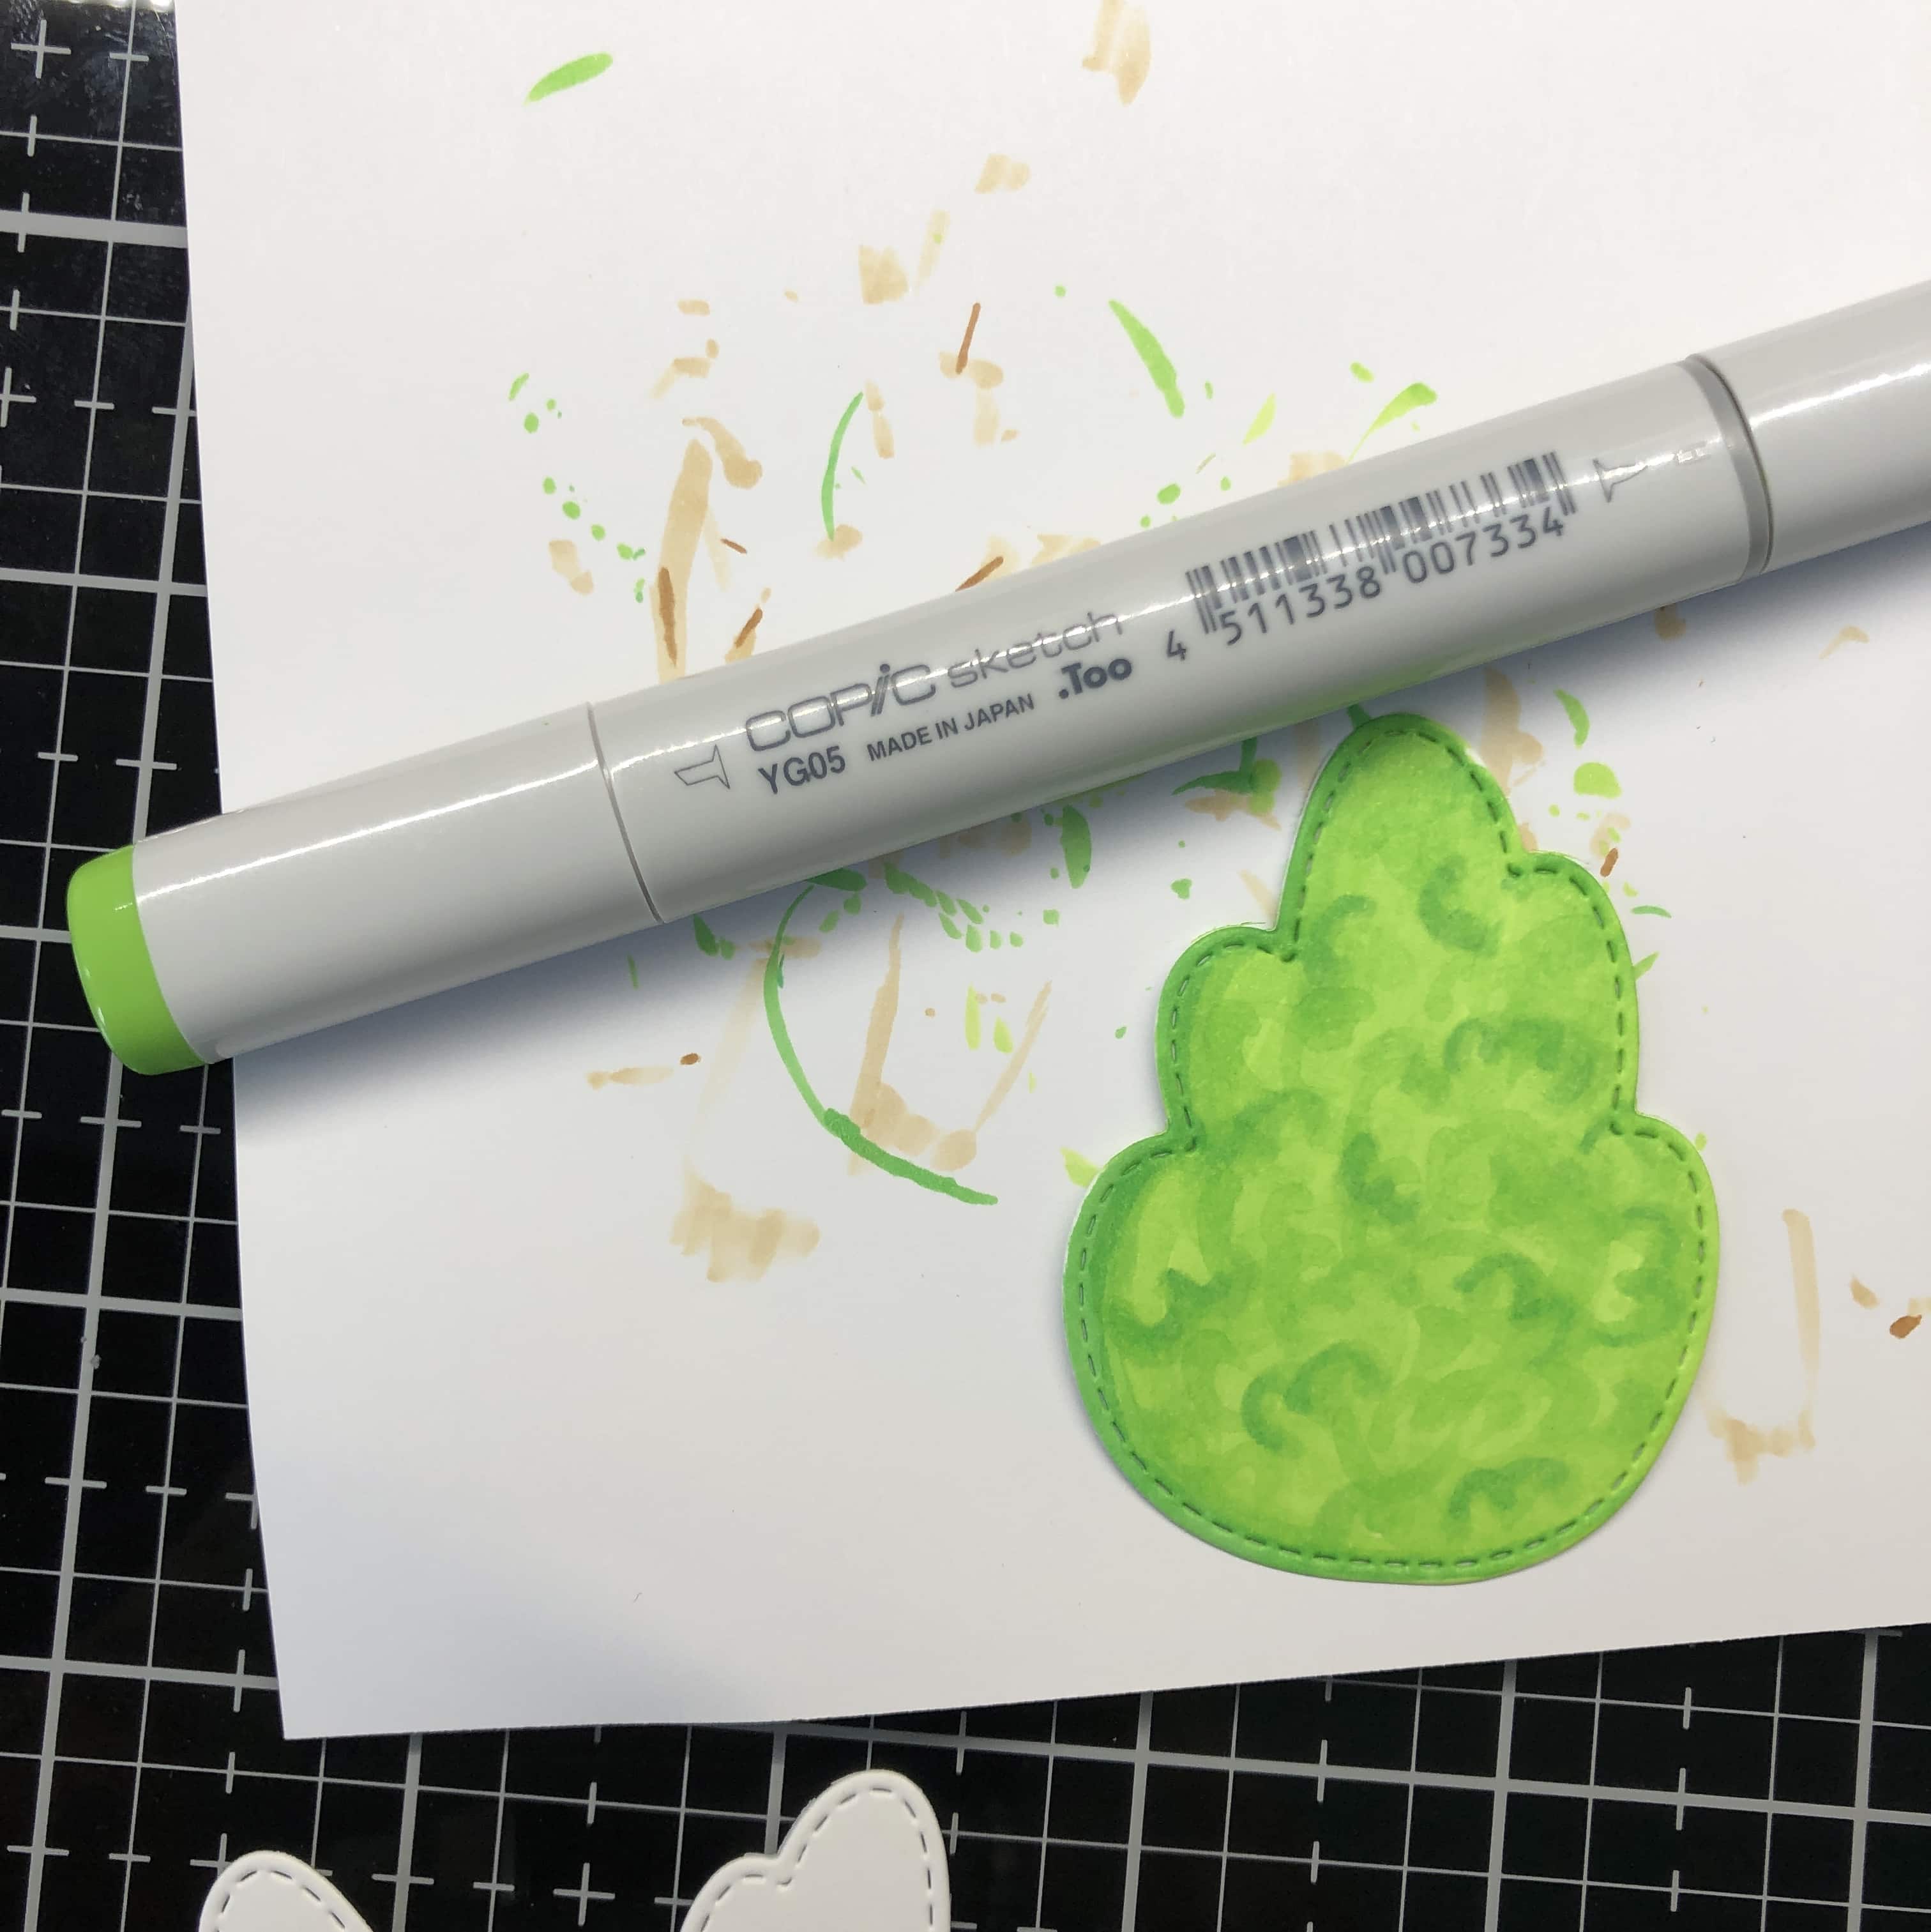
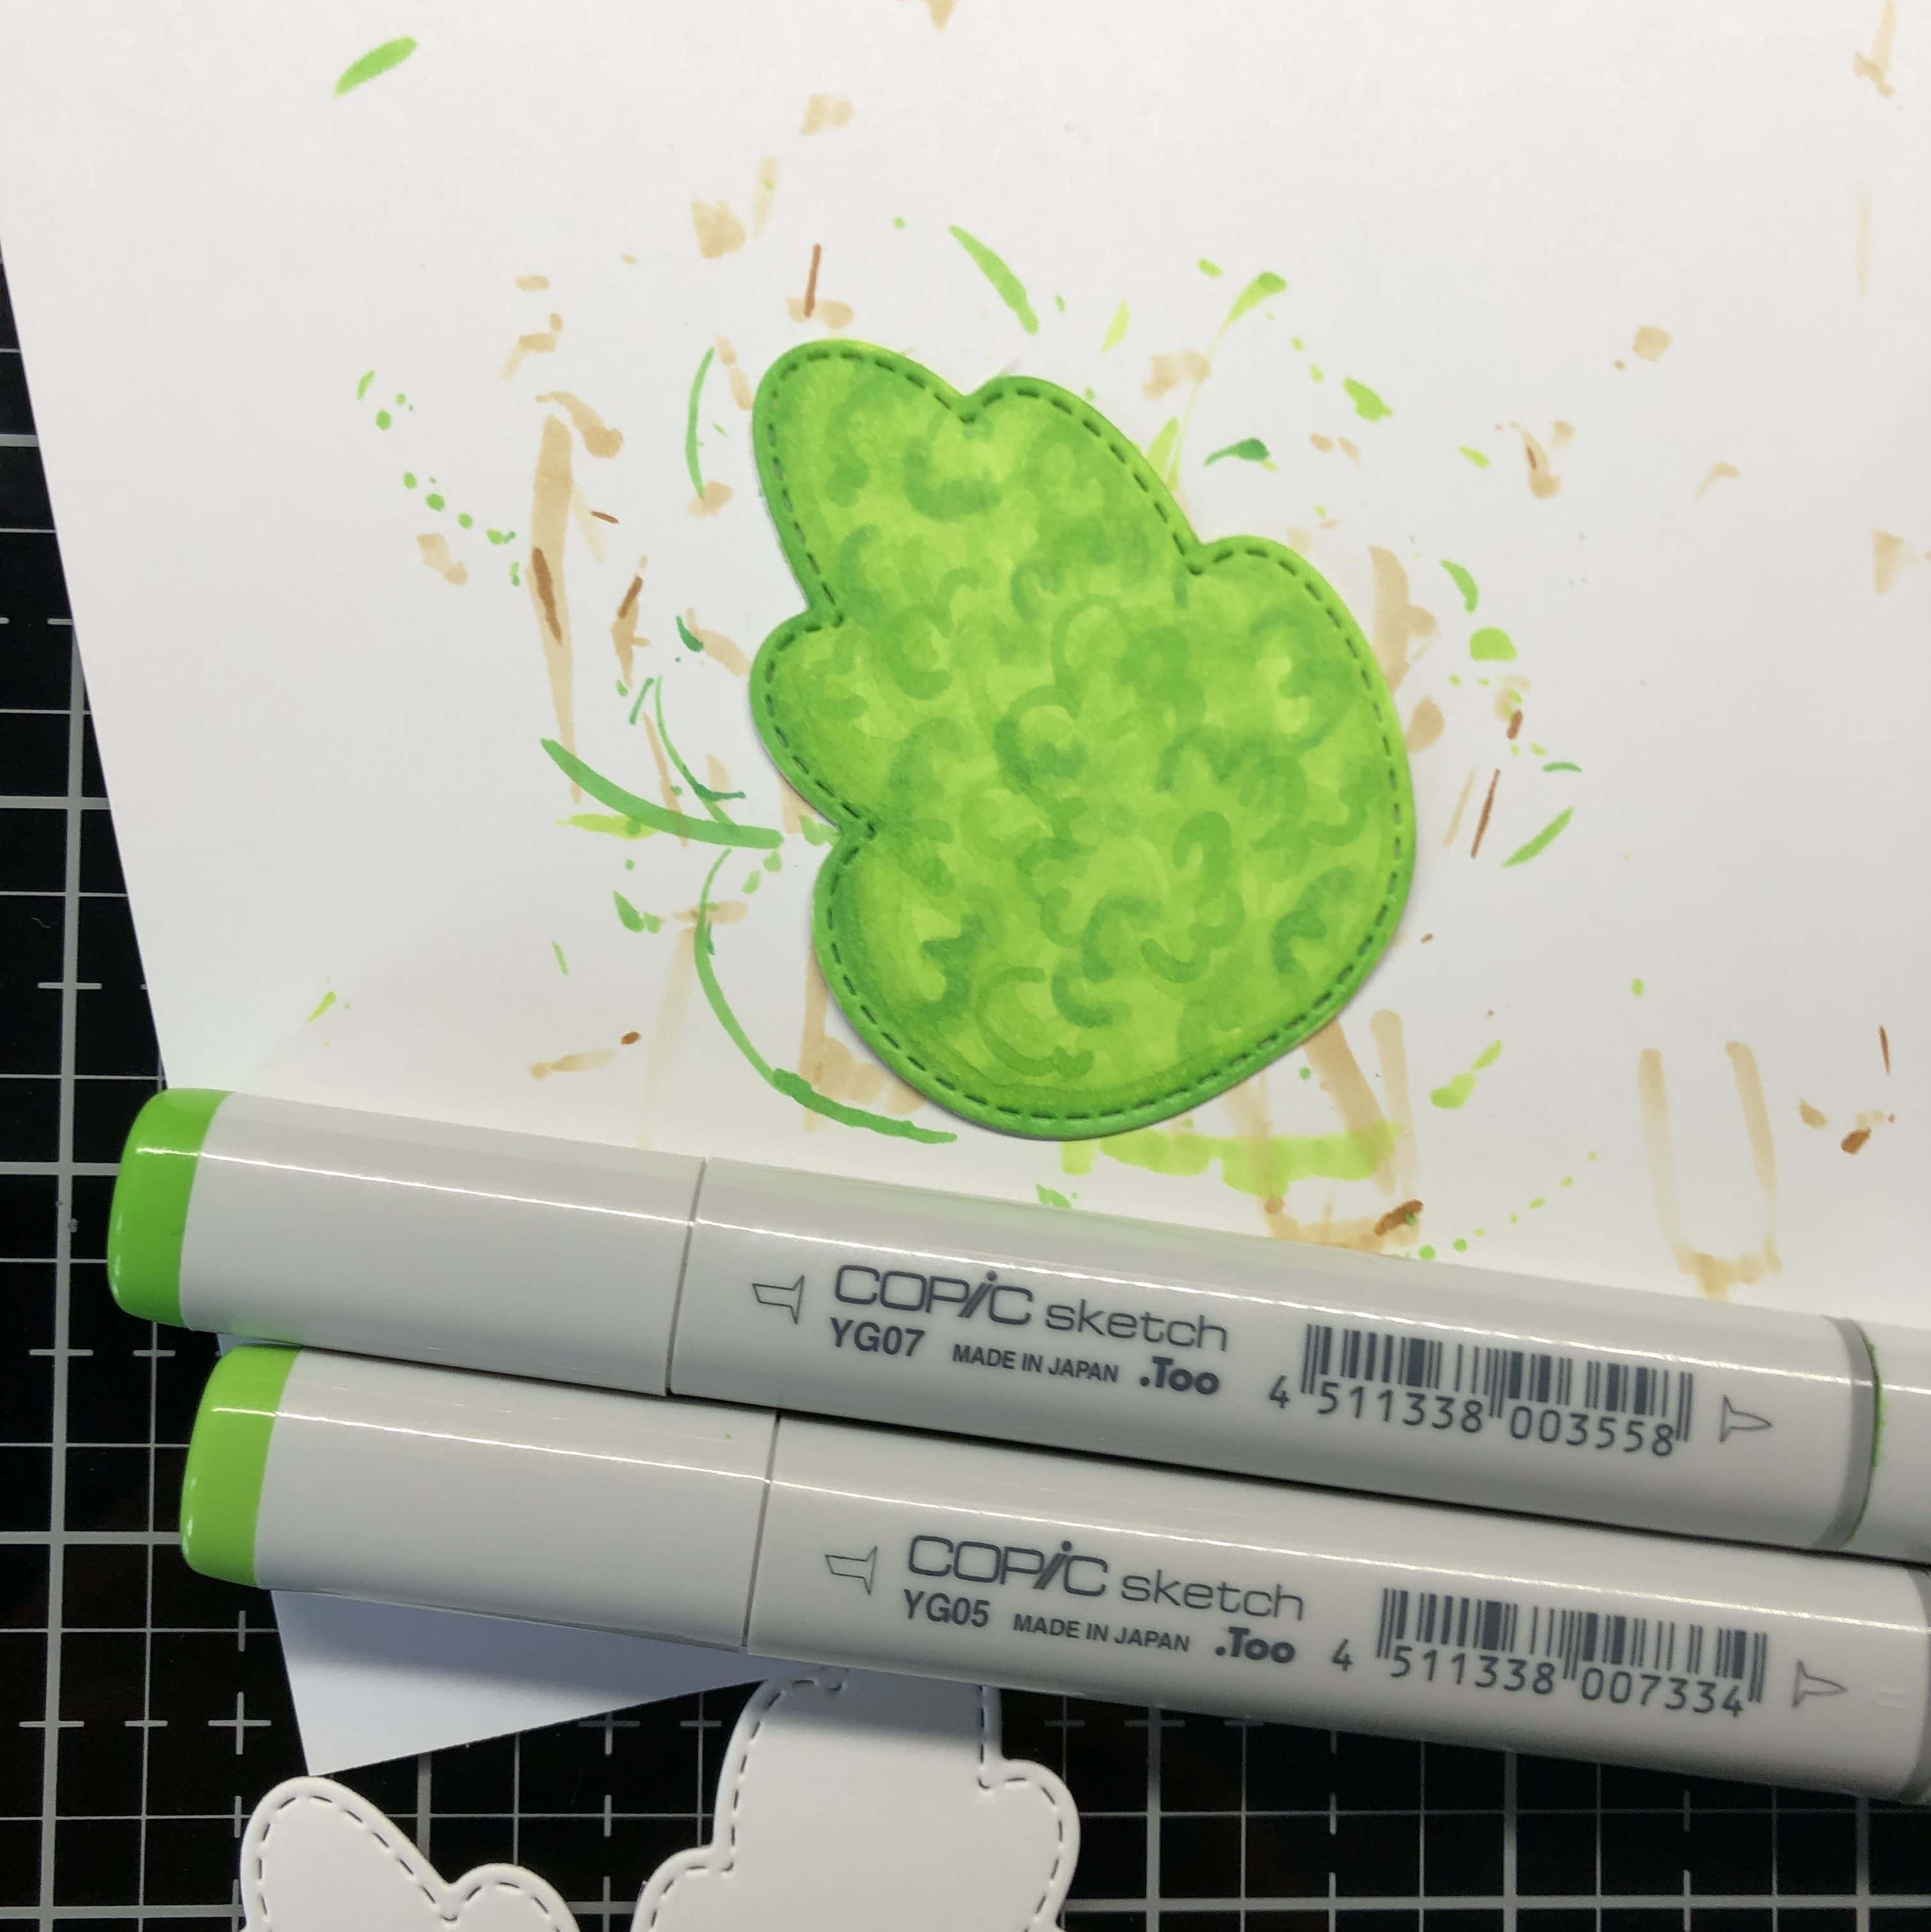
For the larger trees, I am starting with YG05. Then, I’m adding some YG07,YG09, and then blending it all together with YG05.

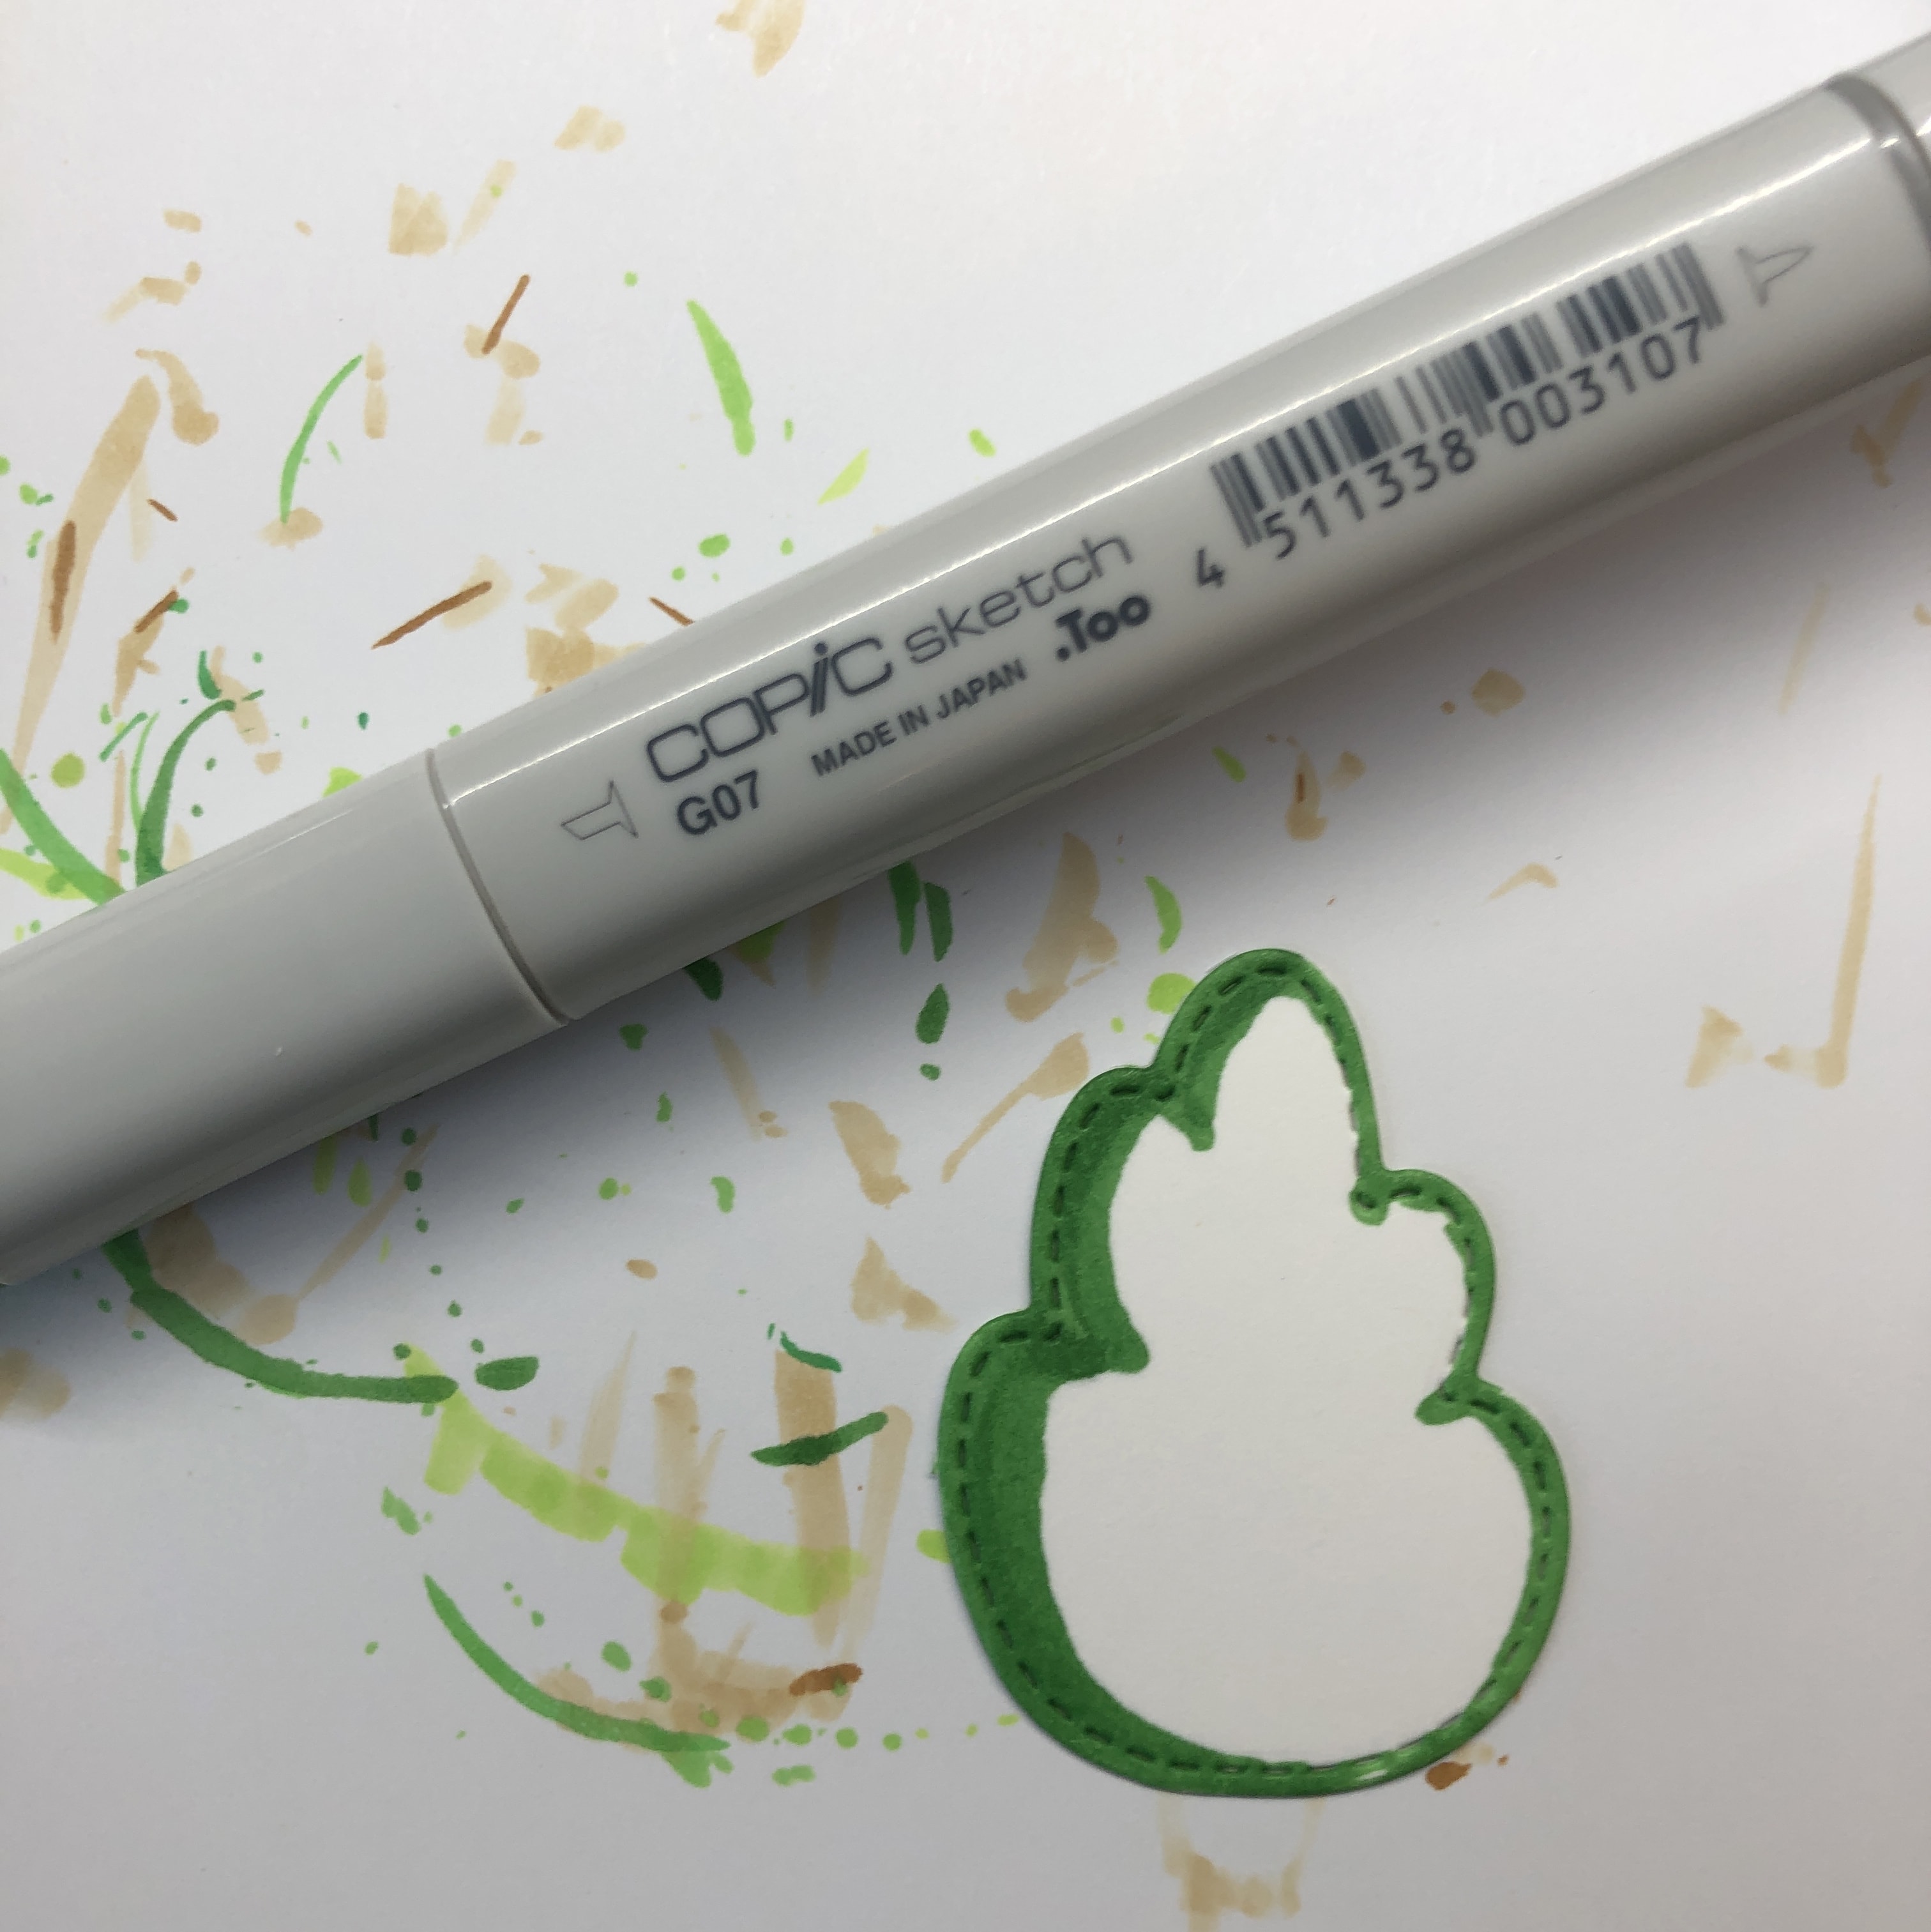
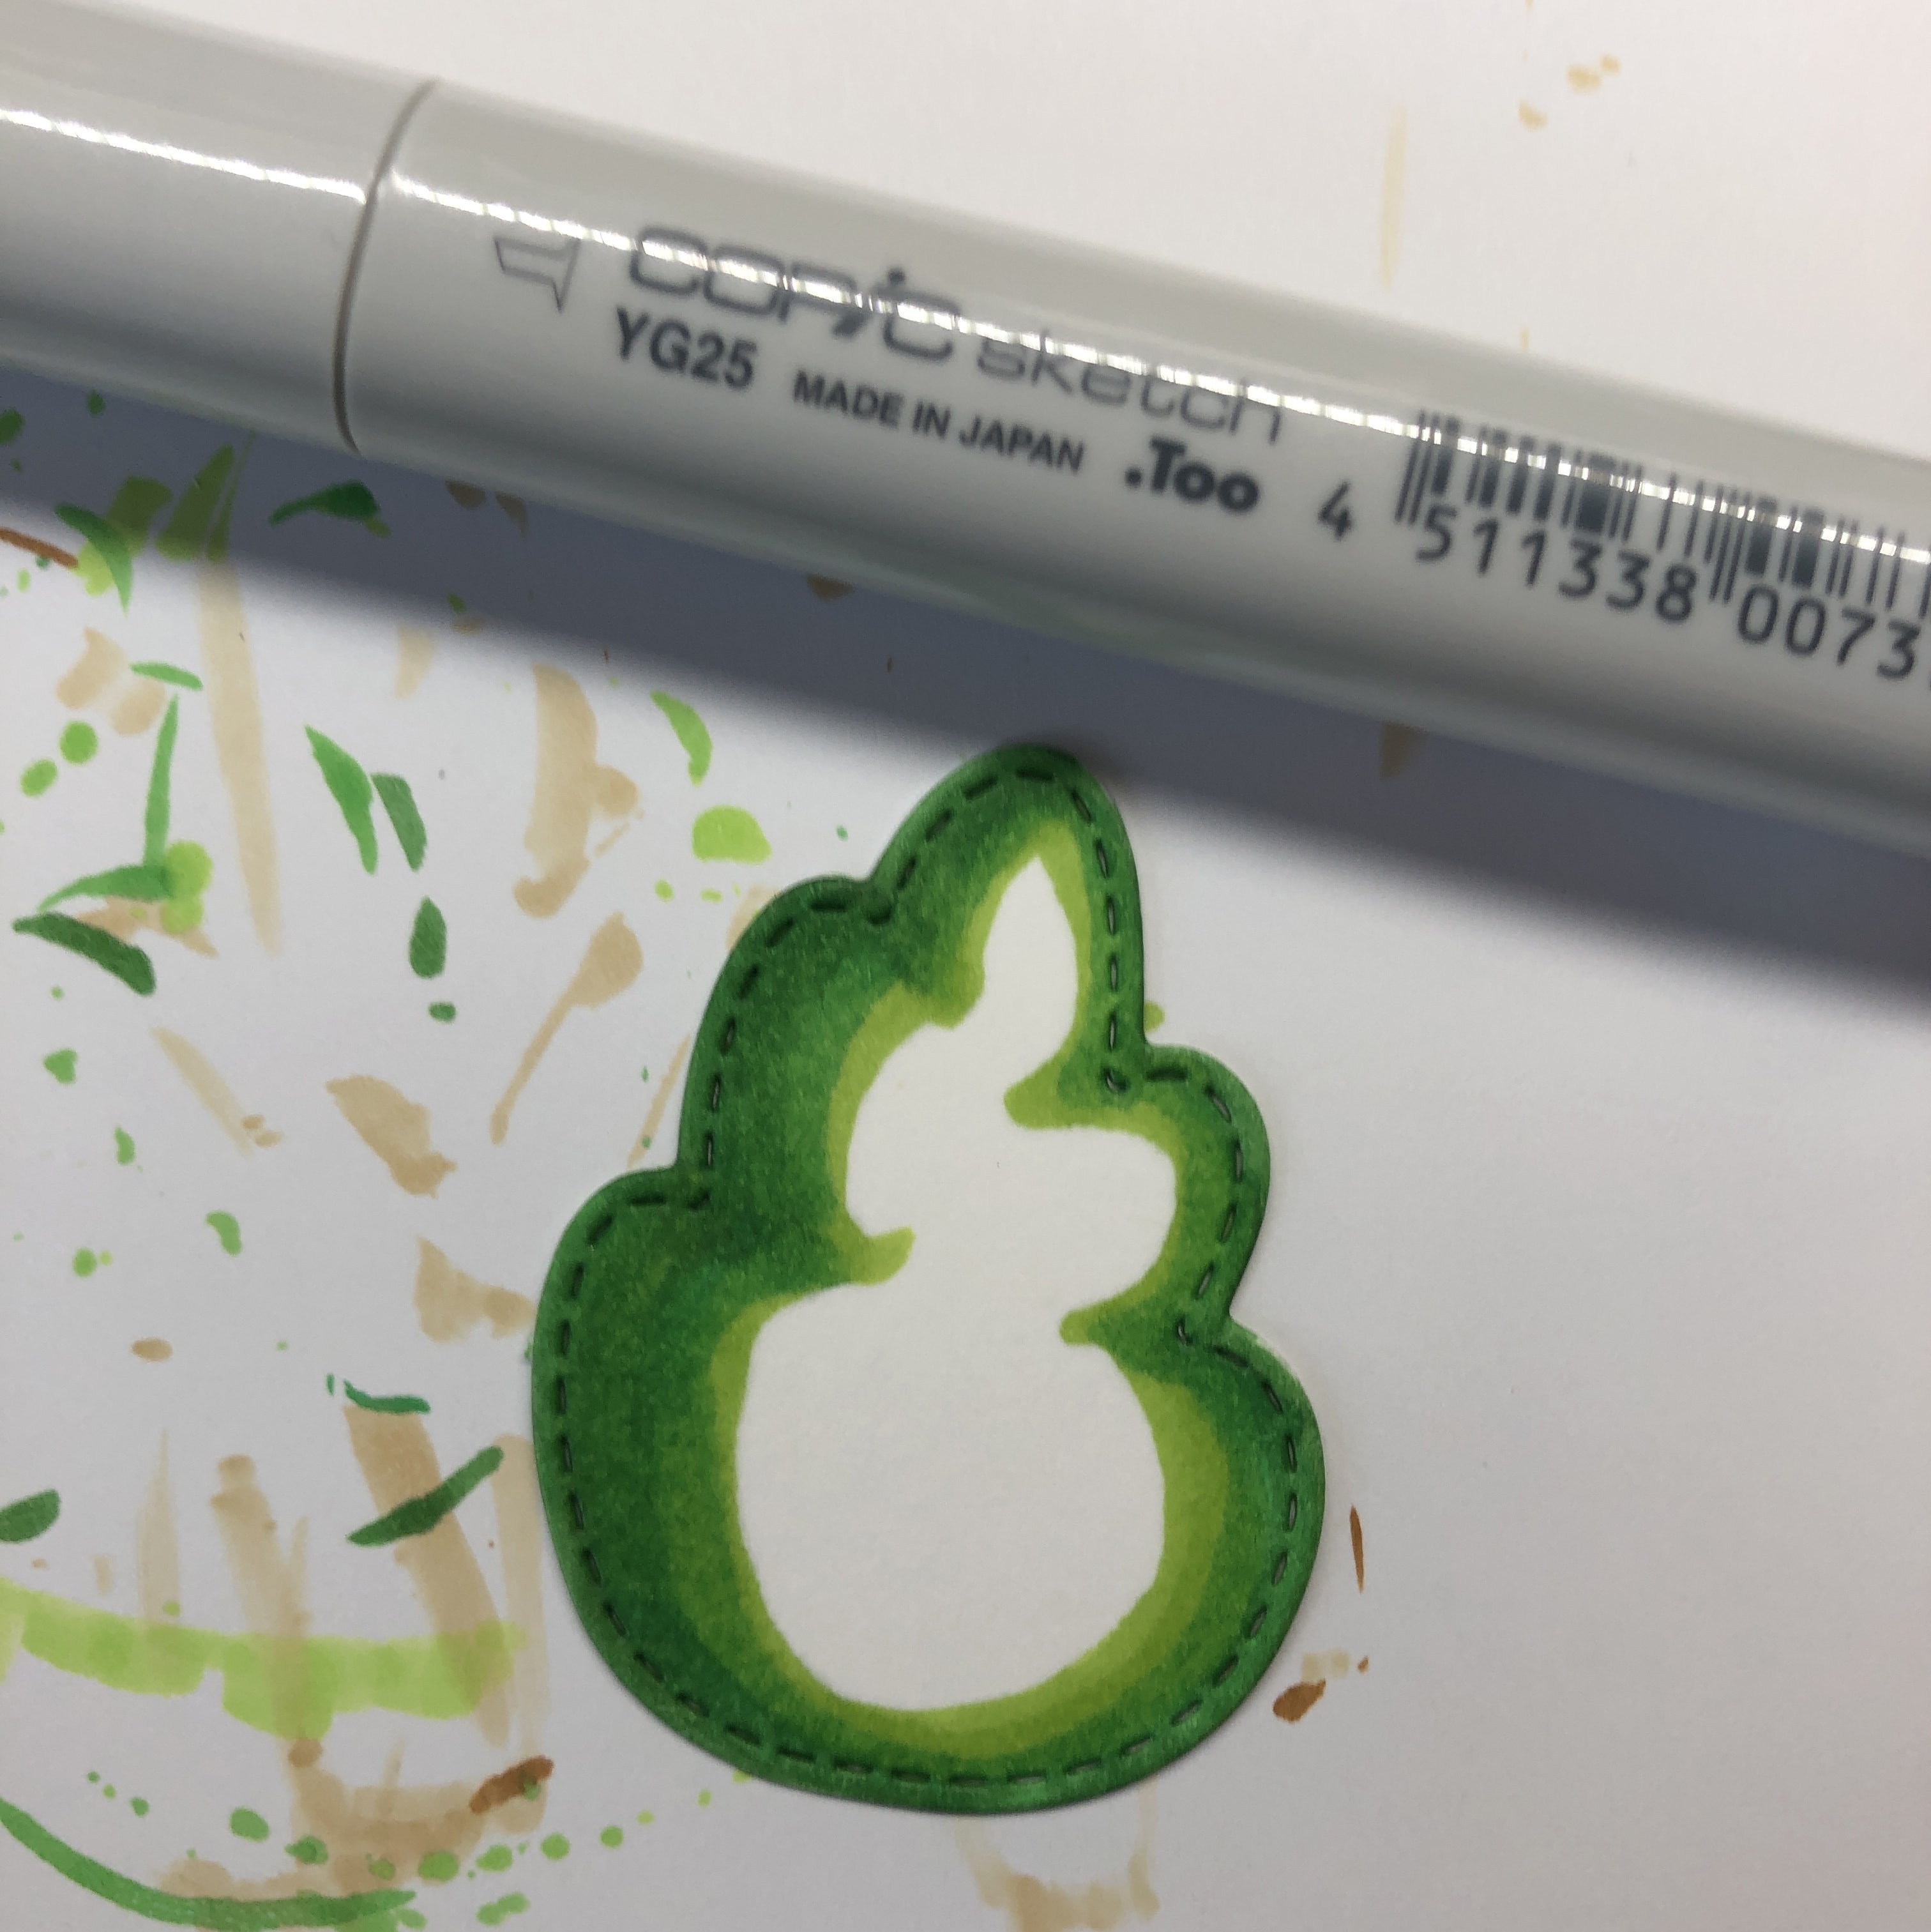
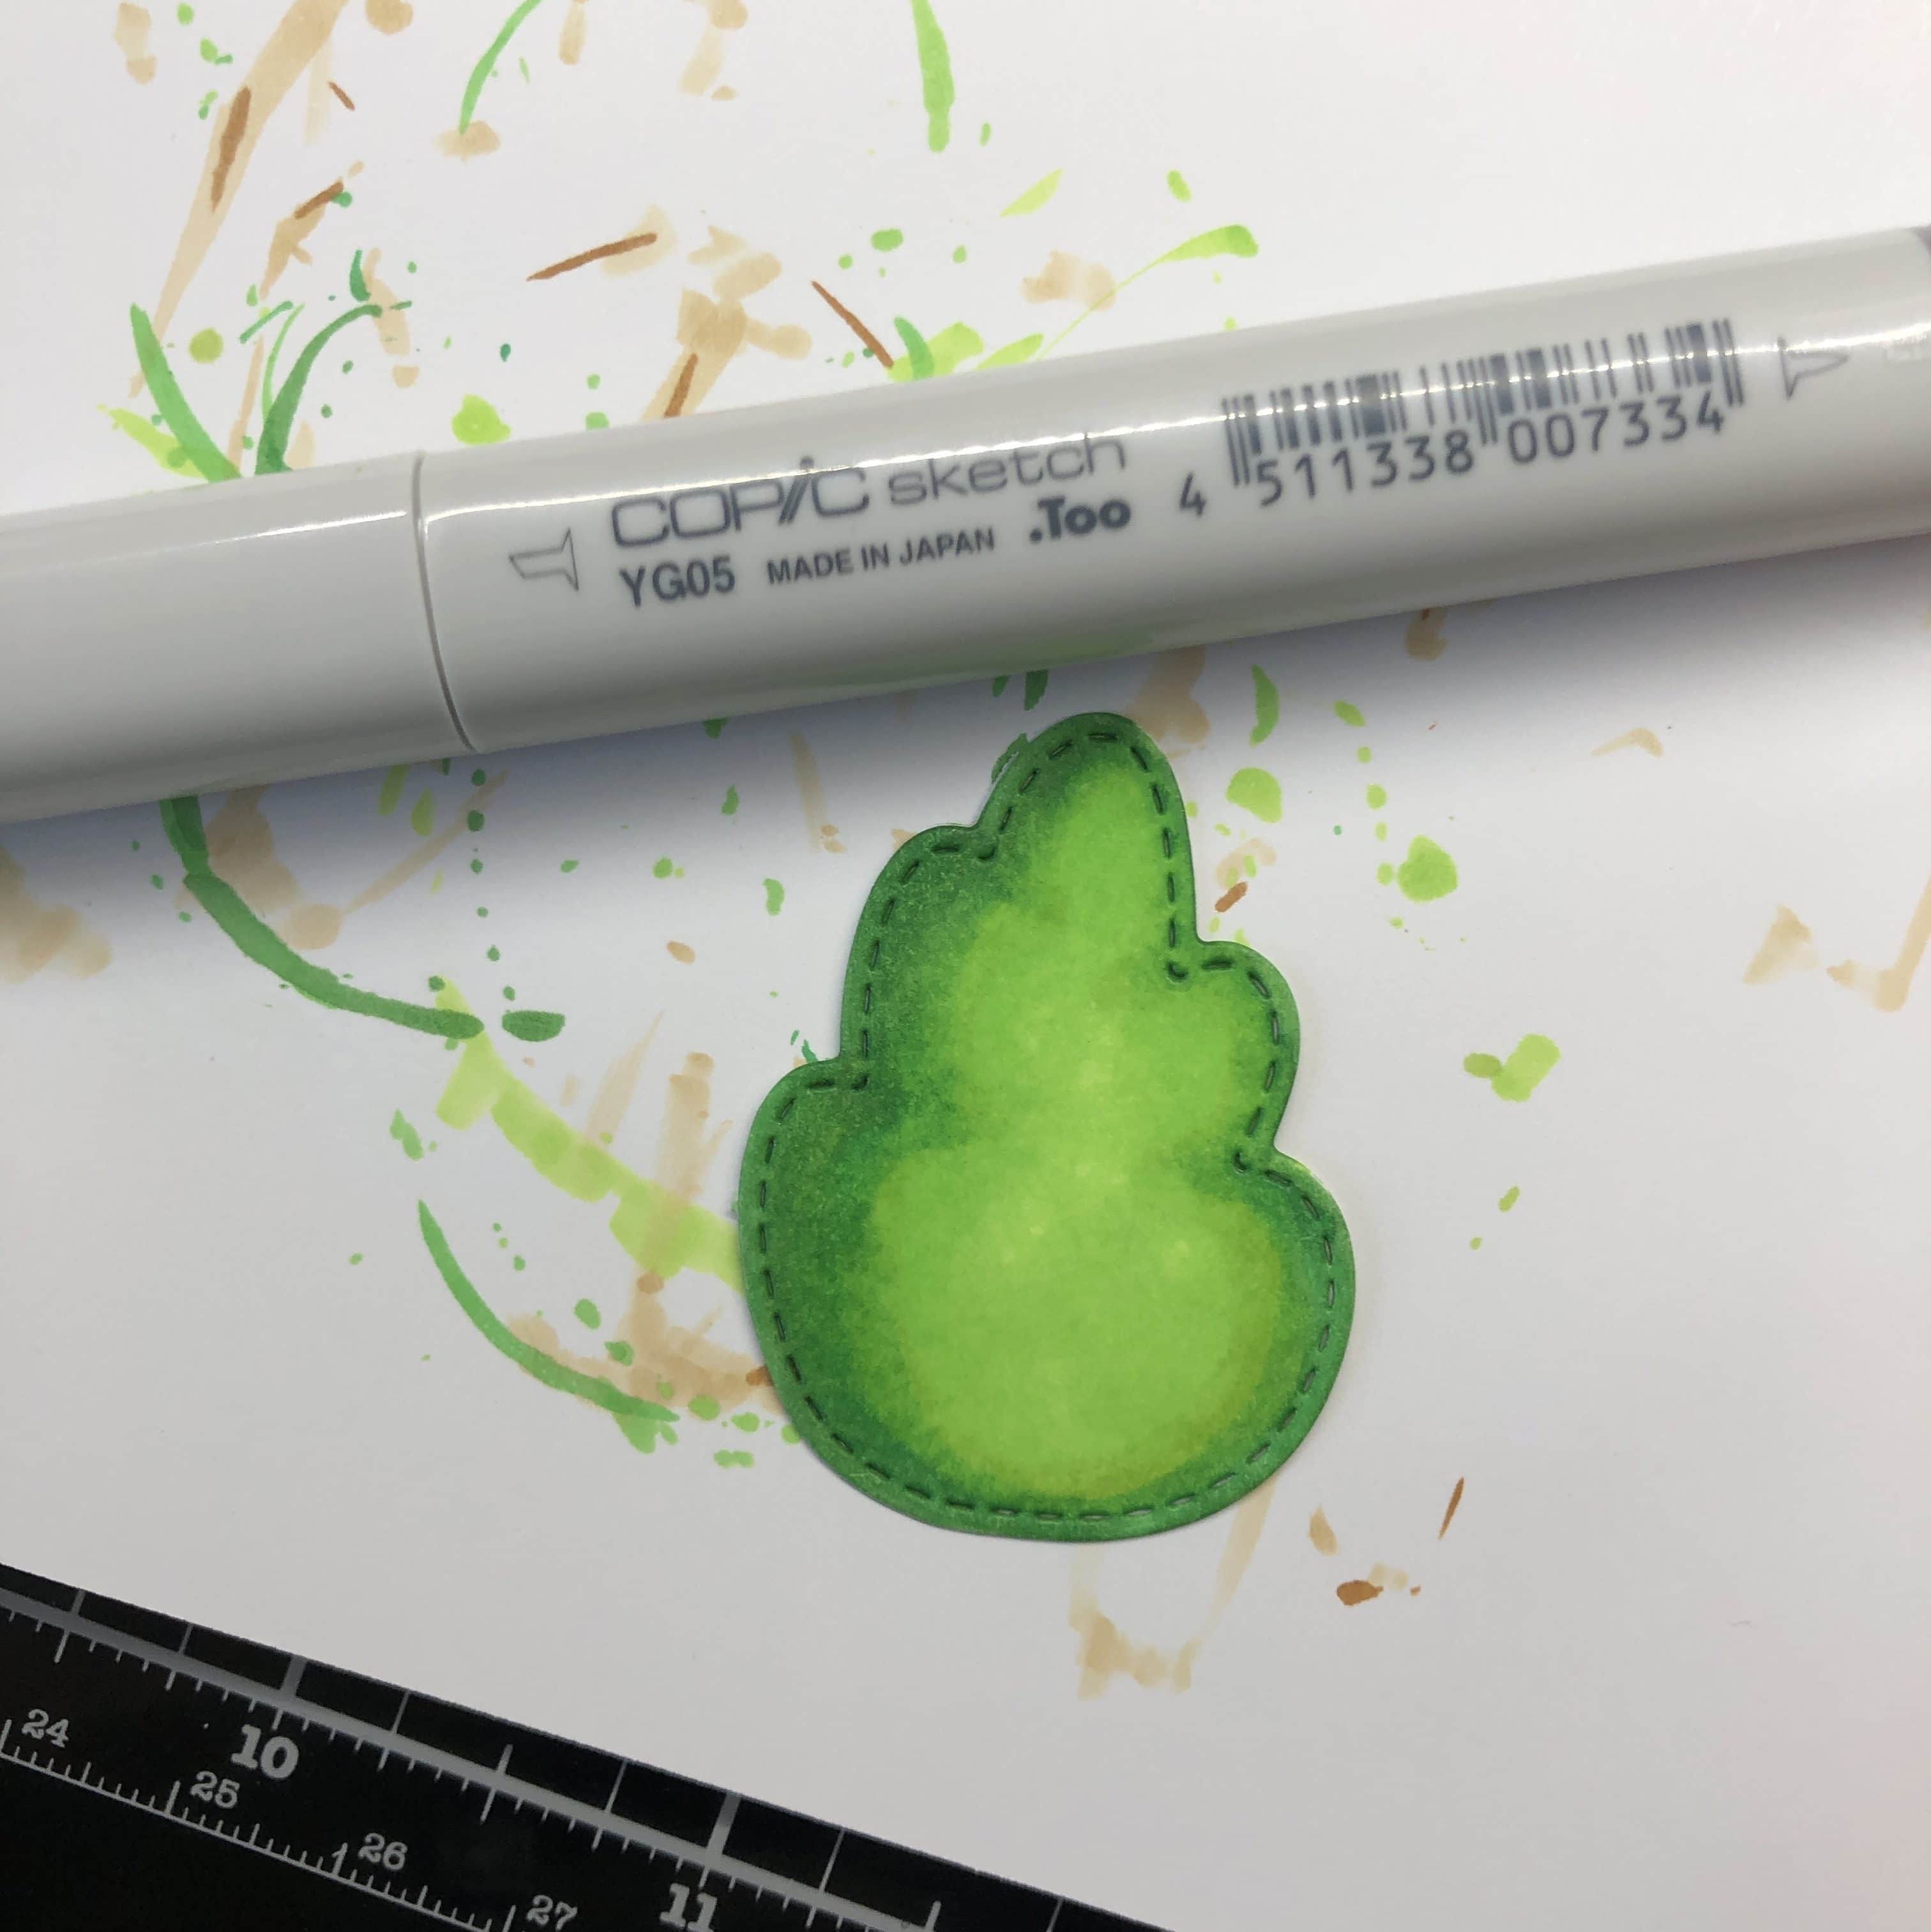
For the smaller trees, I’m starting with G07, then G05 and YG25. I blend it all together with YG05.

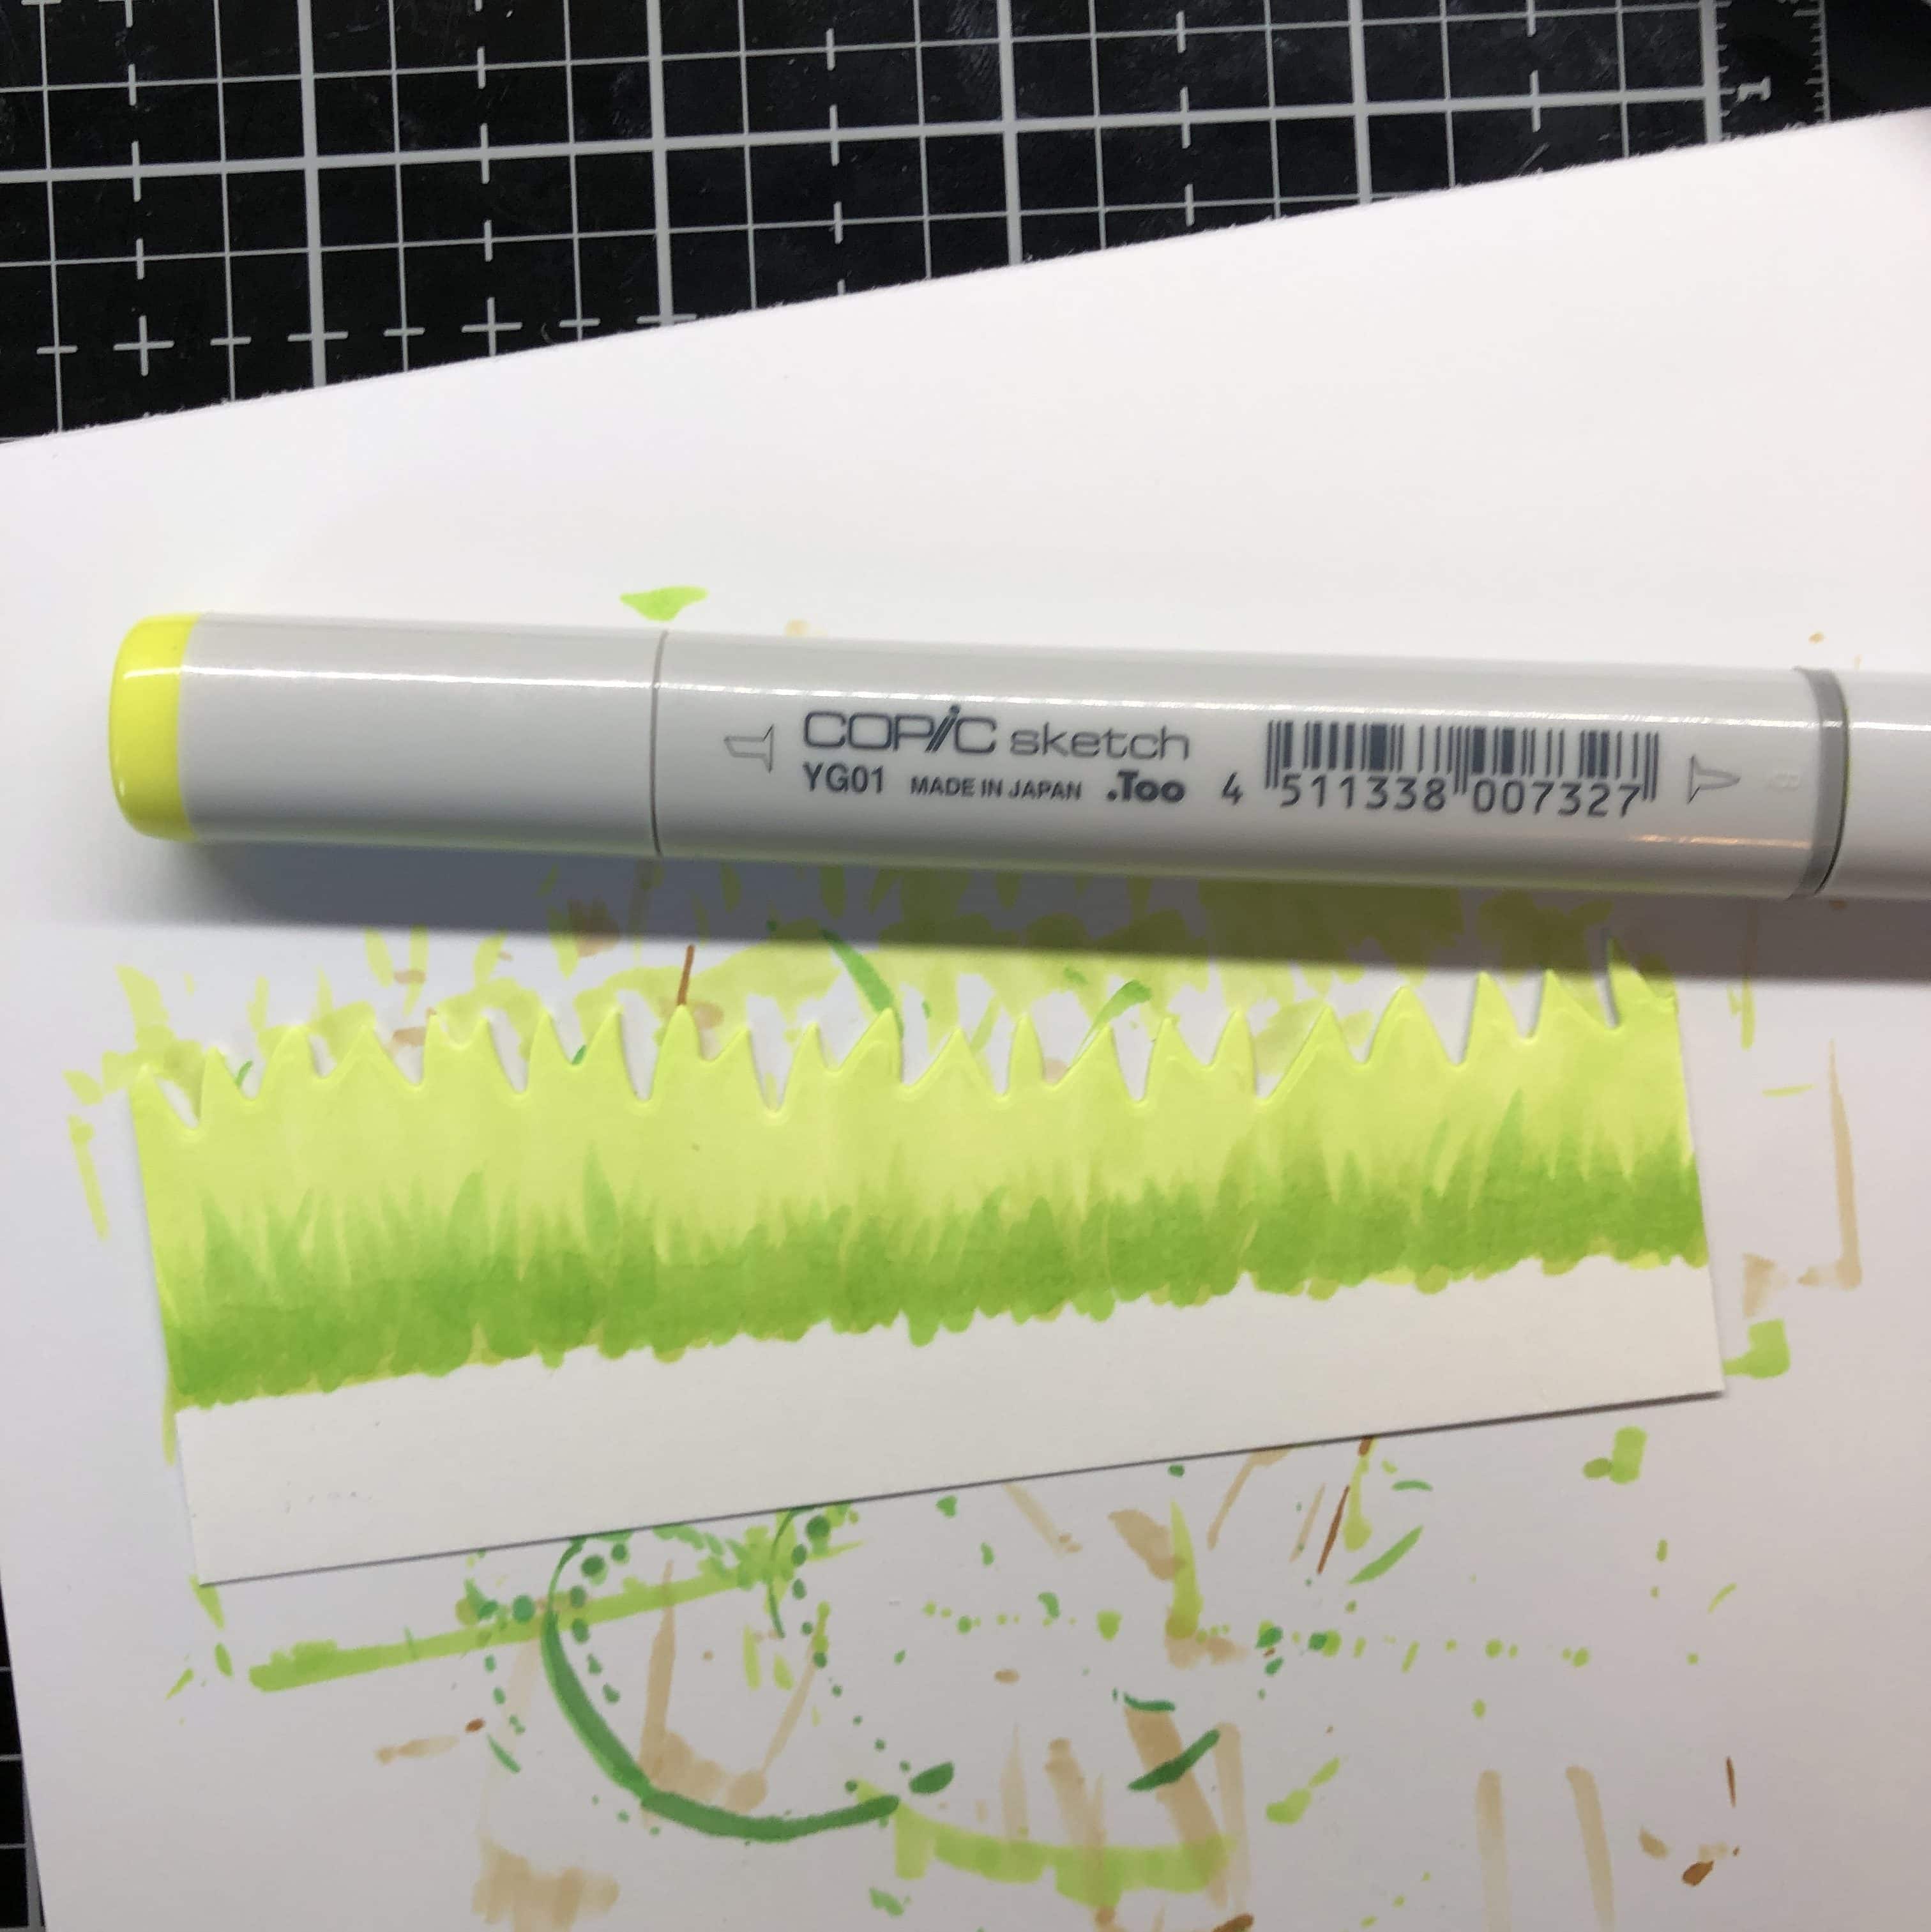
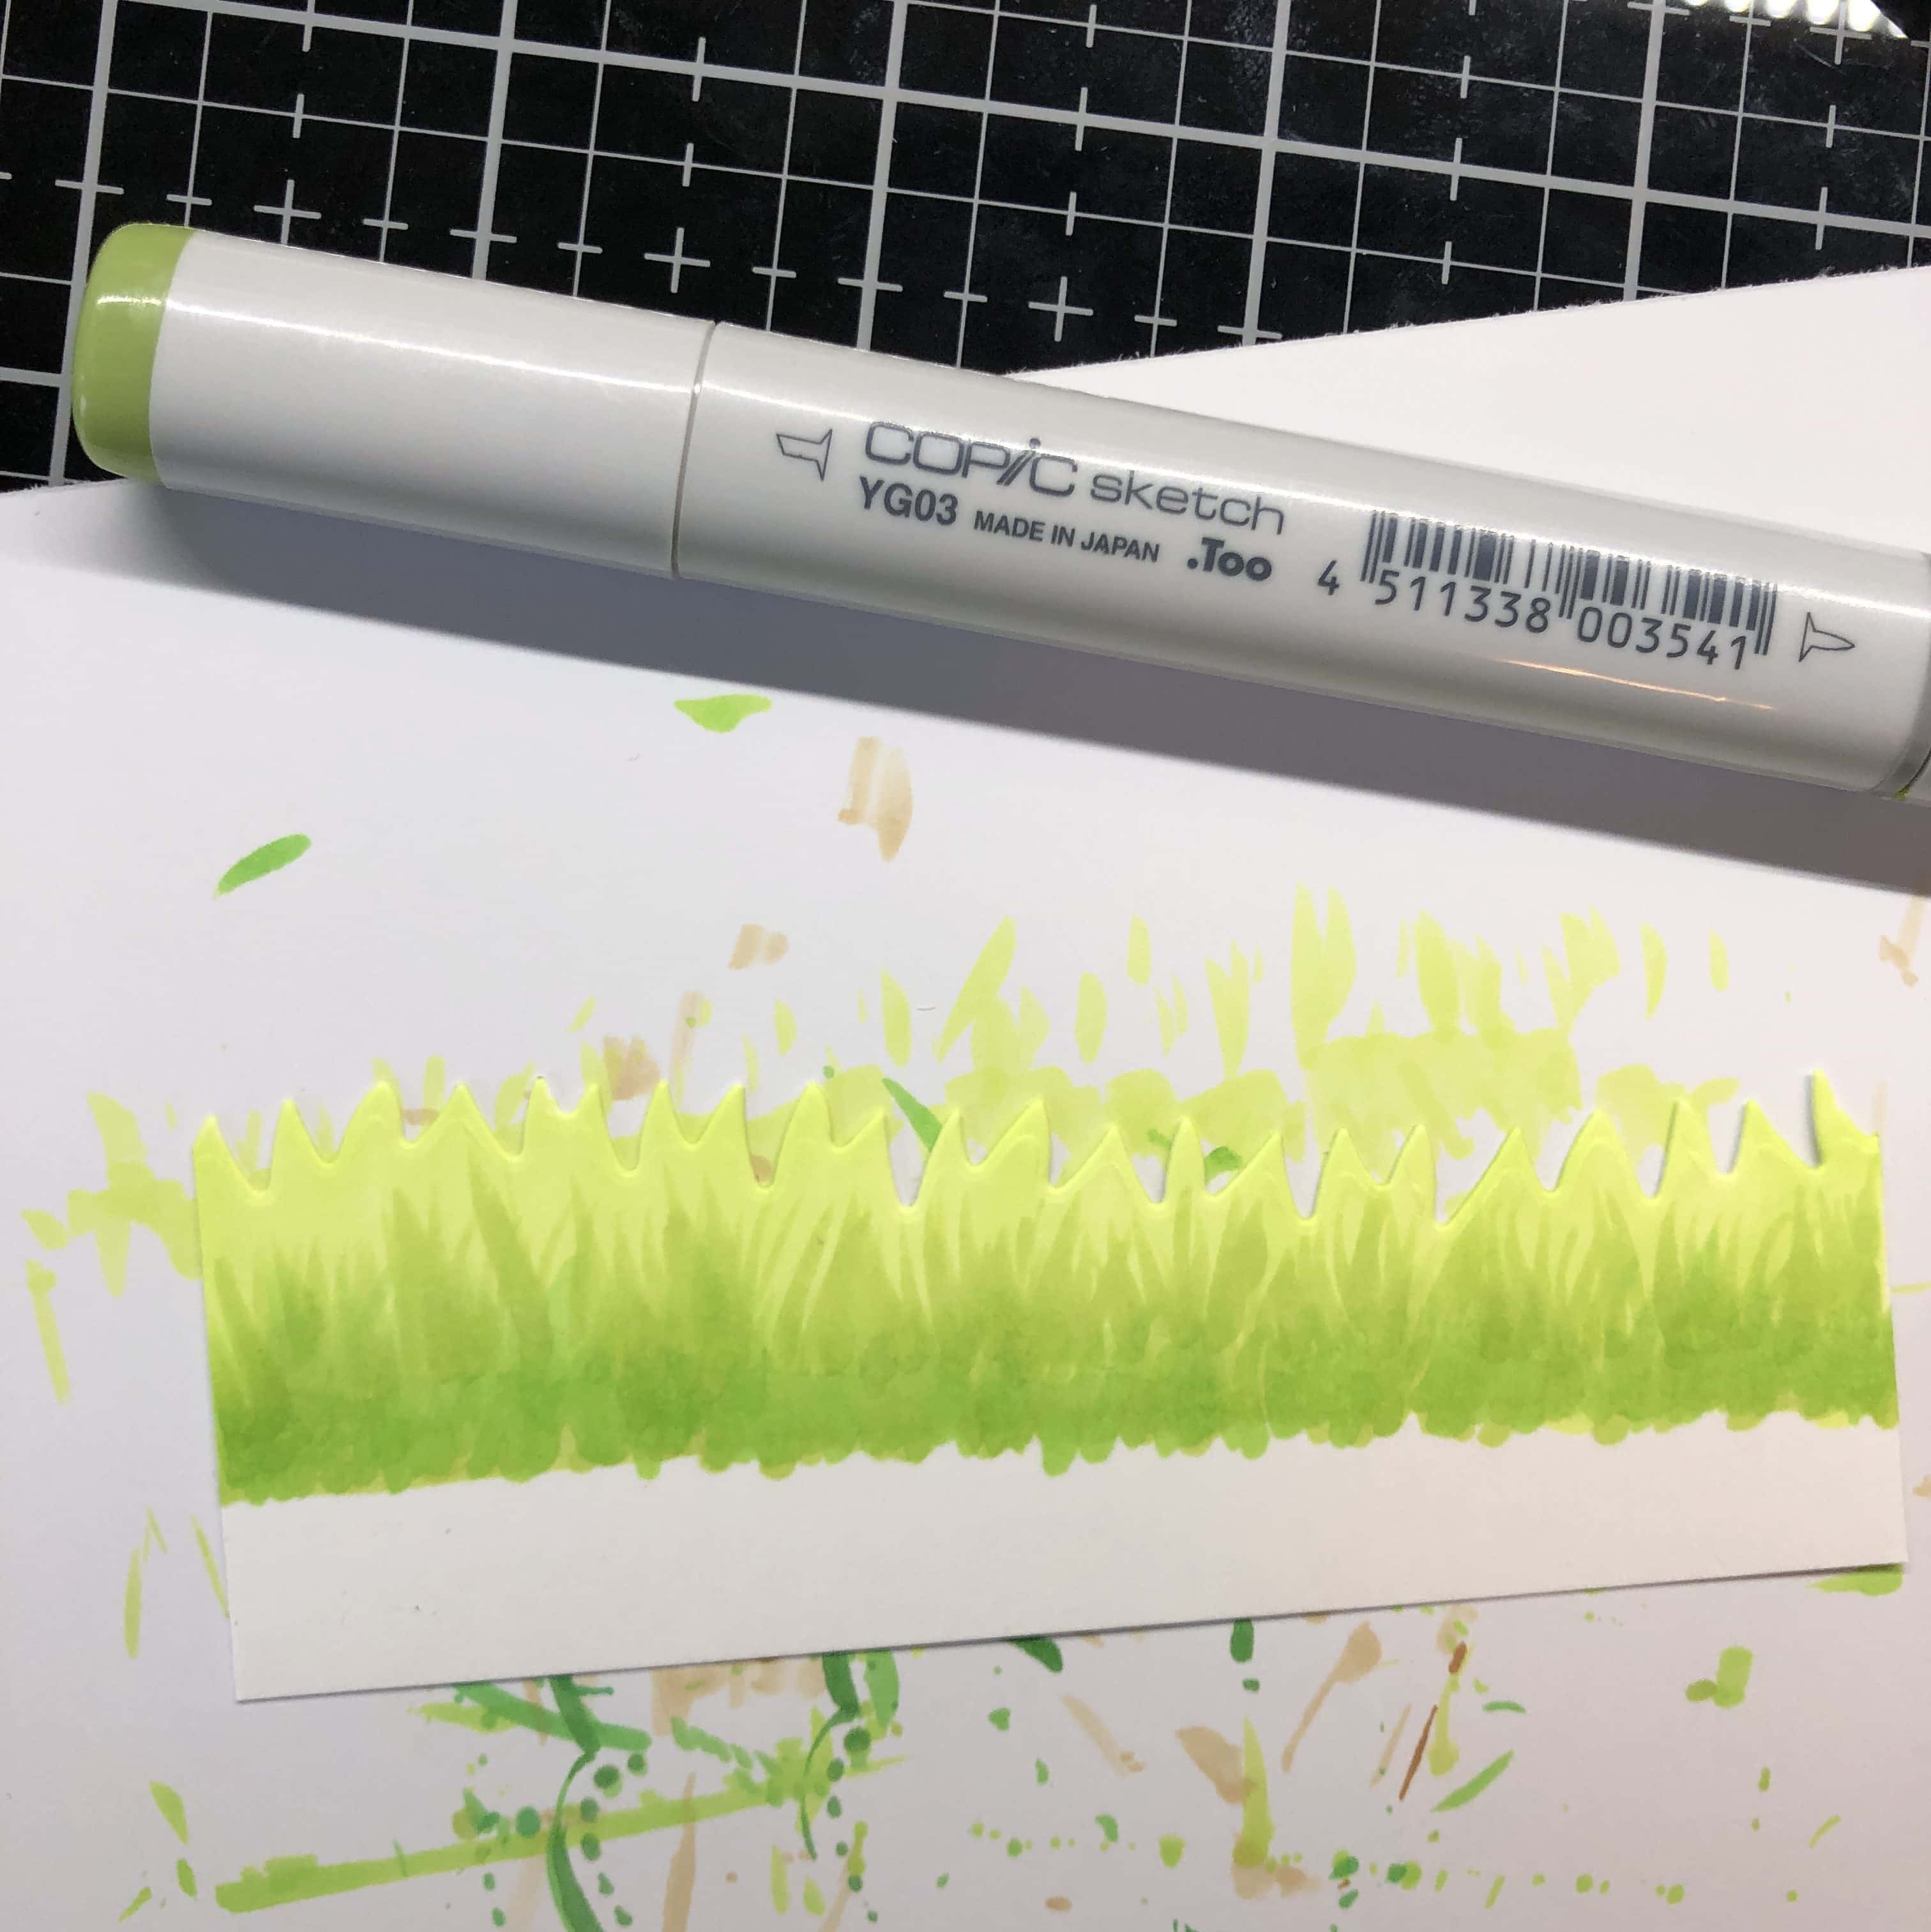
For the grass, I use a flicking motion with YG03, YG05, YG01, and then again with YG03. I am adhering the wider “background” grass with double sided tape and the other “foreground” grass with Darice 3D foam adhesive strips. I am doing this for the front and the inside.


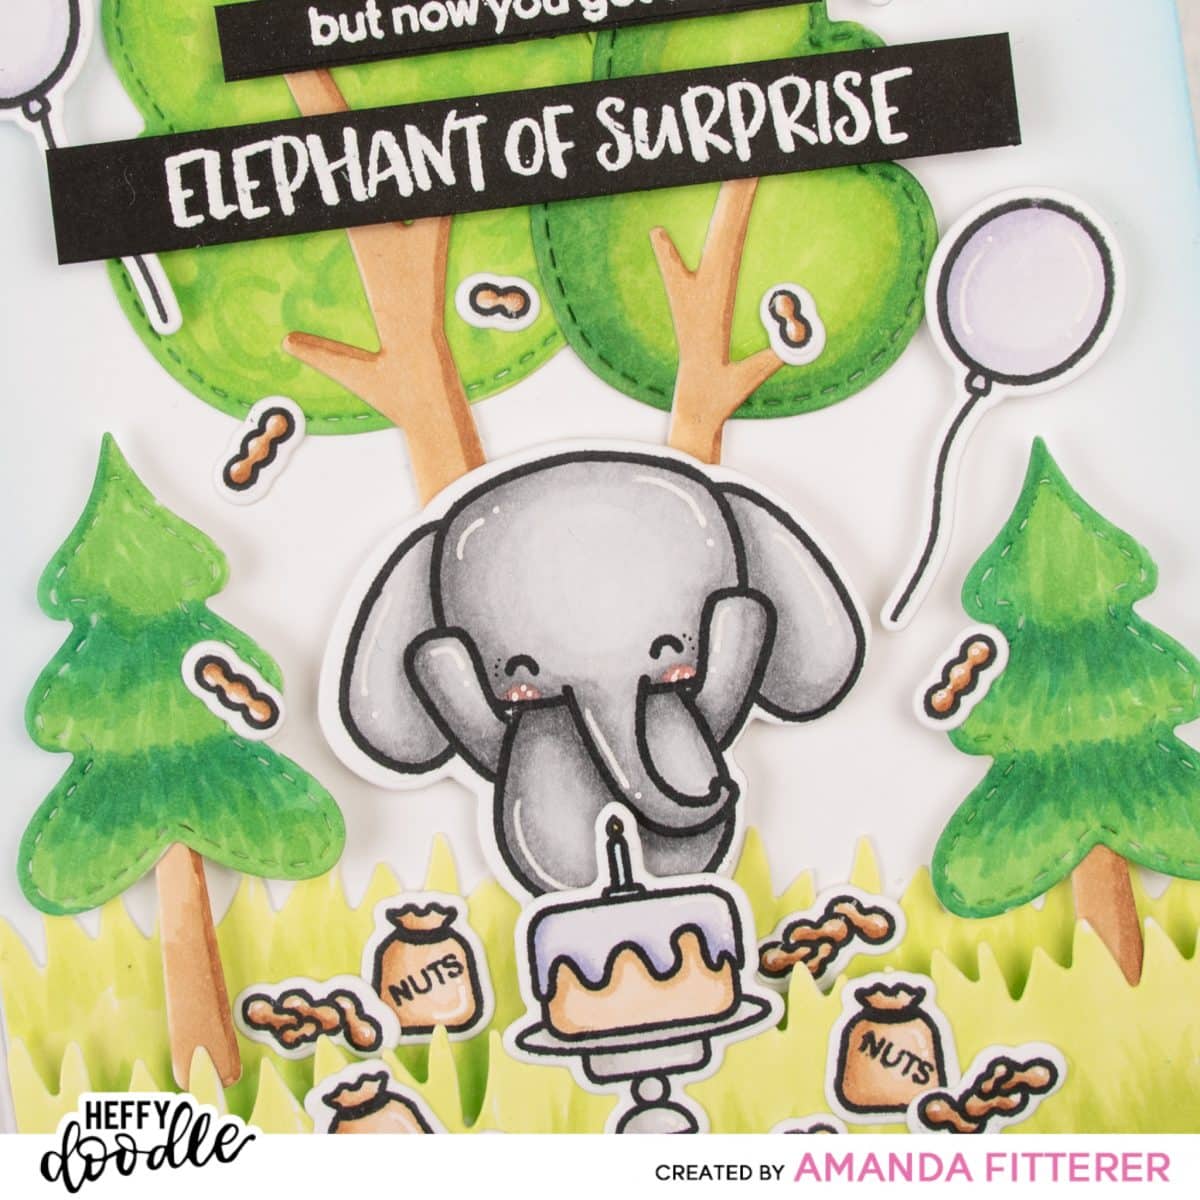
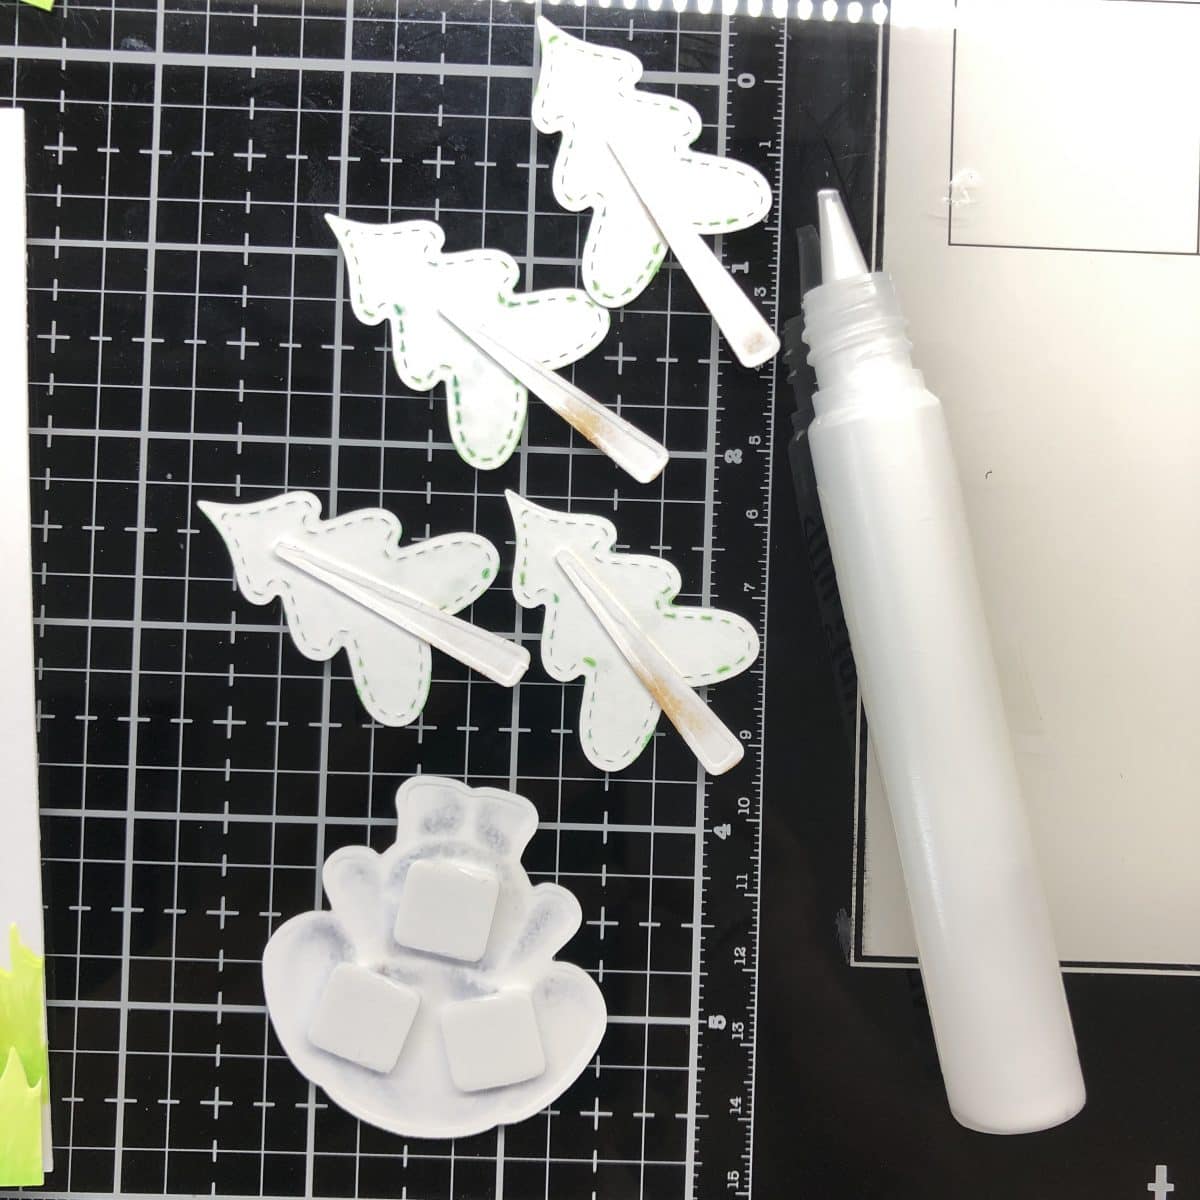
Next, I’m assembling all of my trees. I’m using a glue pen for my tree trunks. I am using 3D foam squares for the trees that will be in the foreground and double sided tape for the trees I want in the background. I’m also using 3D foam squares for my “front” elephant. My “inside” elephant will be my interactive component, so we will do that later.
I’m grabbing 2 more pieces of 80 lb. Neenah Solar White cardstock and cutting them down to A2 size (4.25″ x 5.5″). One will be for my front and one will be for my inside.
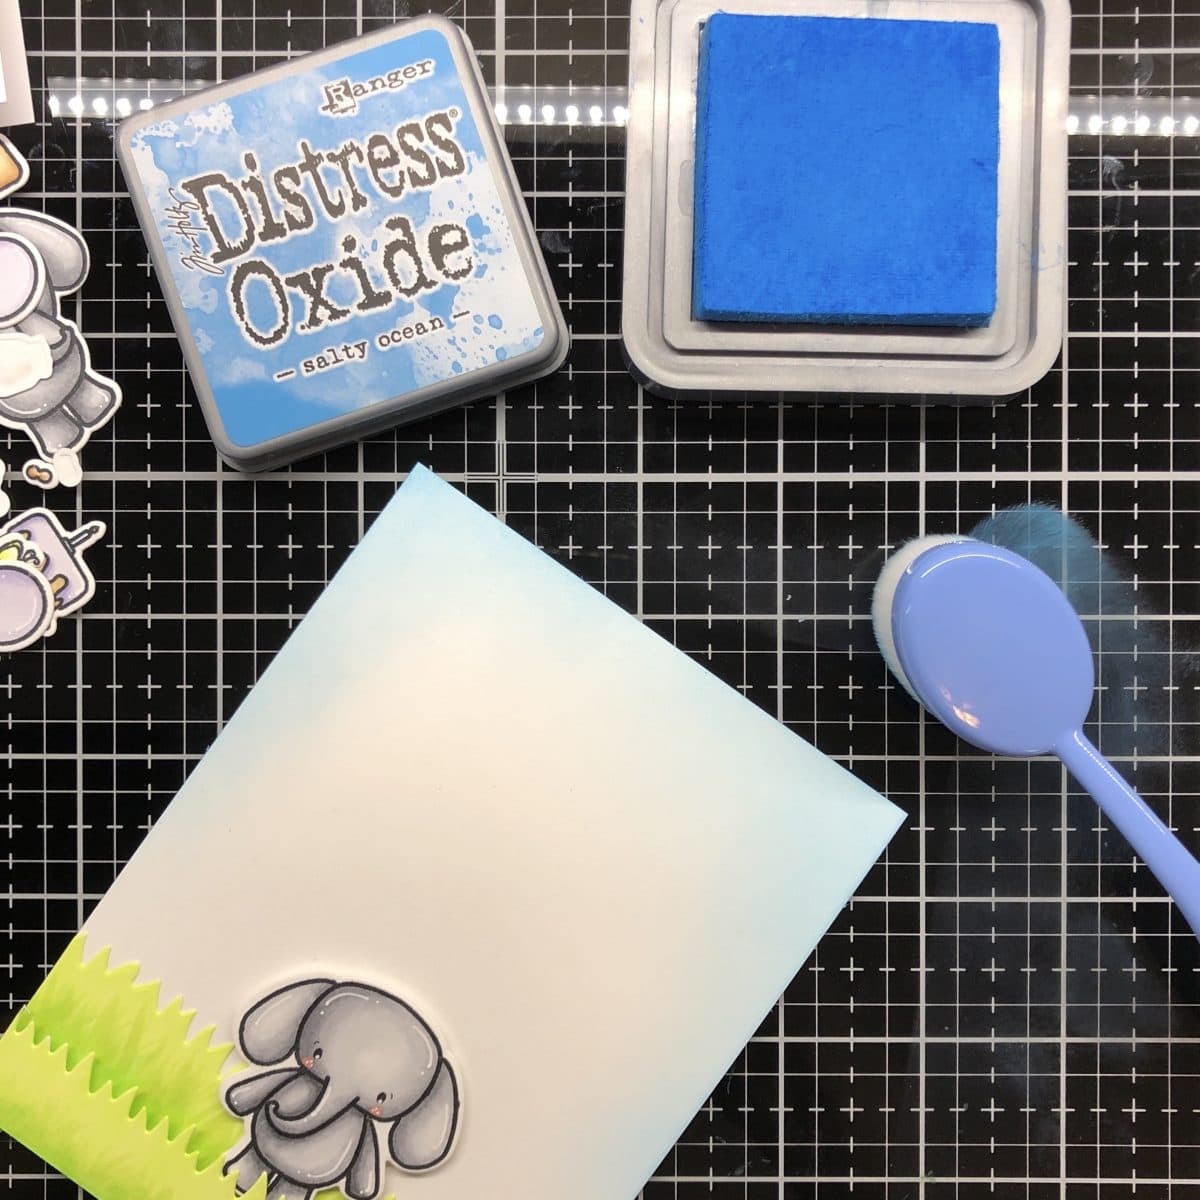
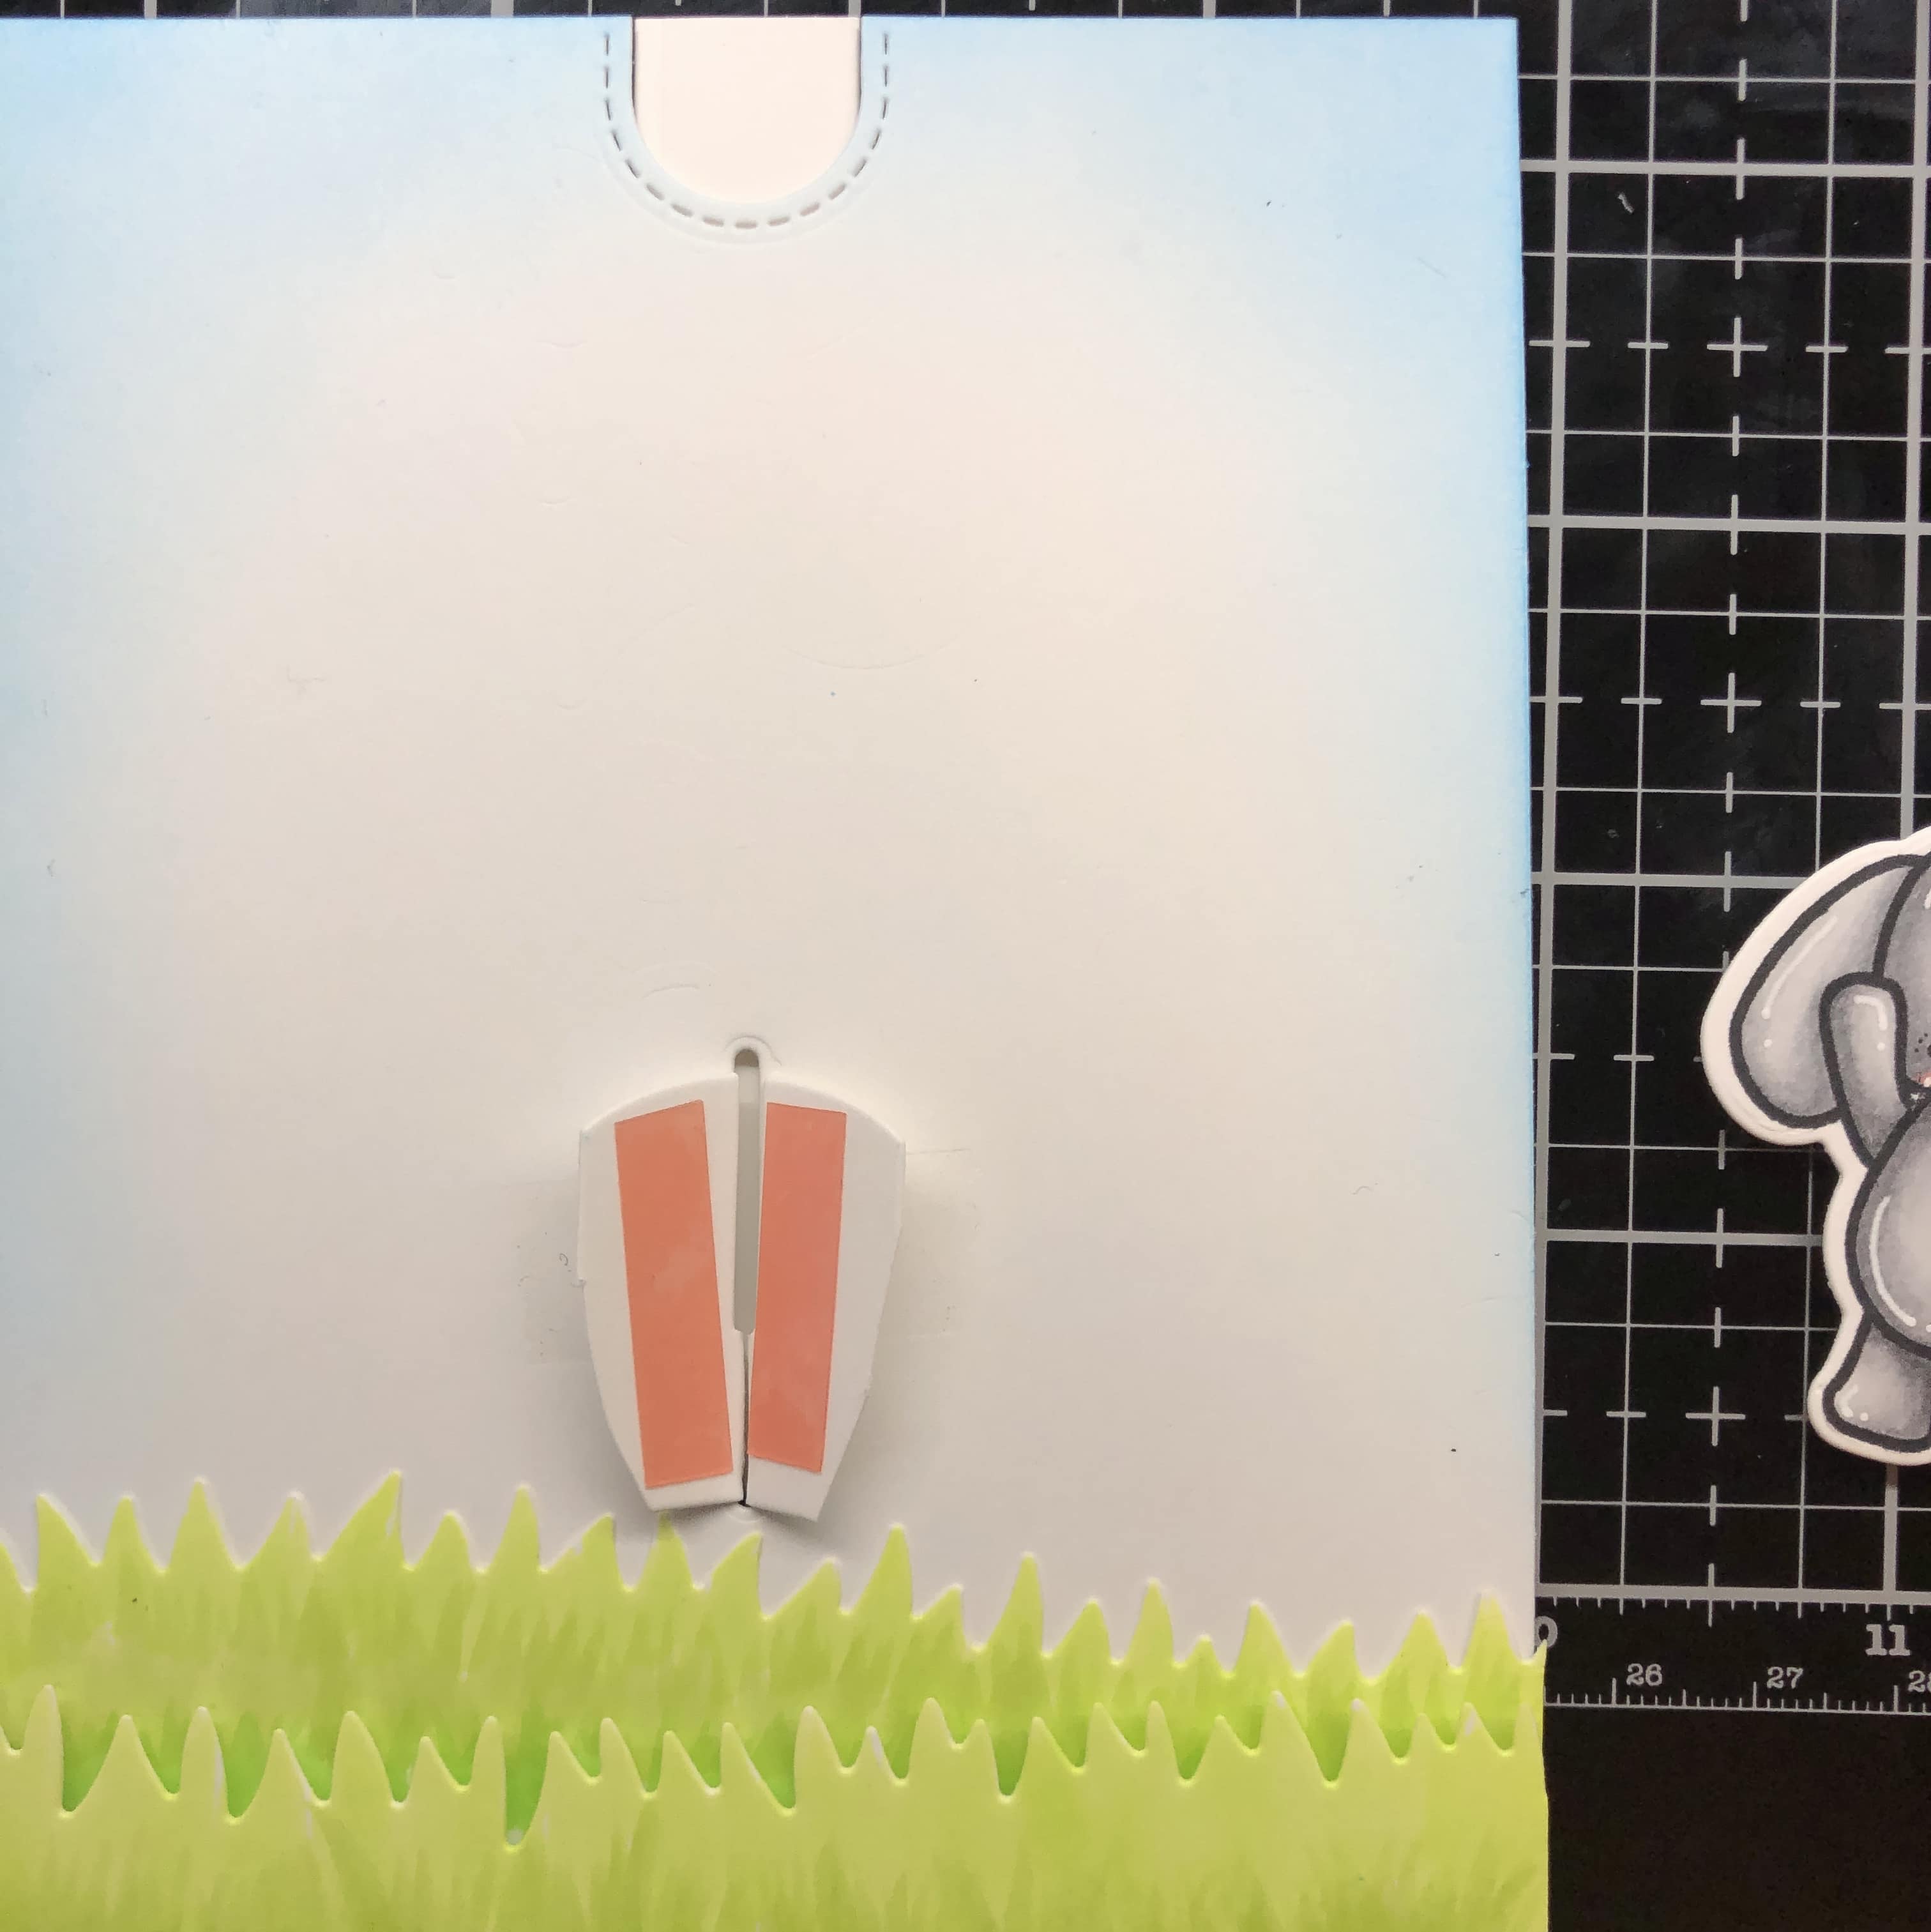
I want to create a very subtle background sky, so I’m using a tiny bit of Salty Coean distress oxide to create a vignette of blue sky. I am doing this for the front and the inside.
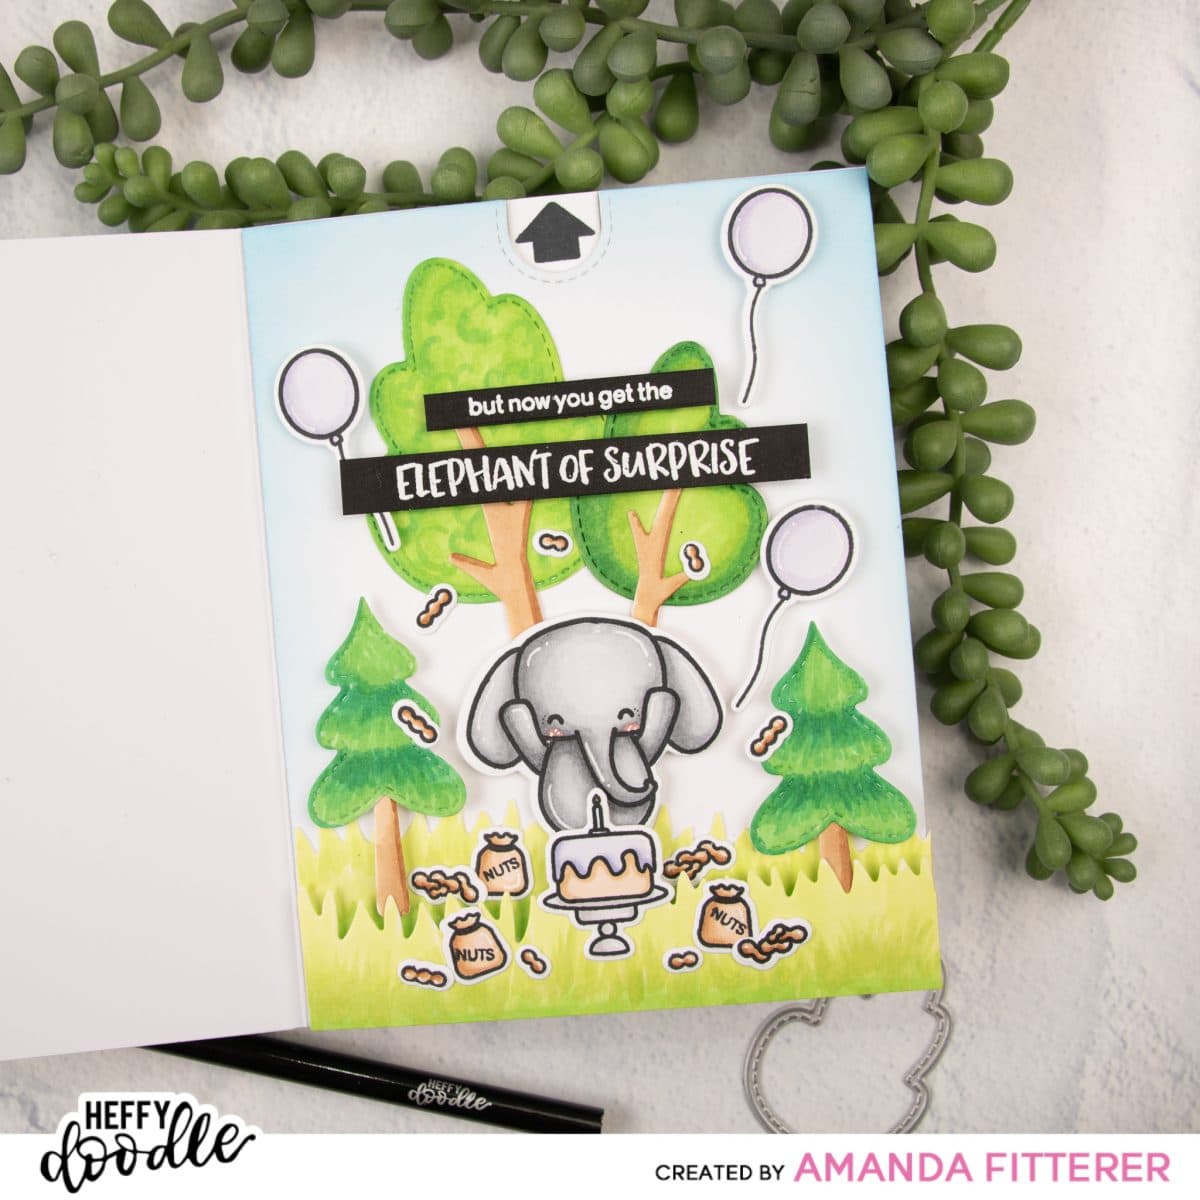
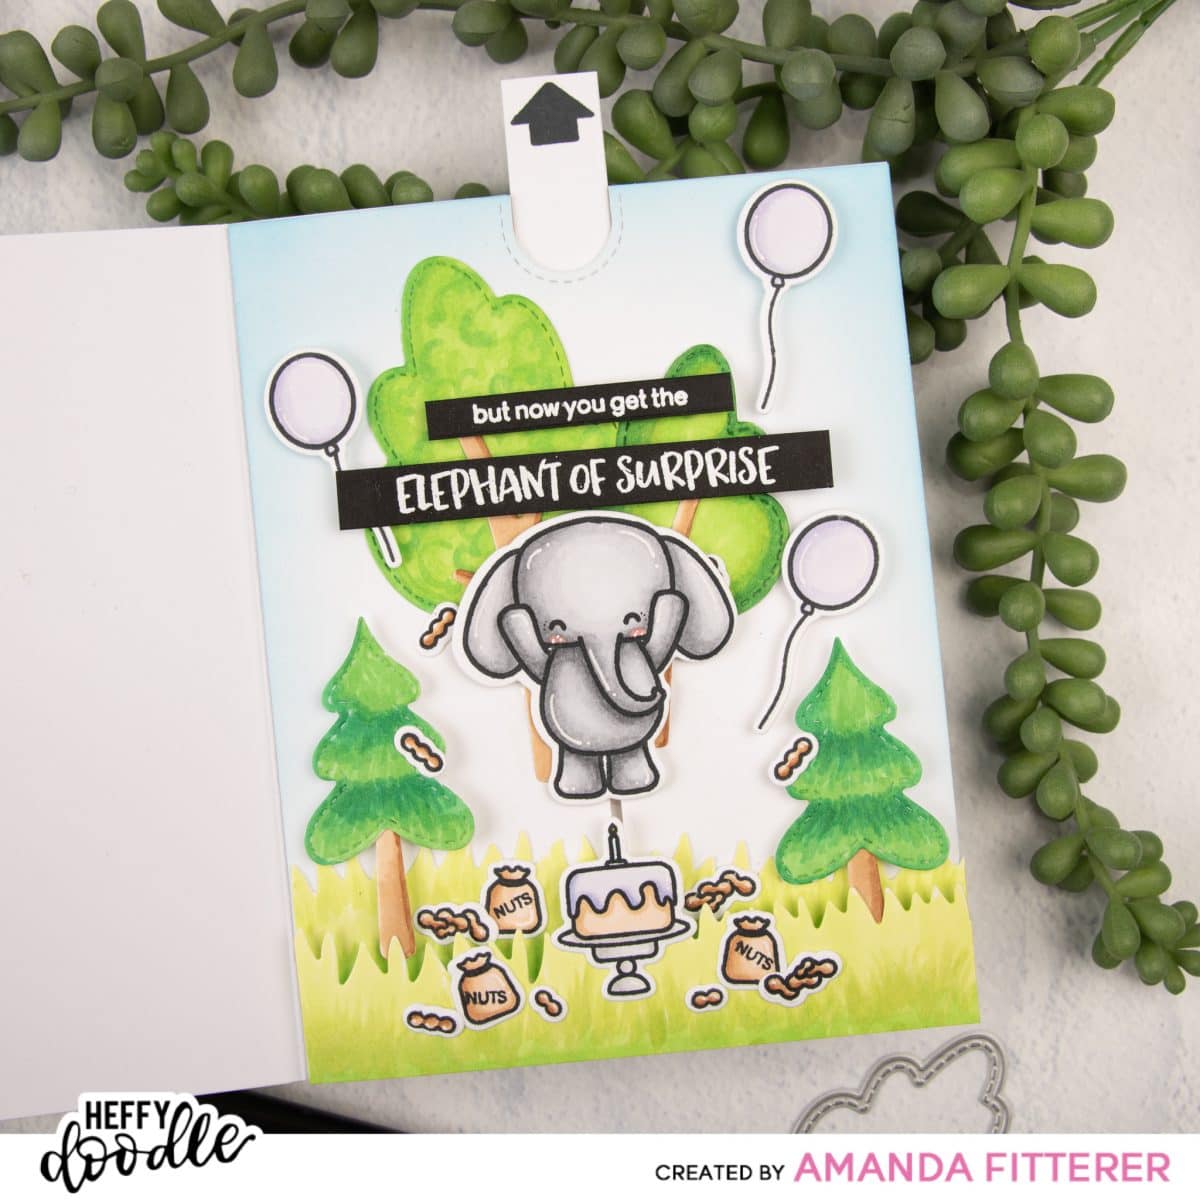
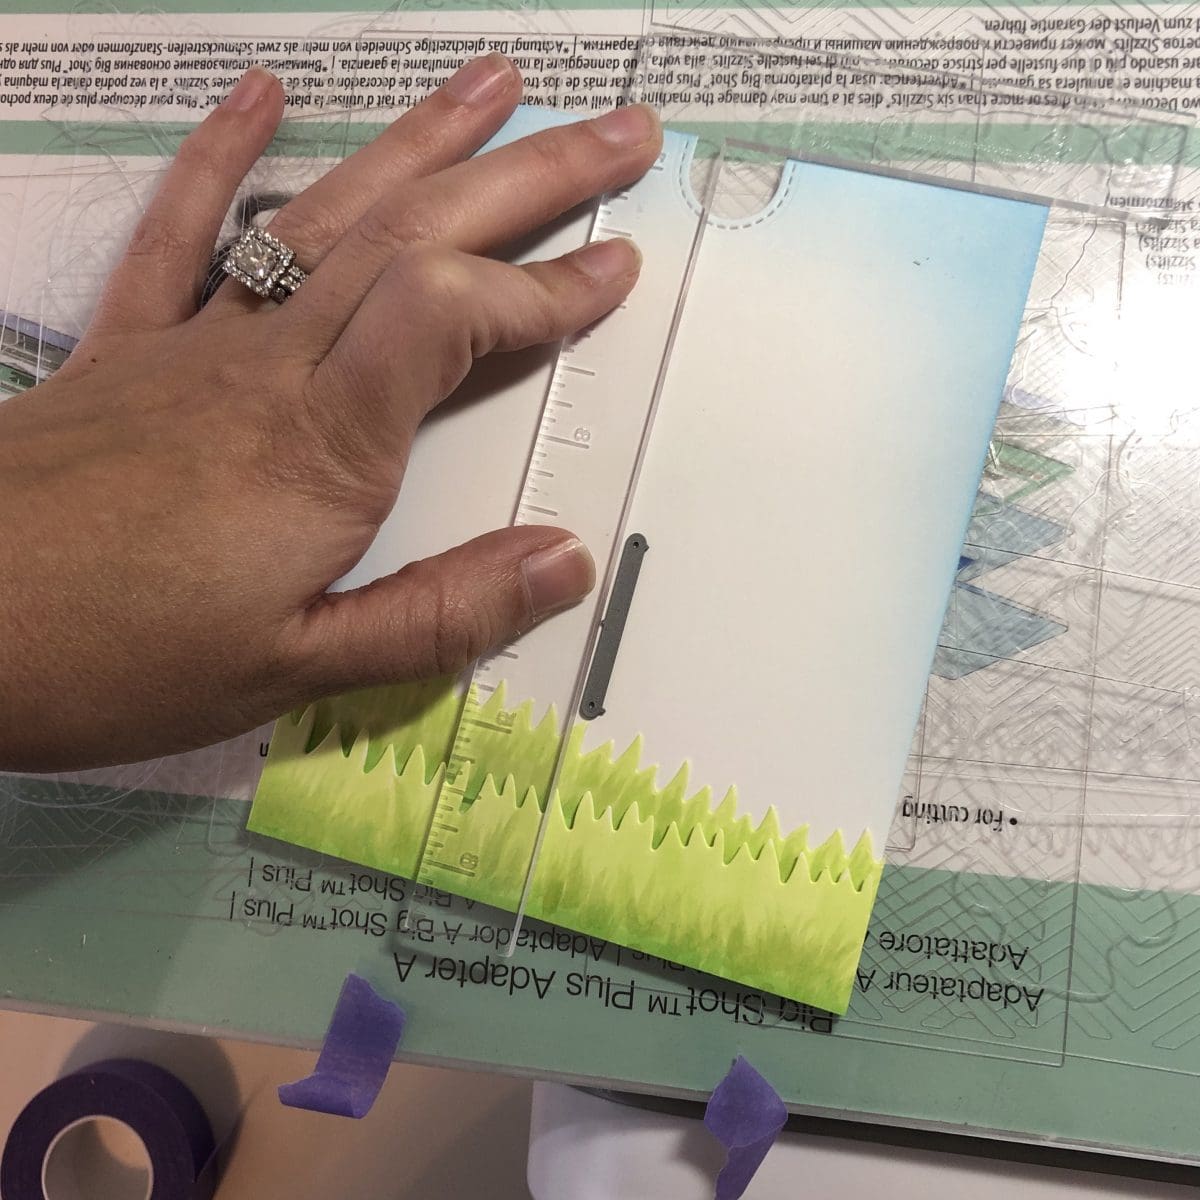
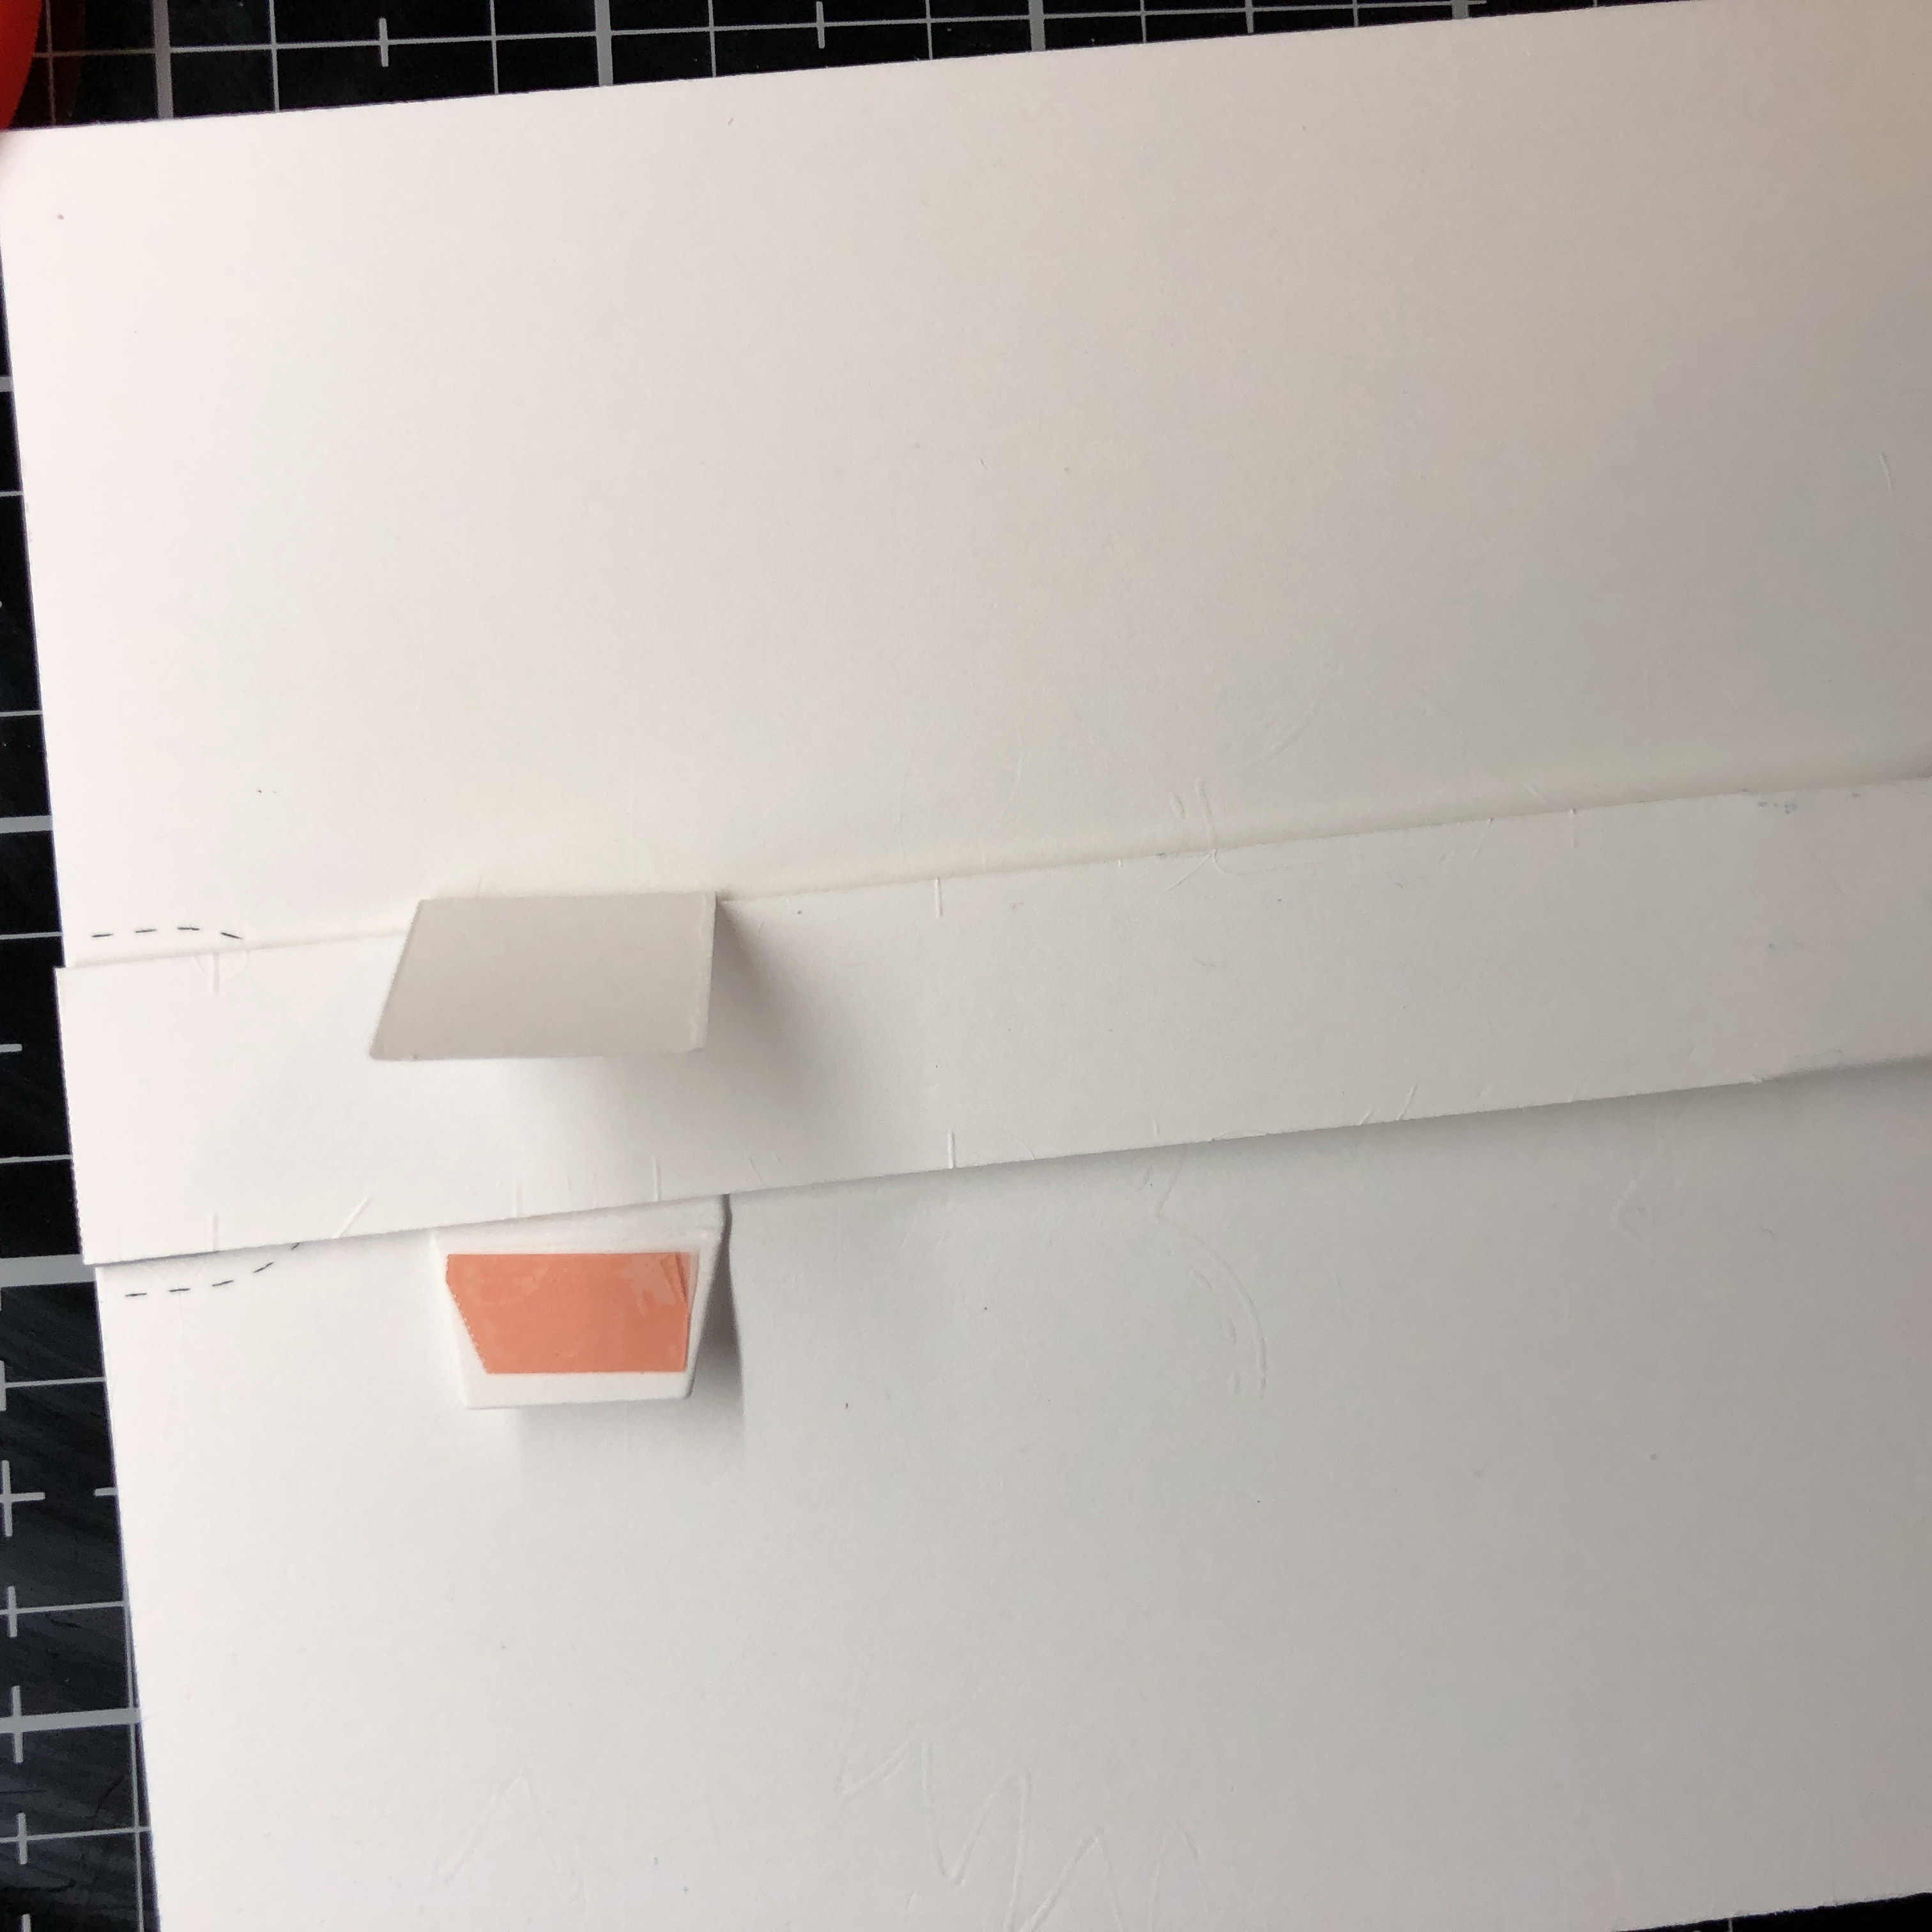
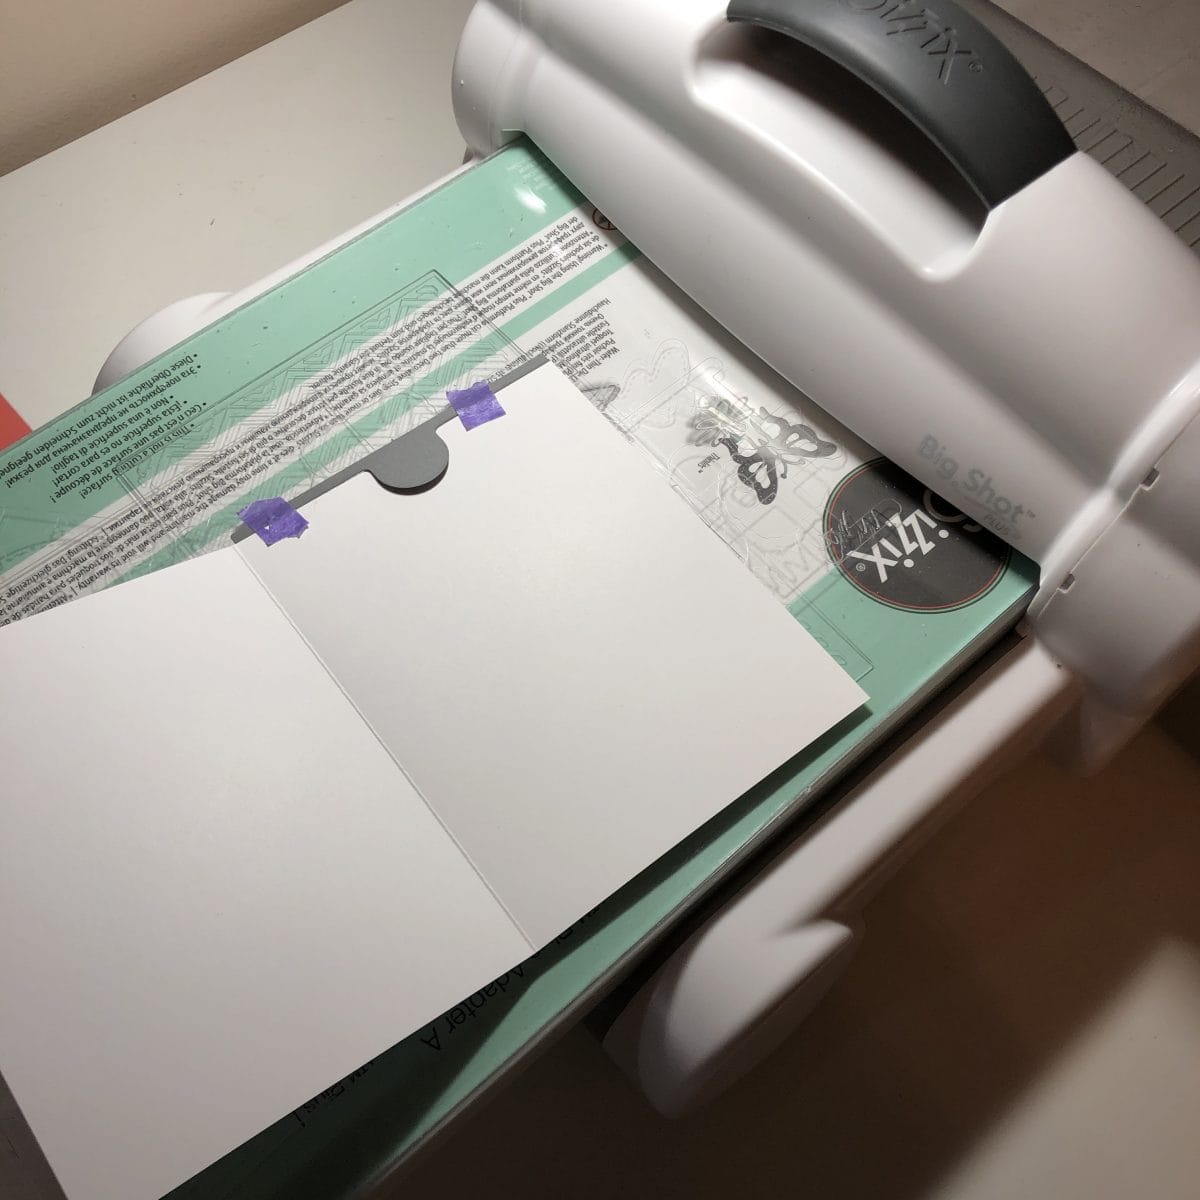
Before I start attaching my trees, I’m going to prepare for my interactive elephant on the inside. This is a die from the Lawn Fawn Let’s Toast Interactive Add-on. You can use any Pull Tab interactive dies you have!
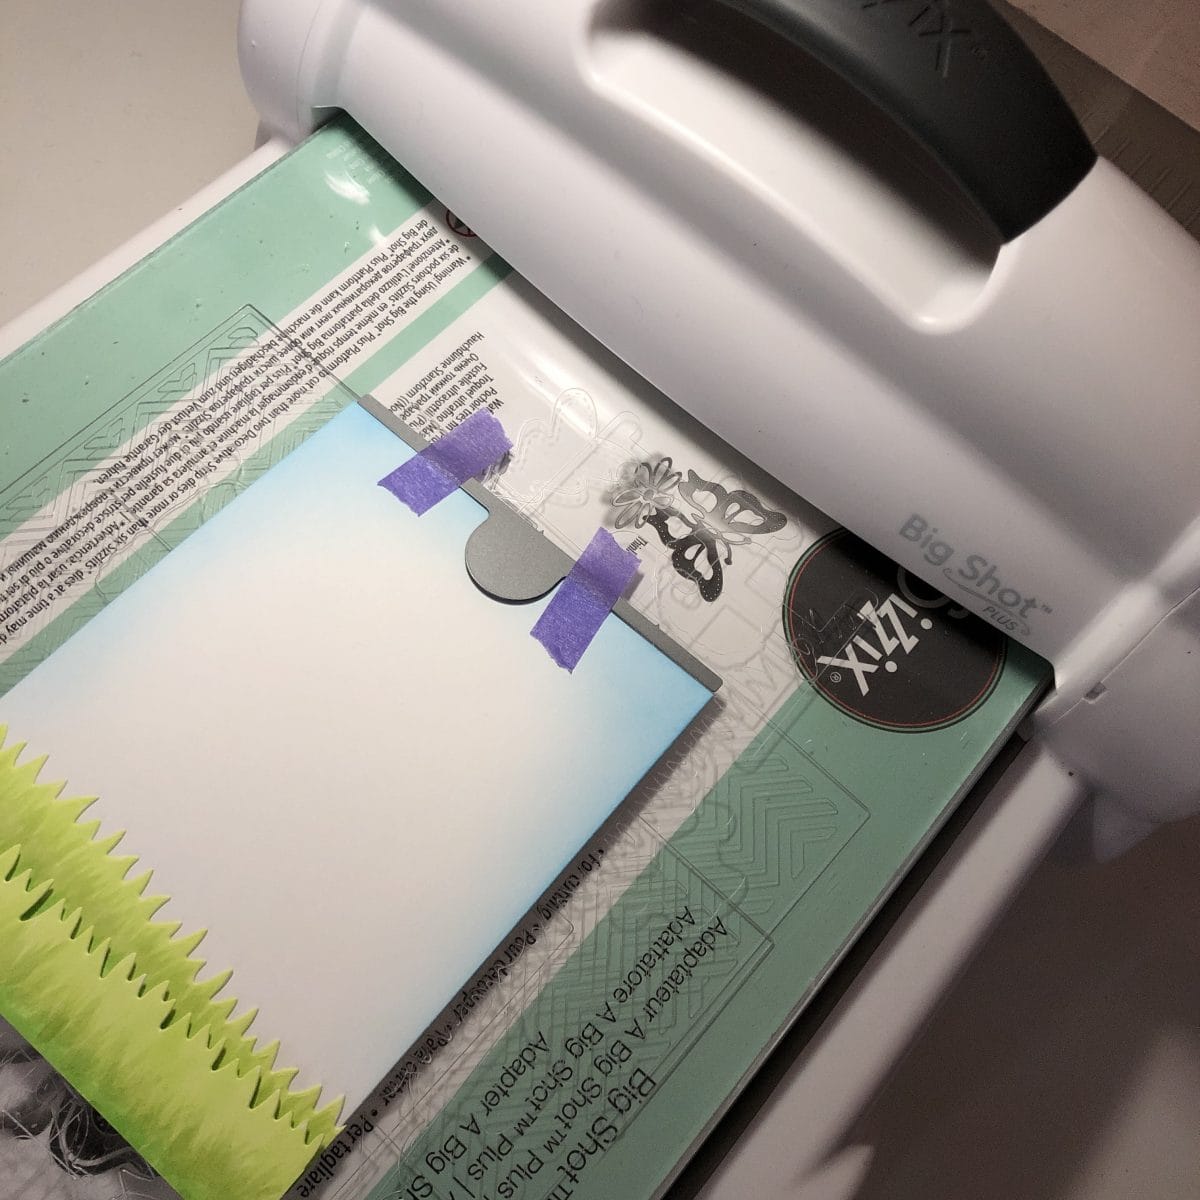
I am using an L ruler to line up my slit in the center of the card. I am using Purple Tape to keep my die still while it goes through my die cutting machine.
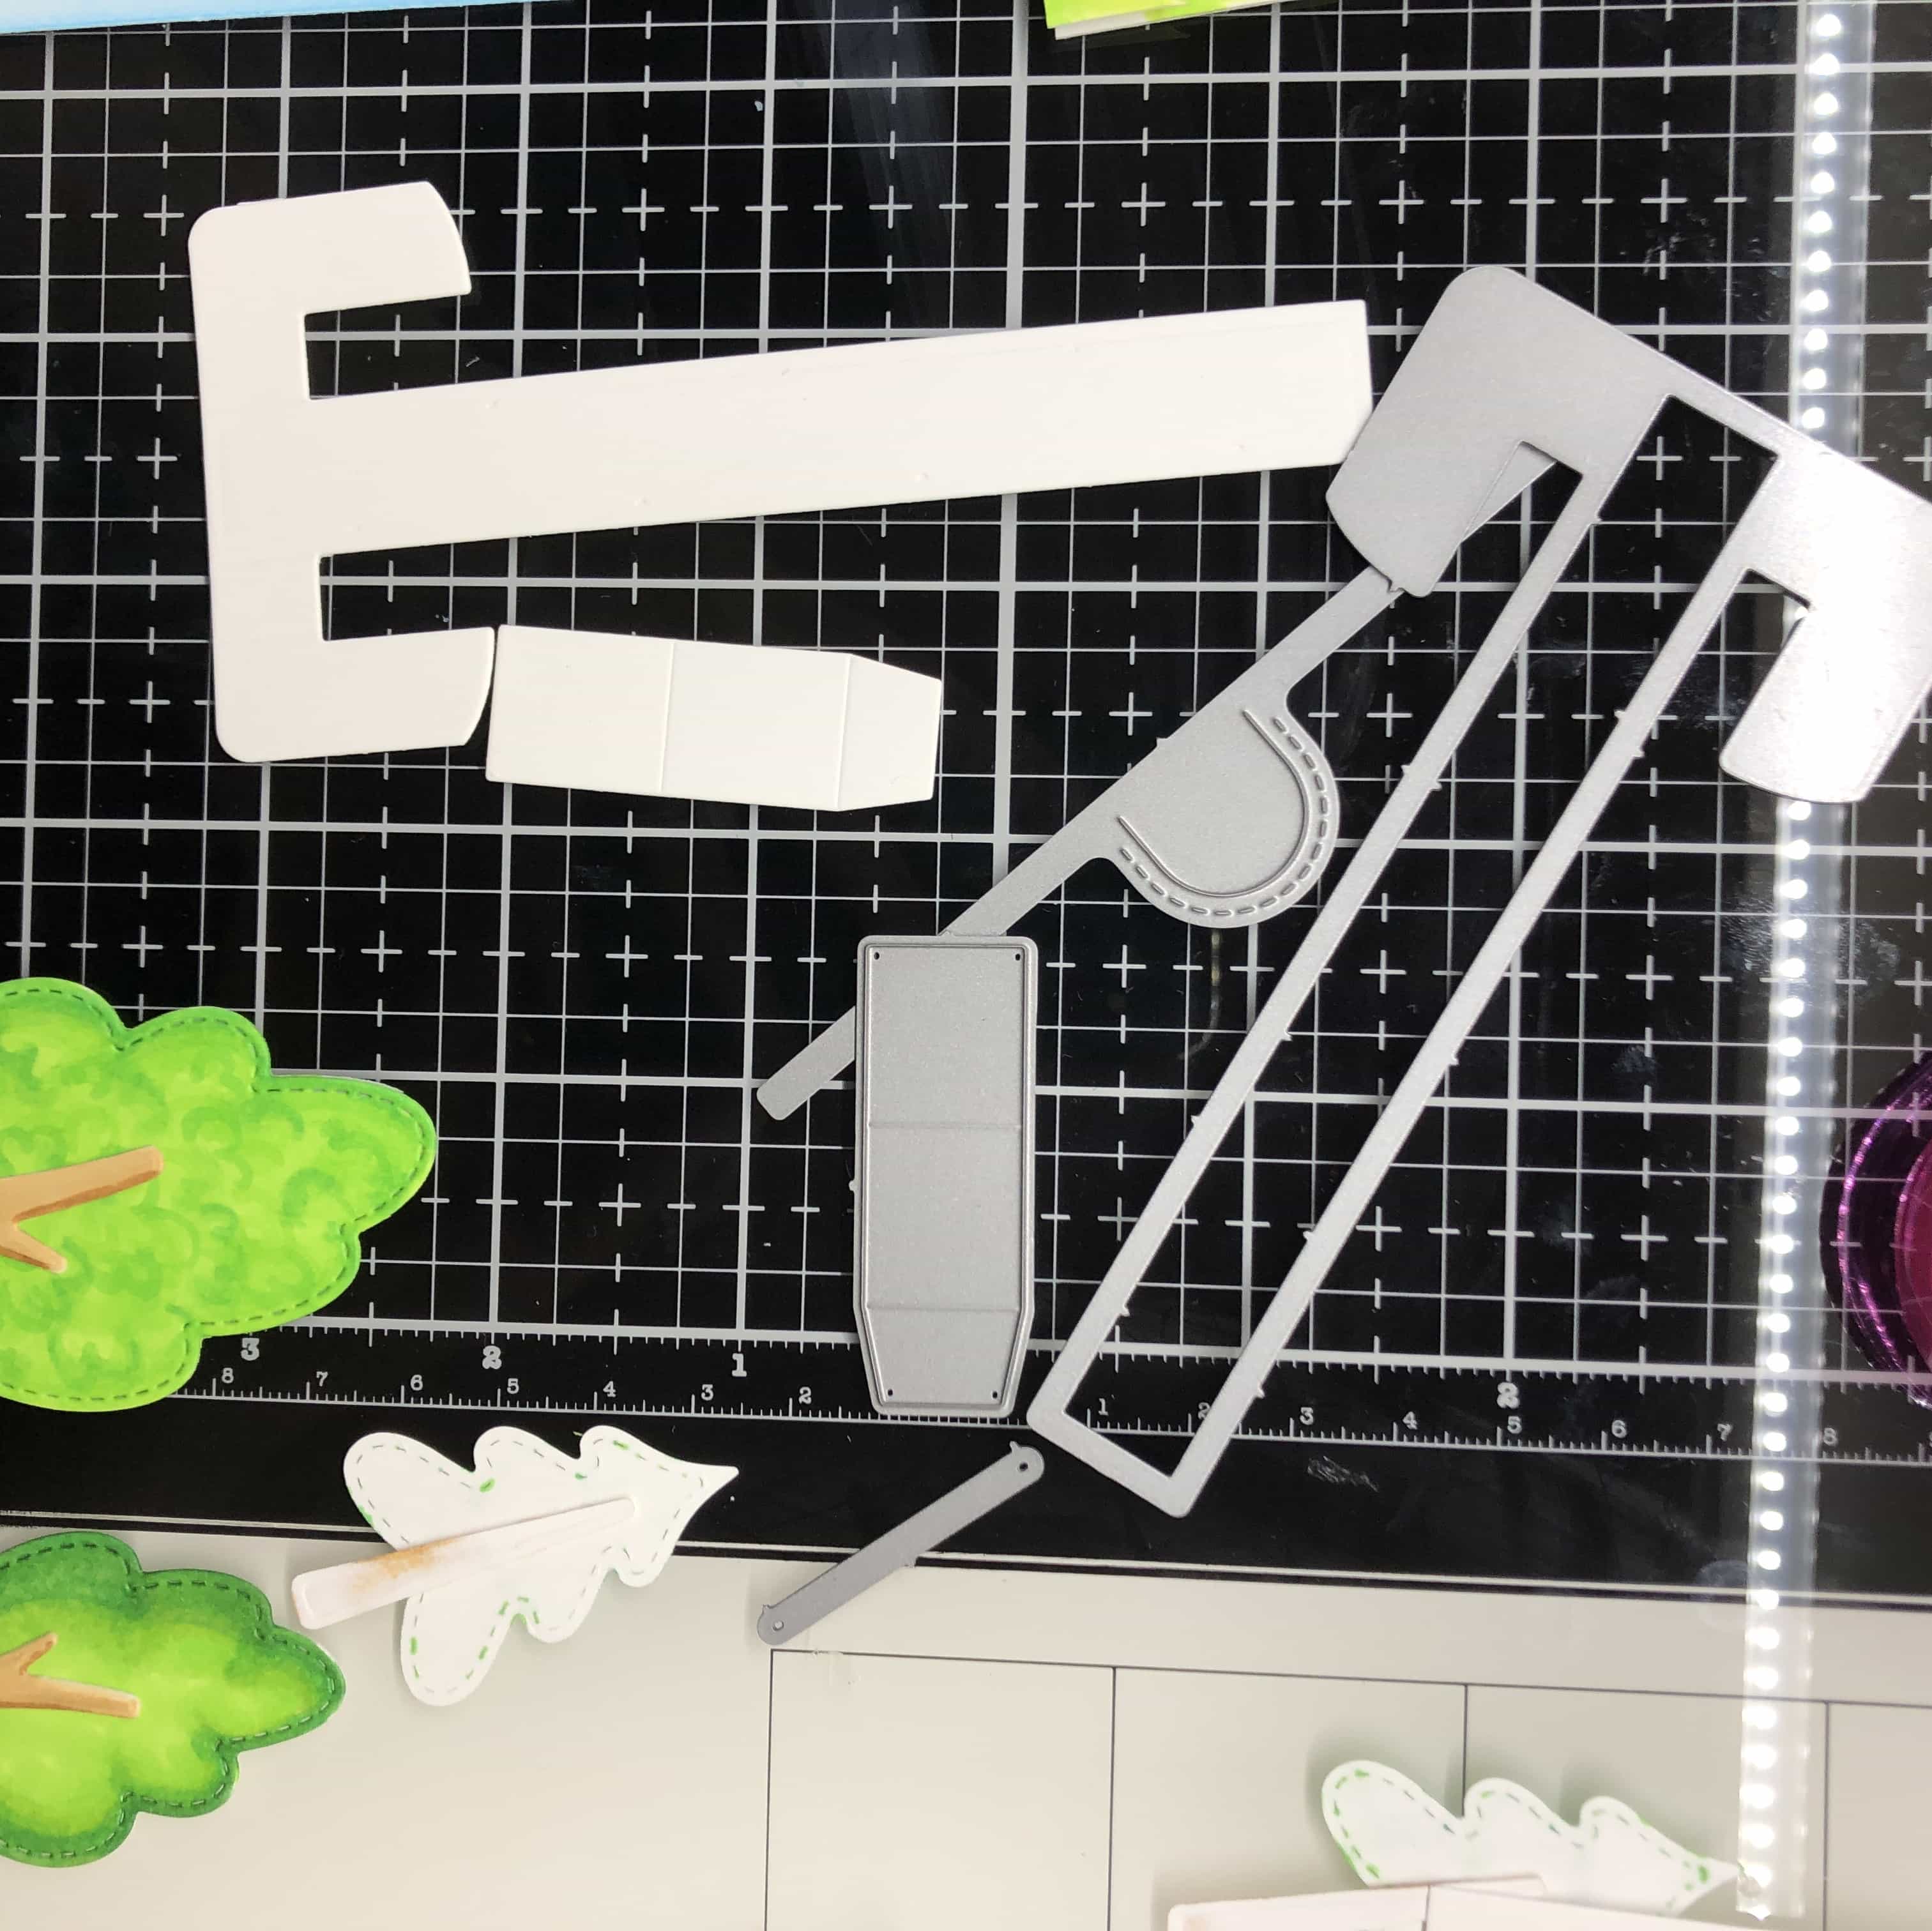
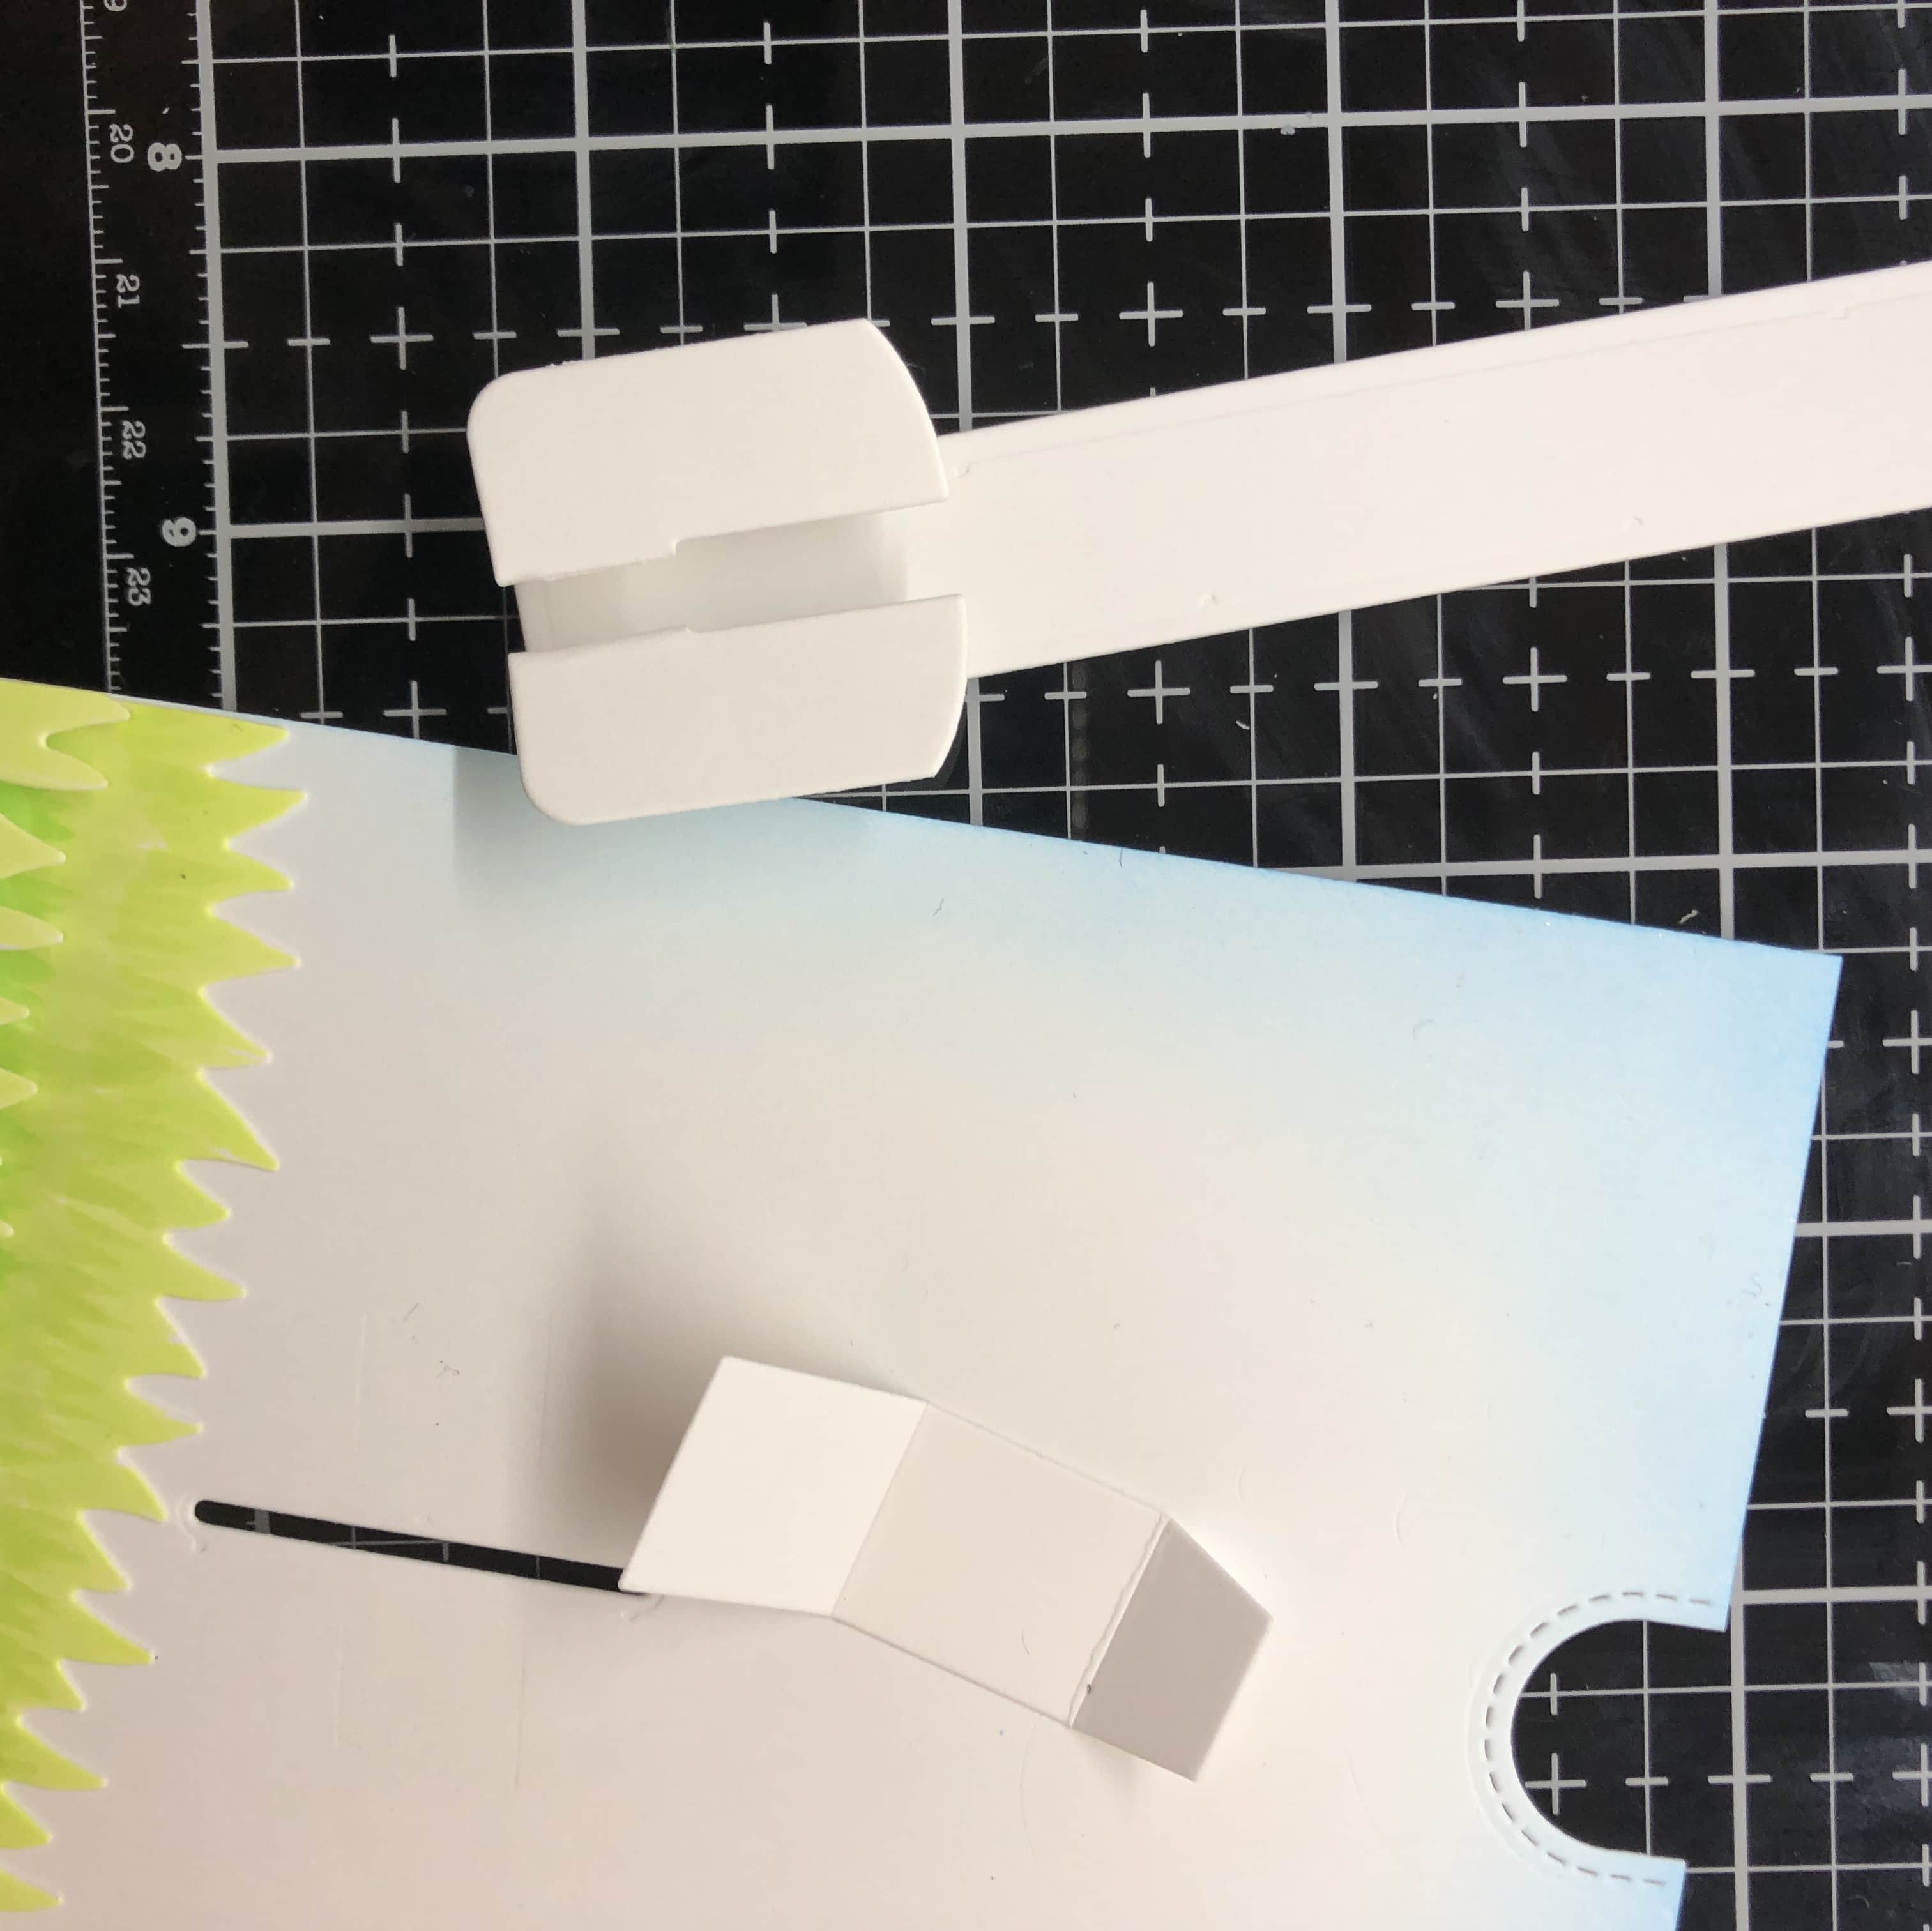
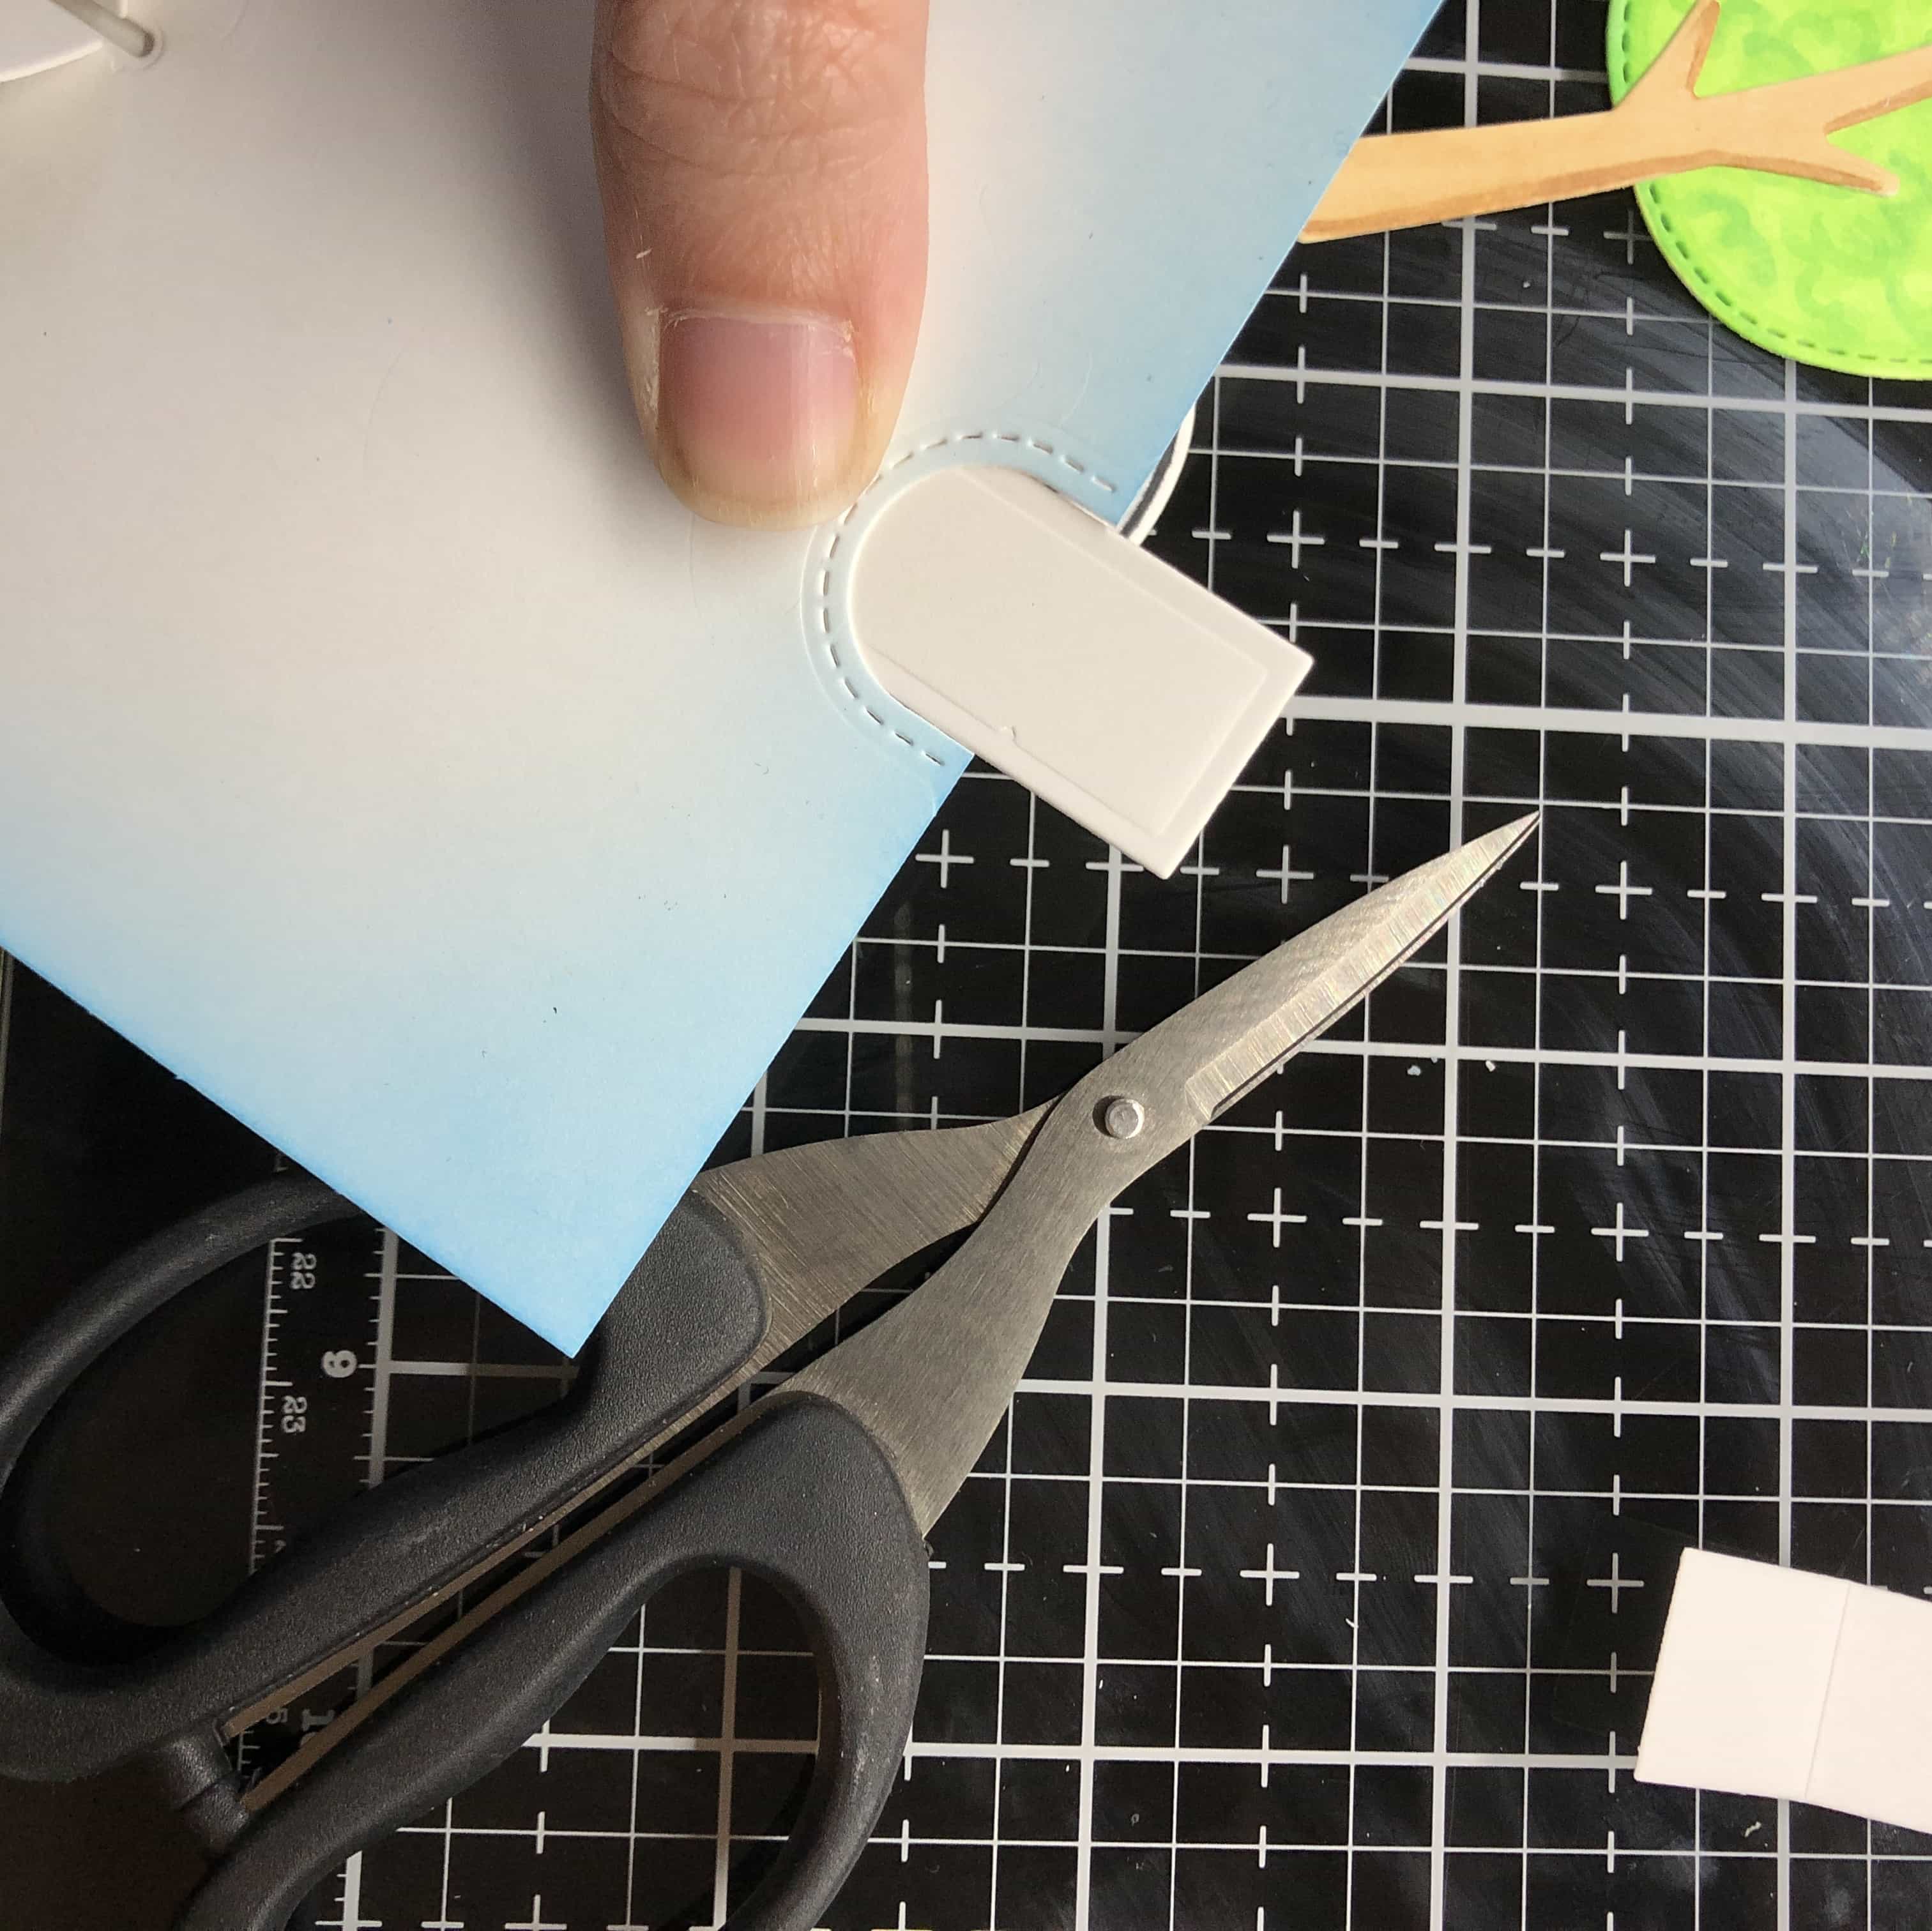
Next, I’m die cutting and folding the pull tab components out of 110 lb Neenah Solar White cardstock. I trim off the extra to fit the card and the elephant. I’m using a super strong double sided tape to hold all my components together.

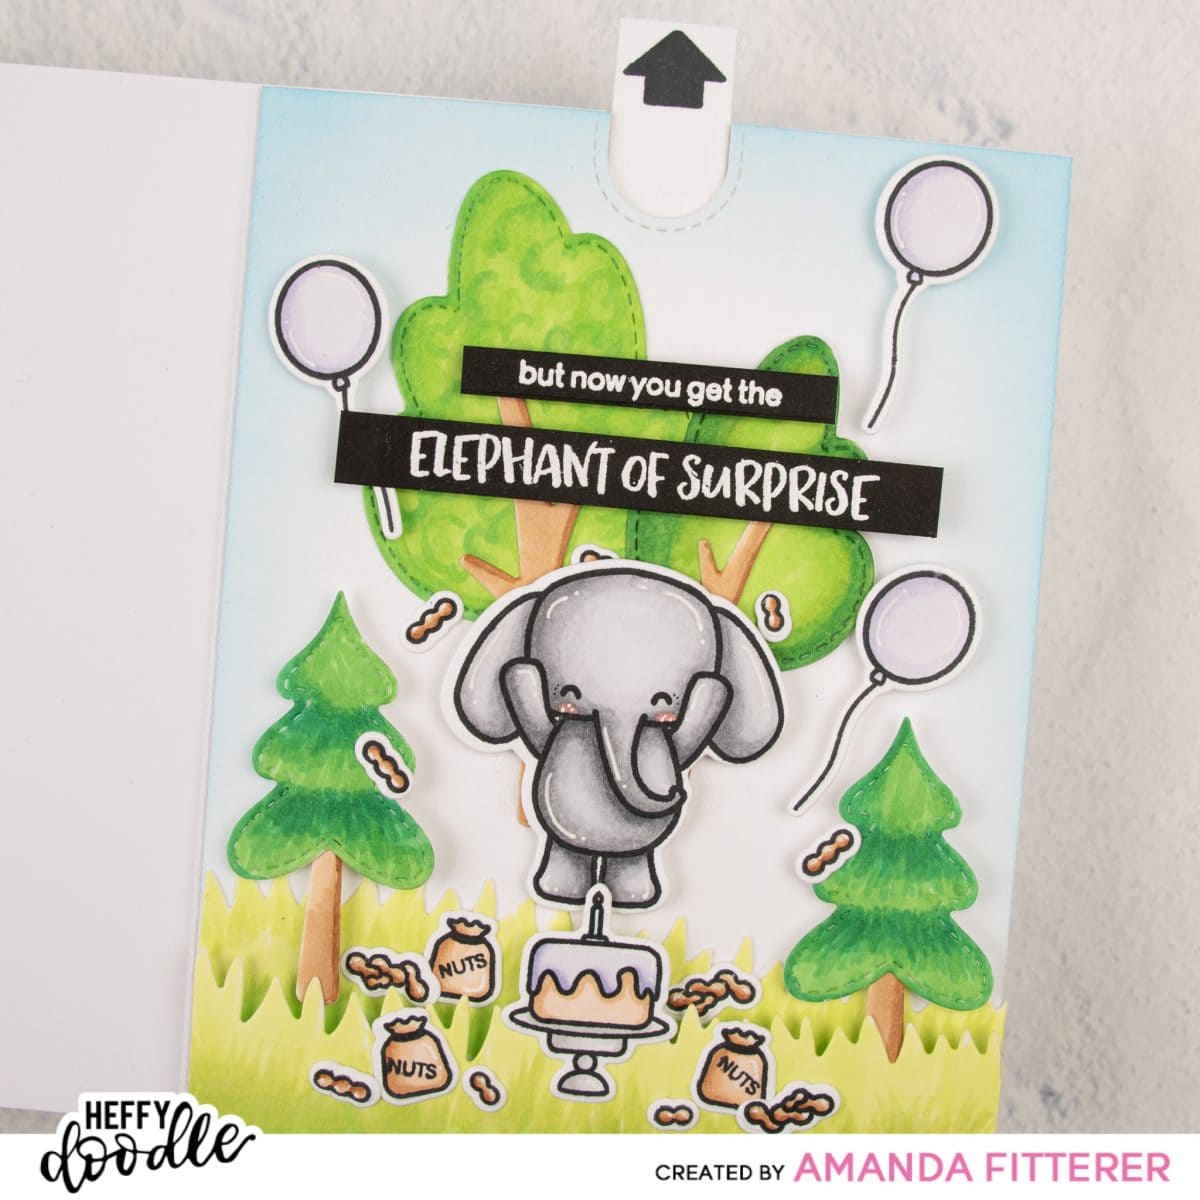
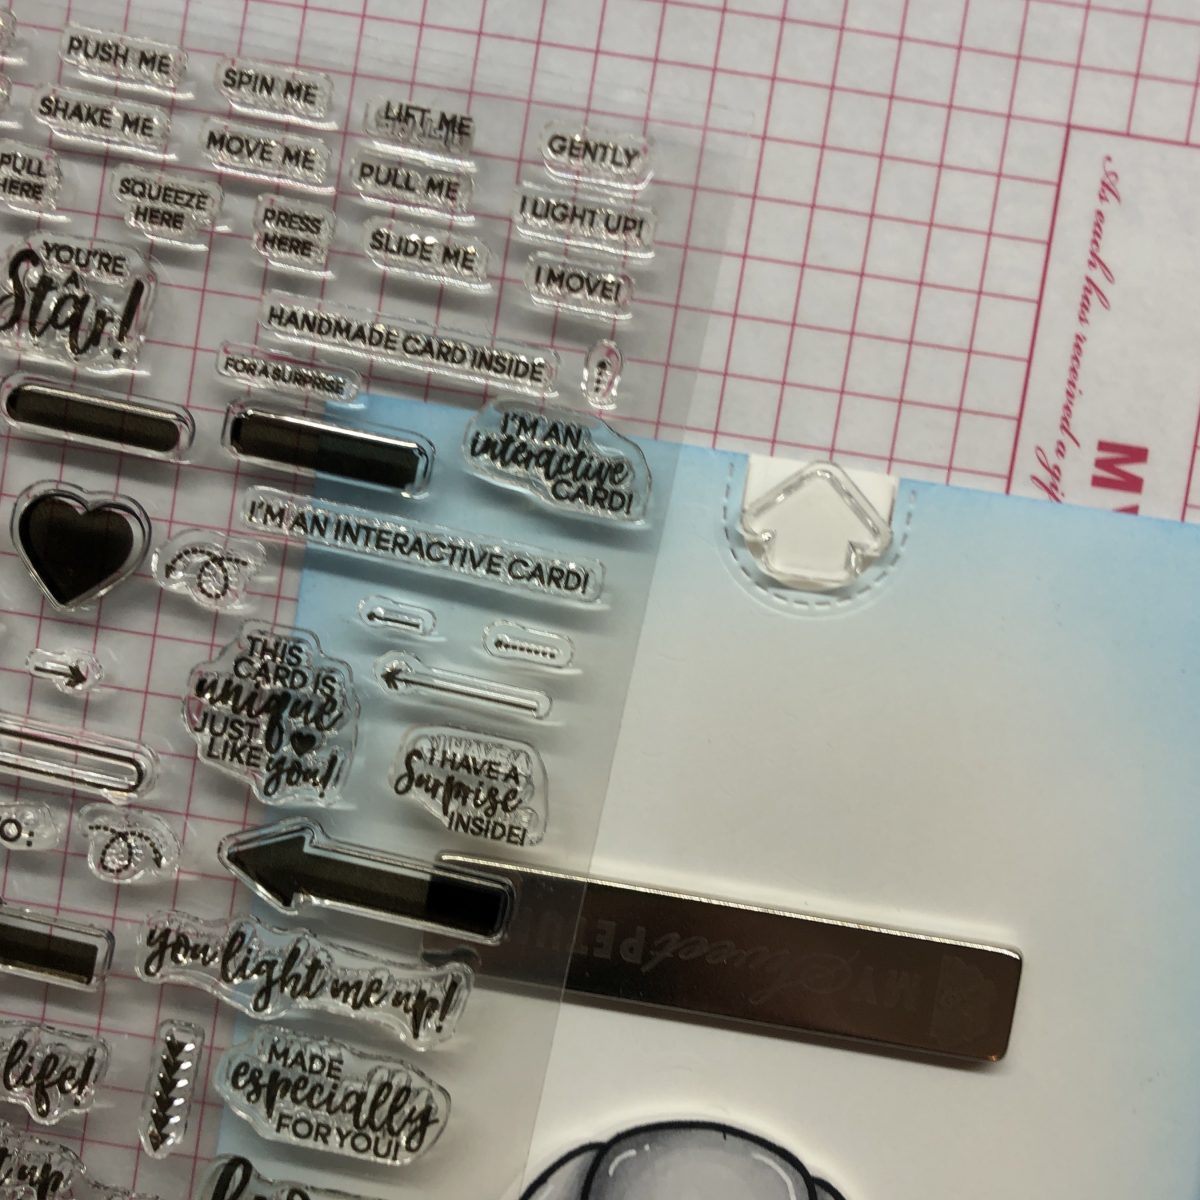
The Lawn Fawn set comes with an arrow, but I just love this simple, thick arrow from the Interactively Yours stamp set.
Next, I’m going to stamp and emboss my sentiments. For detailed instructions, visit this post.
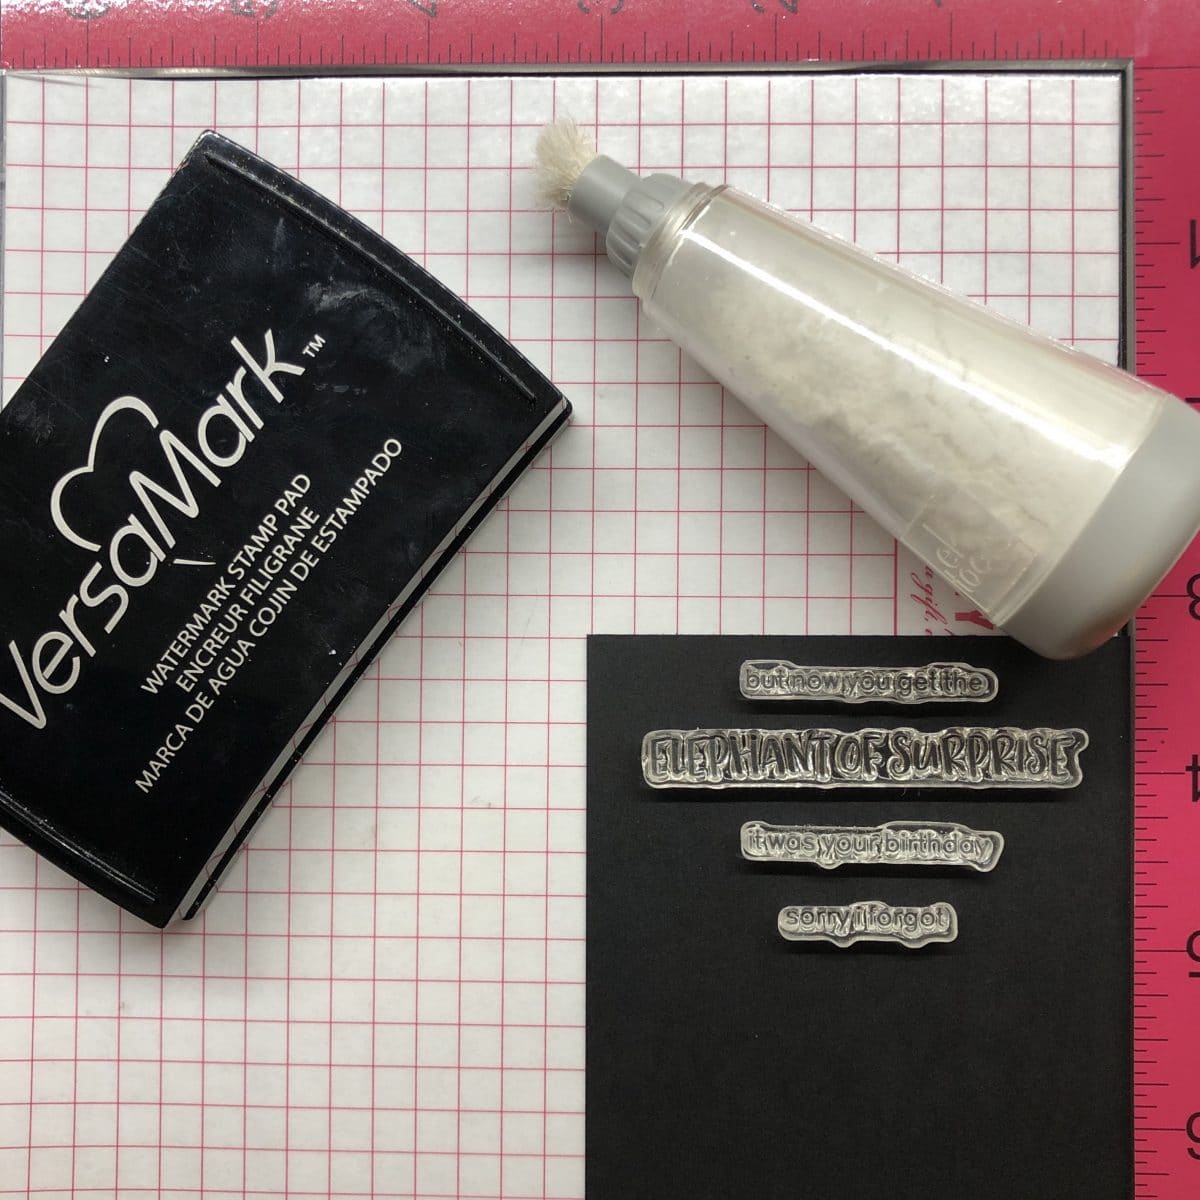
I am using a Strips of Ease die to cut my sentiments out so they’re all the same width (except the “Elephant of Surprise”).
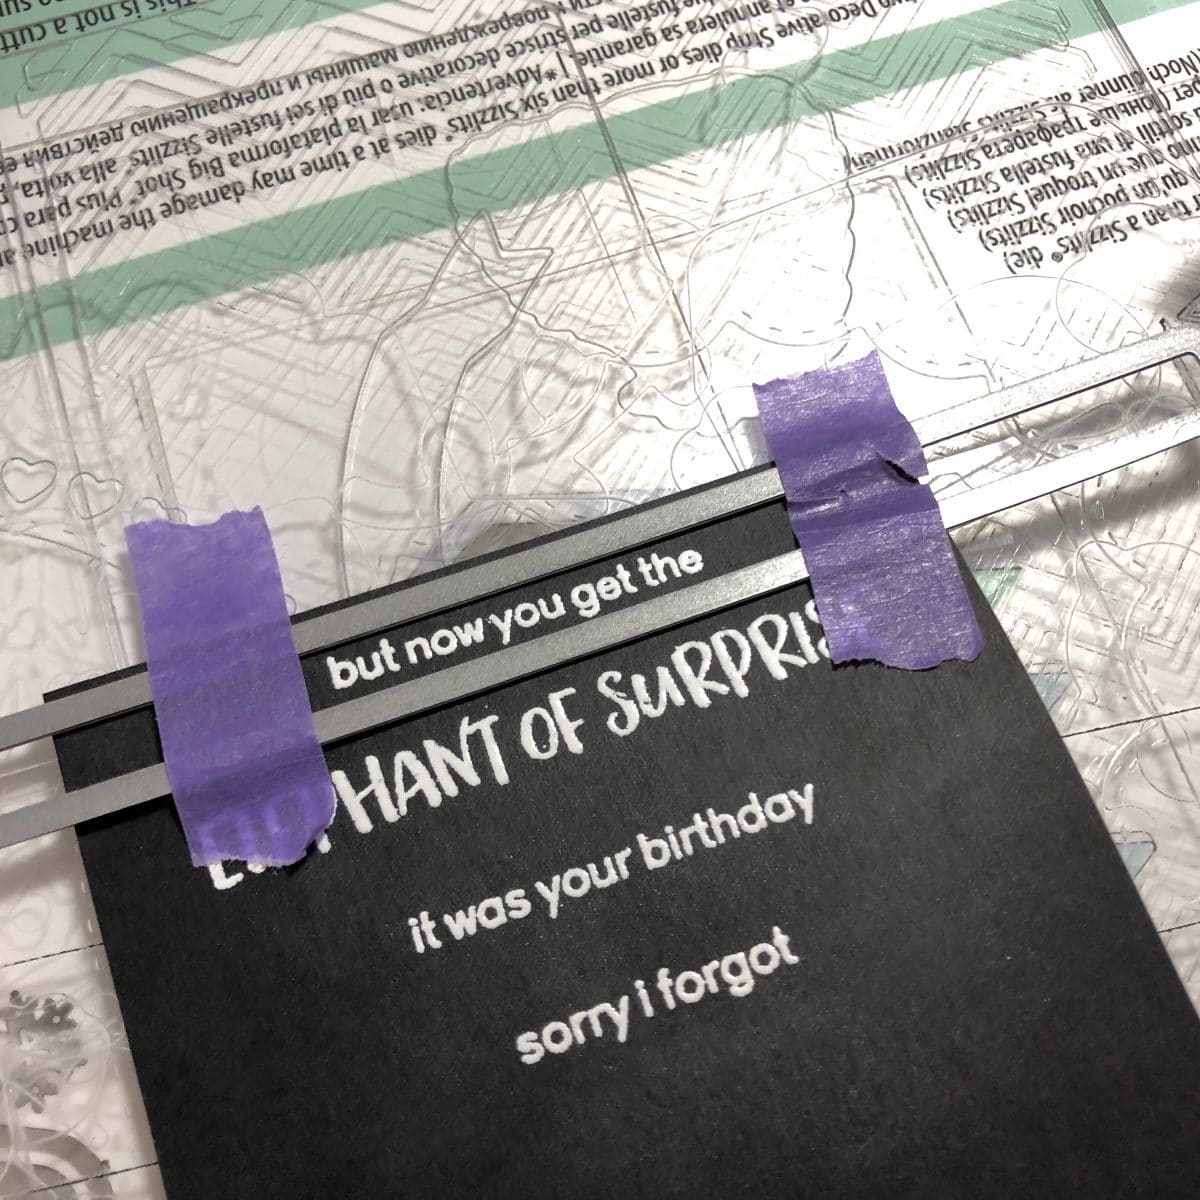
On an A2 card (8.5″ x 5.5″ scored at 4.25″), I am cutting another notch for the inside of the card.
We’re ready to finish the card! I am using 3D foam adhesive, double sided tape and a glue pen!
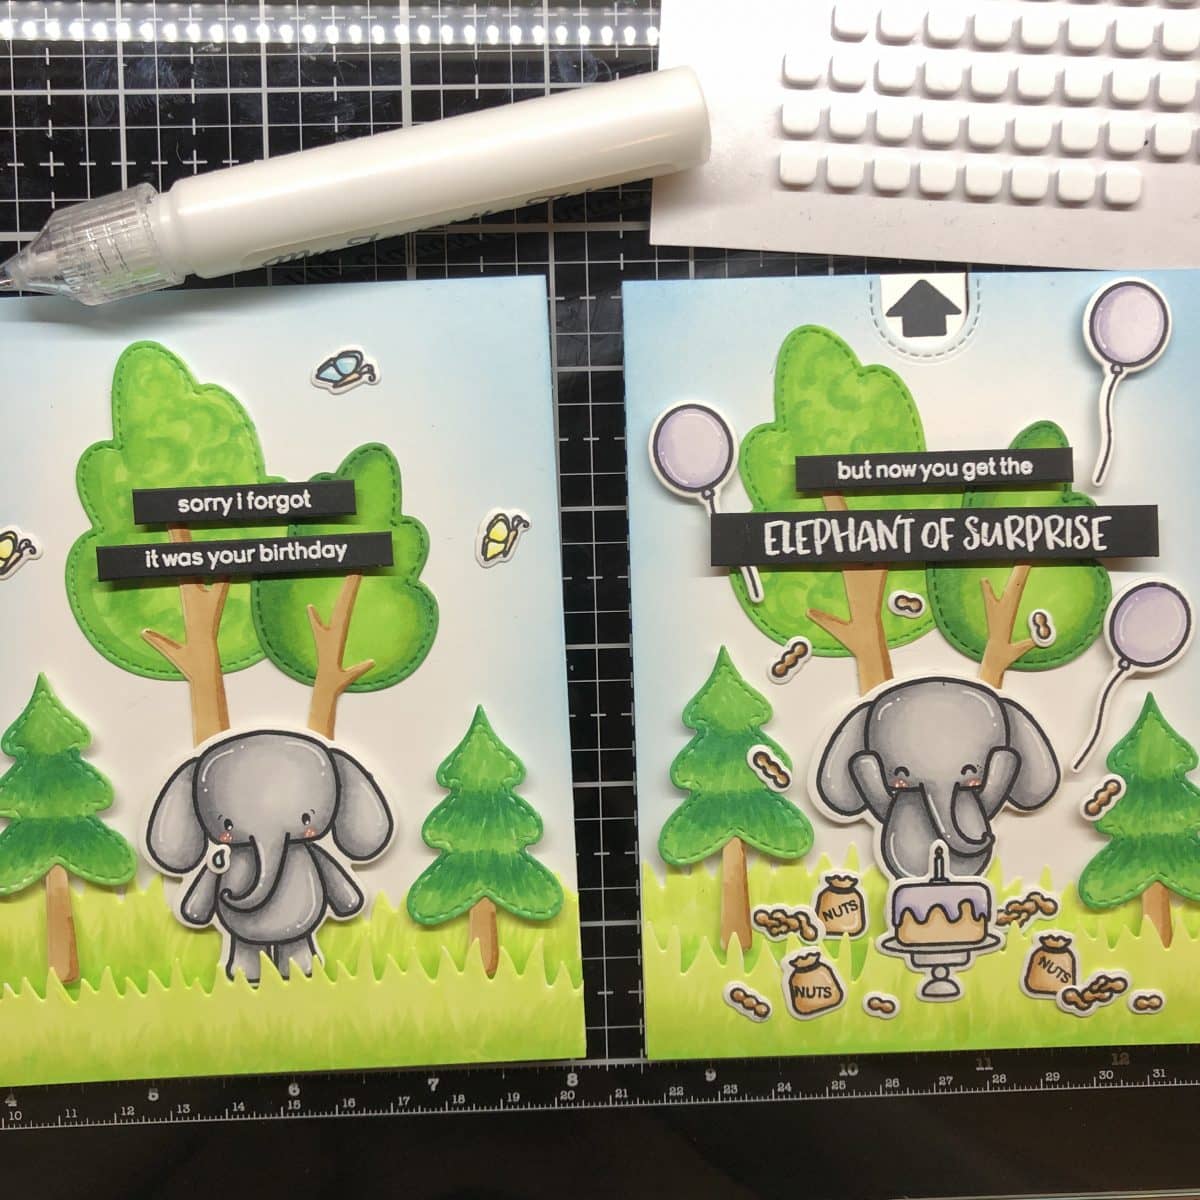
And finally, I am using double sided tape to adhere the front and inside of the card to my A2 cardstock.
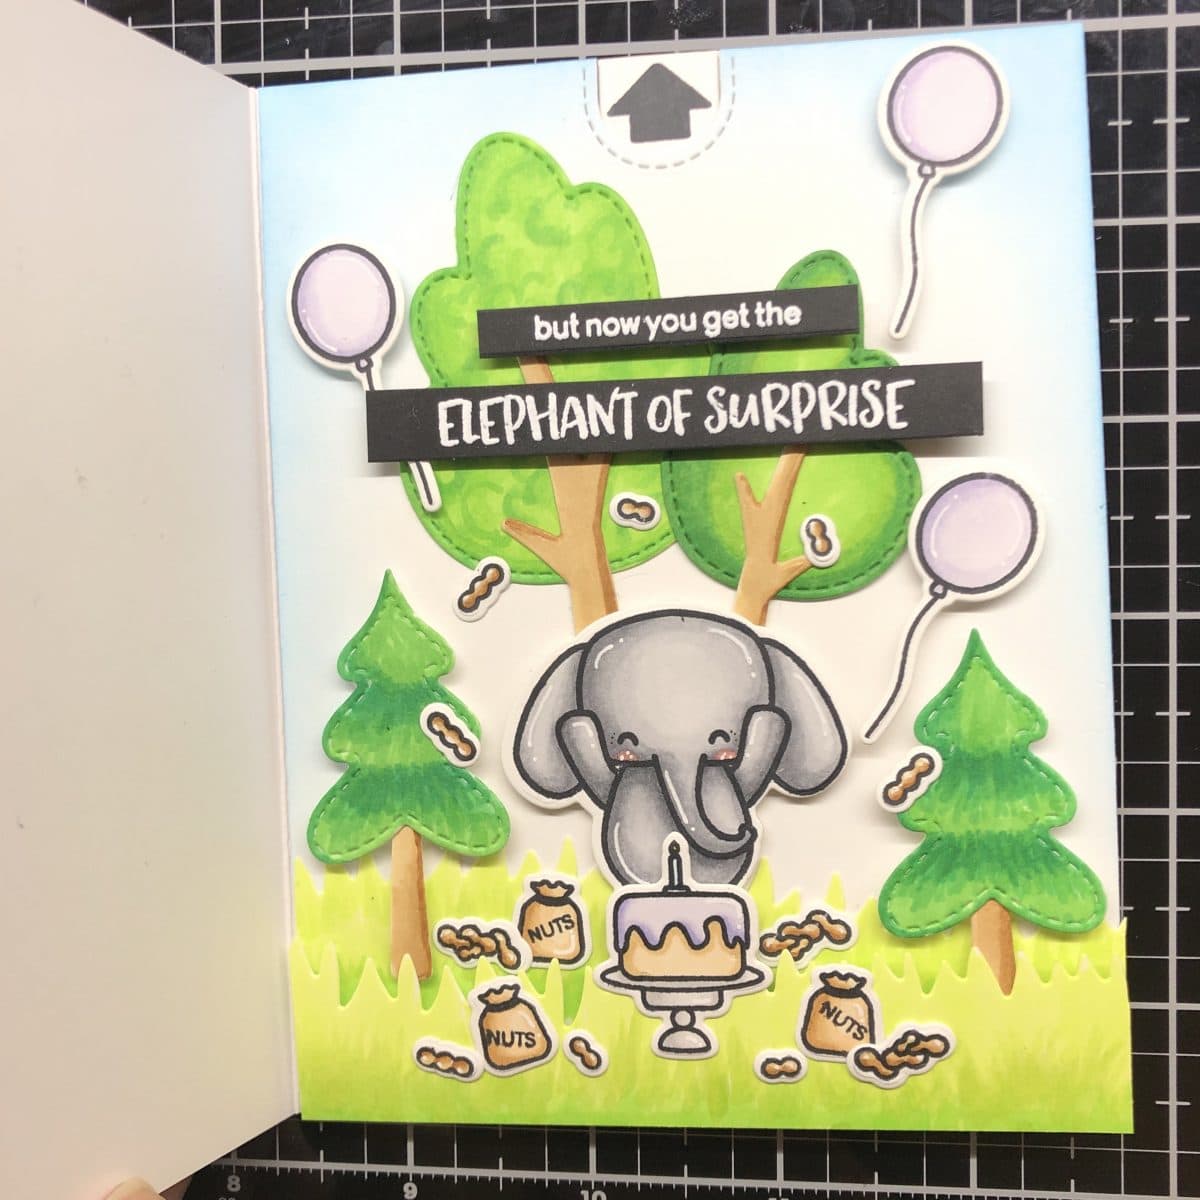
Woohoo! And we’re all done!
Here are some additional photos!