
A Paper HUG For You!

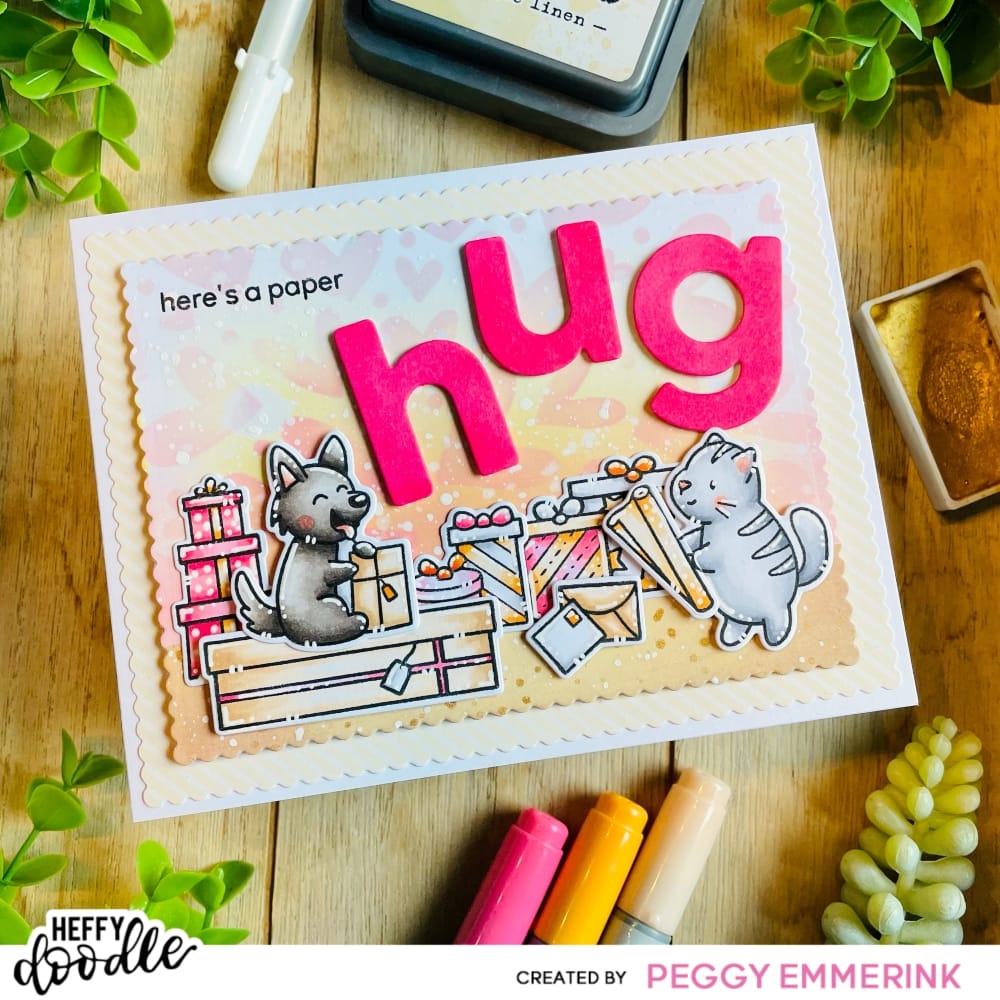
Hi crafty friends! It’s Peggy here and my mind is busy making non-holiday cards. For my card today I chose an analogous color scheme with yellows, pinks and oranges (Oh my!). Let me show you how I made this card!
I started by cutting a standard size white cardbase 11″ x 4 1/4″ scored at 5 1/2″. Next, I took out my Mini Scalloped Imperial Rectangle Dies and selected the largest and second largest one. I took out the cream colored striped paper from the Tinsel Town 6″ x 6″ Patterned Paper Pad and cut it with the largest Scalloped Rectangle. The second largest Scalloped Rectangle I cut from heavyweight white paper fit for ink blending. I masked off a piece of the bottom of the panel using Heffy Doodle Memo Tape. I ink blended the bottom with Distress Ink in Tea Dye and Antique Linen color to create a floor for my images to stand on. I splattered that piece with gold metallic watercolor.
Next, I masked off the floor part, leaving the white piece of the panel. I ink blended from the bottom up and outwards using Distress Oxide Ink in Fossilized Amber and Squeezed Lemonade. I placed the Love is Everywhere Stencil over the yellow ink blending and used Distress Oxide Ink in Kitsch Flamingo and Spun Sugar to blend the hearts over top. After removing the stencil I splattered the entire panel with some white acrylic paint.
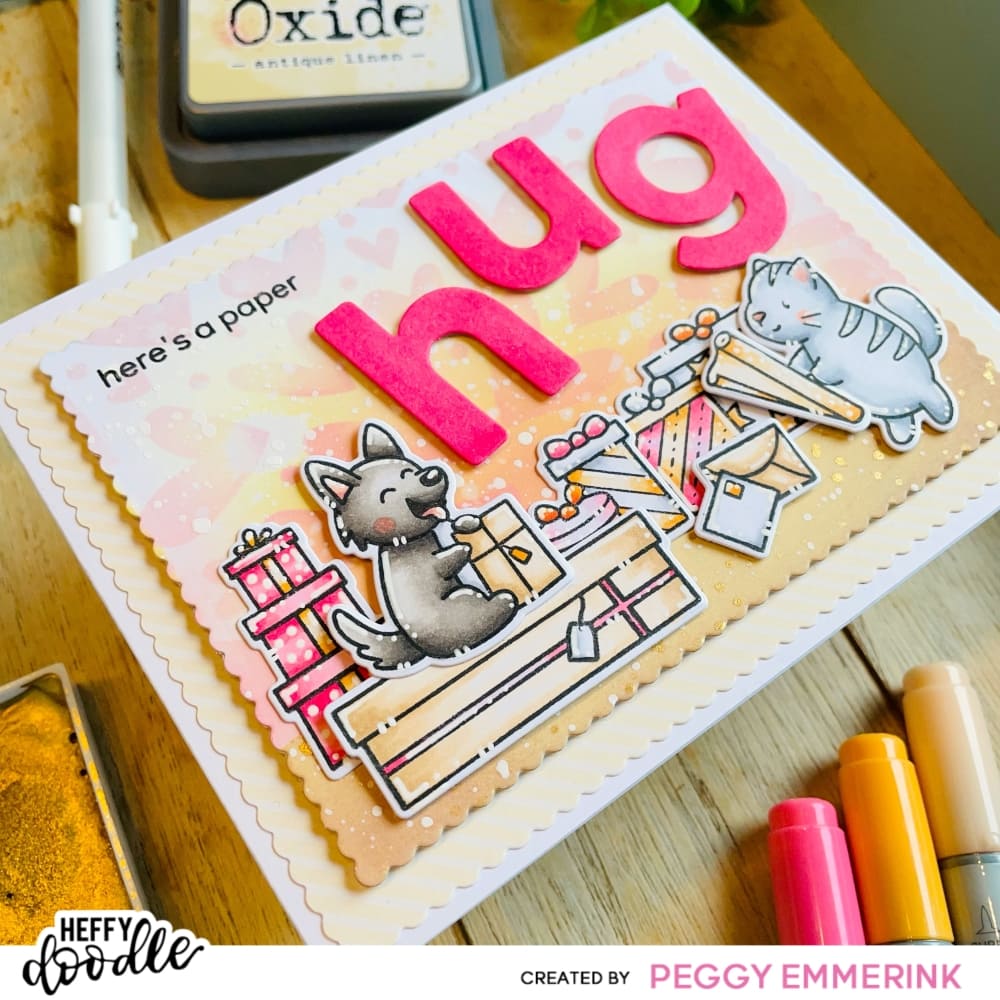
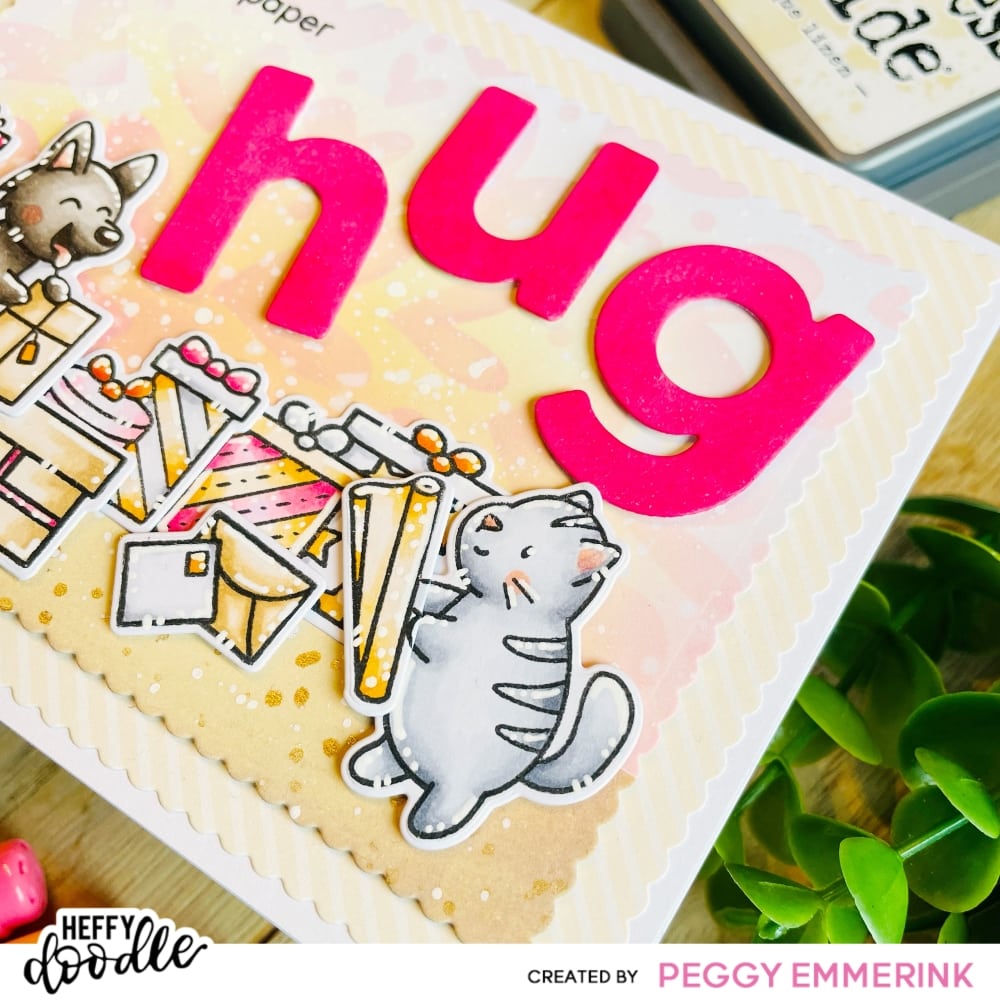
I adhered both Scalloped Rectangles to my cardbase using tape runner and foam tape. I stamped a bunch of images from the Wrapped with Love Stamp Set and a small envelopes image from the Special Delivery Stamp Set. I colored the images with my copic markers, finished them with some white gelly roll pen accents and adhered them to my card using a combination of foam tape and Heffy Doodle Glubert liquid glue.
I took my Special Delivery stamp set and cut the sentiment at the top in half after the word ‘paper’ using sharp scissors. I often do this to better suit my needs to create custom sentiments. Understandably, if you don’t want to cut into your sentiment stamps, you can mask off part of your stamping area (use double or triple Memo Tape/Masking Tape for this, or it will bleed onto your panel) or be very careful to ink up only the part of the sentiment you want to stamp. I stamped ‘here’s a paper’ in the top left corner of the panel using a stamping tool in a combination of black waterbased ink (the one I use for stamping my images) and StaZon Jet Black Ink. I do this to really create a deep black sentiment. Stamping over Distress Ink can make your sentiment look a little faded.
Lastly, I used the H U G letter dies from the Slimline Quartet Dies to cut out the word ‘hug’ to finish my sentiment ‘here’s a paper hug’. I used the darkest pink copic marker I used to color my images to color the letters in a matching color. I adhered the letters with foam tape to pop them up a little.
And that’s it for today! Hope you like my card and have a crafty day!
As always you get some long distance hugs from me! And see you next time,
Peggy
(Come say hi on Instagram)
Marjolein Verleg
January 1, 2024 at 11:36 pmThis is so lovely Peggy! I love the colors together although I’ve never used these together yet. So you inspire me to get my out of my comfort zone.
Thanks for sharing, it was fun to read & ofcourse I love your card. Stunning as always. And those stamps, so, so cute!
Love,
Lein
Elize (Card a Lize)
January 10, 2024 at 9:18 pmWhat fun to read Peggy. I really love your coloring and I am trying your coloring technique more often now with the white highlights. My stamps are becoming more vibrant. Thank you for the inspiration.
Levina
January 10, 2024 at 9:28 pmWat een super leuk kaartje en wat passen de kleuren super mooi bij elkaar. En wat super leuk om hier over te lezen ik ga de witte licht streepjes ook eens proberen te gebruiken in mijn kaartjes en deze kleur combinaties