
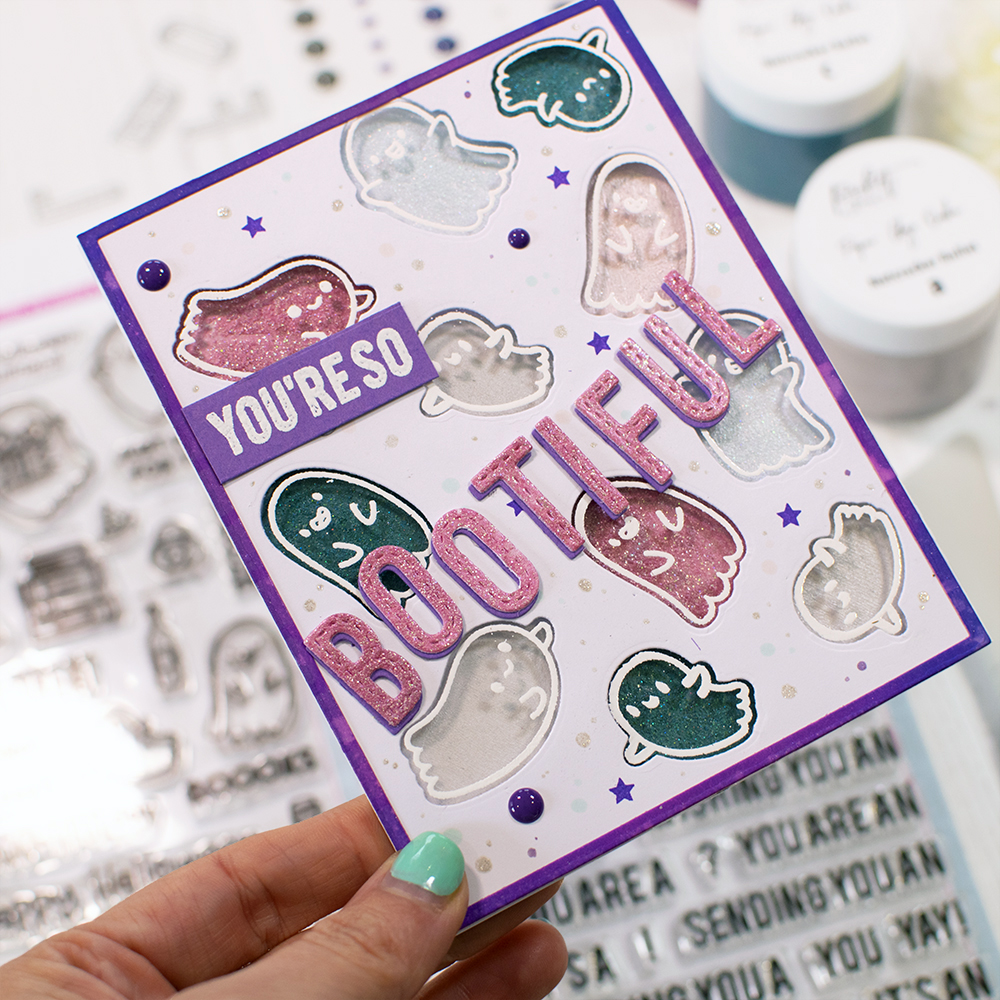
You’re So BOOTIFUL! – Flying see-through ghosts!

Hello Crafty friends!
It’s Lesley here, and I am so excited to be sharing a project with you, featuring our newest release – but before I delve into how I made this bootiful card, I wanted to remind you how you can get get a free exclusive Sweetie Pie stamp set! Simply place a pre-order on the Heffy Doodle store between now and release day (7th Sept) and you will automatically get this stamp added to your order. There is no code necessary – our magical packing elves will just add it to your order. And if your order is £45 (before shipping costs) then you will automatically get the coordinating dies too! Woohoo!
On to the card!
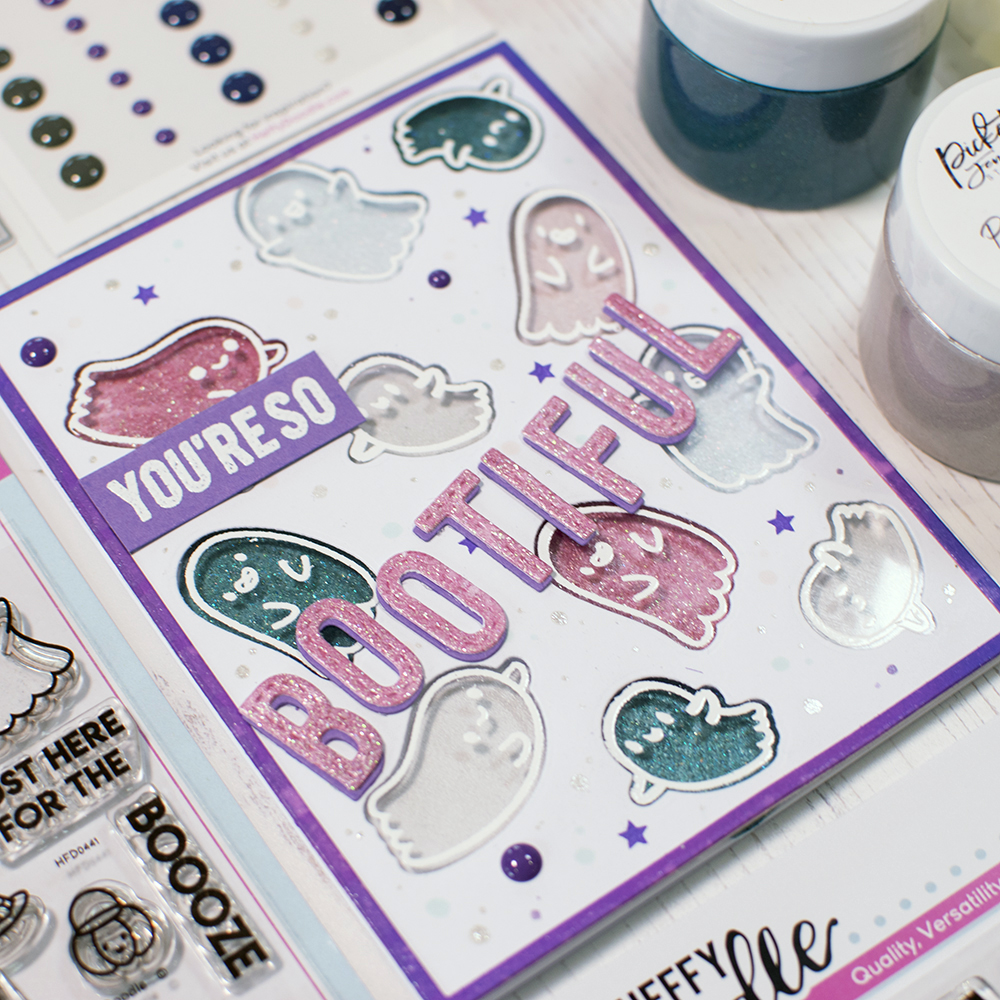
This card was so fun to make! I really wanted to create transparent ghosts so I had the idea to use acetate for the ghosties! We recently had a hop with the lovely gang over at Picket Fence Studios, and I had my Paper Glaze on my desk, so this card came together nicely!
I started with some scratch cardstock and used a palette knife to smooth on some paper glaze. I wanted to have a selection of different colours – plus it seemed like an excellent way to use up those scraps of cardstock around my desk.
Next up I die cut a variety of ghost shapes into an A2 card panel using the Ghoulfriends Dies. I didn’t fuss too much over where they were going, but I picked the ghosts that didn’t have any accessories, so it would have a more ghostly shape!
For the next step, I stamped and white heat embossed my ghosts from the Ghoulfriends set onto heat resistant acetate – making sure to leave enough round around them to cut them out and stick them to the reverse of my A2 card panel, matching them perfectly with the die cut apertures!

After my embossed ghosts were in place, I positioned my A2 panel on top of a notecard and added my sparkly paper-glazed card pieces behind each ghost. Some I had to cut down carefully to make sure they would fit nicely.
Next I added lots of Heffy Doodle foam tape behind my A2 panel and secured it onto the notecard. At this point I was very excited to see the card take shape! I managed to find a purple frame in my stash which was the perfect addition to this card – it was a piece of card I had inked for a previous project and cut out using the Skinny Imperial Rectangle Frames Dies, so I grabbed Glubert and stuck it on there!
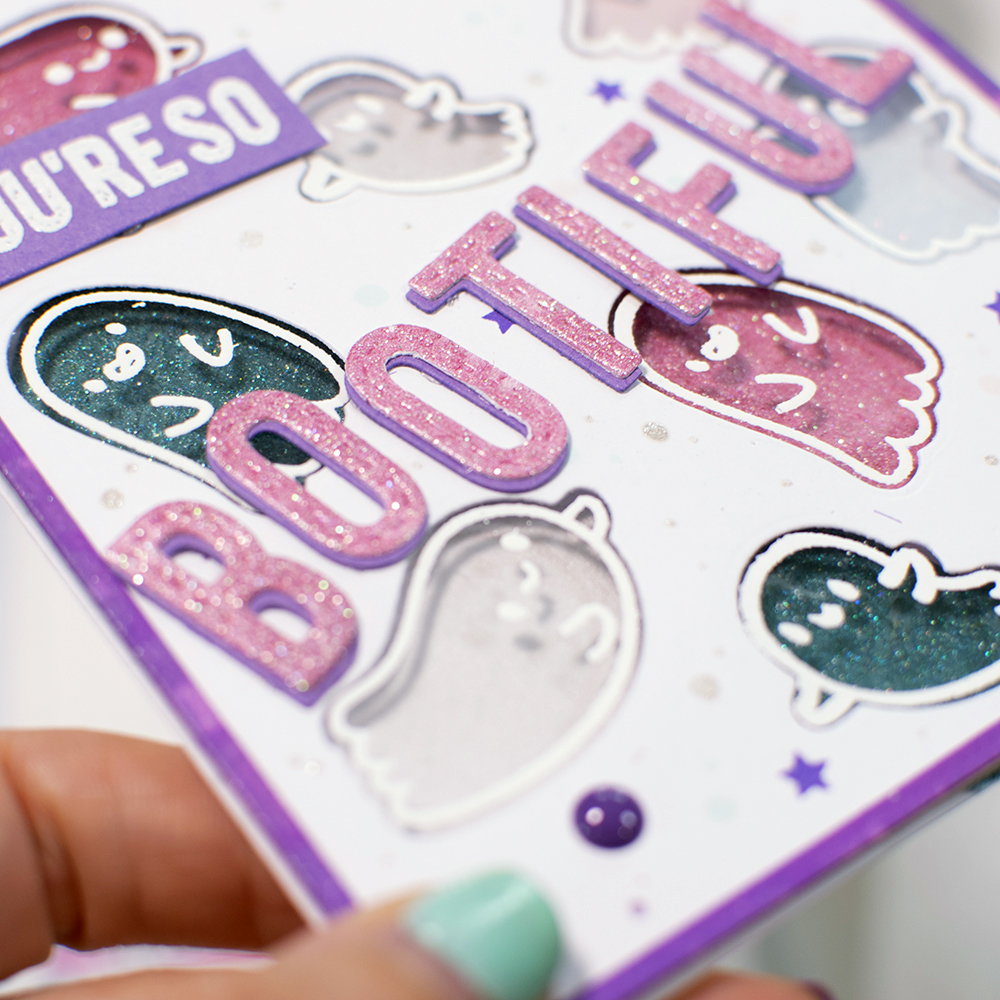
At this stage, I needed a sentiment, and I still had lots of paper-glazed card, so I grabbed my Stitched Alphabetter dies and went to town! Look at how shiny those letters are! So CUTE! I layered up the pink glittery letters on top of some letters cut with purple Plum Pudding cardstock. I love how the shadow makes them POP!
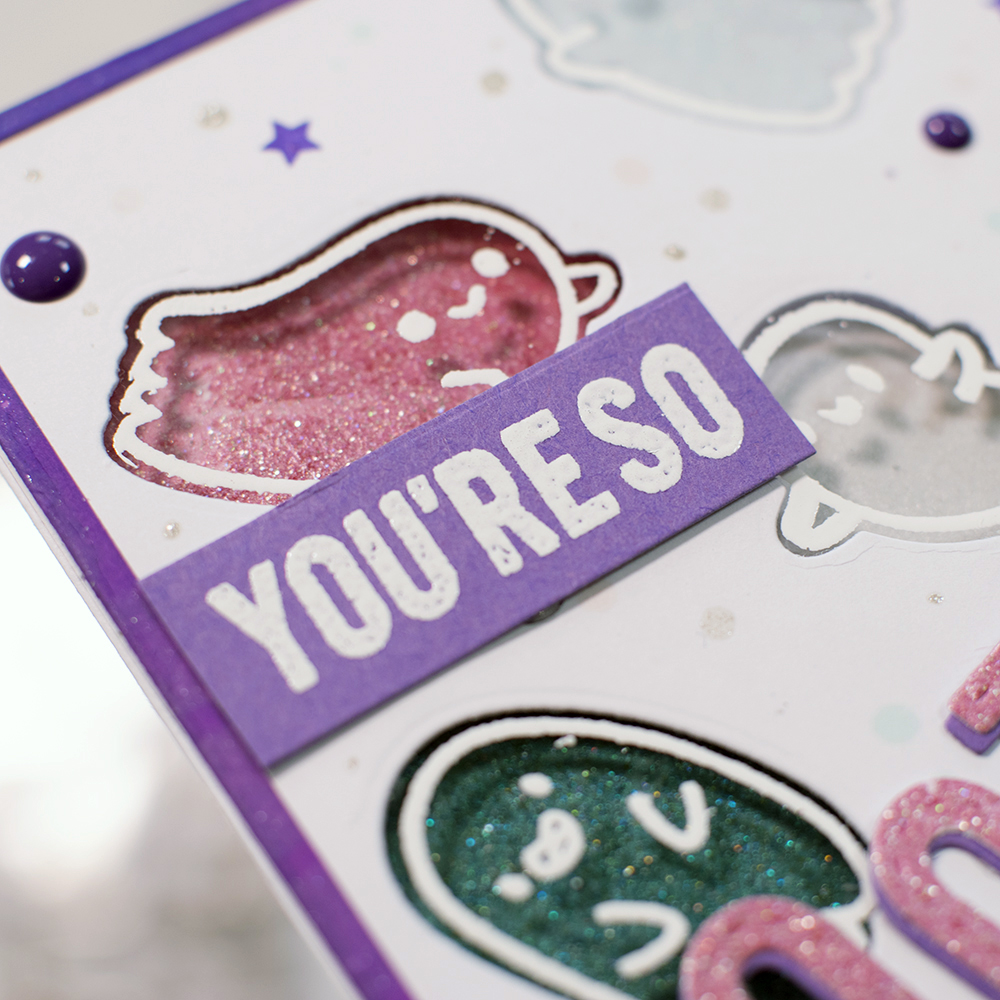
Then I grabbed the new Essential Phrases stamp set so I could complete my sentiment! This stamp set is such a great stash builder product, and I can see me using it A LOT! I embossed this on the same Plum Pudding cardstock, then cut it out using the Strips of Ease dies. Simple!
The card was looking great, but I really wanted to tie some of the colours together, so I decided to add some decoration to the white panel. First I used a star stamp from the Roundabout Sentiment Stamp set with some Grape Crush Catherine Pooler ink, then I added some Heffy Doodle Fright Night enamel dots. It was still looking like it needed a little extra, so I added some dots with copic markers and also added some shine using a paint brush and some Ink on 3 Liquid Pixie dust! Doesn’t it look simply SPOOKTACULAR! yaay!!
Come back tomorrow for another inspiring blog post featuring the new release products and don’t forget you can place your pre-order now!