
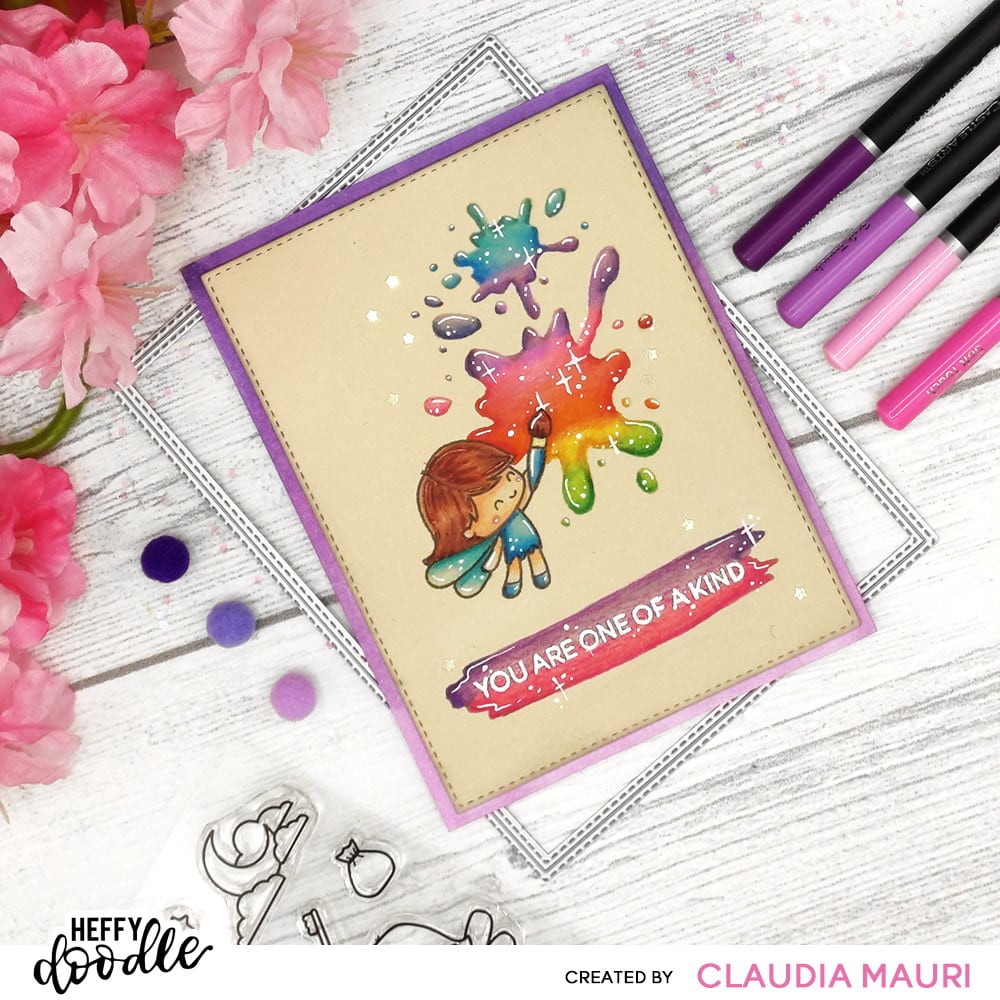
You Are One Of A Kind Splatters Card

Hello crafty friends! It’s Claudia (@mrsclocards) here! For this week’s project I wanted to try something new so I decided to mix Copic Markers and colored pencils and I thought that the Messy Desk stencil would have been perfect to color with this technique!
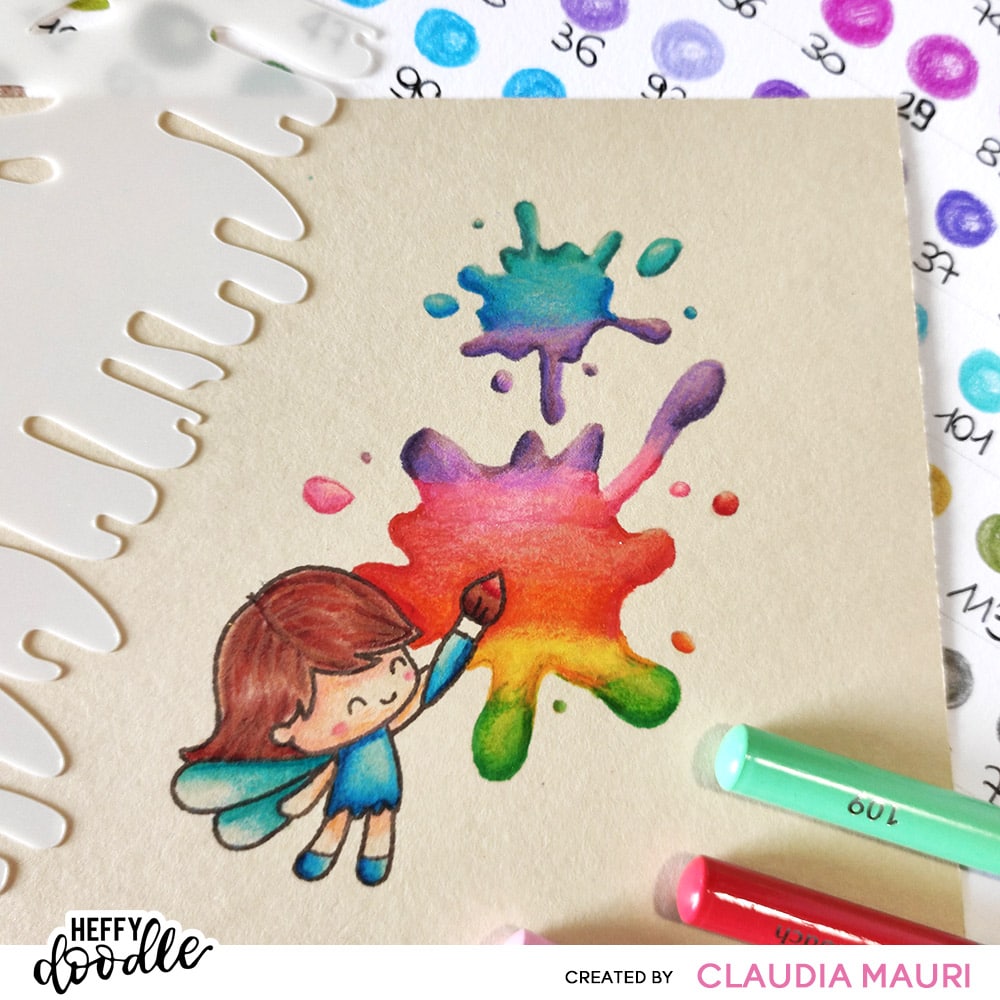
I really like how colored pencils look on kraft cardstock and that’s why I decided to use it as my card base. I took a sheet of Clairefontaine Paint On Naturel Cardstock, then I used a fine tip pencil to lightly trace the medium and the small splatters from the Messy Desk stencil. After that, I stamped the paintbrush from the Pandtastic Painters set with Memento Rich Cocoa ink; I masked it with Heffy Memo Tape and then stamped the fairy from Absotoothly Awesome stamp set.
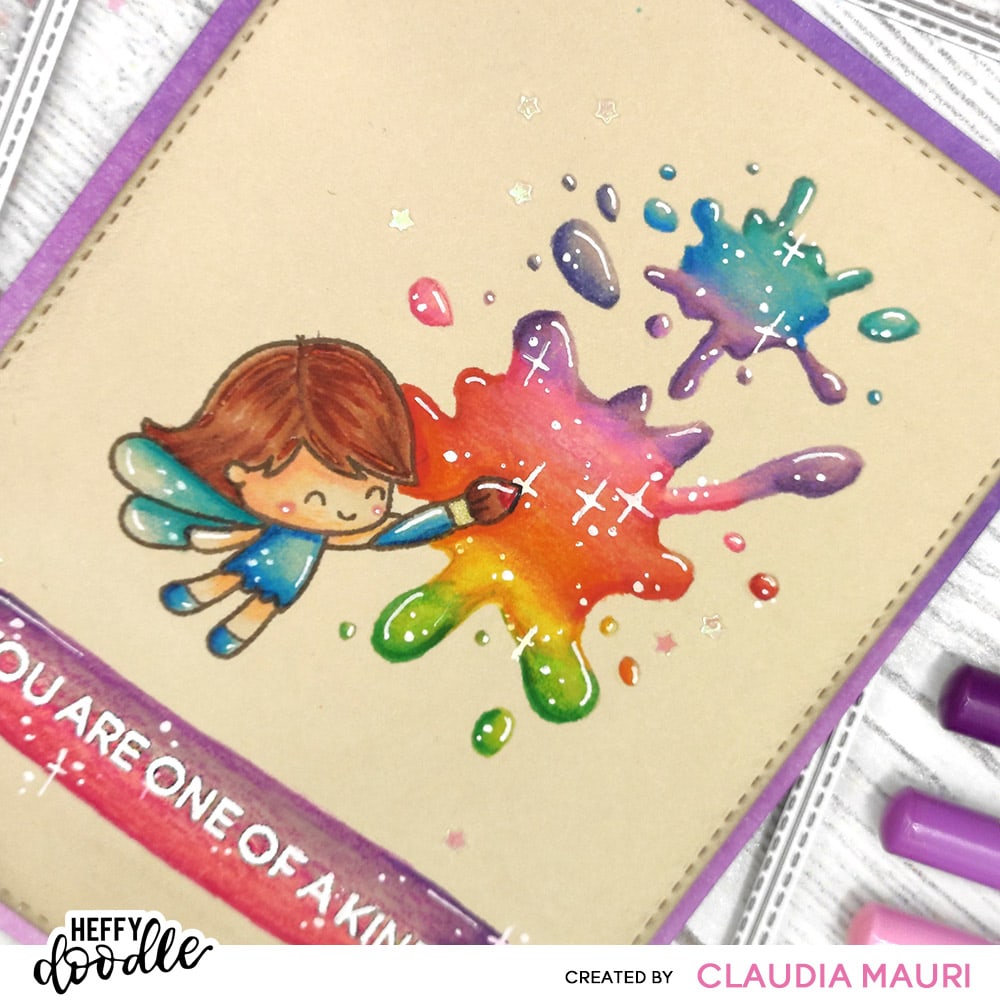
I erased the splatters part that were behind the stamped images, then I colored everything with Copic Markers and added more depth with Castle Arts Premium Soft Touch Colored Pencils. I really like the way they can be used to define the shadows, especially when I use a cardstock like this that wasn’t meant for Copic markers and tend to absorb a lot of ink. I’m far from an expert about using colored pencils and the result wasn’t perfect but white highlights can really work miracles to cover the worst parts! ^__^
When I was done coloring, I used one of the Imperial Stitched Rectangle to die cut the panel and then stamped the “You are one of a kind” sentiment from Fluffy Puffy Unicorns using the Misti tool. Right after doing it, I saw that beautiful “stroke” on the stencil and I decided it was perfect to be the phrase background.. so I used a fine tip pencil to trace the sides of the stroke and I hand draw a little portion in the middle for making it wider than the sentiment. While I was coloring it, I also ended up adding some little splatters here and there in the upper part of the card. Once I was done, I restamped the sentiment using Versamark ink and heat embossed it with Ranger White Embossing Powder.
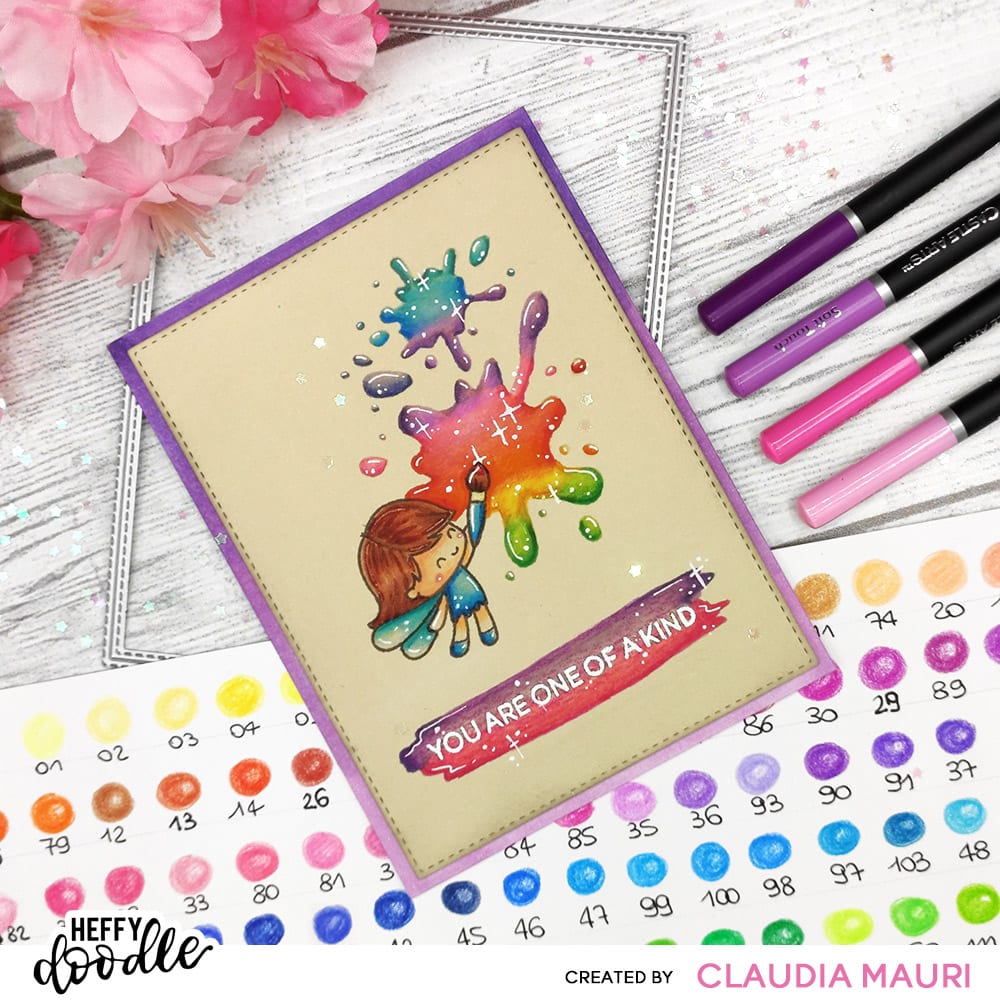
I added highlights with a white gel pen, then I trimmed a card base slightly larger than the stitched rectangle and I used Copic V10s markers on the front edges to create a violet ombre effect. I used foam tape to attach the colored panel to the card base and I finally glued some tiny clear iridescent stars sequins to give the card a little extra sparkle.
I hope you enjoyed my card and see you in two weeks with another Color Me Happy project!
Happy crafting.
Clo