
You Are My Sunshine
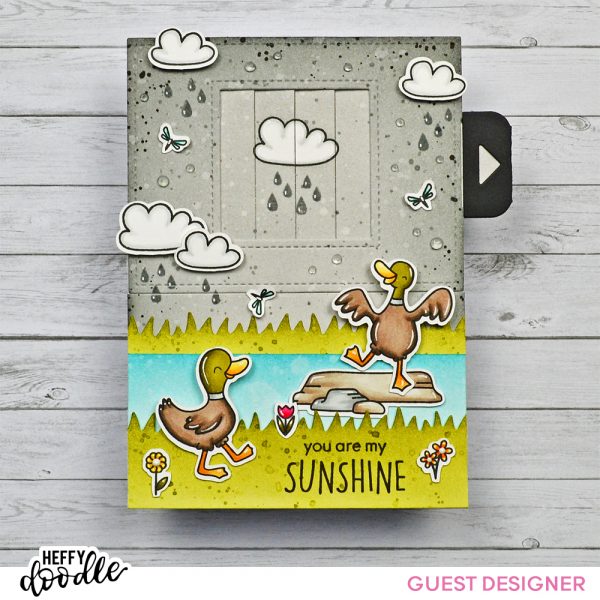
Hello everyone, Marine here for my first card as a very happy guest designer! I love to make interactive cards and to mix different stamp set to create cute scenes, so I hope you’ll like my project.
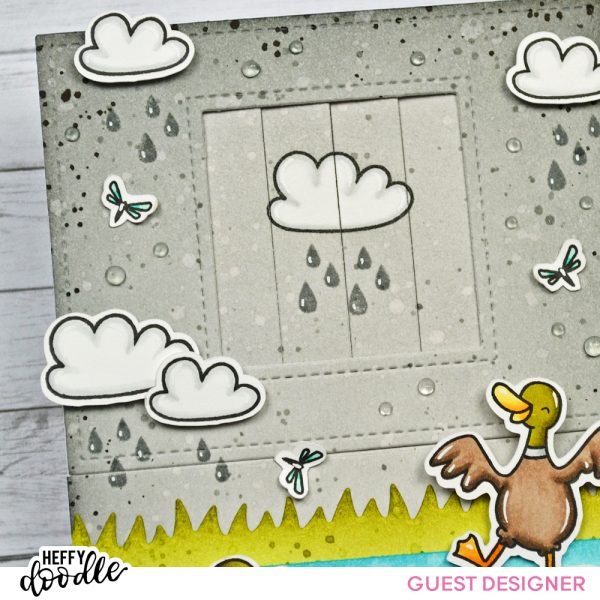
I started with a 5,5 x 4-1/4″ smooth white panel to create my background. And to make a cloudy and rainy sky, I first applied hickory smoke distress ink on most of the panel, and next I added black soot distress ink at the very top to darken the sky.
Next I added texture to my panel. I first splattered water that I dried using a paper towel. Next I smooshed my ink pads onto my work surface, I added water and then I splattered drops of those inks on the panel: hickory smoke all over the paper and black soot just at the top and sides.
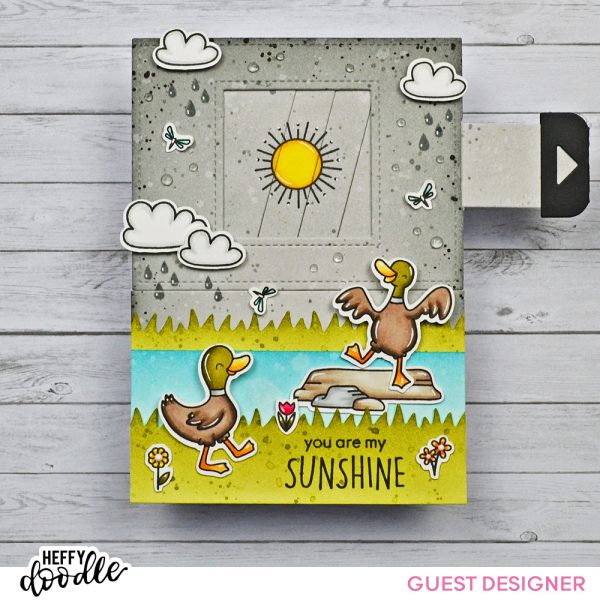
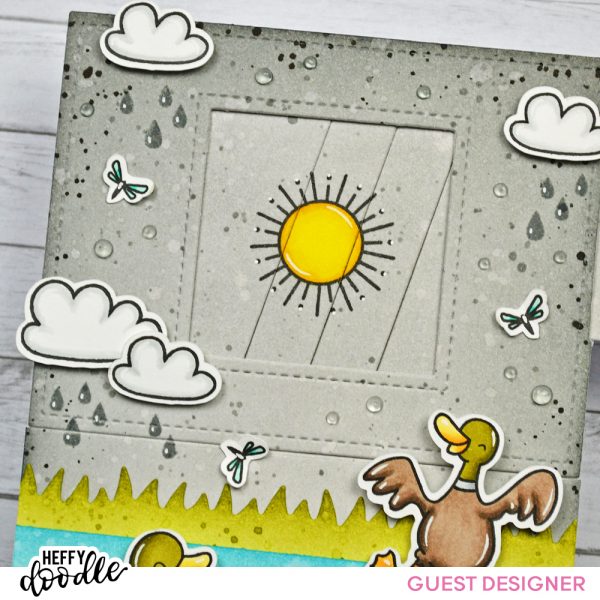
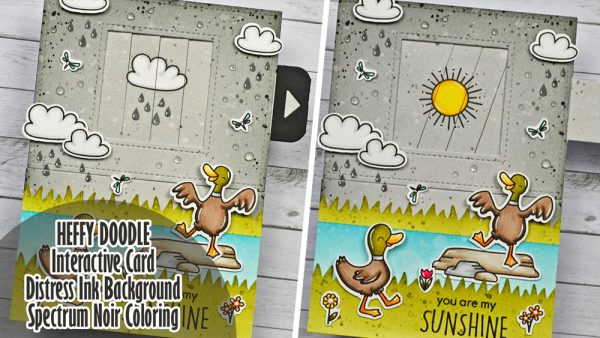
Next I moved on to the interactive element. I chose the Magic Picture Changer die set by Lawn Fawn and I first cut two pieces of Strathmore bristol cardstock: a long one for the pocket die and a short one for the moving piece die. I marked the windows using a pencil, and then I moved on to the stamping. On the long panel I stamped a cloud, and on the short one I stamped the sun. Both images from the Quack Me Up stamp set.
I masked both images and colored around them using hickory smoke only. Like the background I splattered water on those two panels, as well as hickory smoke drops using a thin brush. I removed the masks, and stamped some raindrops below the cloud using hickory smoke distress ink again. And next I quickly colored the sun and the cloud using my alcohol markers.
When the coloring was done, I assembled the interactive pocket, and I encourage you to watch the video at the end of this post to see exactly how it was done. It’s always easier to understand that kind of mechanism by watching the process ^^
Next I took my background panel and cut a frame out of it that I next adhered to the pocket. Next I stuck that pocket on a white card base using double sided tape, as well as the remaining piece of background using foam tape.
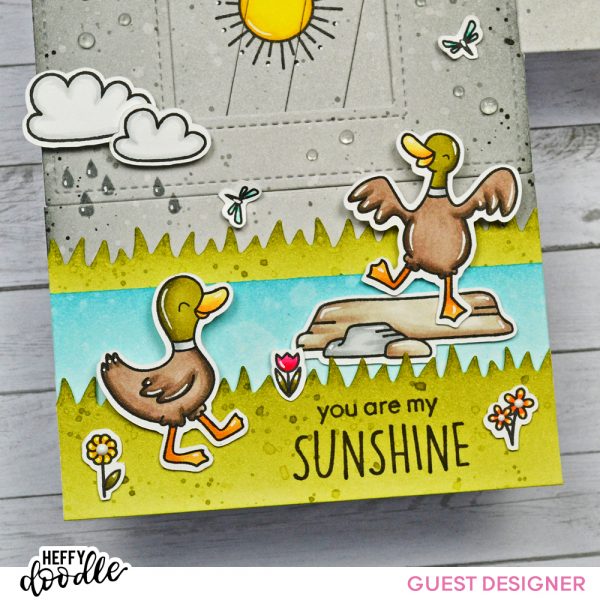
To ground my scene, I cut two grass borders using a die from the Grassy Lass border die set. I colored those borders using shabby shutters and peeled paint distress inks. And next I cut a rectangle that I colored using tumbled glass and broken china distress inks; I will use this rectangle as a pond.
I stamped my sentiment “You are my sunshine” on the smallest grass border using black versafine ink and next I adhered everything below the interactive frame.
Next I stamped additional images on neenah solar white cardstock using memento tuxedo black ink and before coloring them, I changed the ducks into mallard ducks, using a pencil first and then my memento pen. The images are from three different stamp sets: Quack Me Up, Otter Side and Gnome Matter What.
When the coloring was done, I attached everything using a combination of foam squares and liquid glue. And to complete the scene and make the sky less empty, I stamped more raindrops below each cloud using hickory smoke distress ink again. I attached the dragonflies using liquid glue and next I added white highlights on the images to make them pop a little bit more.
Next I cut the handle for the interactive pocket out of black cardstock and attached it at the very end of the tab using double sided tape, and finally I added a teeny tiny white nuvo drop in the center of each flower, and some morning dew nuvo drops in the sky.
And that’s it! I hope you like those cute and fun little ducks. I leave you with the video (please click on the picture below) and I will see you very soon for a second card…
sharon gullikson
April 14, 2020 at 3:56 pmThese ducks are so cute. They remind me of my walk through a nature preserve yesterday–with my two grandkiddos—we saw several sweet ducks. A male and female up close, searching for grassy food in the reeds. I just love this!