
Hello and welcome back to the Heffy Doodle Blog! We are SO glad you stopped by to see what crafty inspiration we have today! Today’s theme is “Stretch Your Supplies” with design team member –
Tatiana!
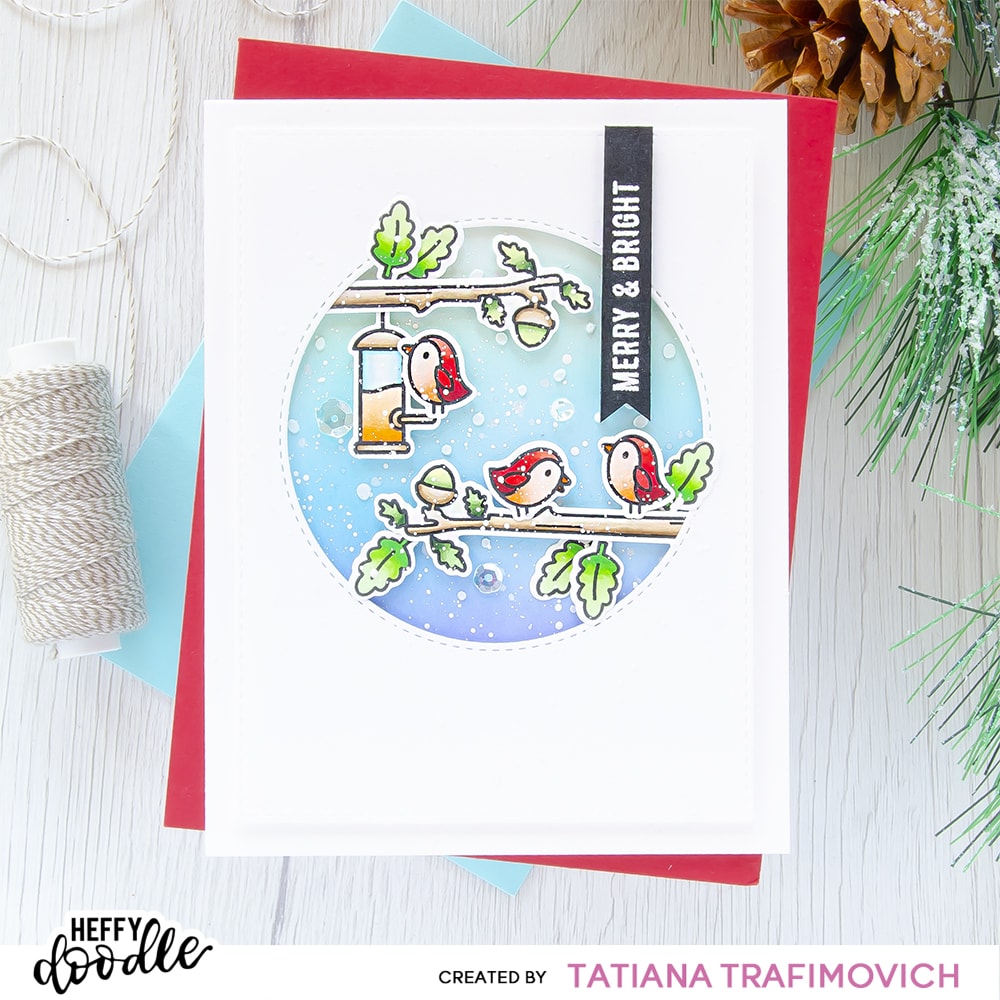
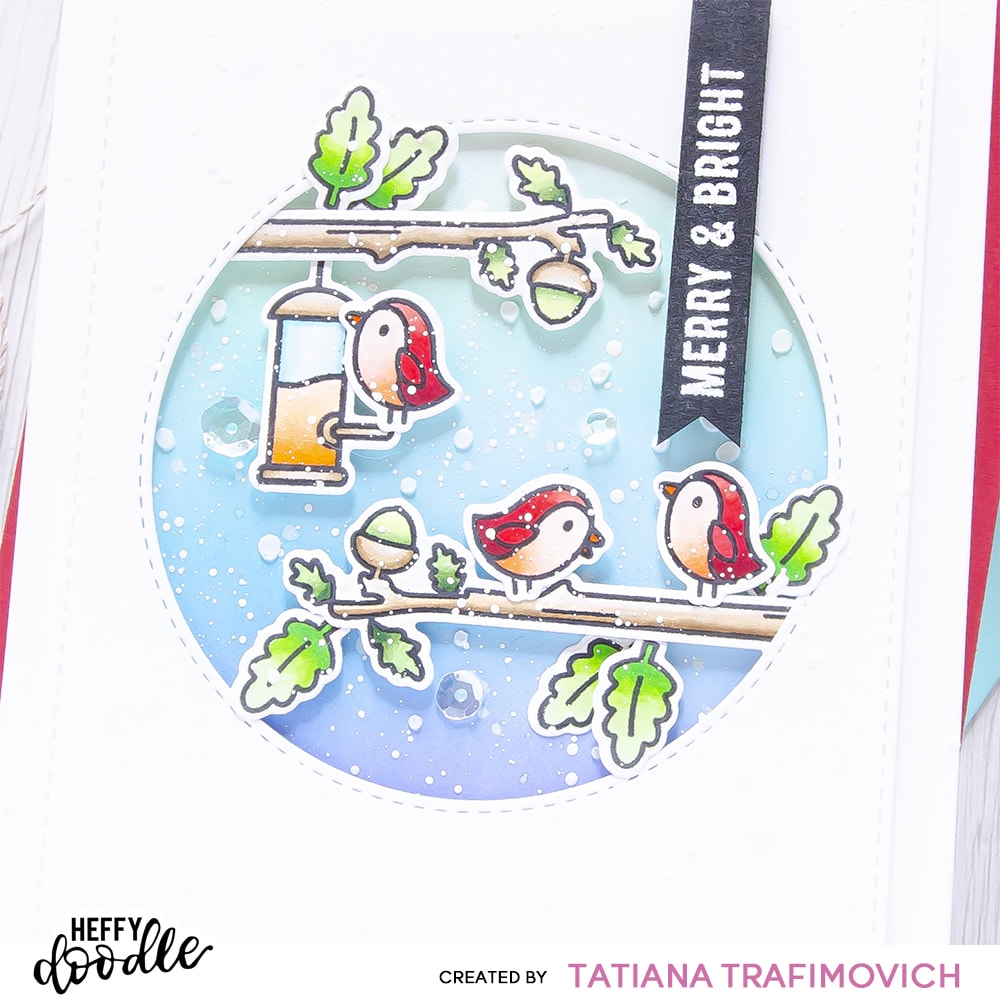
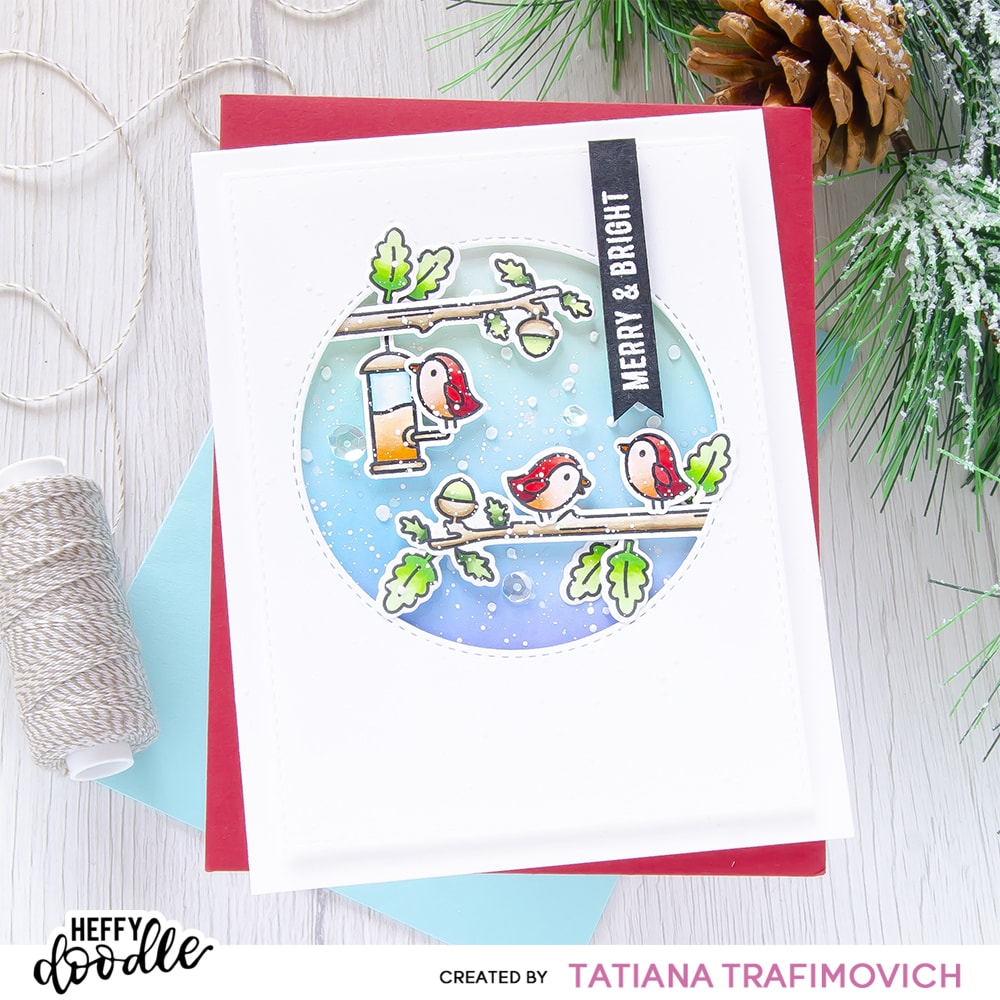
Today I came up with a clean and simple card that features one of my favorite layouts – a circle central focus point on the card front. I keep stretching a non-holiday stamp sets for my holiday card series. And besides, I’m focusing on getting creative with small stamps from the big sets! The lovely small birds from
Nuts About You Stamp Set were just perfect to add a bit of festive and bright red shades mixed with traditional greens on the foliage. This colour combo paired with falling snow effect gave a right Christmas touch to the project.
Key Ingredients:
Step By Step Instructions:
- Die cut from Neenah Solar White paper all the elements you need, using the coordinating Nuts About You Dies
- and Heffy Doodle Mini Die Cutting Machine. Save the negative parts of the dies.
- Stamp the outline illustration from Nuts About You Stamp Set withMemento Tuxedo Black Ink. Use the negative parts of the dies as a guide for a perfect alignment inside the stamping positioning tool.
- Color the stamps with COPIC MARKERS. I used on this card:
- birds R32-R35-R37-R39 & R000-R01-R02
- brown E40-E41-E43
- green G20-G21-G24-G28 & G40-YG05-YG09
- orange YR000-YR61-YR65
- teal B0000-BG01
- Trim and score an extended A2 size card base (5 1/2″ x 4 1/4″) from Neenah Solar White paper.
- Die cut from the same Neenah Solar White paper for a perfect match a faux stitched rectangle with a circle window in the center, using Imperial Stitched Rectangles Dies and Stitched Circles Dies.
- Trim a piece of a Bristol cardstock since it’s bit smoother than Neenah Solar White paper to go behind the circle window and ink it with Cracked Pistachio Distress, Mermaid Lagoon Distress and Blueprint Sketch Distress inks. Use the blending brushes to achieve a smooth and soft result.
- Splatter the inked background with some tiny droplets of a clear shimmer spray to add more interest. Let the piece air dry or heat set it.
- Tape well First Snow Stencil with Heffy Memo Tape on the inked background and apply a white embossing paste all across. Lift up the stencil and immediately wash it with warm water a little bit of liquid soap.
- Heat emboss in white onto black the sentiment withVersaMark Clear Embossing Ink. Don’t forget to prep the cardstock with a Powder Tool Applicator to prevent the embossing powder to stick where you don’t want it!
- Shape the sentiment into a fish-tail banner with the sharp small scissors.
- Arrange and glue in place all the elements, using Glubert – Craft Glue and a foam tape to add a bit of dimension.
- Mask the heat embossed sentiment with Heffy Memo Tape and splatter the whole card front using a white gouache diluted with a small amount of water.
- Finish with with a couple of clear sparkling sequins.
That’s all for today! Hope you like this sweet and simple holiday card! Thanks so much for stopping by and have a fabulous day!
Hugs,
Tatiana
