
Whimsical Woodland DL Card
Hello crafty people! It’s Terri here of VeegsTez Creates, delighted to be Guest Designing for Heffy Doodle today!
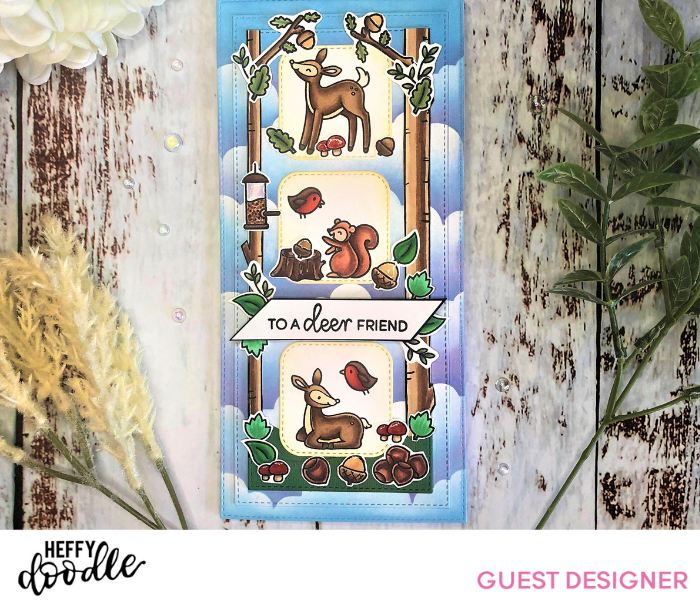
I am going to walk you through how I created this super cute, dimensional card and share some useful hacks with you to stretch your stamps and to add extra dimension to your makes. Take a look at my video tutorial here and you can check out the step-by-step guide in this blog post.
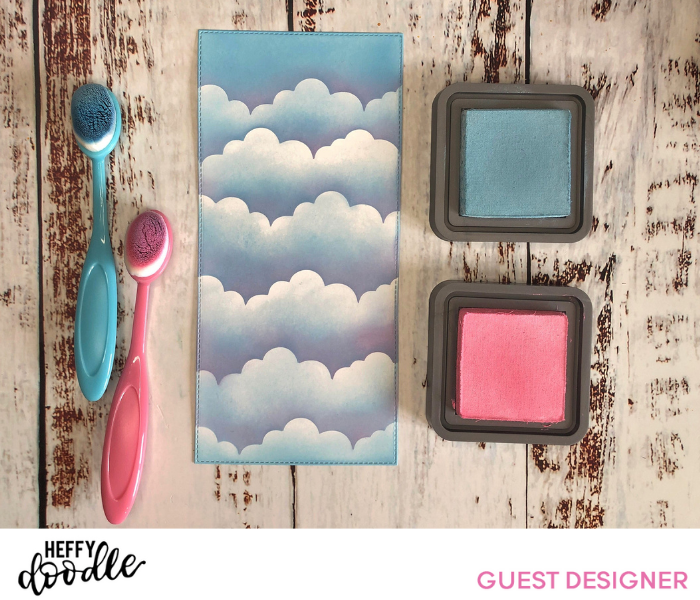
Firstly, I used the largest die from the DL Stitched Slimline Trio Dies, to cut a piece of smooth white alcohol marker friendly card stock. I then used a cloud stencil, ink blending brushes, and Tumbled Glass and Kitsch Flamingo Distress Oxides to create a pretty, cloudy sky background.
I then used the other two smaller dies in the set to cut out smaller panels from this large panel.
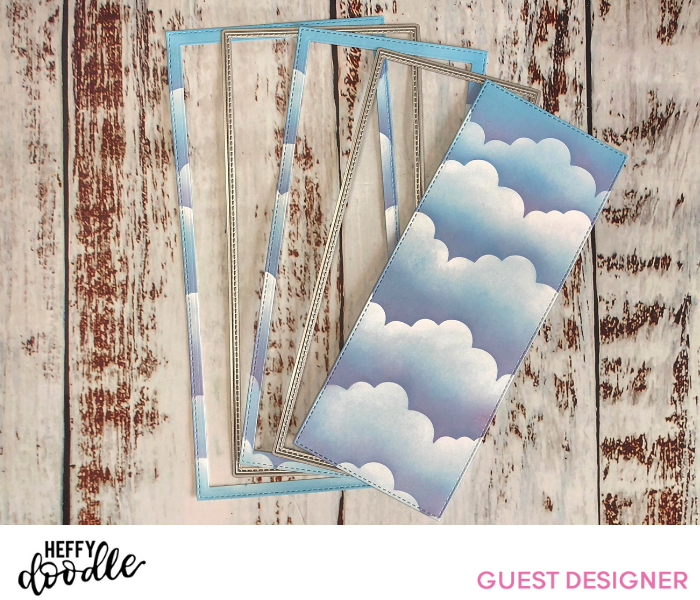
I then used the dies on scrap white card to cut one piece from the largest die and 2 each from the smaller dies. I then adhered the corresponding inked panels to their respective blank panels. I cut two backing panels for the smaller dies and glued them together before adhering their panels on, to give even more dimension to our initial background scene. This is the first tip I wanted to share with you on how to create more dimension on your makes.
Next, I chose the images I wanted to use on my whimsical forest scene from the Deer to Me & Nuts About You stamp sets. I stamped these out in alcohol marker friendly ink onto alcohol marker friendly card stock and coloured them up with my Copics. To elongate the tree stamps from Deer To Me to fit this slimline card (rather than an imperial A2 size card), you can use washi or masking tape on the top of the stamp before you ink it up, then remove the inky washi before stamping. This removes the horizontal line at the top of the tree so you can make it taller by lining up the same stamp carefully and masking the bottom this time, before stamping on top, or by using a ruler and an archival ink pen to continue the vertical tree lines upwards. For a visual guide to this, check out my video at the top of this blog post!
Next, after fussy cutting the images out or using the Deer To Me dies and Nuts About You dies, is the fun part – playing with your scene layout!
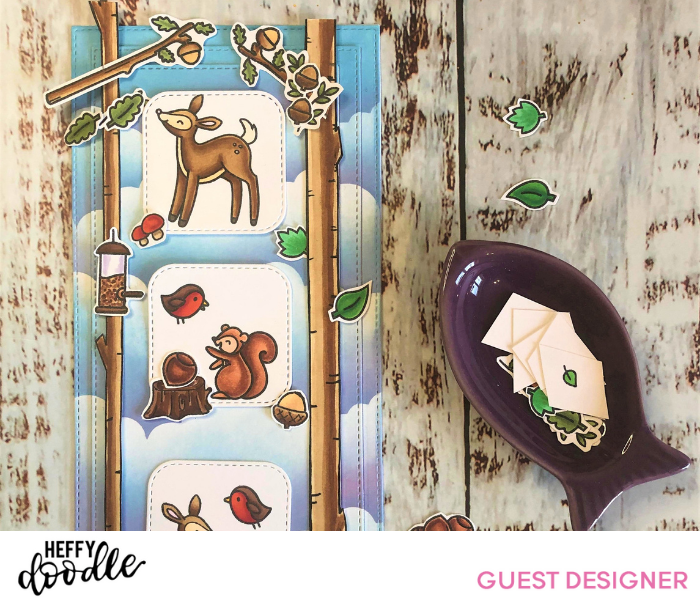
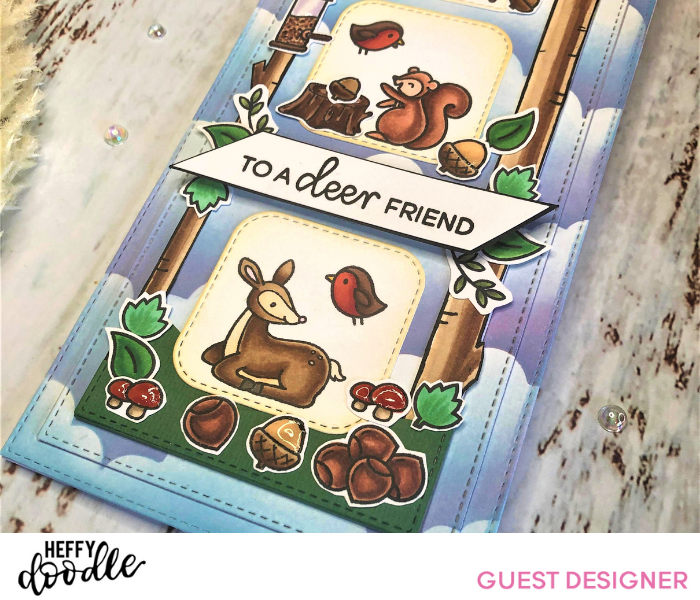
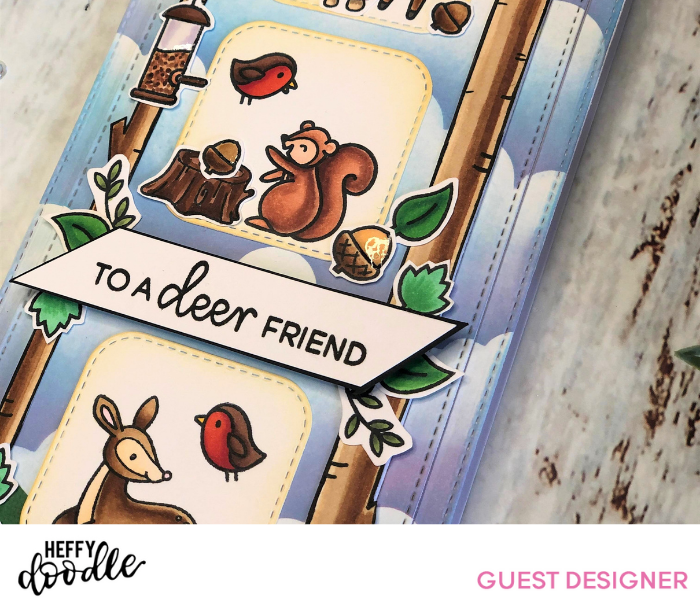
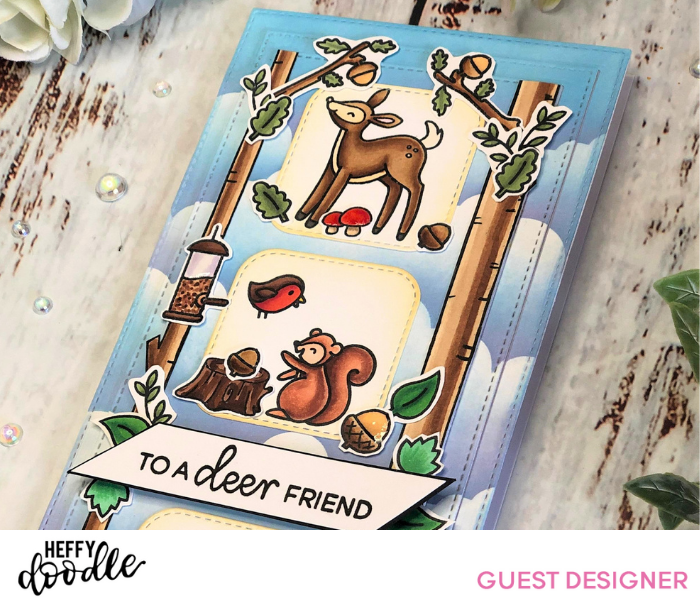
I made far too many die-cut elements, but it’s good to make more and have leftovers for future projects, in my opinion. After deciding on my final layout, I took a photo so I could refer back to it if needed. I removed the 3 central images and used some tea dye Distress oxide very lightly on the edges. I then glued everything down and adhered the panel to a DL card blank I made myself. To complete the project I added a sentiment from the Deer to Me stamp set and some Nuvo Crystal Glaze for a shiny effect on the mushrooms and acorns.
Here are a few more close-up photos for you showing the final make from different angles.

I hope you have enjoyed this blog as much as I enjoyed creating this super cute make. Take care and happy crafting, Terri xx
You can find more of my work on:
Instagram, Facebook, and of course YouTube