
Warm Hugs – Slimline Winter Card

Hi everyone! It’s Laura here, and today I am back with for another post in my scene building series here on the Heffy Doodle Blog! Scene cards are my favorite to make, so I am really excited to come back here twice a month to share tips and tricks on how to create fun and cute scene cards! Watch out for videos, too, as I plan to share some during this series! You will find the one I created for this card at the end of this post!
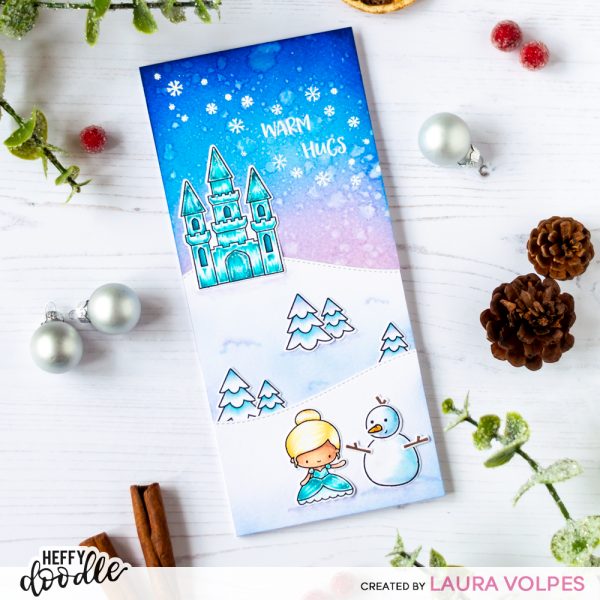
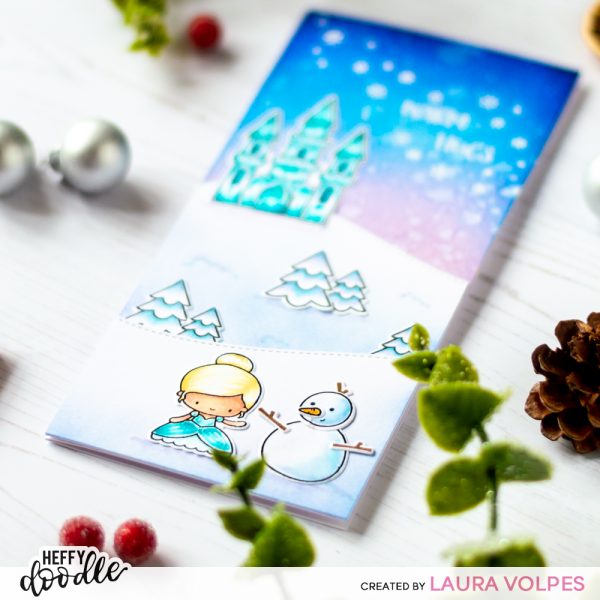
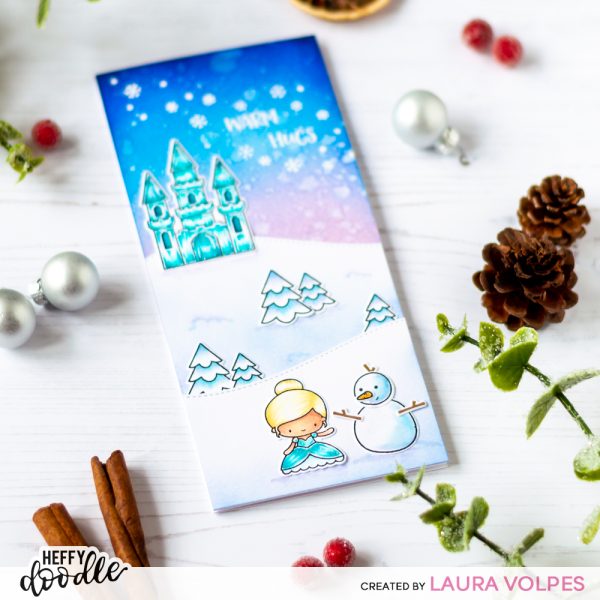
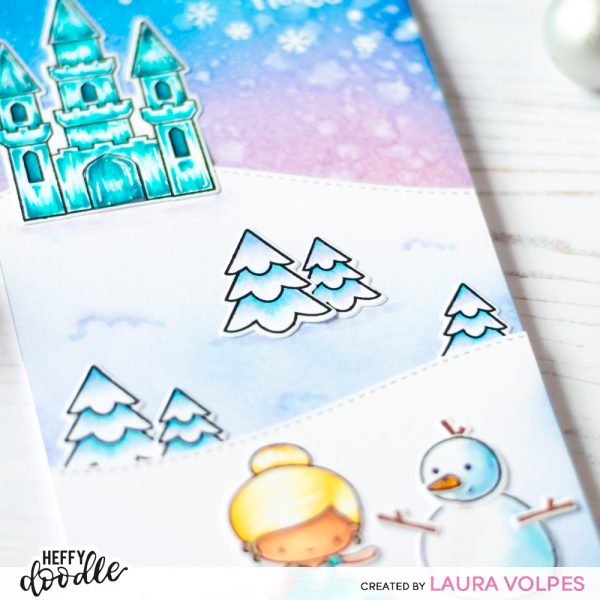
For today’s card I decided to create a winter scene (I guess you can all tell what inspired it 😉 ) and, instead of going for the standard US A2 size, I decided to create a slimline card. This format is really great, especially for scene cards: it leaves us with lots of space to add as many elements as we like. In this case, it gave me the possibility to have my frozen castle significantly higher than the characters on the card, thus creating a lot of depth on the scene.
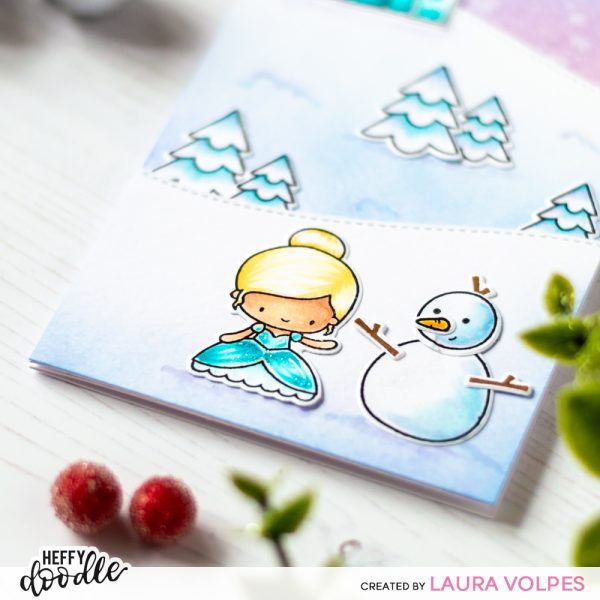
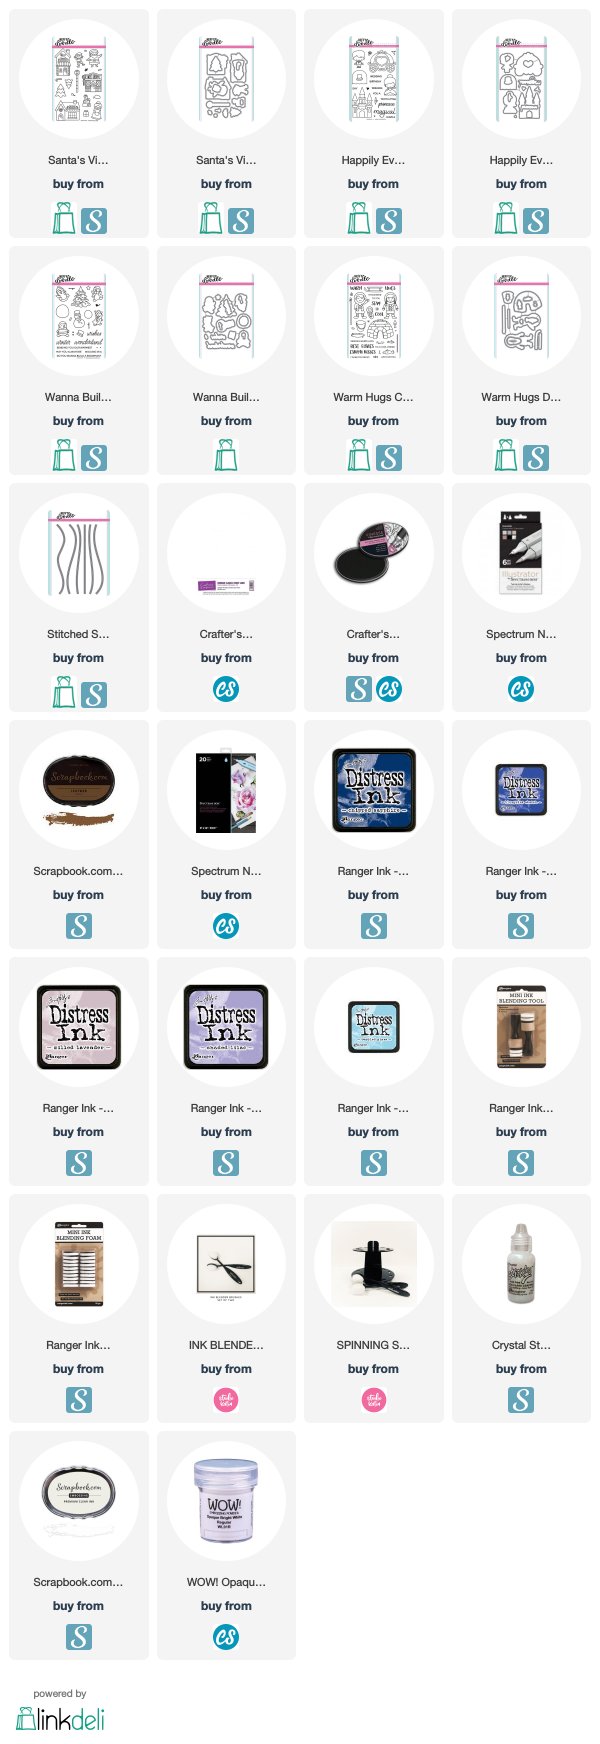
As I often like to do, I mixed different Heffy Doodle stamp sets: the ice queen and the ice castle are images from the Happily Ever Crafter set, the trees come from the Santa’s Village set, for the snowman I used the Wanna Build a Snowman stamp set and for the sentiment and the snowflakes I used the Warm Hugs stamp set.
All the images were stamped on Neenah Solar White 110lb cardstock with Spectrum Noir Alcohol Proof Black Ink and colored with Illustrator markers. Once the coloring was done, I die cut everything with the coordinating dies.
I then moved on and started working on my scene. I used watercolor cardstock by Spectrum Noir, which is sold in sheets measuring 9×12″. This was pretty convenient as I could cut a sheet in three and obtain a card front measuring 9×4″.
I also created two snowy hills from a second panel cut to the same size, using the Heffy Doodle Stitched Slopey Joes Borders dies.
I then did some ink blending with Distress Inks. I used Chipped Sapphire, Blueprint Sketch, Salty Ocean, Shaded Lilac and Milled Lavender on the sky and Shaded Lilac and Tumbled Glass on the hills.
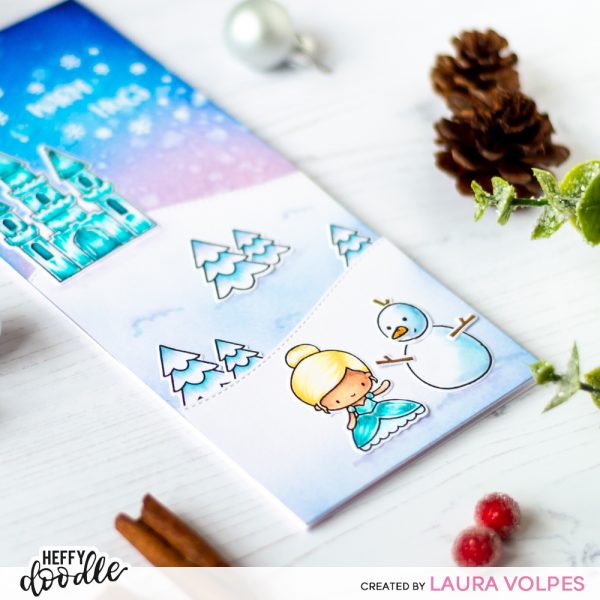
Next, I assembled my scene, keeping the characters in the foreground, the trees on the hill in the middle and the castle on the top of the farthest hill. Adding layers this way really increases the sense of depth in scene cards.
I also added some drop shadows with an Illustrator marker to ground my images.
The sentiment was heat embossed with white embossing powder directly on my card base. I also heat embossed some snowflakes around it – these add interest to the card and fill in the sky area a little more. I arranged them around the sentiment to create a snow flurry effect, which I felt matched the theme pretty nicely.
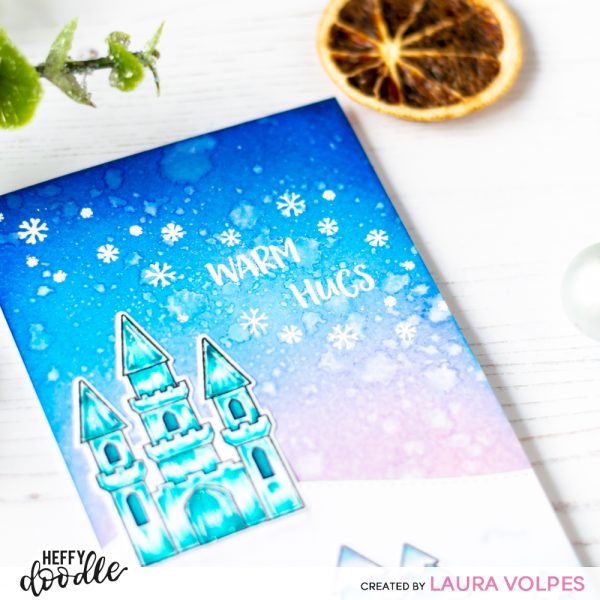
For some finishing touches I added Crystal Stickles to the ice queen’s dress and to some areas of the castle, and coated the snowman and the trees with a Spectrum Noir Clear Overlay pen.
I mounted everything on a card base, cut to 8×9″ and scored at 4″ and that finished off my card.
As promised, here is a step by step video tutorial, showing you how to create this winter slimline scene card with stamps by Heffy Doodle! I hope you like it!
And that’s it for today! I really hope you enjoyed today’s card and found this post useful! Stay tuned for more inspiration from the Design Team and I will see you soon with my next Scene Building post here on the Heffy Doodle Blog!
Thank you all so much for stopping by and have a great day!
Wendi J
November 13, 2019 at 4:46 pmThis scene card is fabulous. Love how to blue colors just pop of the card with a burr feeling.