VIDEO: Using Masquerade Stencils to Create a Scene with Jessica Frost-Ballas
Hi friends! Jess here with a clean and simple card video using Masquerade Stencils to create a scene! You can watch the video below or over at our Youtube channel:
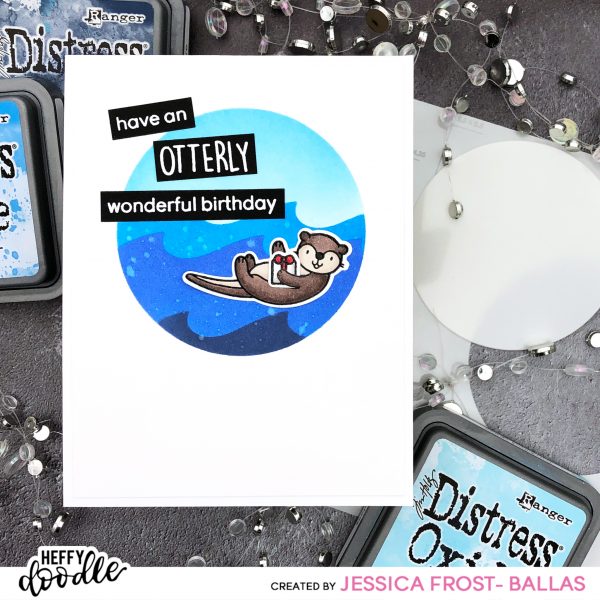
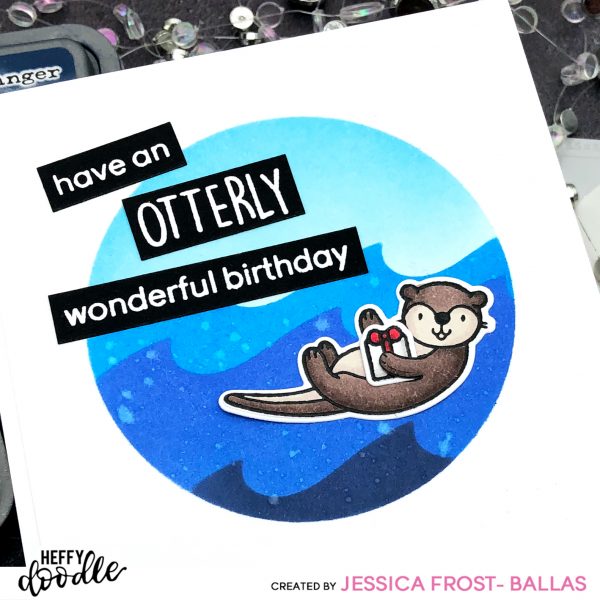
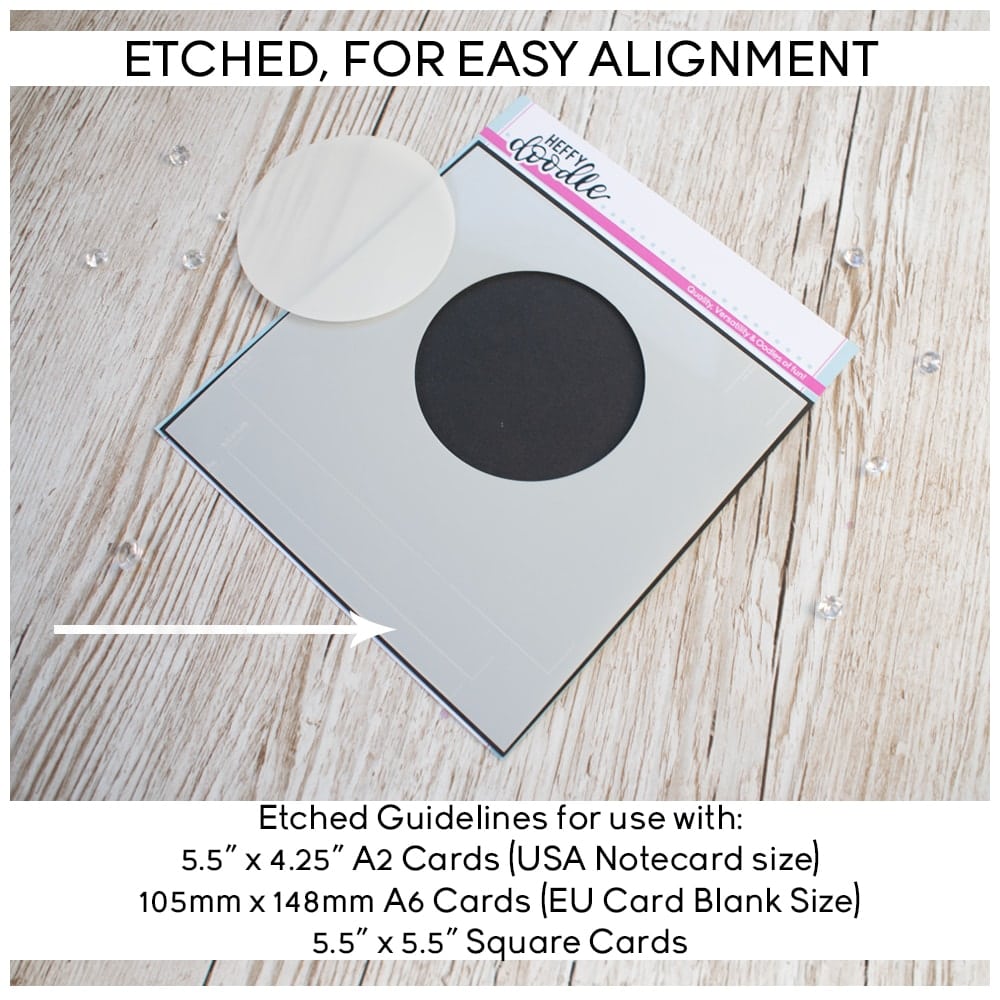
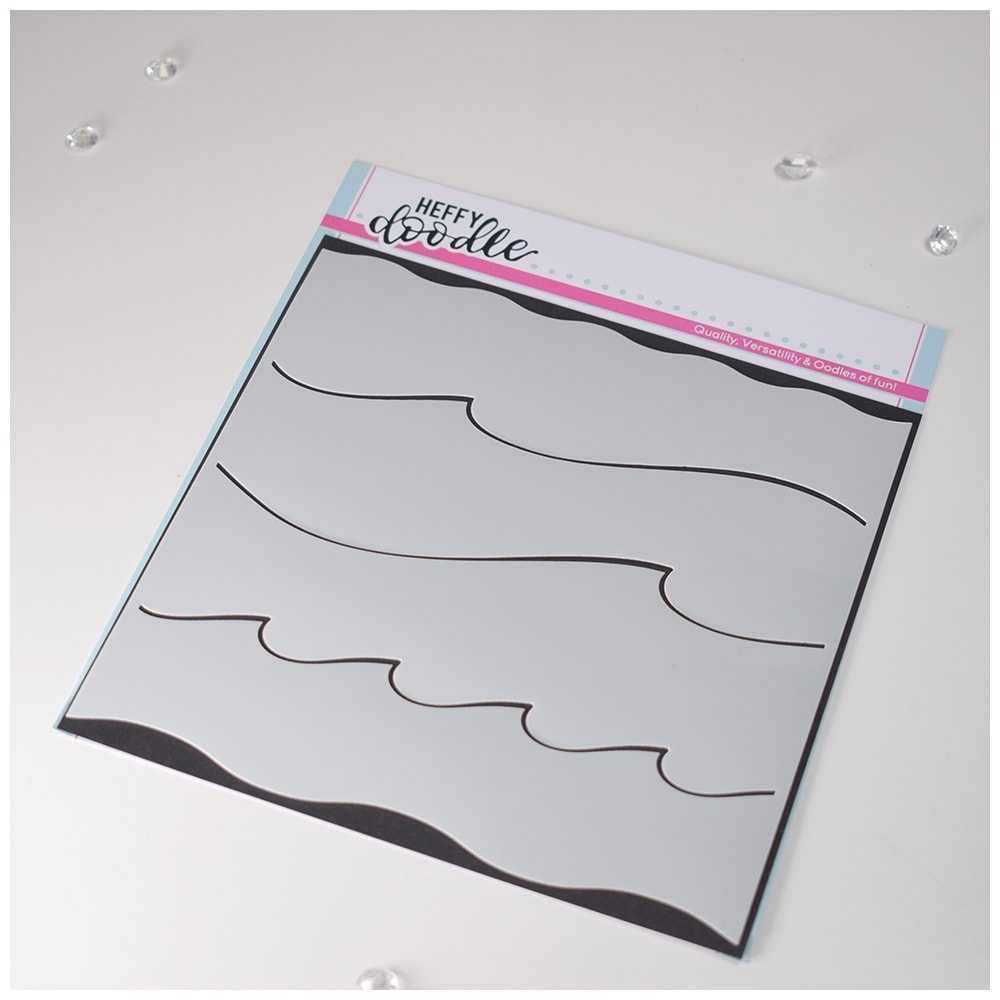
I just love using the new masquerade stencils to build scenes on my cards! To start I used the etched lines on the Masquerade Circle Stencil to line up the stencil on my A2 panel and then temporarily taped it in place. I blended a tumbled glass and salty ocean distress oxide ink across the top of the circle to create a sky. Then I placed one of the wave stencils from the Stormy Seas set over the top of the circle to mask off my sky. Then I blended salty ocean to create my first wave. I moved the mask down slightly and over to the side to create a little variation in the waves and blended it with blueprint sketch. Finally I moved the stencil one more time and blended it with chipped sapphire ink. I removed the Stormy Seas stencil but left the Masquerade Circle in place. I spritzed the panel with water and then blotted off the excess.
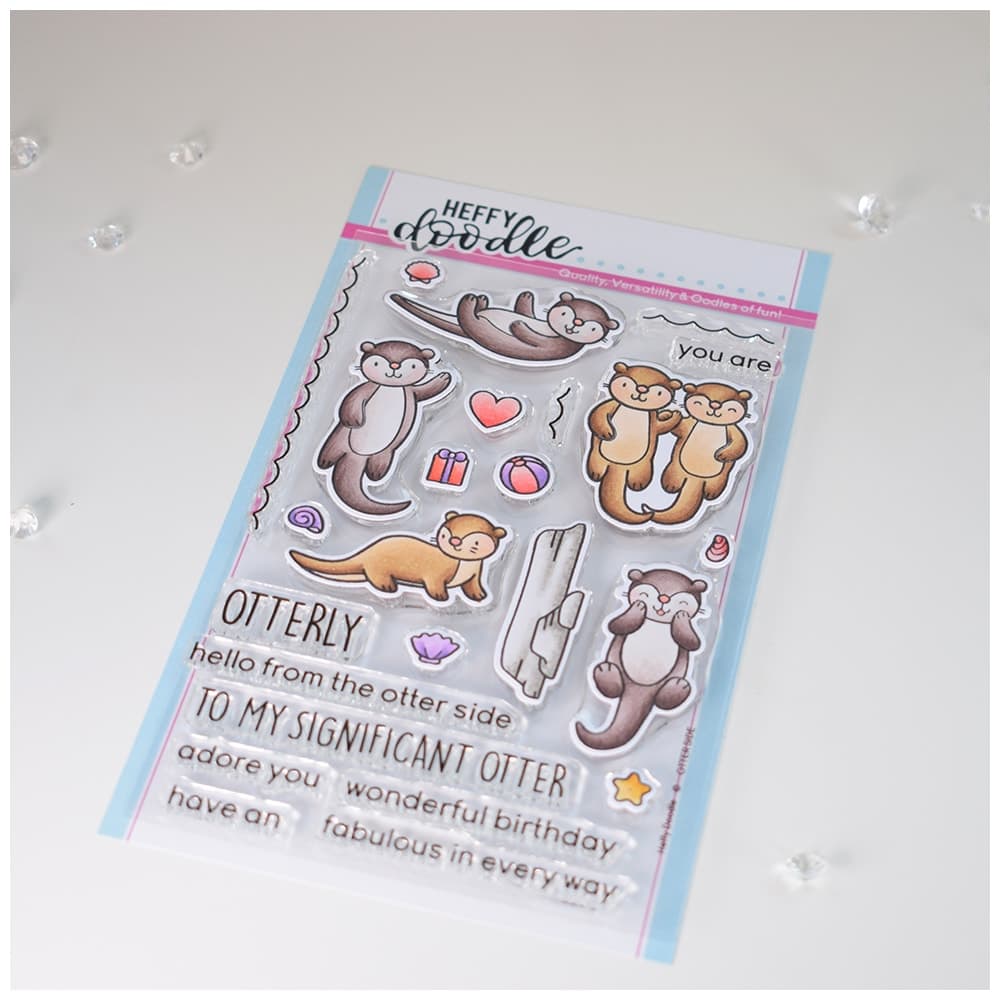
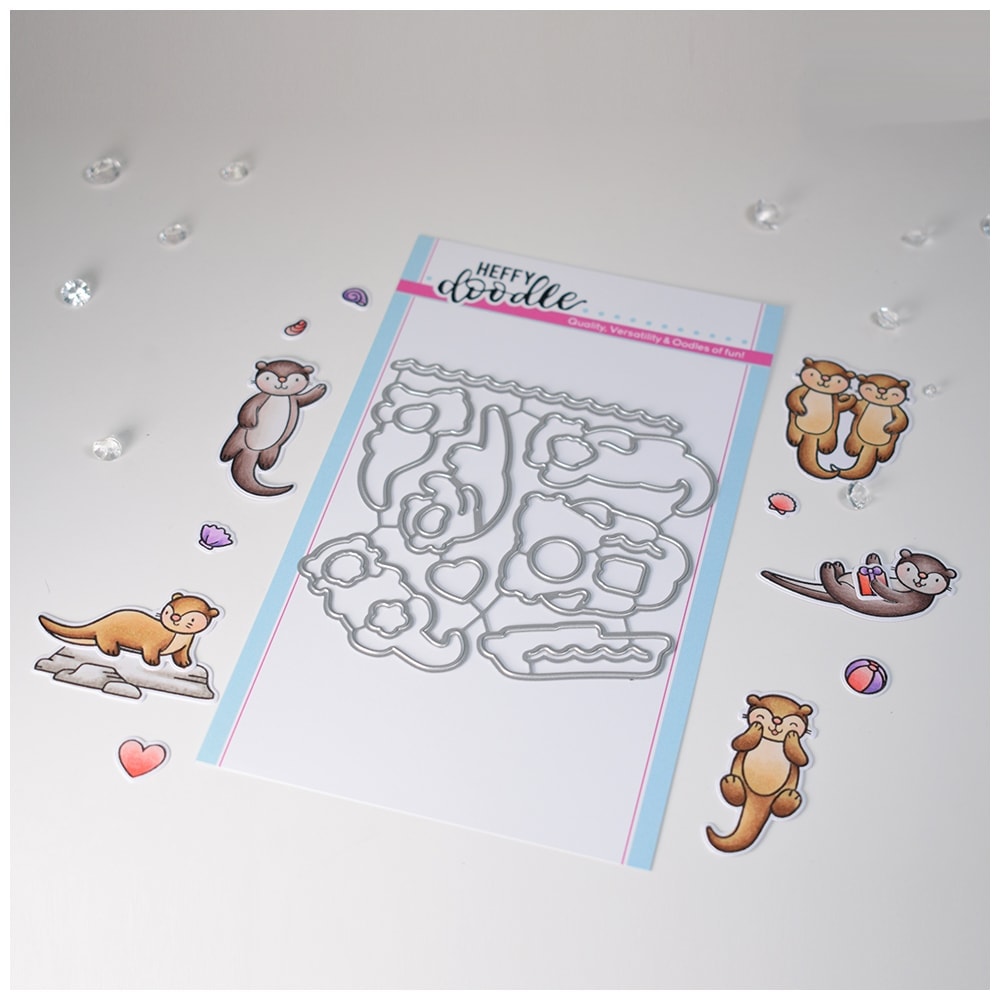
Next I stamped the images from Otter Side onto white cardstock with versafine and heat-embossed them with clear embossing powder. I colored them with copic markers and then die-cut them with the coordinating dies! I tucked the gift box under the otter’s paw and adhered him to the waves. Then I stamped the sentiments from Otter Side onto black cardstock with versamark and heat-embossed them with white embossing powder. Finally I used the Strips of Ease stand-alone dies to die-cut the sentiments and adhered them to the card.
And that’s it! Thanks so much for stopping by today and enjoy the rest of your weekend! 🙂
Supplies:
|

