
VIDEO: Interactive Sea Box Card!
Hello crafty friends, It’s Julia here and today I am back with a new video for Heffy Doodle! I created a super fun interactive box card! I love finding new ways to use products from my stash – so if you want to see how I used the Heffy Big Shadow Box die and turned it into this box card, you can watch the video here or just keep reading!
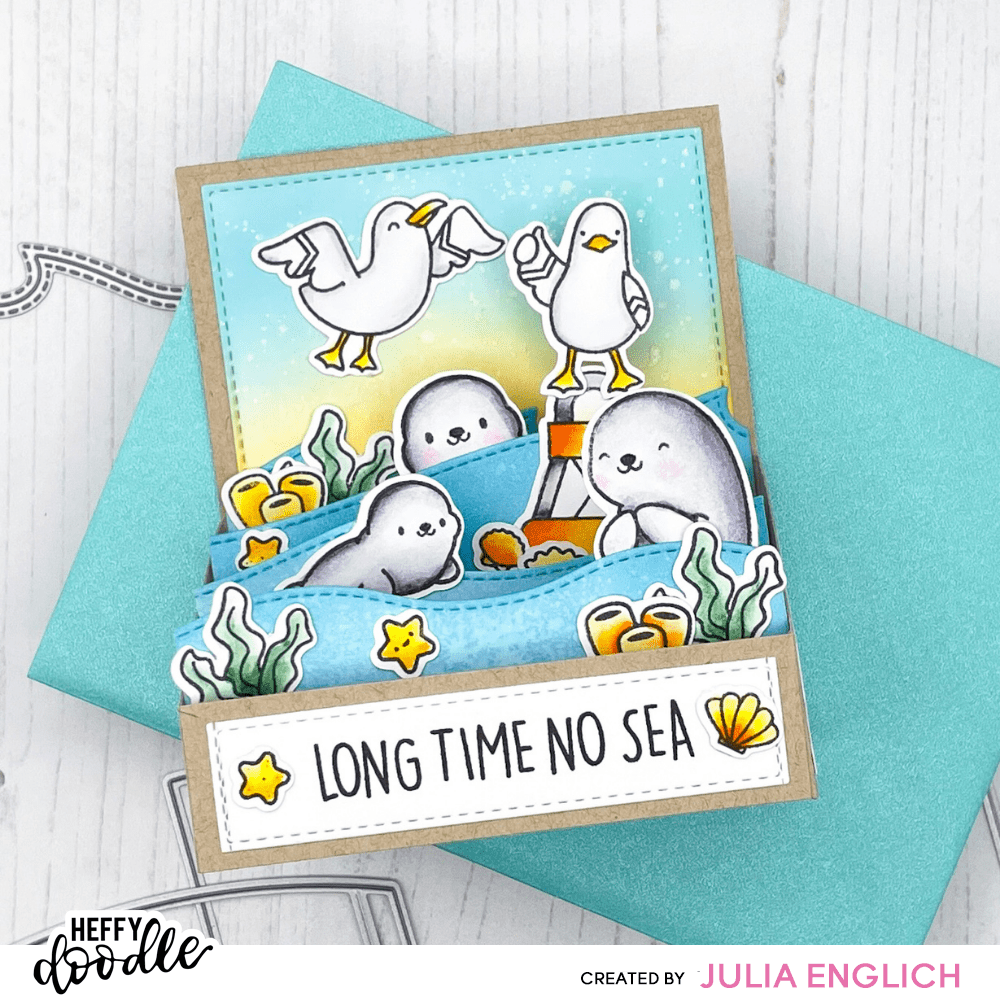
I started by stamping out the images from Sealy Friends, A Little Shellfish, You Go, Gull, Oceans of Love, and Otter Side onto Strathmore Bristol Smooth cardstock and I colored them in using Zig Clean Color Real Brush markers. The marker colors I used are 999, 50, 52, 23, 200; 44, 90, and 904. Then, I die cut the base piece of the Big Shadow Box twice out of Neenah Desert Storm cardstock.
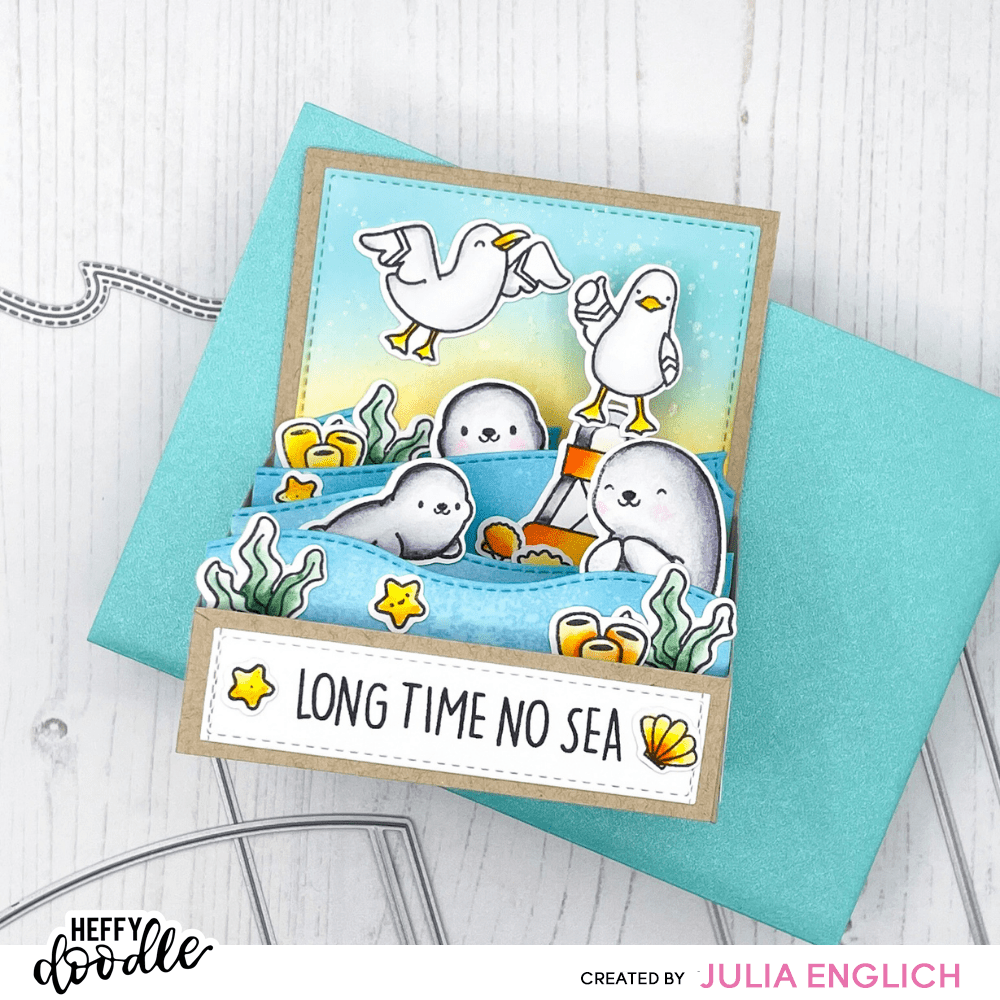
I wanted to turn the shadow box into a box card with slanted sides, so I first trimmed one of the panels down to 2″. Then, I cut down the side with the two short score lines to create my angled side. I went from 2″ on the first score line down to 1″ at the second score line. Then, for the second panel, I only wanted to trim down the side piece. So I used my paper trimmer to also cut along the center score line down to 2″. After that, I again trimmed the side piece from 2″ at the first score line down to 1″ at the second one. It’s hard to explain but super easy to see in the video! I also cut down decorative panels for the sides and the front out of white cardstock. These have a 1/8″ border all around. For the front of the box and also for my background, I used the third largest of the Imperial Stitched Rectangles. I cut it down to size and then ran it through my die-cutting machine again to add the stitching all the way around! At this point, I just went ahead and stamped my sentiment from A Little Shellfish onto the strip and adhered the decorative panels to the box pieces.
For the little shelves inside my box, I die cut the inserts from the Big Shadow Box 4 times and then used the Breaking Waves Border dies and the Heffy Doodle Mini Die Cutting Machine to add my switched waves! I ink blended them with Broken China and Faded Jeans and added some texture with water splatters! Then I ink blended the background using Squeezed Lemonade, Spiced Marmelade, and Salvaged Patina Distress Oxide ink.
Then it was time to assemble my box. I folded along all of the score lines and then I adhered the flap of the right-side panel to the back piece and added the background panel over top. Then I cut off the flaps of one of the wave borders and adhered it straight onto the background. After that, I added in my remaining waves along the edge on the left side piece. To adhere the other side, I simply laid the waves down flat, added glue to the flaps, and closed the right side piece onto the adhesive. Finally, I just had to add glue to the remaining flap and glue it to the left side panel.
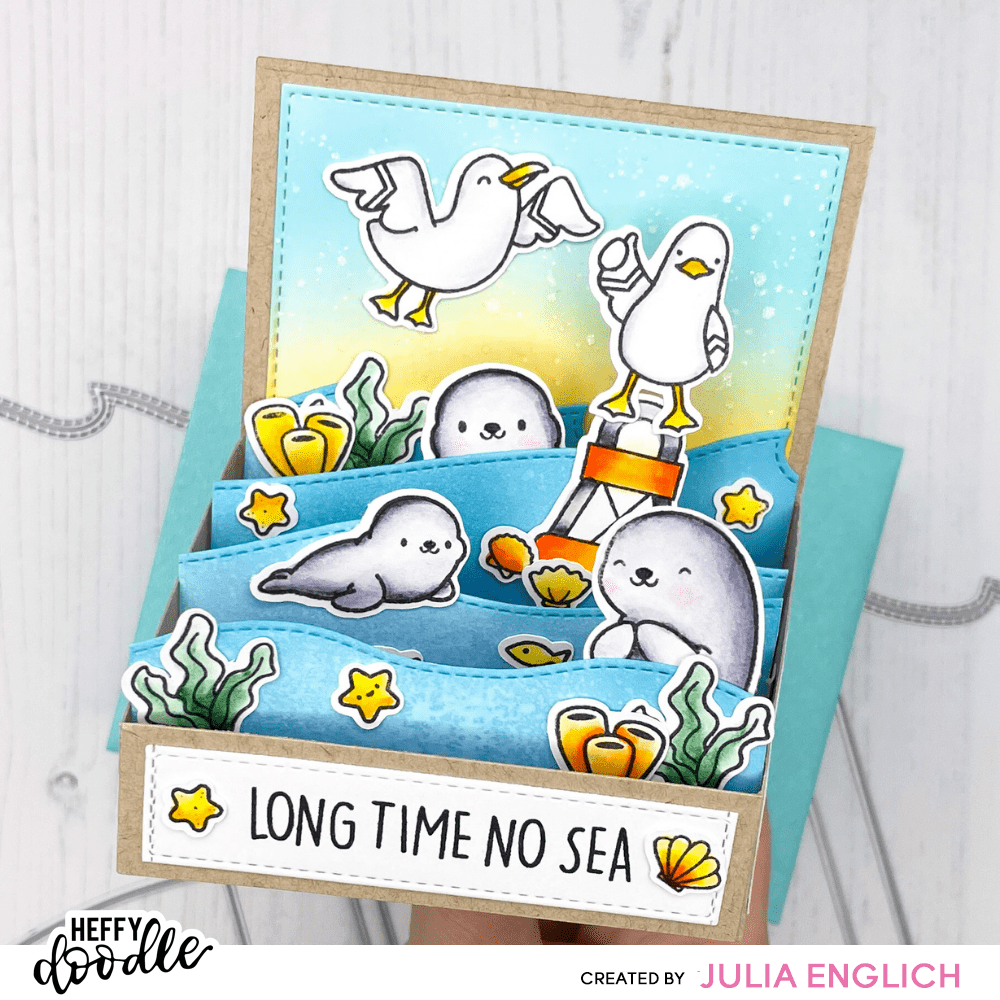
Now it was time to add all my adorable little images. I used Glubert for all of my images and to assemble the box!
If you want to see all the steps you can click on the YouTube video below:
I had sooo much fun making this cute little box card!
Thank you so much for visiting the Heffy Doodle blog! I really hope you enjoyed it and I will see you again soon! Have an amazing day!