
VIDEO: Fall Fun Shadow Box Card
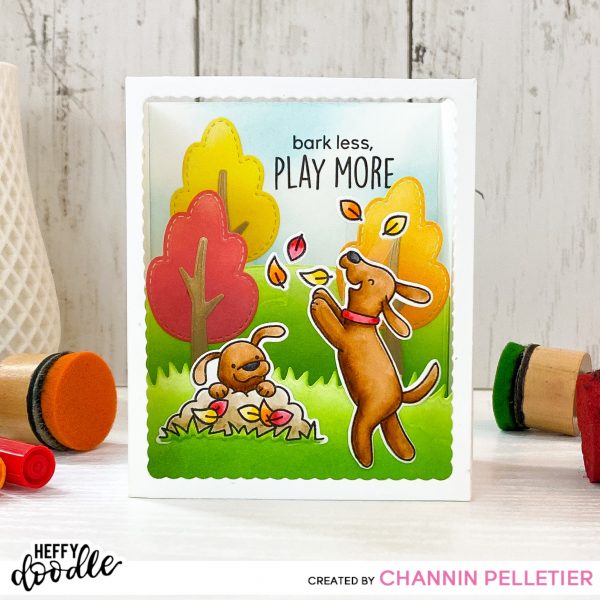
Hello doodlers!! It’s Channin here with a new card and video to share! In today’s video I create fall shadow box card with some stamp sets that are necessarily fall themed!! Watch to see how create layers to add depth to my shadow box and turn a pile of dirt into a pile of leaves!
VIDEO: Fall Fun Shadow Box Card
Watch below or on our YouTube channel.
https://youtu.be/X4RsaALdX-I
First I die cut the largest die from the Big Shadow Box Die set out of heavy weight cardstock twice. These two pieces will later be attached together to form my shadow box card base. Next, I die cut a window on one of the pieces with a scalloped rectangle die from the set. I then die cut two layers for inside my shadow box with another die from the Big Shadow Box Die set. I used partial die cutting to make one layer taller than the other and then die cut smaller layer with the grass die included in the set. Next, I ink blended both layers with Mowed Lawn Distress Oxide and then set them aside.
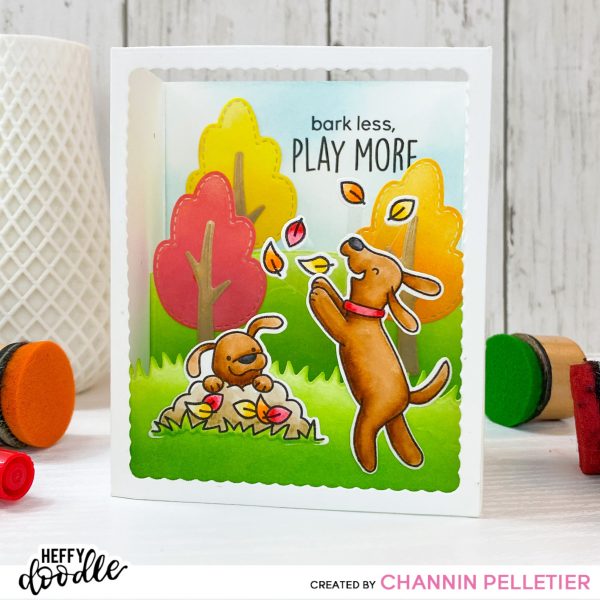
I then moved onto ink blending the trees that I die cut out of white cardstock using the Forest Builder Die set with several distress oxides. I then ink blended the other piece for my shadow box with Tumbled Glass to create a sky. Next, I stamped this piece with a sentiment from the Hot Diggity Dog Stamp Set in Versafine Onyx Black. I then positioned two dog images from Hot Diggity Dog Stamp Set in my MISTI, covered the details in the dirt mound with small strips of post-it note, inked up the stamps, and then stamped them onto Bristol paper. I then stamped the dirt mound with a couple leaves from the Quill You Be Mine Stamp Set a few times, using masks of the leaves to make them appear layered. Next, watercolored the images with Tombow Dual Brush Pens and then die cut them out with the matching dies.
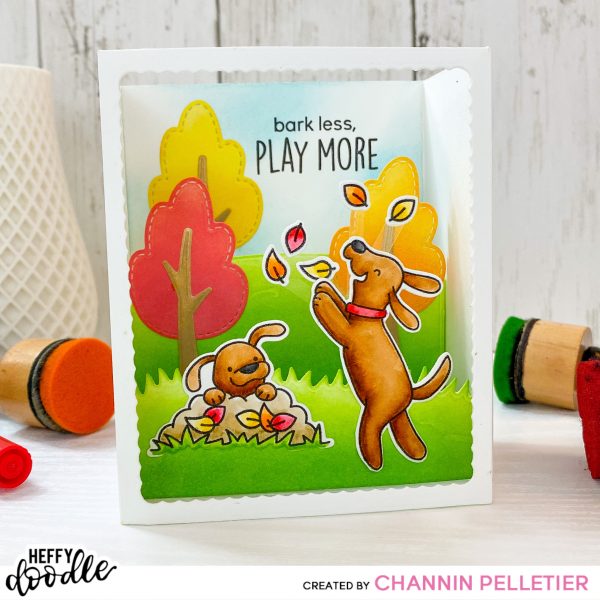
I then assembled my shadow box and the layers using score tape to hold everything in place. Next, I cut thin strips of acetate and adhered the individual leaves to the ends. I then adhered all my trees and the puppy in the leaves onto my card. Lastly, I adhered the leaves attached to the acetate onto the last dog and then adhered it to my shadow box.
I hope you enjoyed today’s card and video! Thank you so much for stopping by!
~Channin
Supplies:
