
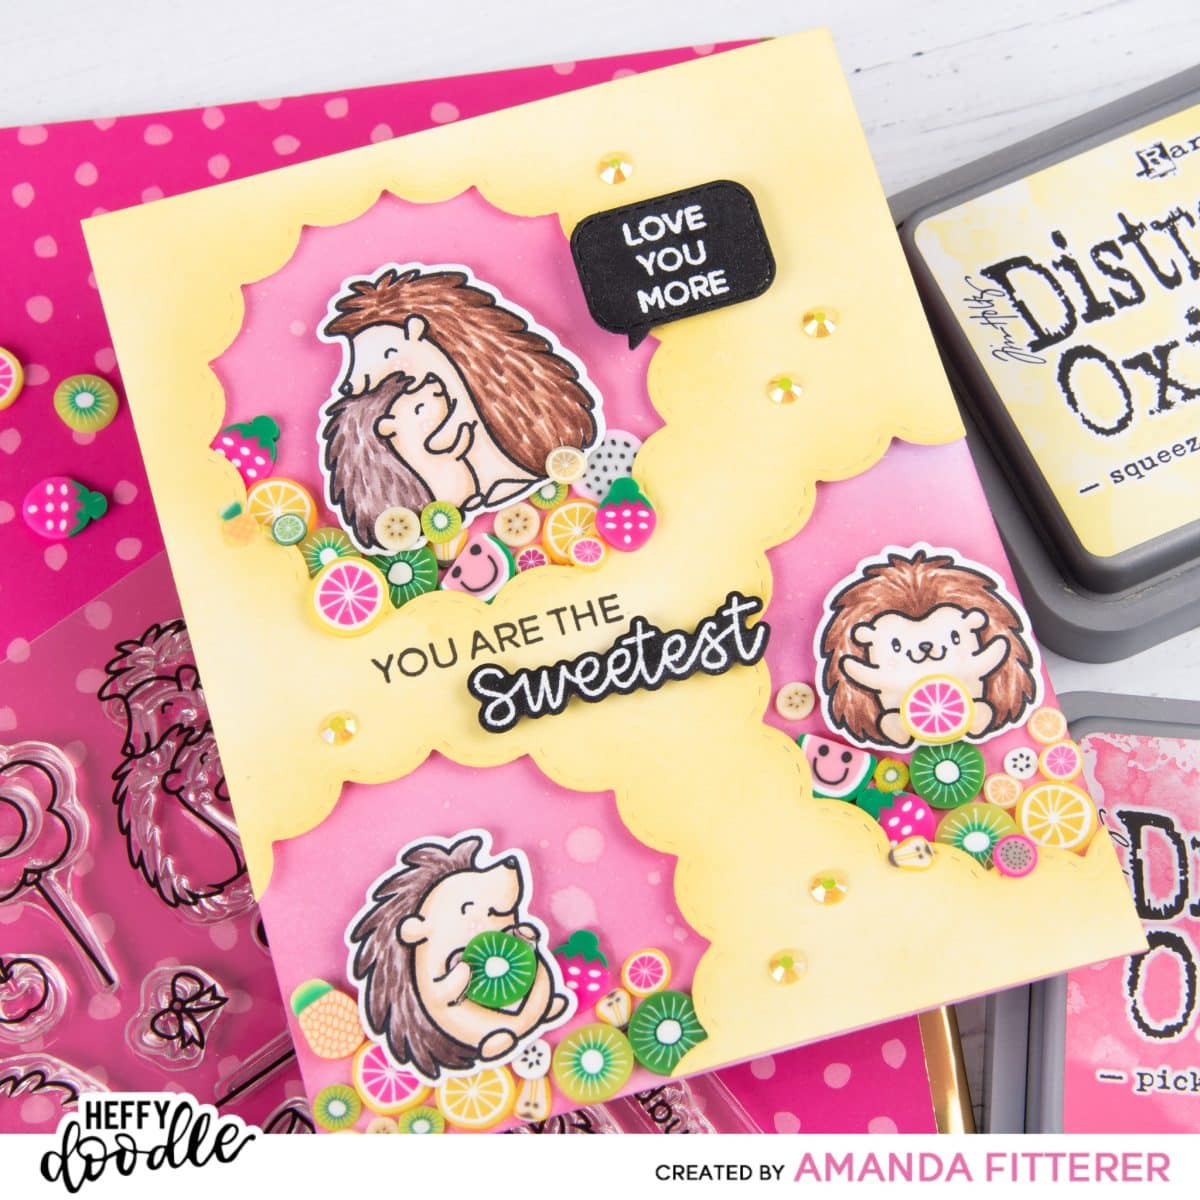
The Sweetest Hedgehogs

Hey Heffy Doodlers! Welcome back to another Cardmaking 101! I’ve really been in the mood for some bright and happy summer colors! What about you?!
Quick Links: My Instagram | Quill You Be Mine Stamps | Quill You Be Mine Dies | Fancy Nancy Frames Dies | Whatcha Sayin’ Stamp Set | Whatcha Sayin’ Dies
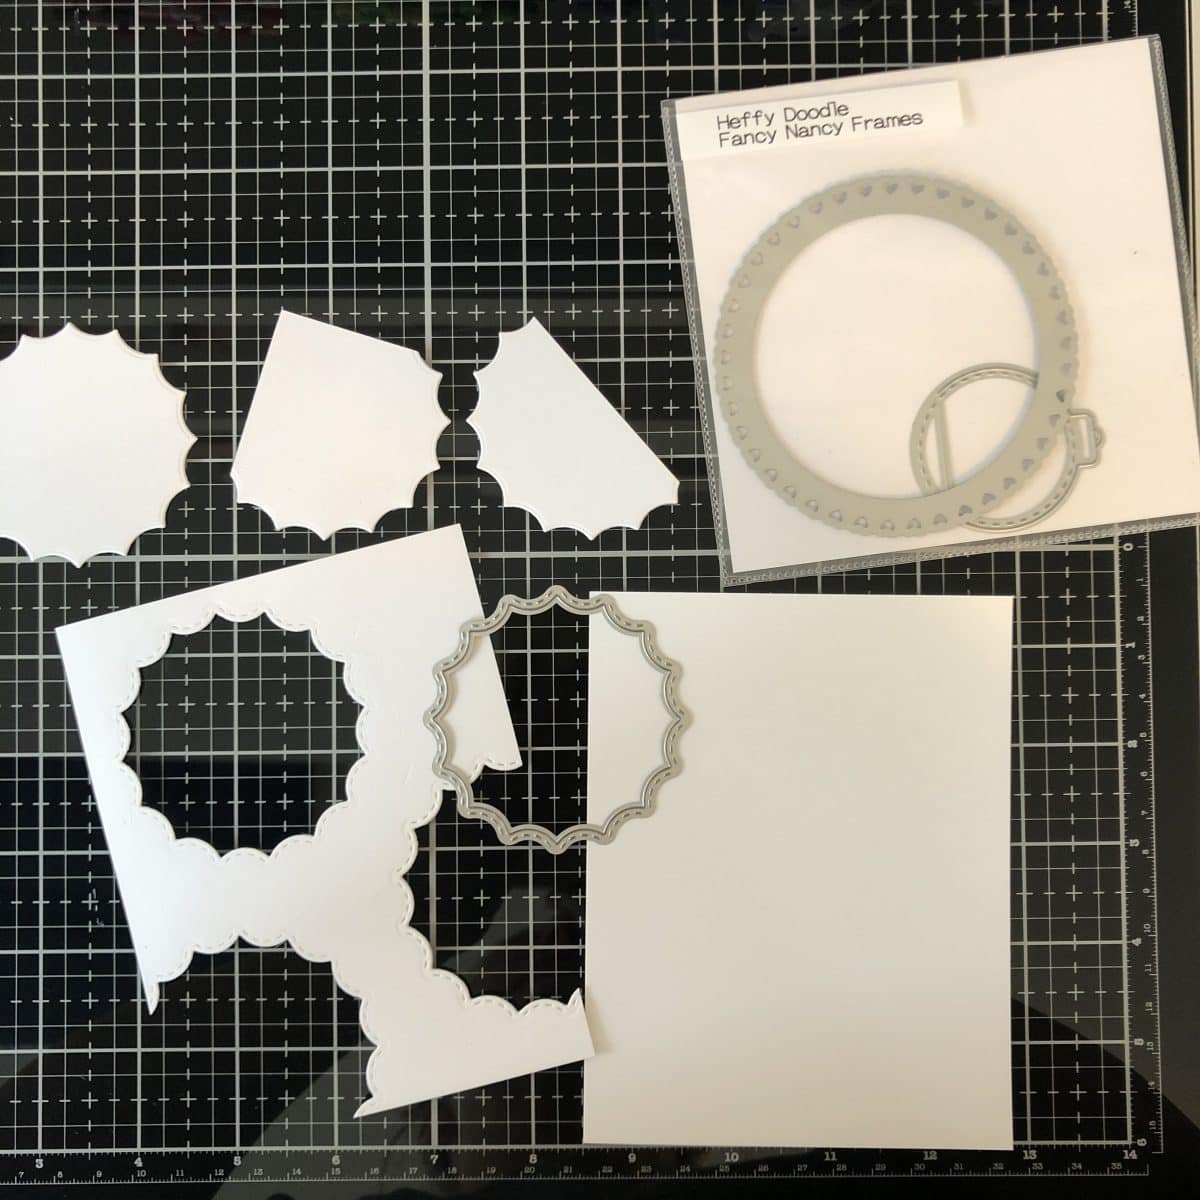
To make this card, I’m going to start with an A2 size (4.25″x5.5″) piece of 110lb. Neenah Solar White cardstock and the Fancy Nancy Frames Dies. I’m going to have to run the same card through my die cutting machine 3 times, moving the same frame around each time. I am not using anything to hold the frame in place each time, but if you have problems with your frame moving around on you, Purple Tape will hold it in place without ripping up your cardstock when you remove it.
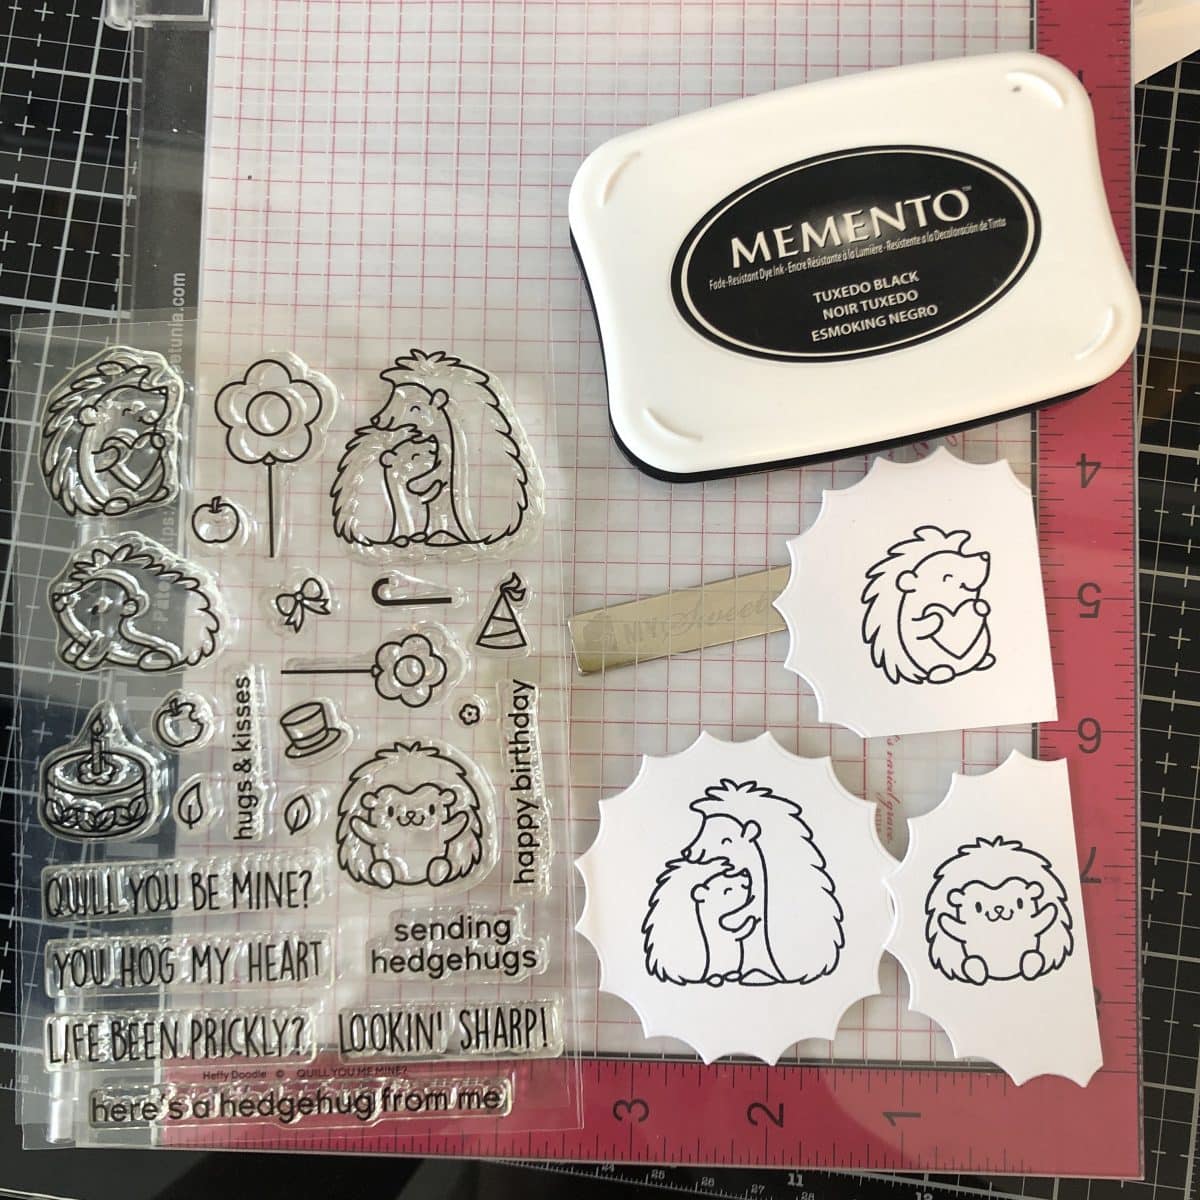
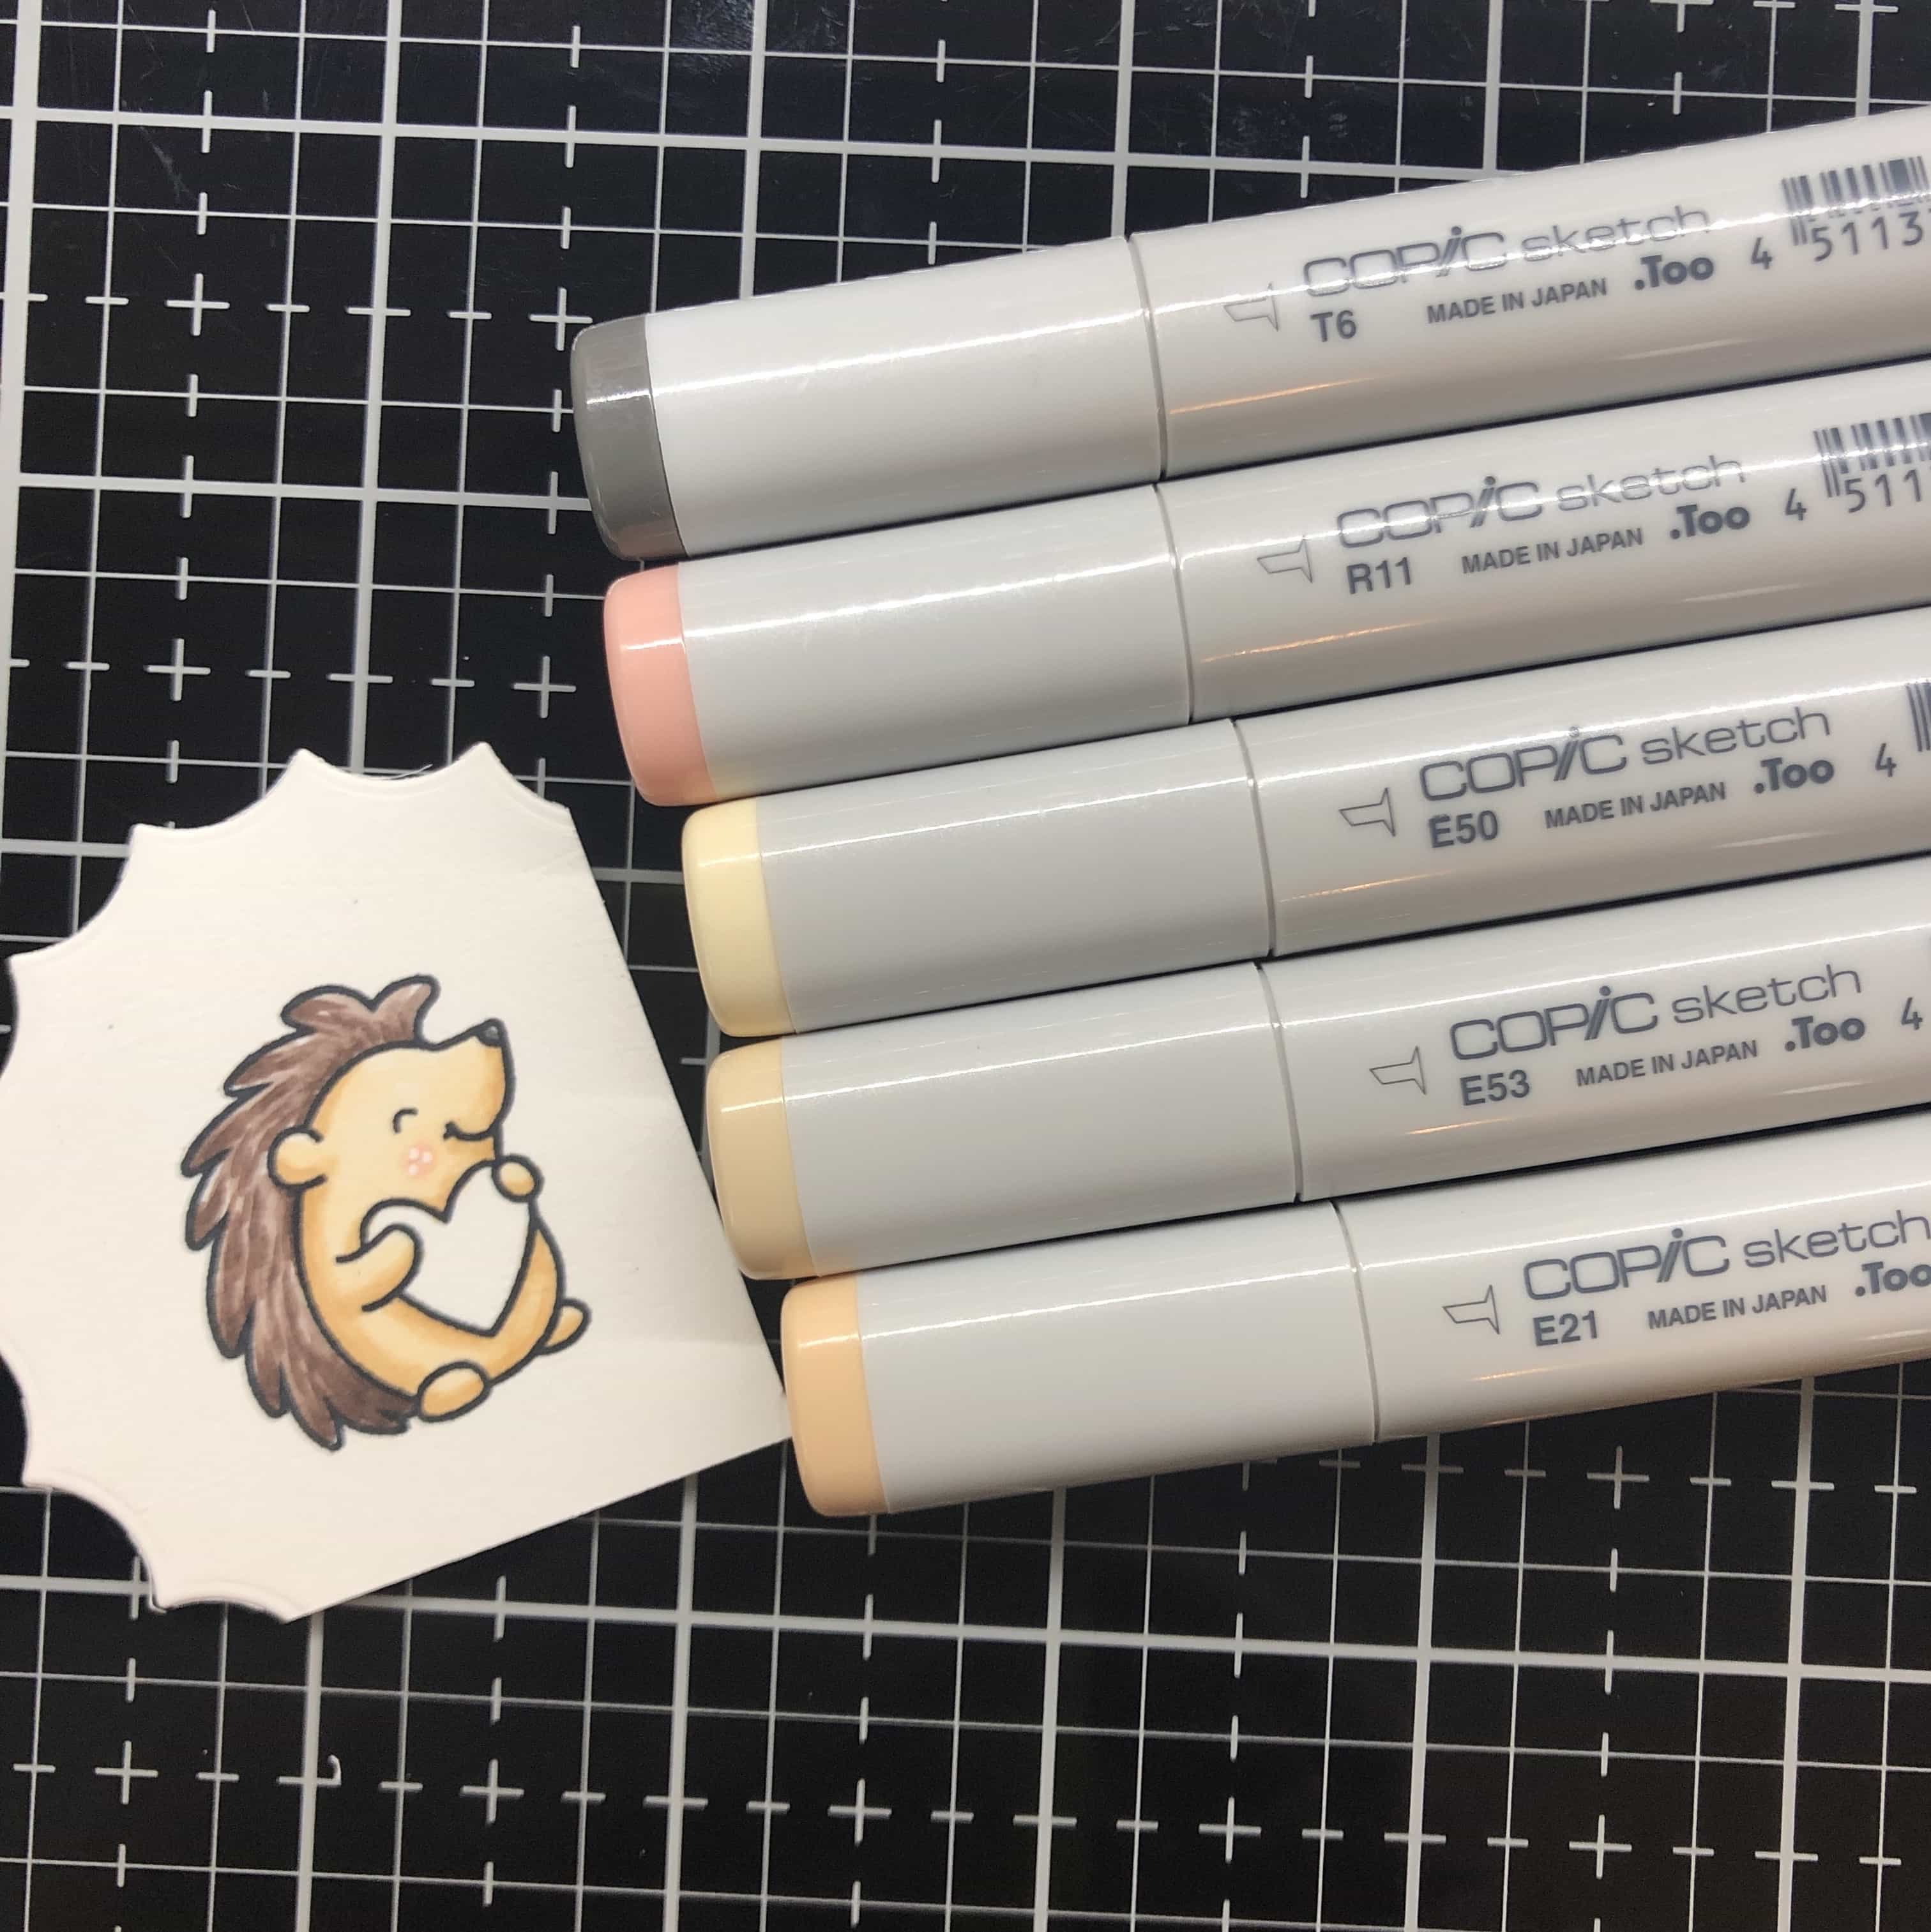
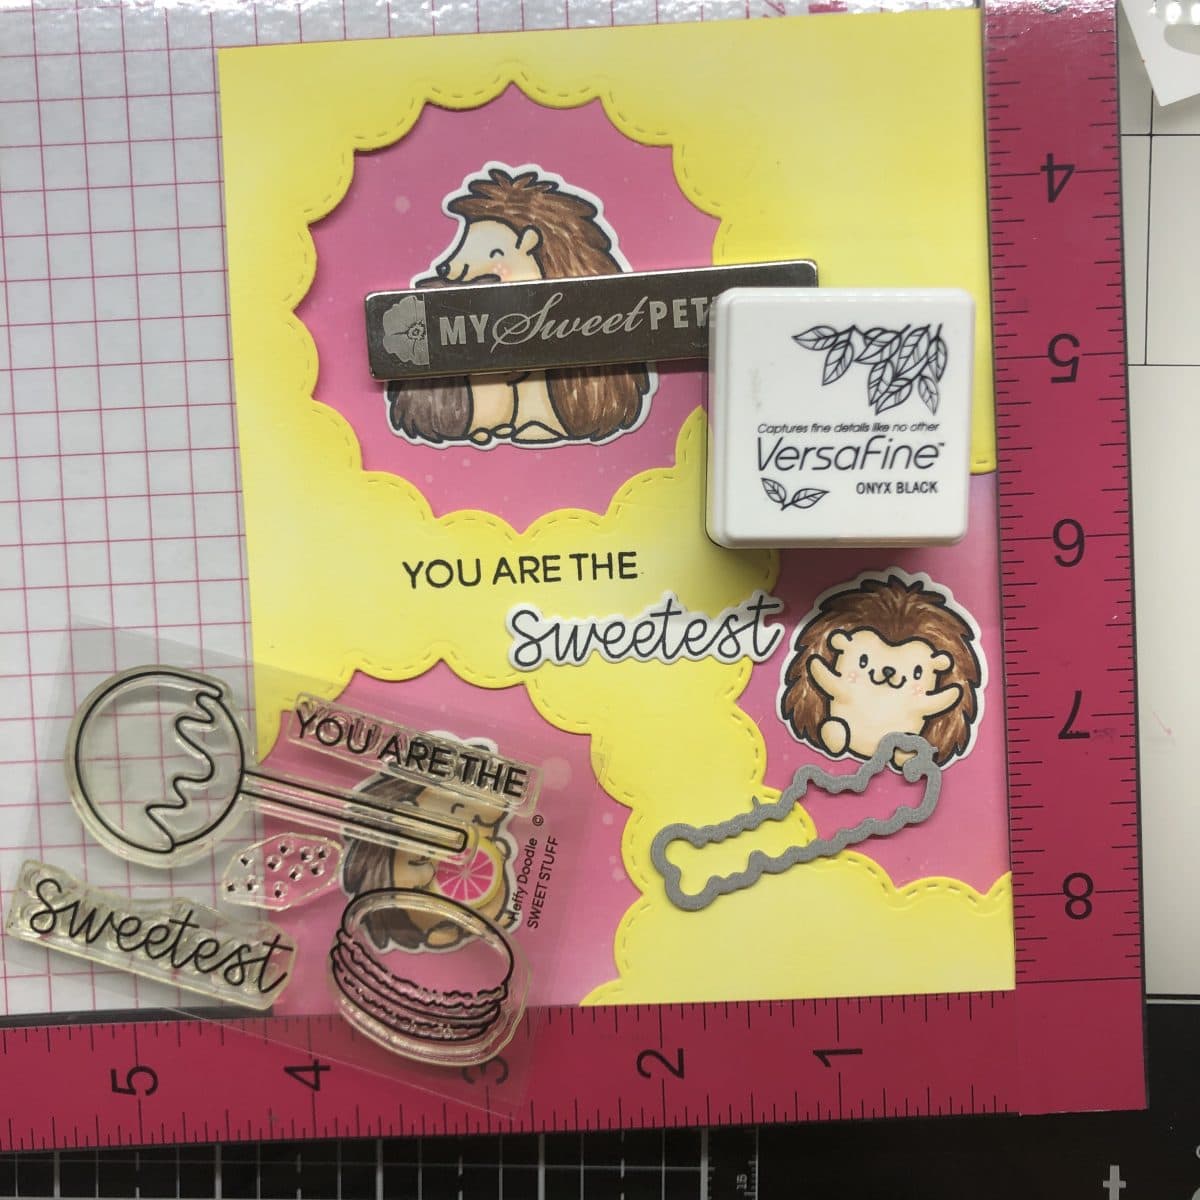
I don’t know about you, but I can be super frugal when it comes to expensive cardstock! I’m going to use my scraps from the frames to stamp my Quill You Be Mine images. By doing this, I’m also ensuring that my hedgehogs will fit in each of the 3 frames. I’m using Memento Tuxedo Black ink because I’m going to use alcohol markers to color my images. This ink pad won’t bleed when using alcohol markers!
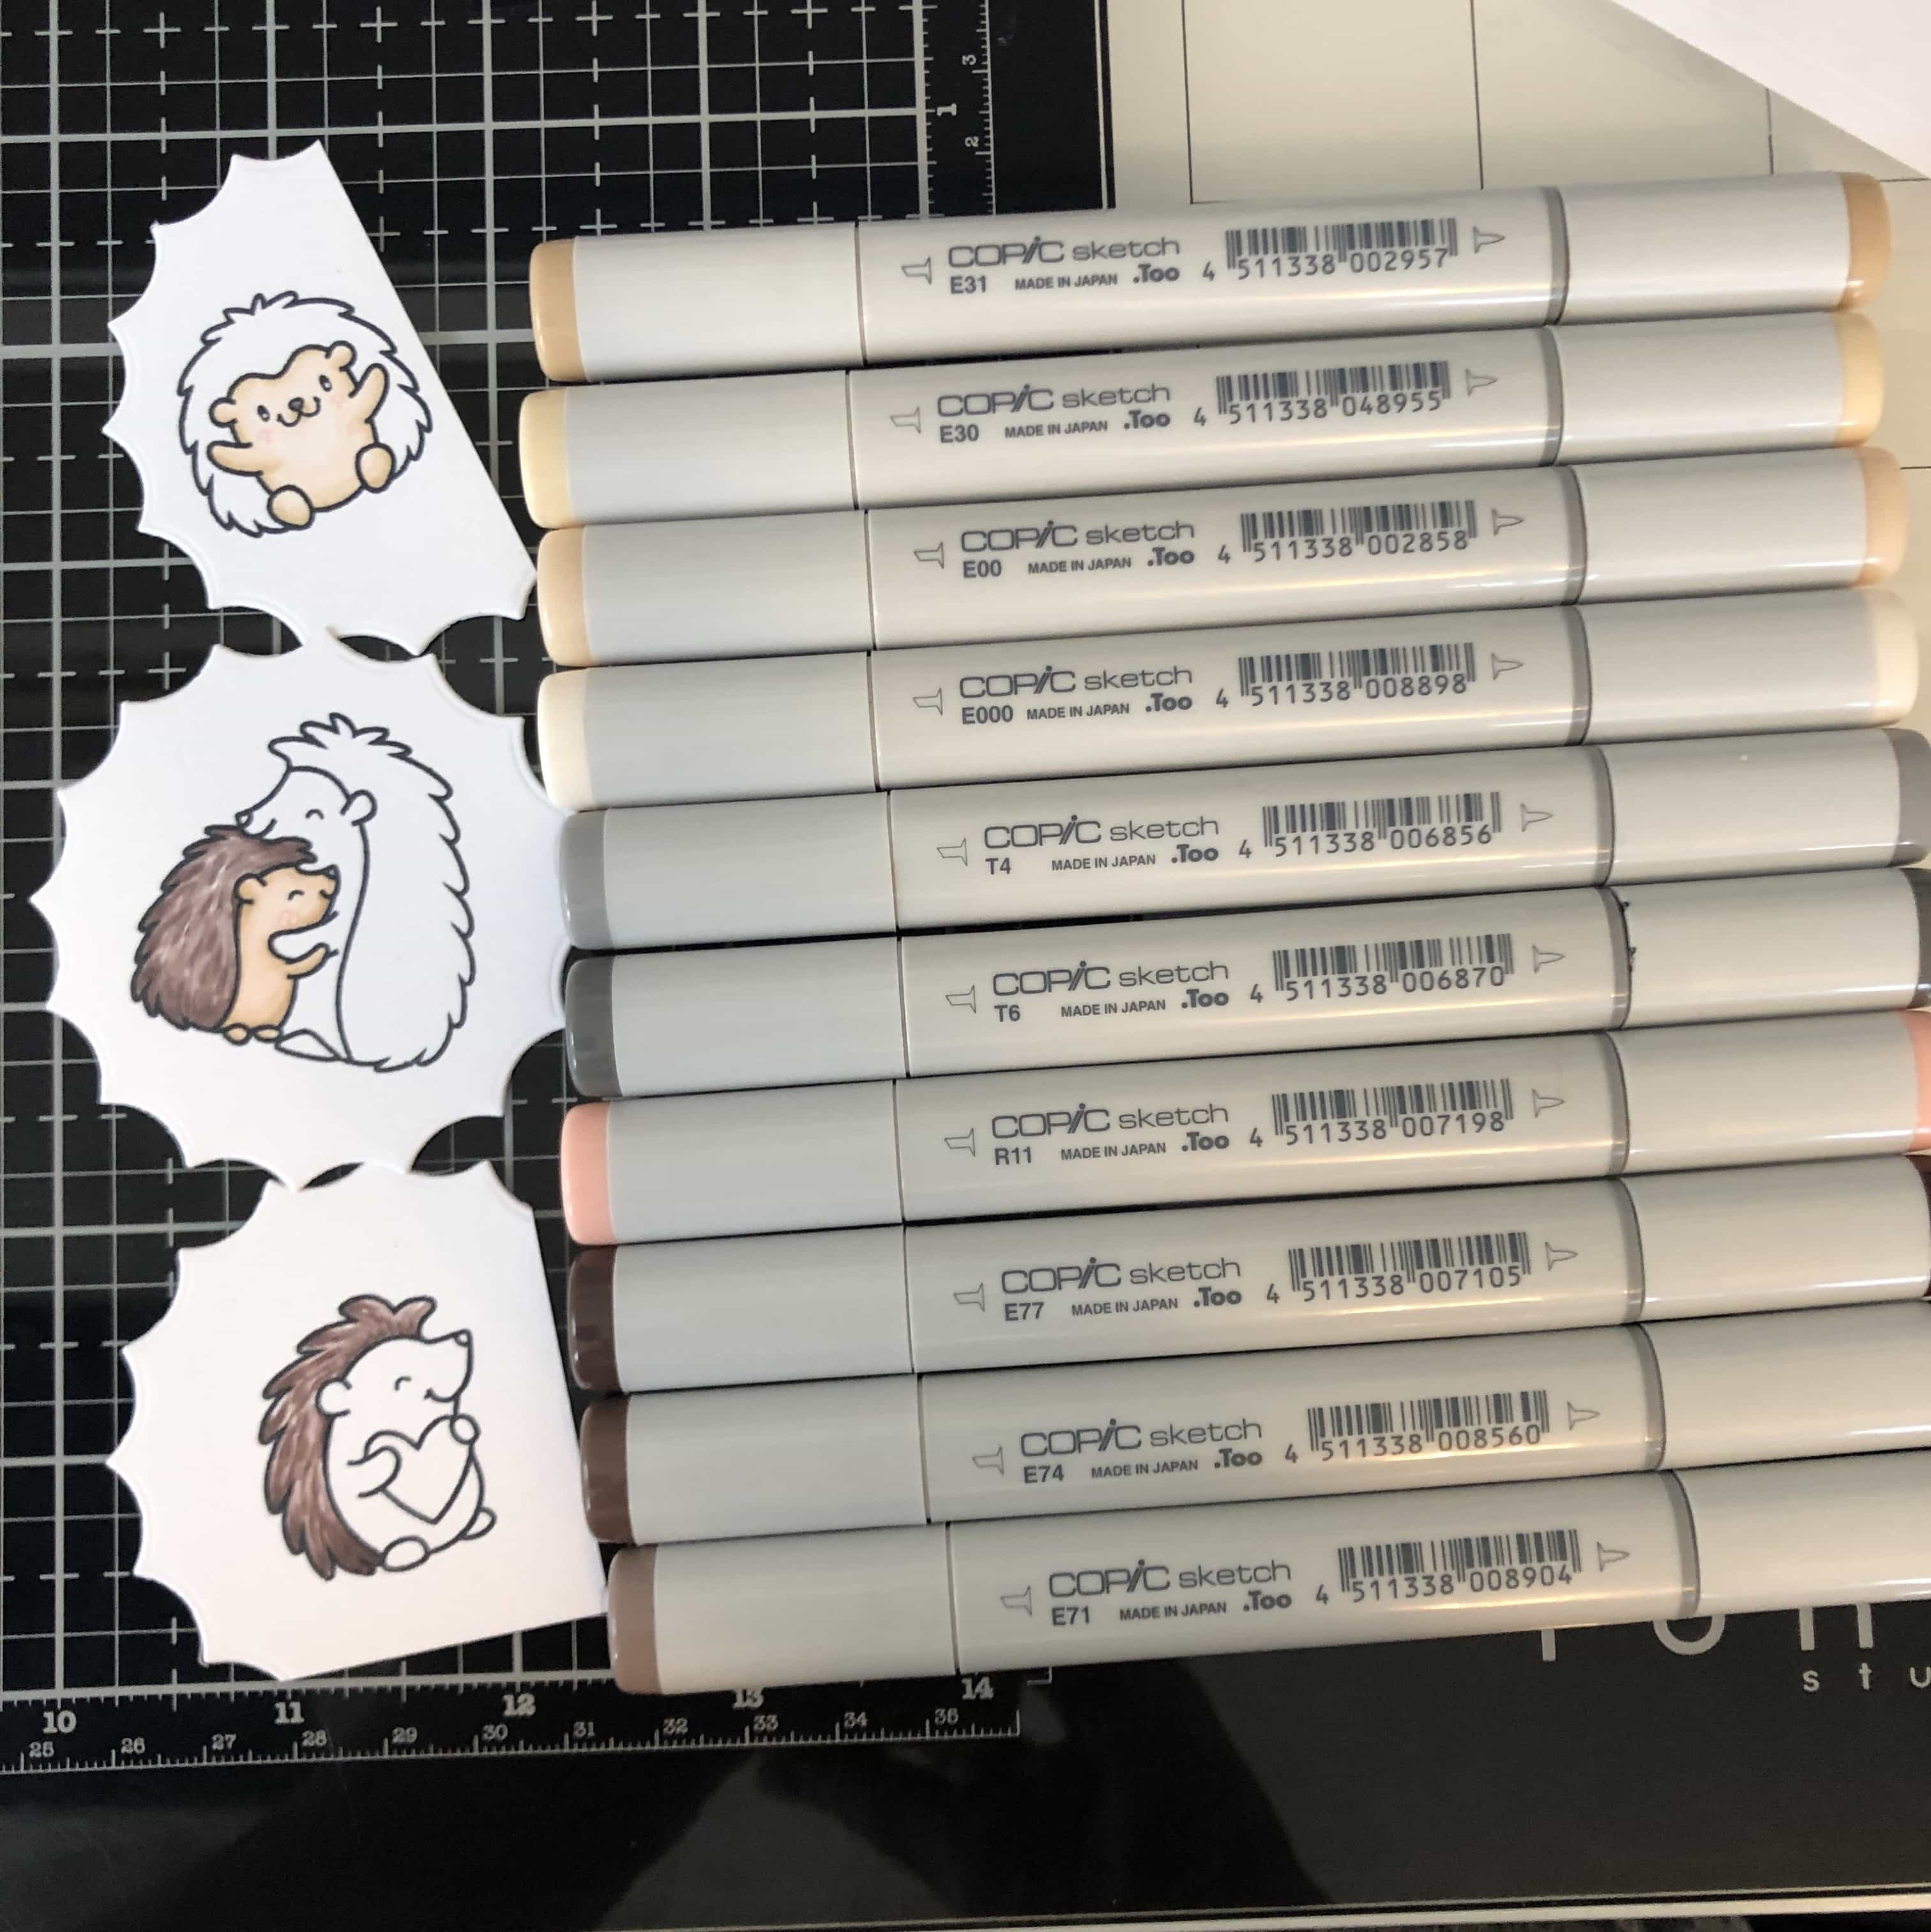
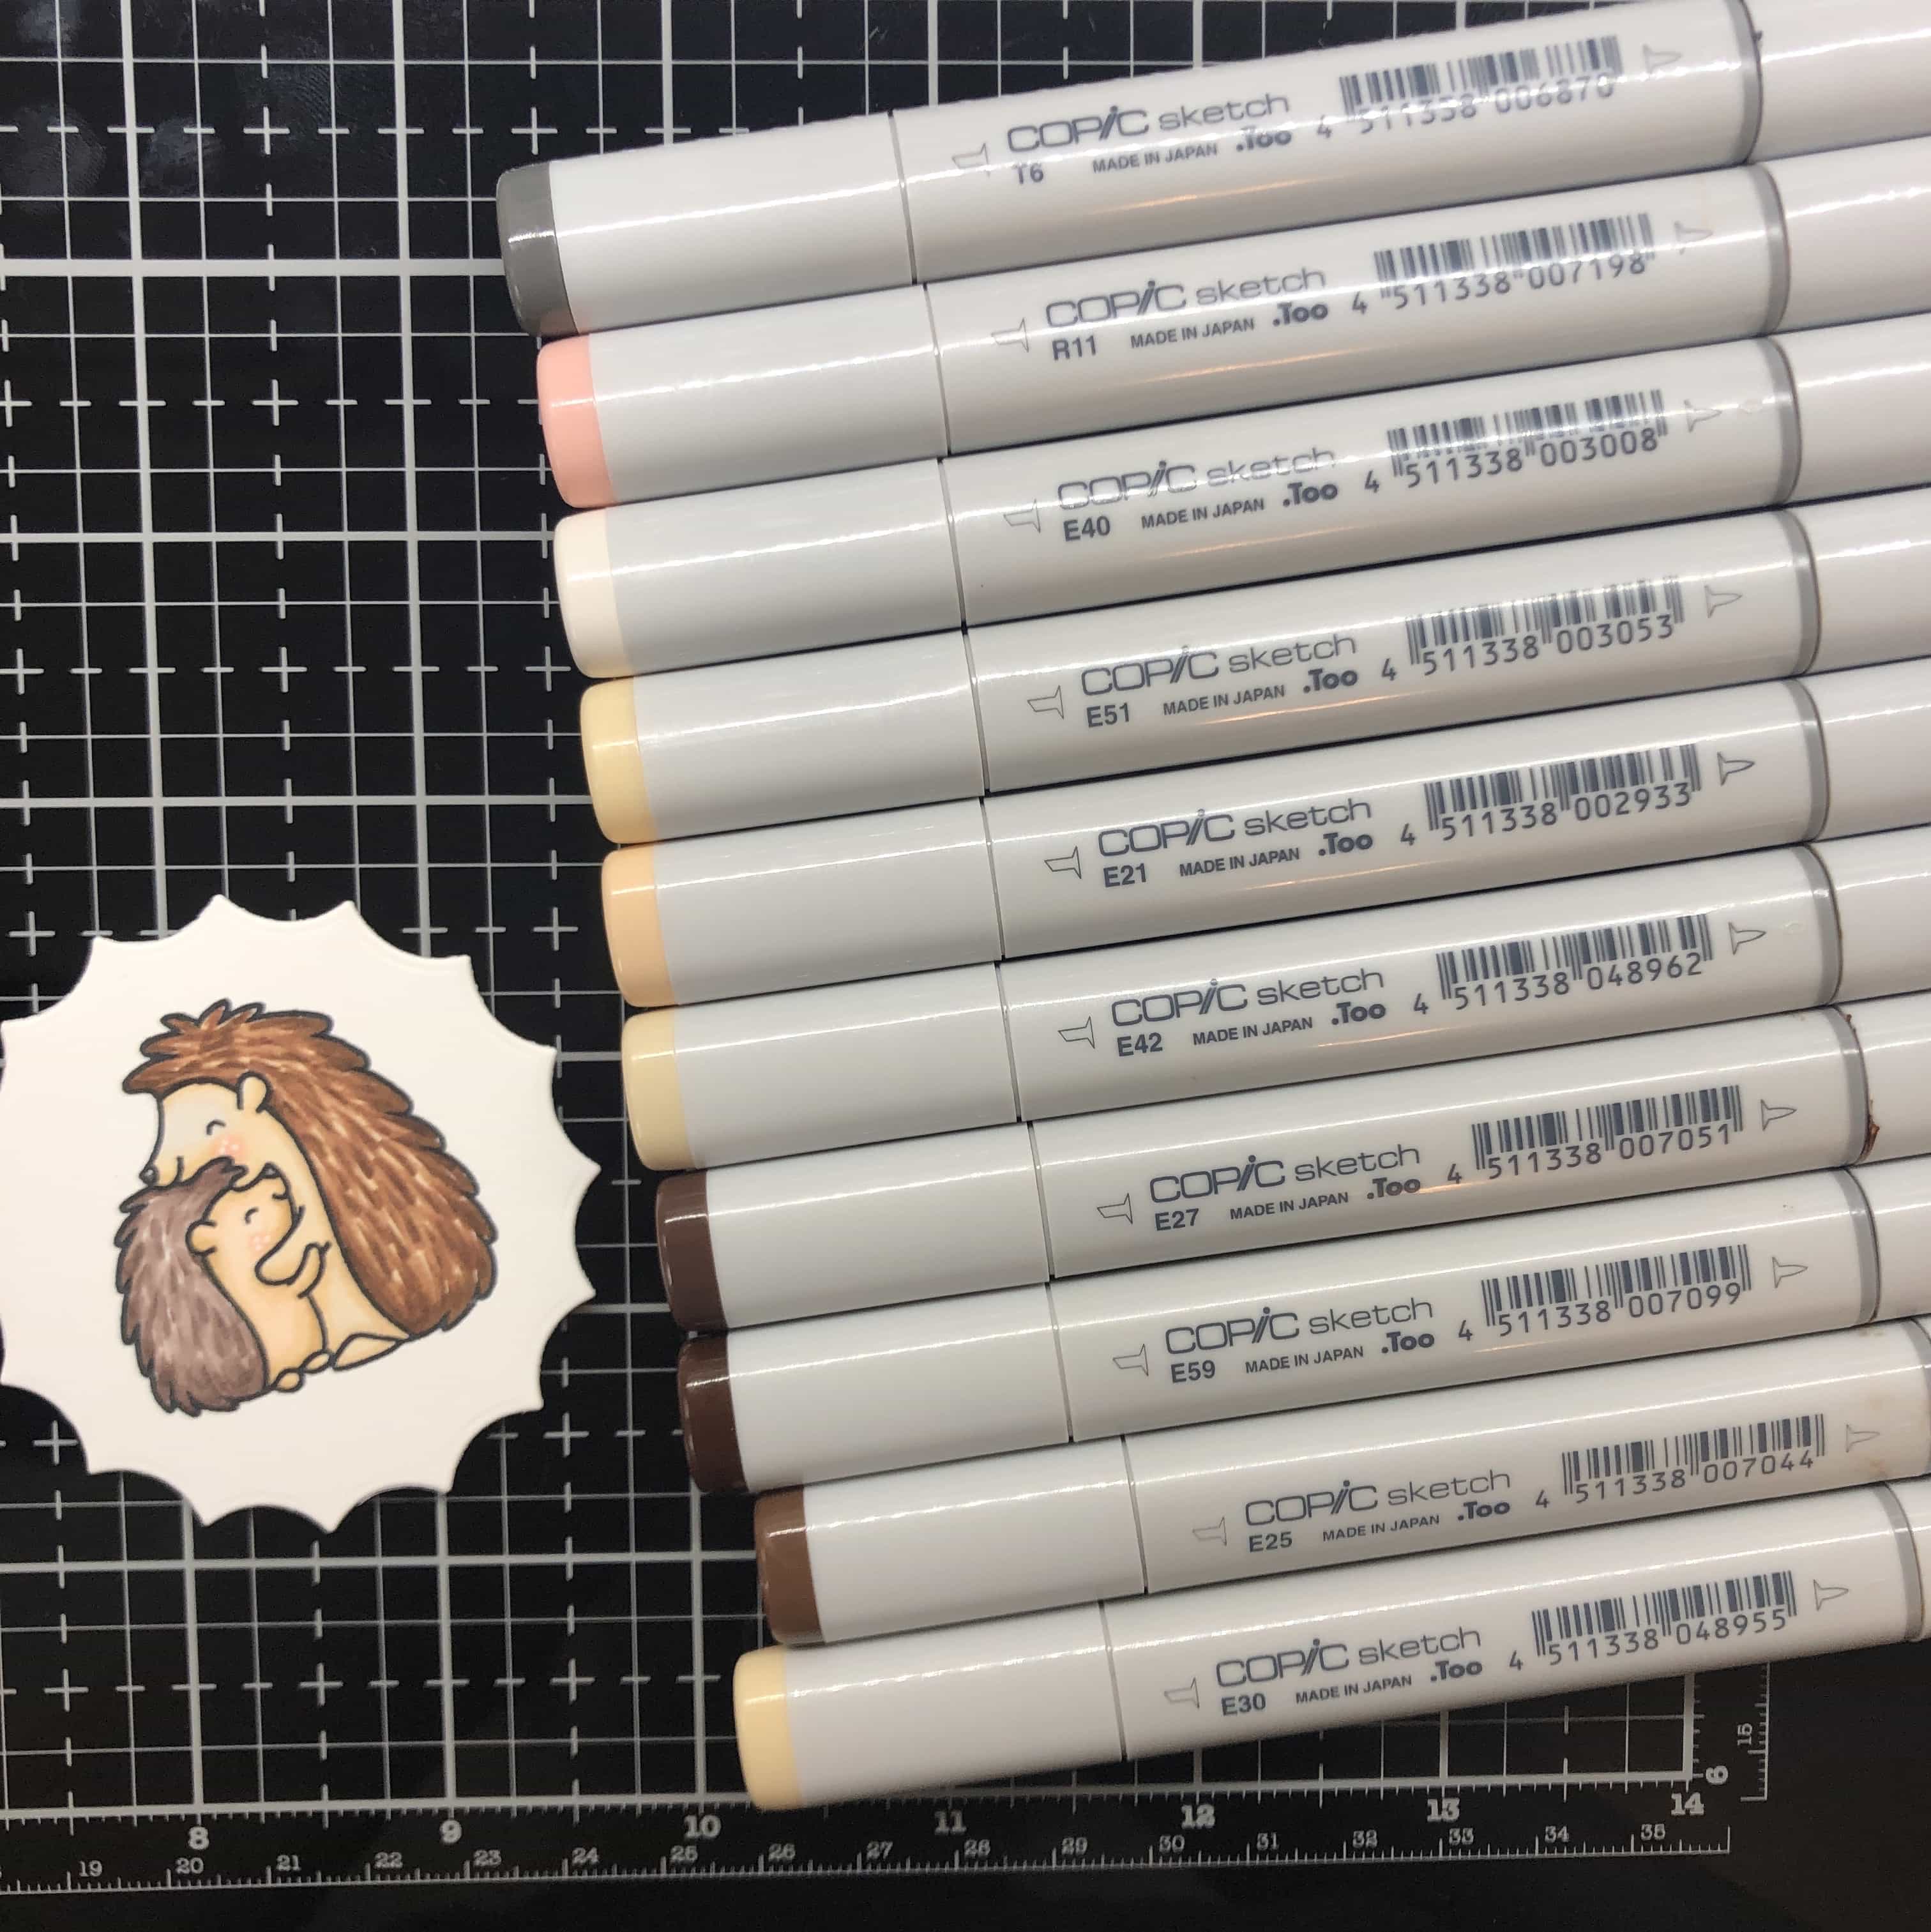
Now, I’m ready to color my stamped images in with my Copic markers! Click on an image to see it larger!
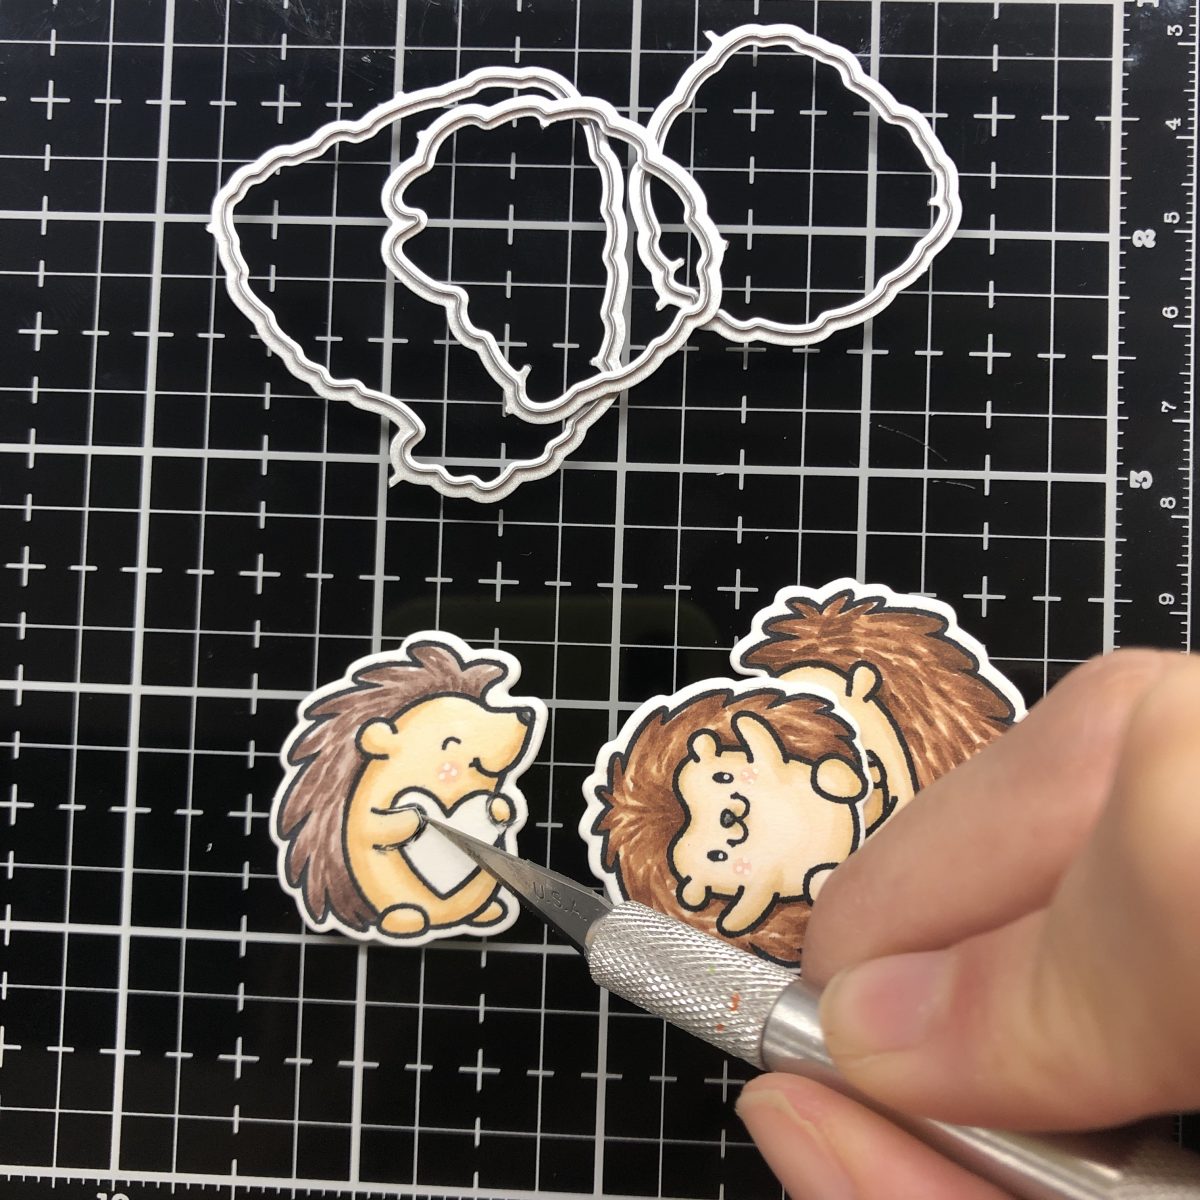
I die cut my images out with the coordinating dies and my die cutting machine. I want my one little hedgehog to be able to hold a piece of fruit, so I’m going to use an Exacto knife to carefully cut his hands. It’s not perfect, as you can see! I’ve never done this before and I’m just kind of winging it!
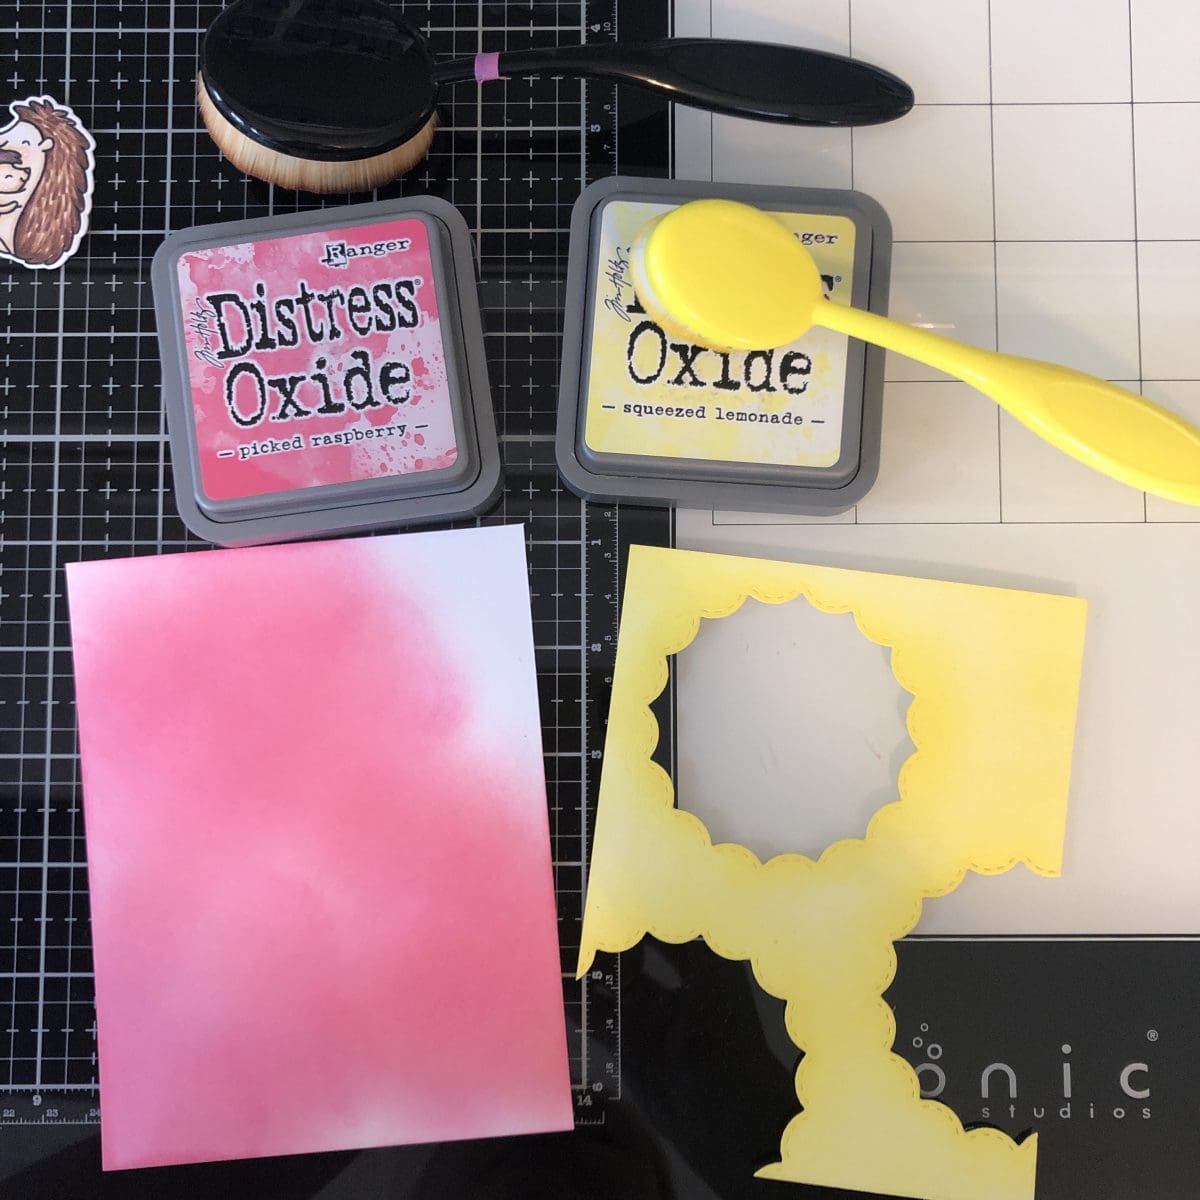
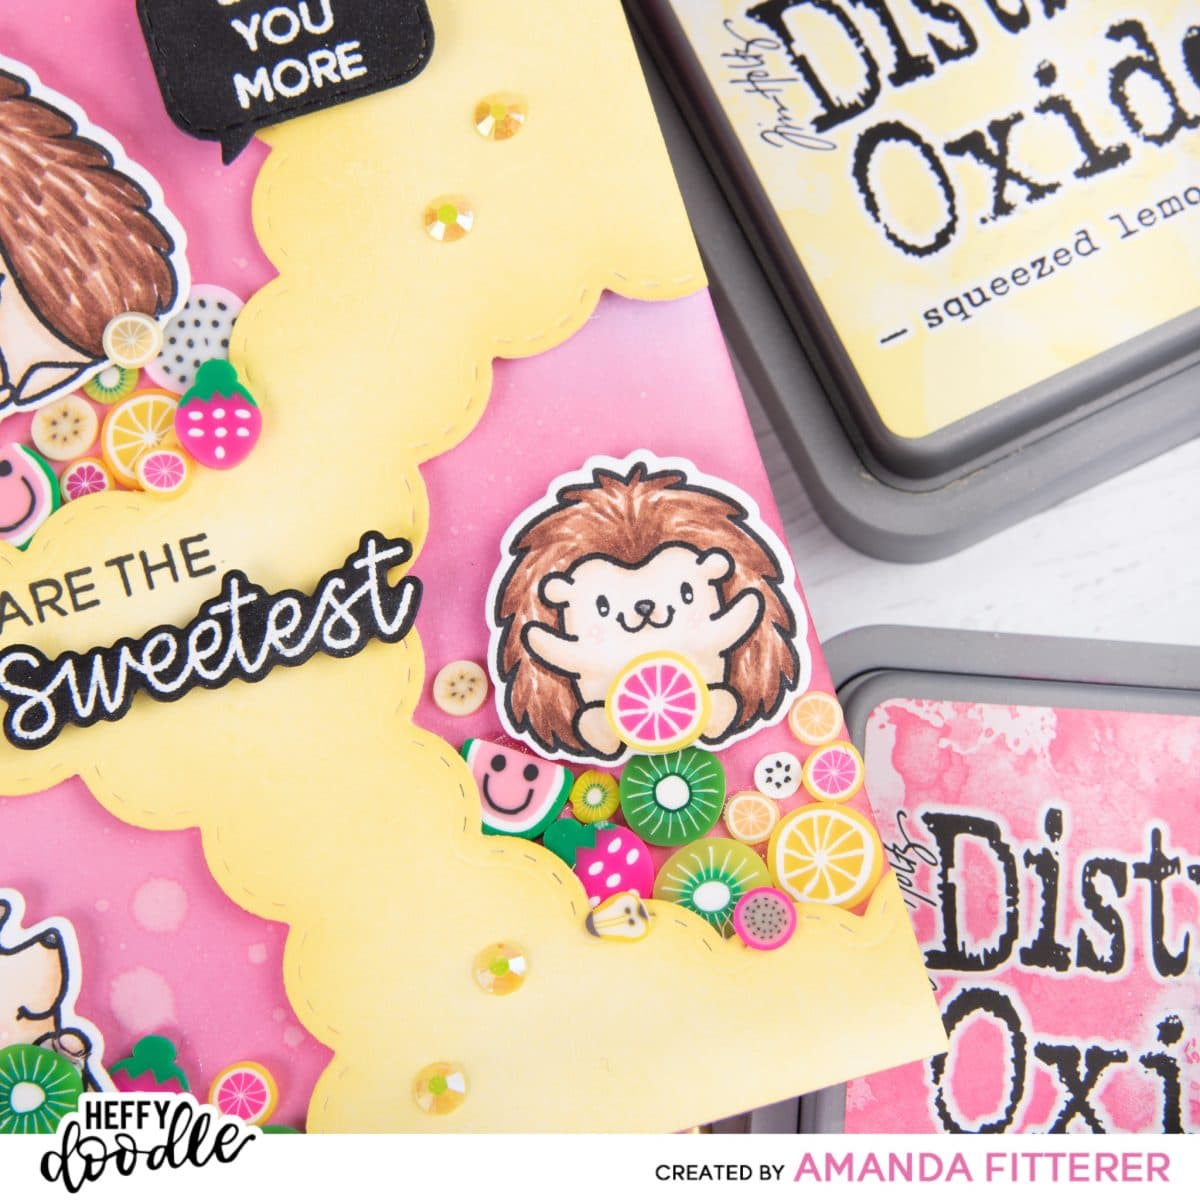
Who’s ready for some bright colors!? I’m going to make my front cardstock Squeezed Lemonade yellow and my background Picked Raspberry. For my distress inks and oxides, I bought some cheap makeup brushes from Amazon and also some crafting brushes. I’ve never washed them, I just try to keep 1 brush per color family.
Now, I’m going to go ahead and see how my card is looking so far and where I want to place my sentiment. I’ve stamped the “sweetest” sentiment from the Sweet Stuff stamp set and die cut it out. This helps me line up the rest of the sentiment. Once I have everything where I like it, I’m going to stamp it with Versafine Onyx Black ink. I ONLY use this ink when I know I won’t be using my Copic markers anywhere near it! It’s also a juicier ink pad, so when I use my MISTI, I don’t press the stamp down hard, I just let it lay down nice and soft and give it a tiny, even push with my hand.
Note: The Sweet Stuff stamp and die set were a free gift during the last Heffy Doodle release. They won’t be available for purchase until the next release!
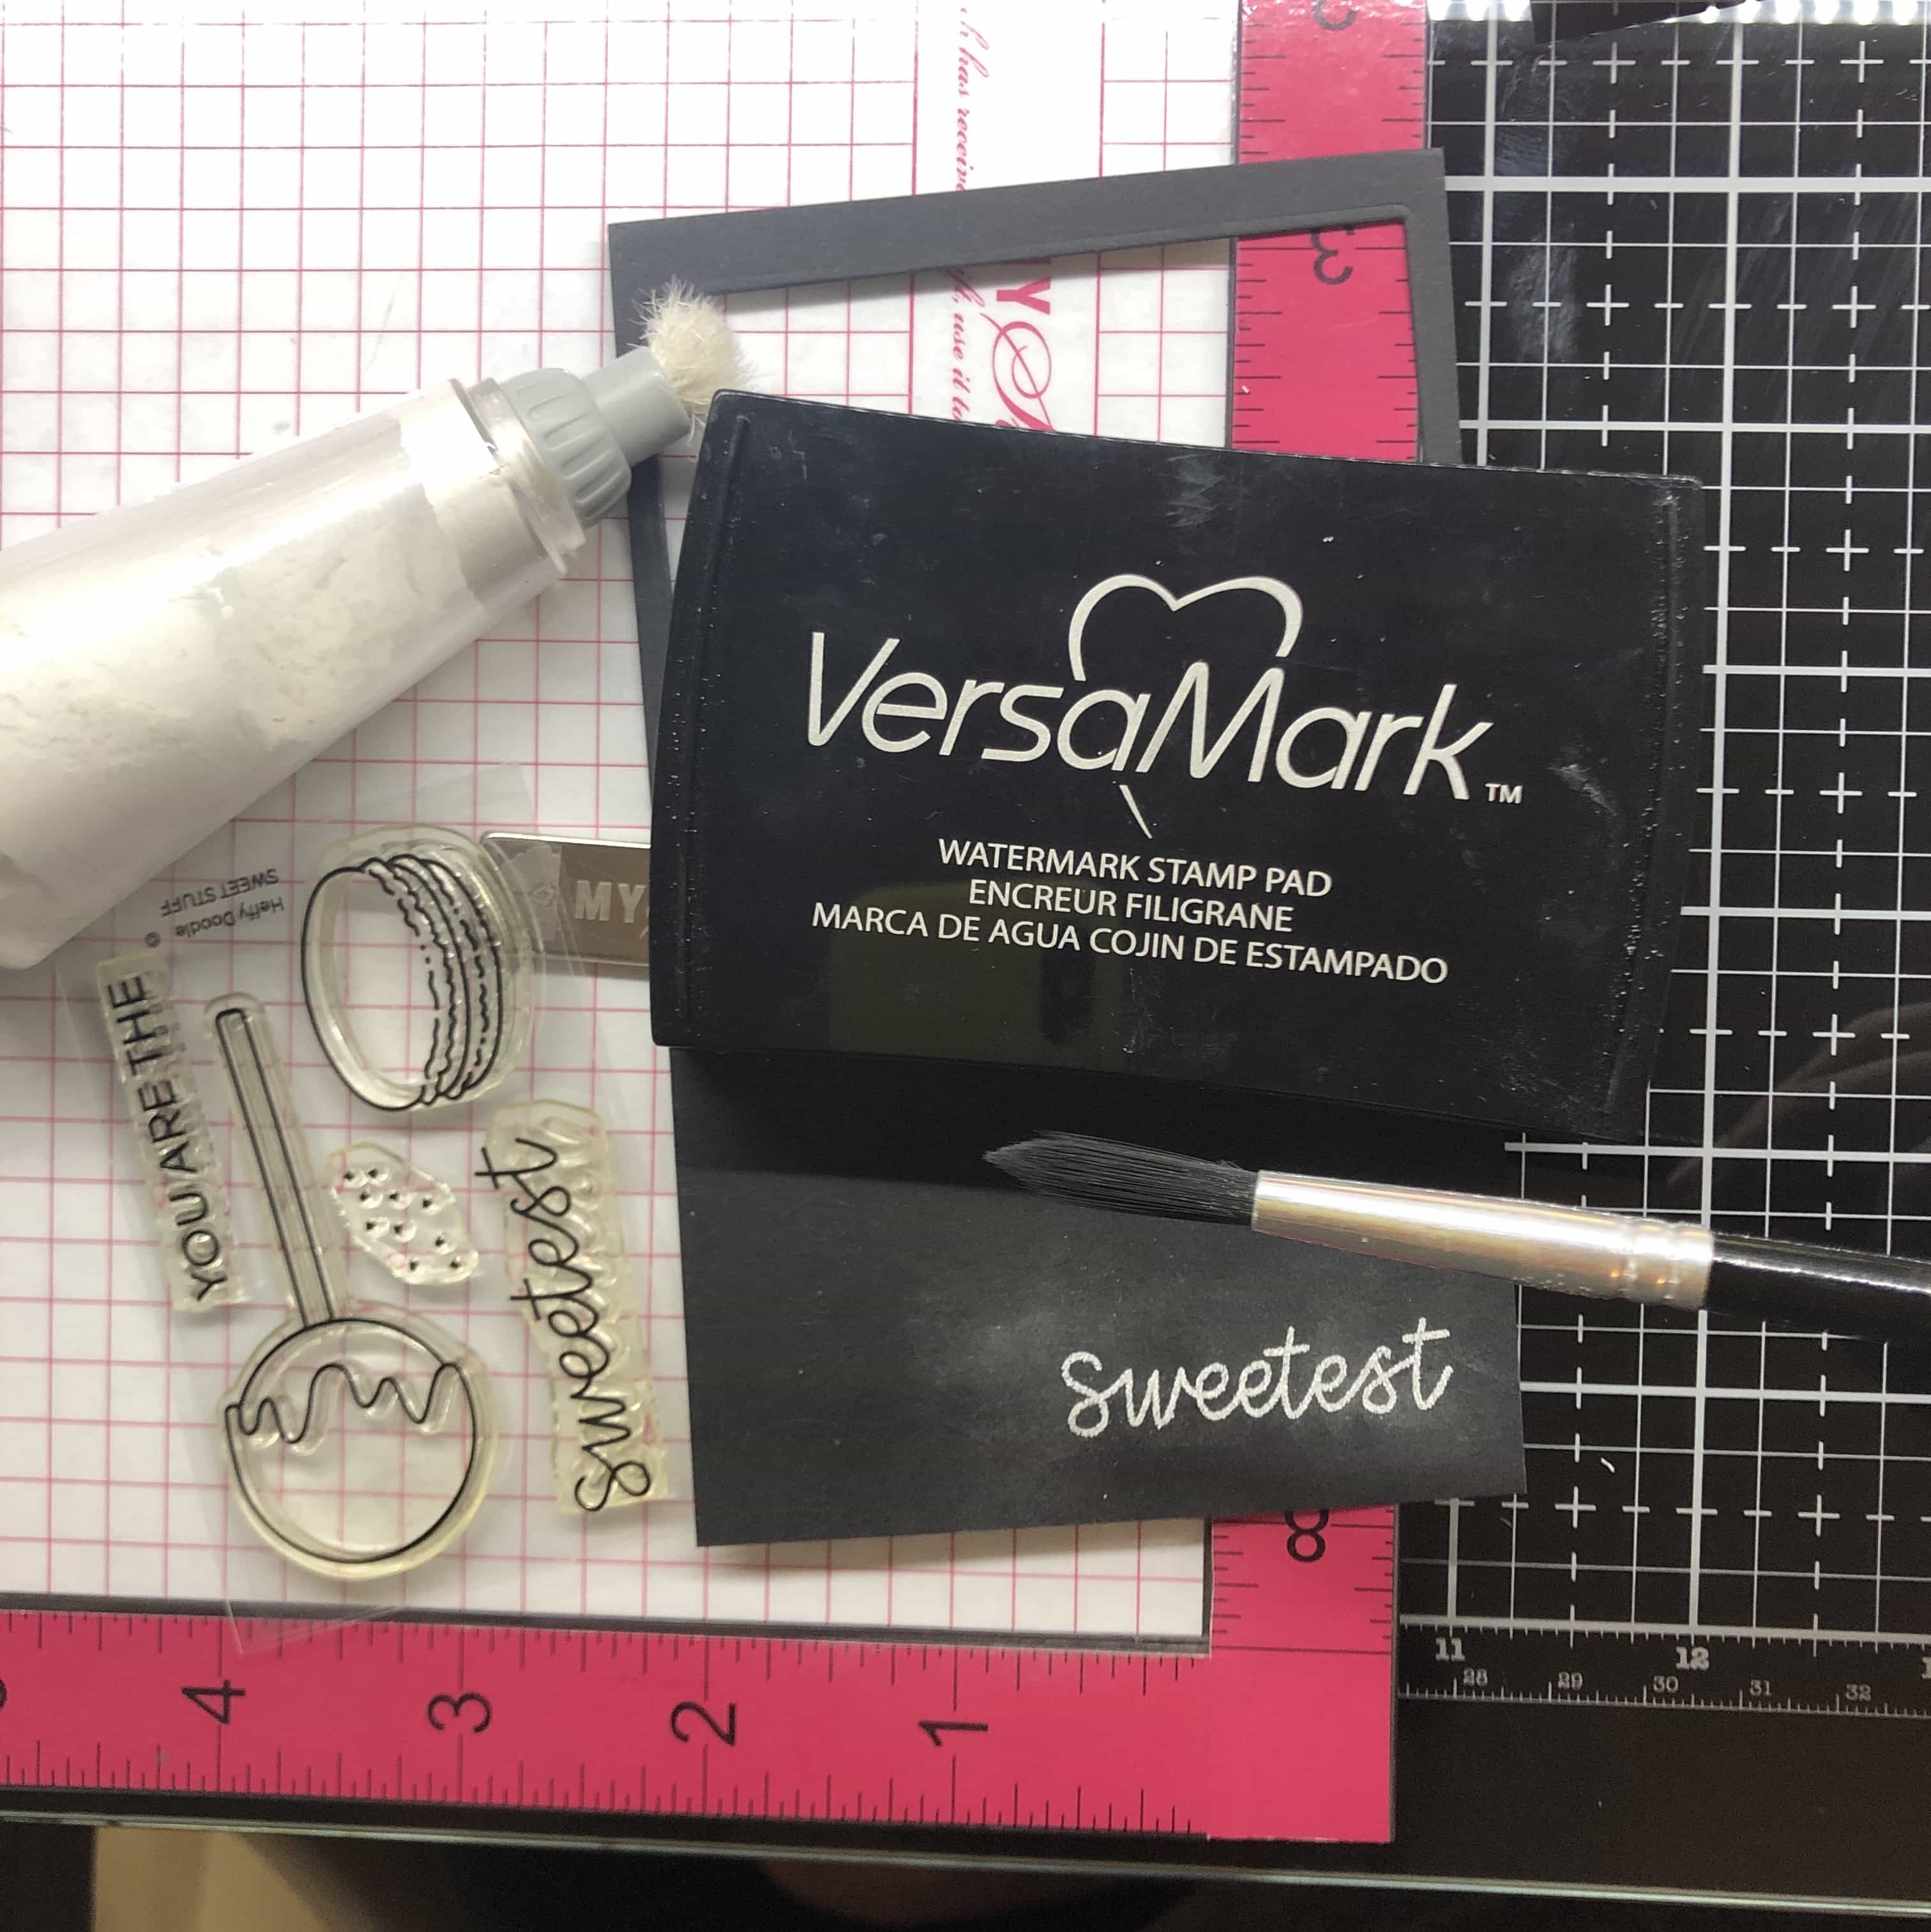
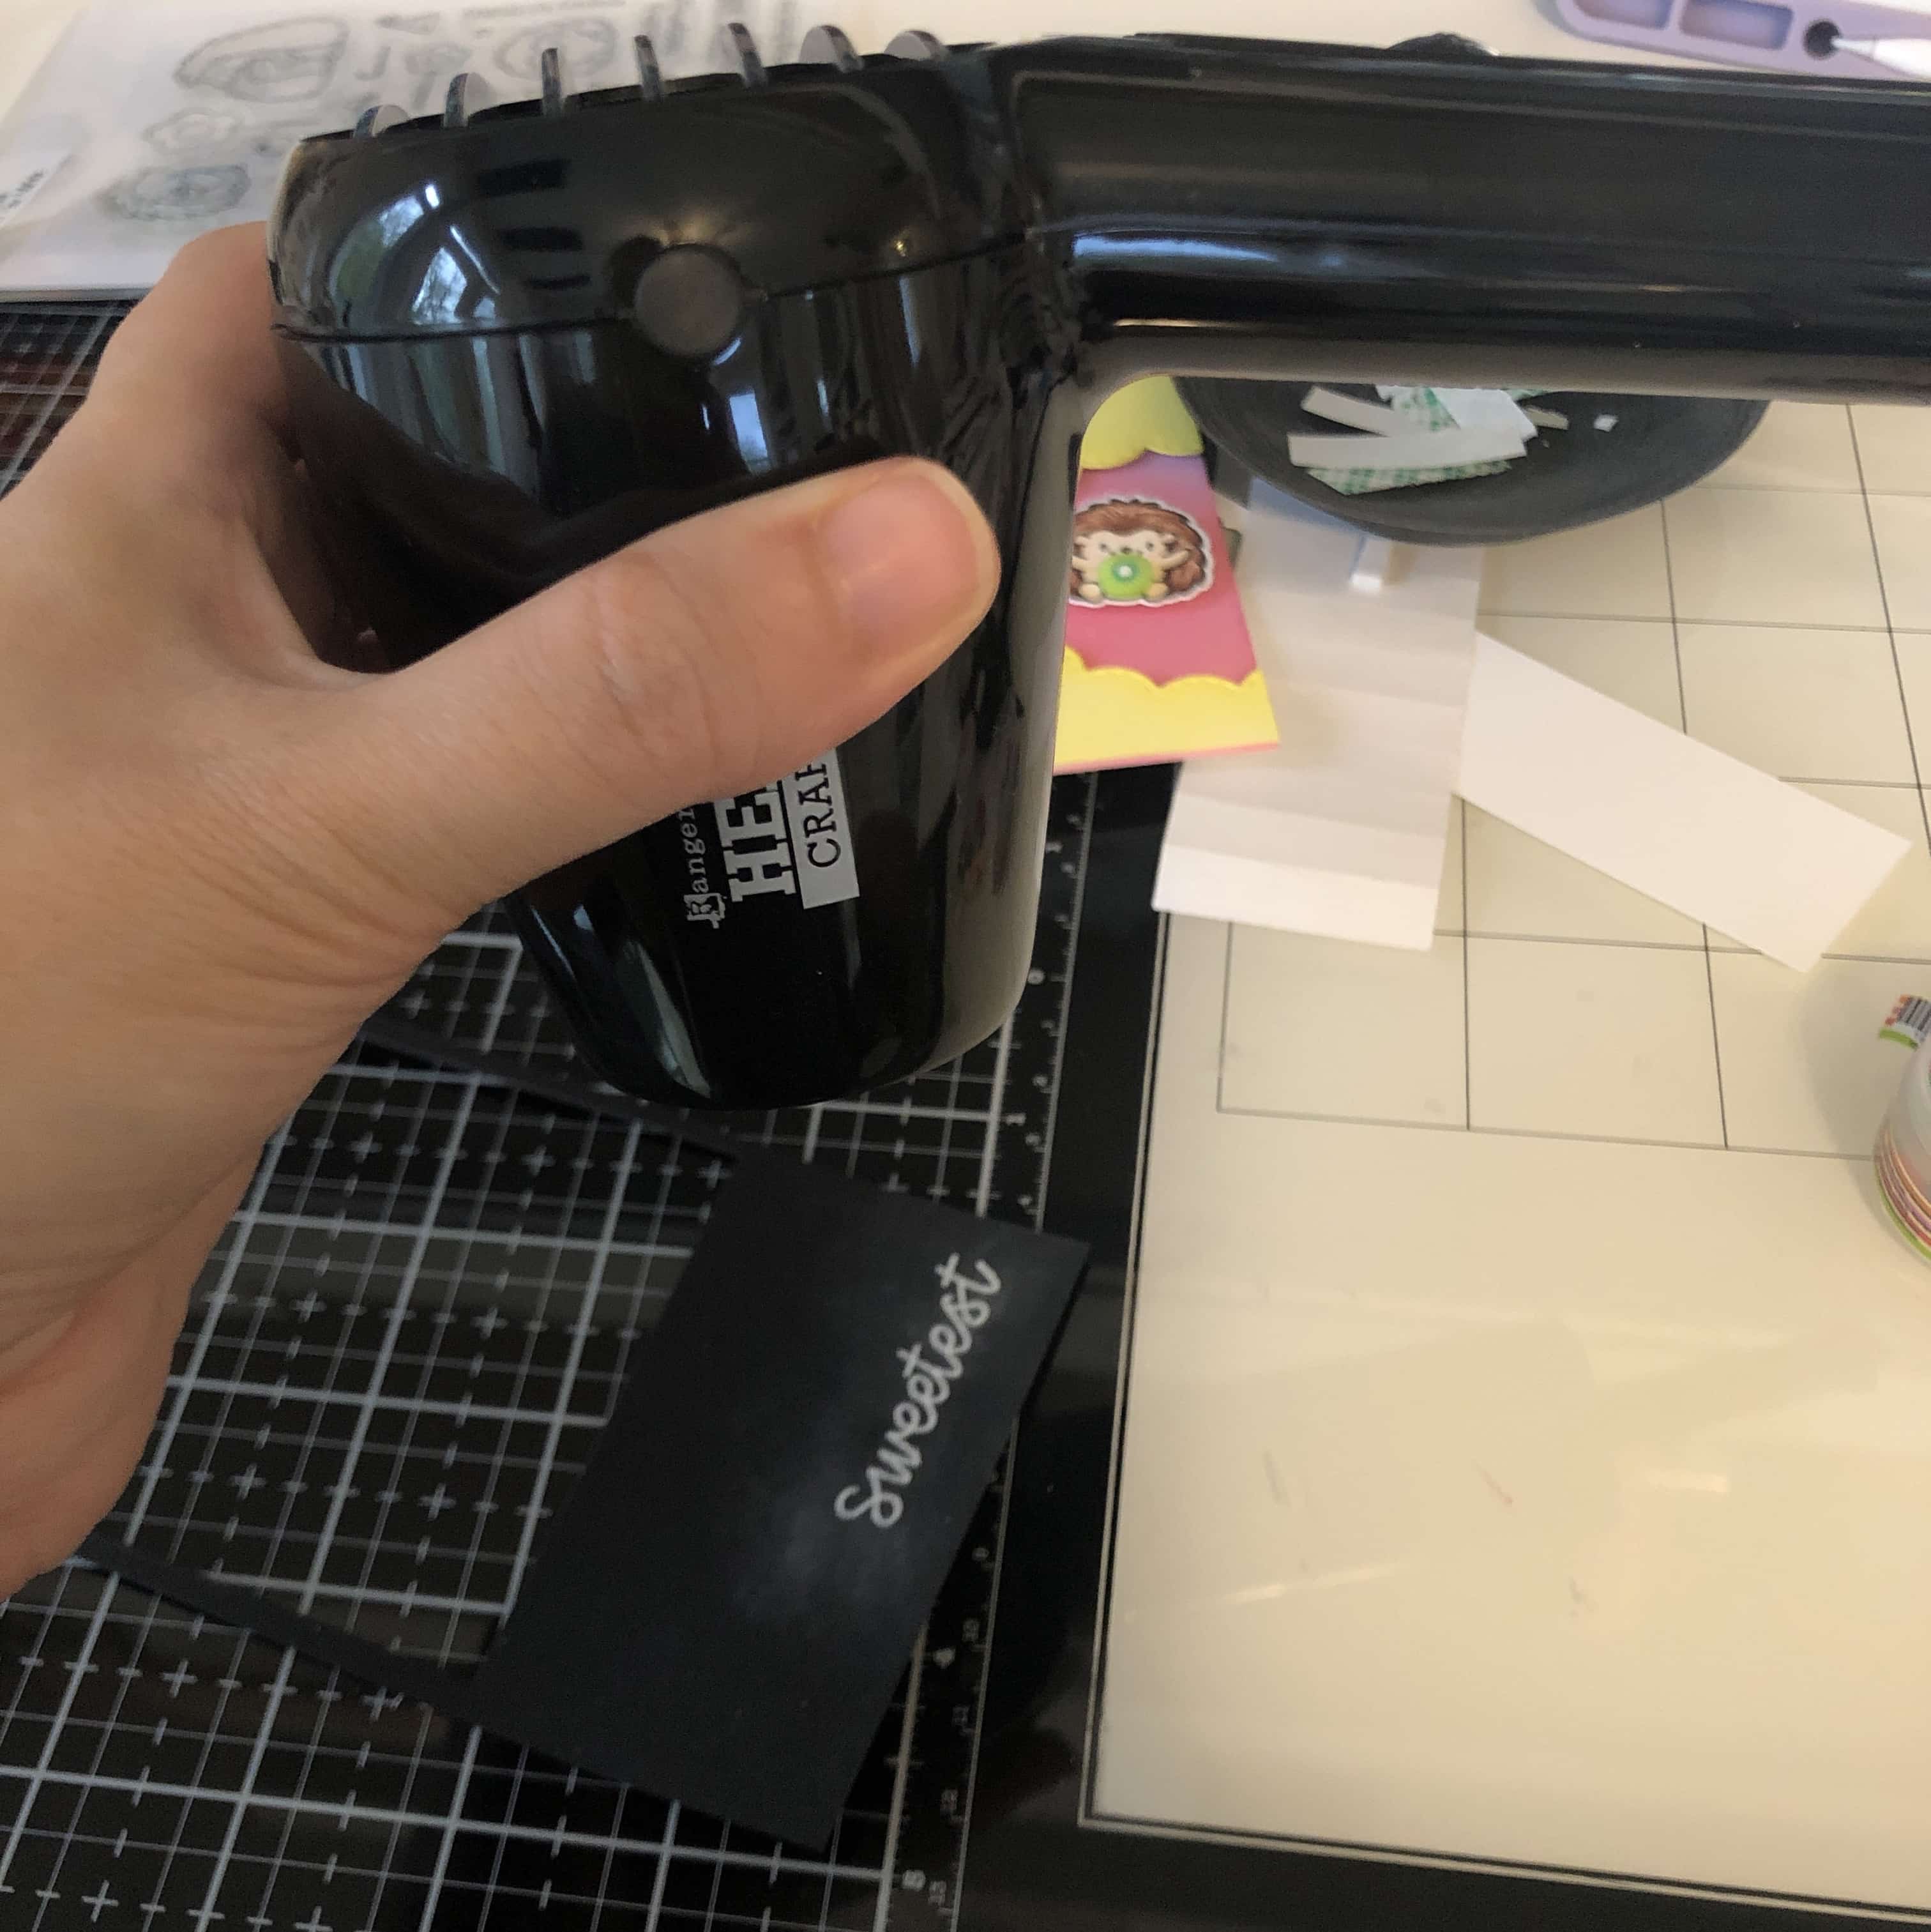
After laying it out, I think a black sentiment would stand out more! So I’m going to stamp my “sweetest” sentiment again on black cardstock. First, I’m going to brush on a layer of powder using my EK Tools powder tool. This is an anti-static tool that helps keep the embossing powder sticking to the ink only and not your cardstock. Next, I am stamping with Versamark watermark ink. This is a clear sticky ink used for embossing. Next, I’m pouring on some Ranger super fine detail white embossing powder. I’m using a paint brush to carefully brush off any extra embossing powder. Finally, I’m ready to use my heat tool to emboss it! This Ranger heat tool is more gentle than a heat gun. If I was using a heat gun, I’d heat the cardstock up from the back to prevent the tool from blowing off my embossing powder.
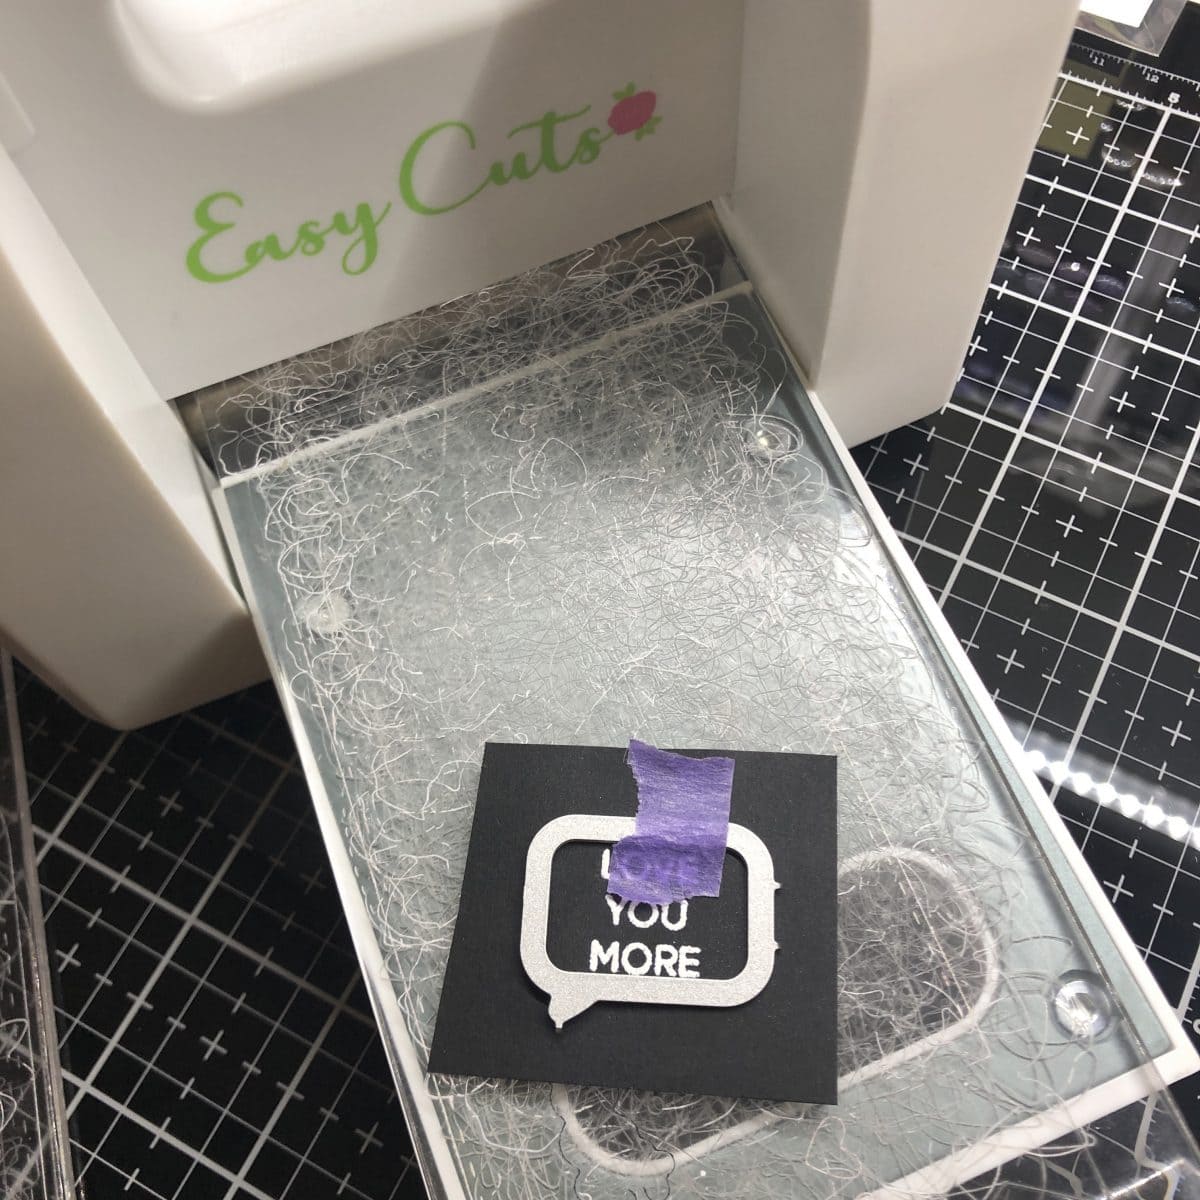
Using the same process, I’m going to heat emboss my Whatcha Sayin’ Stamp Set sentiment. I am die cutting both sentiments out using my die cutting machine and the coordinating dies.
I have all of these amazing and colorful fruit slices from Dress My Craft and I thought they would be perfect for this card! I’m using the small Fruit Mix Slices and the larger Fruit Salad Slices. I’m going to glue them on with a glue pen. I’m using 3D foam squares to adhere my hedgehogs, once I get my fruit slices where I want them. The Darice foam strips are perfect for sentiments!
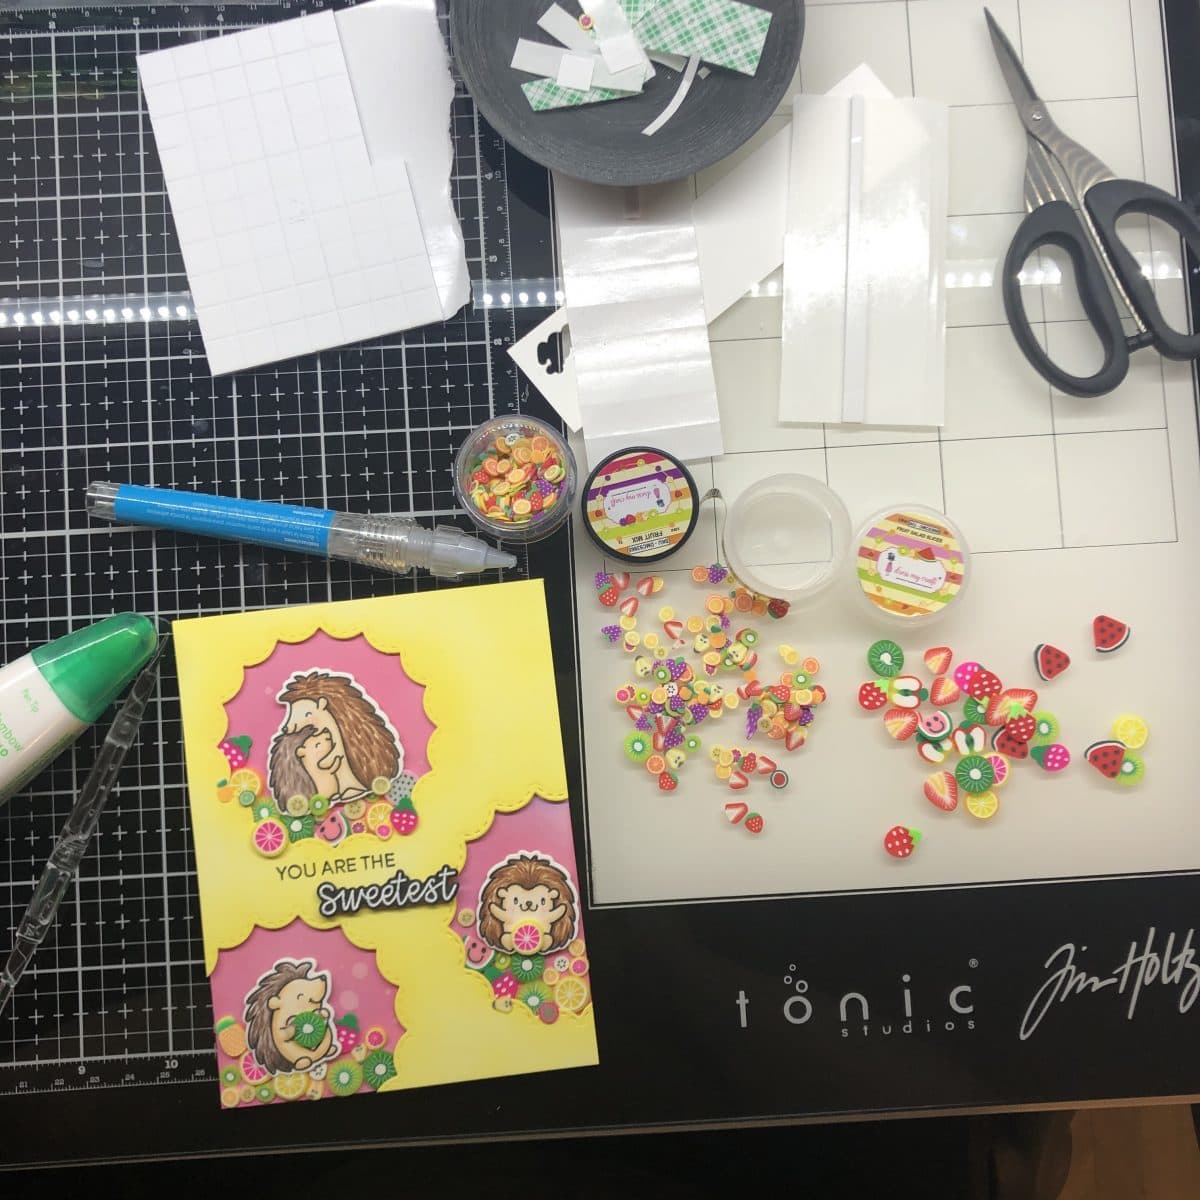
For the finishing touches, I’m going to add a few sparkles! These are the Ink Road Crystal Sunshine gems.
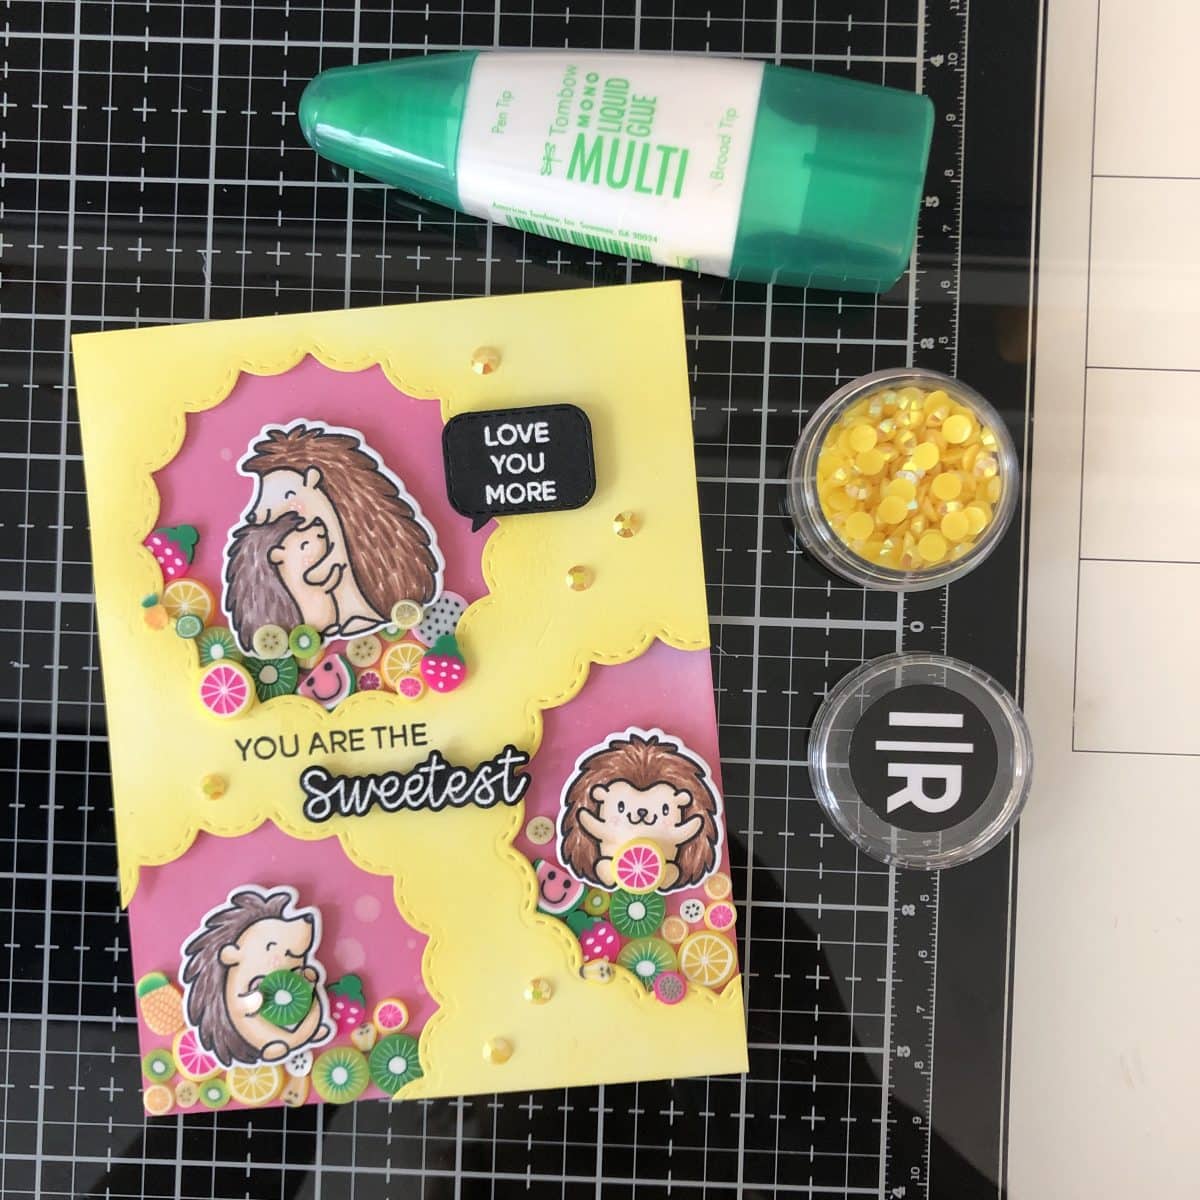
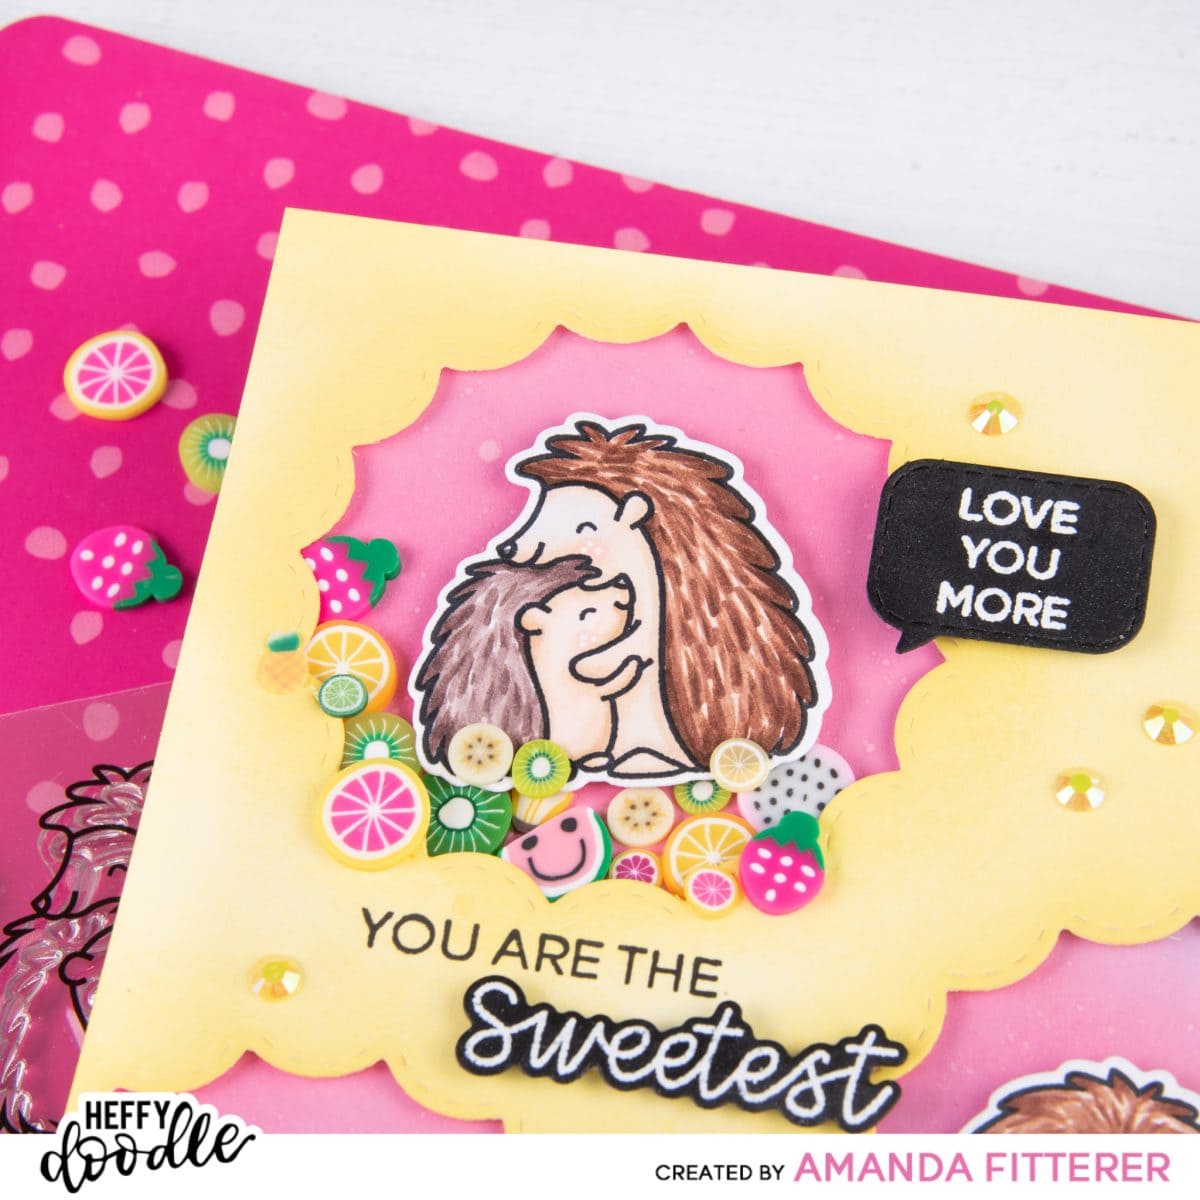
And now it looks complete! Yay! Here are a few more photos of the finished card:

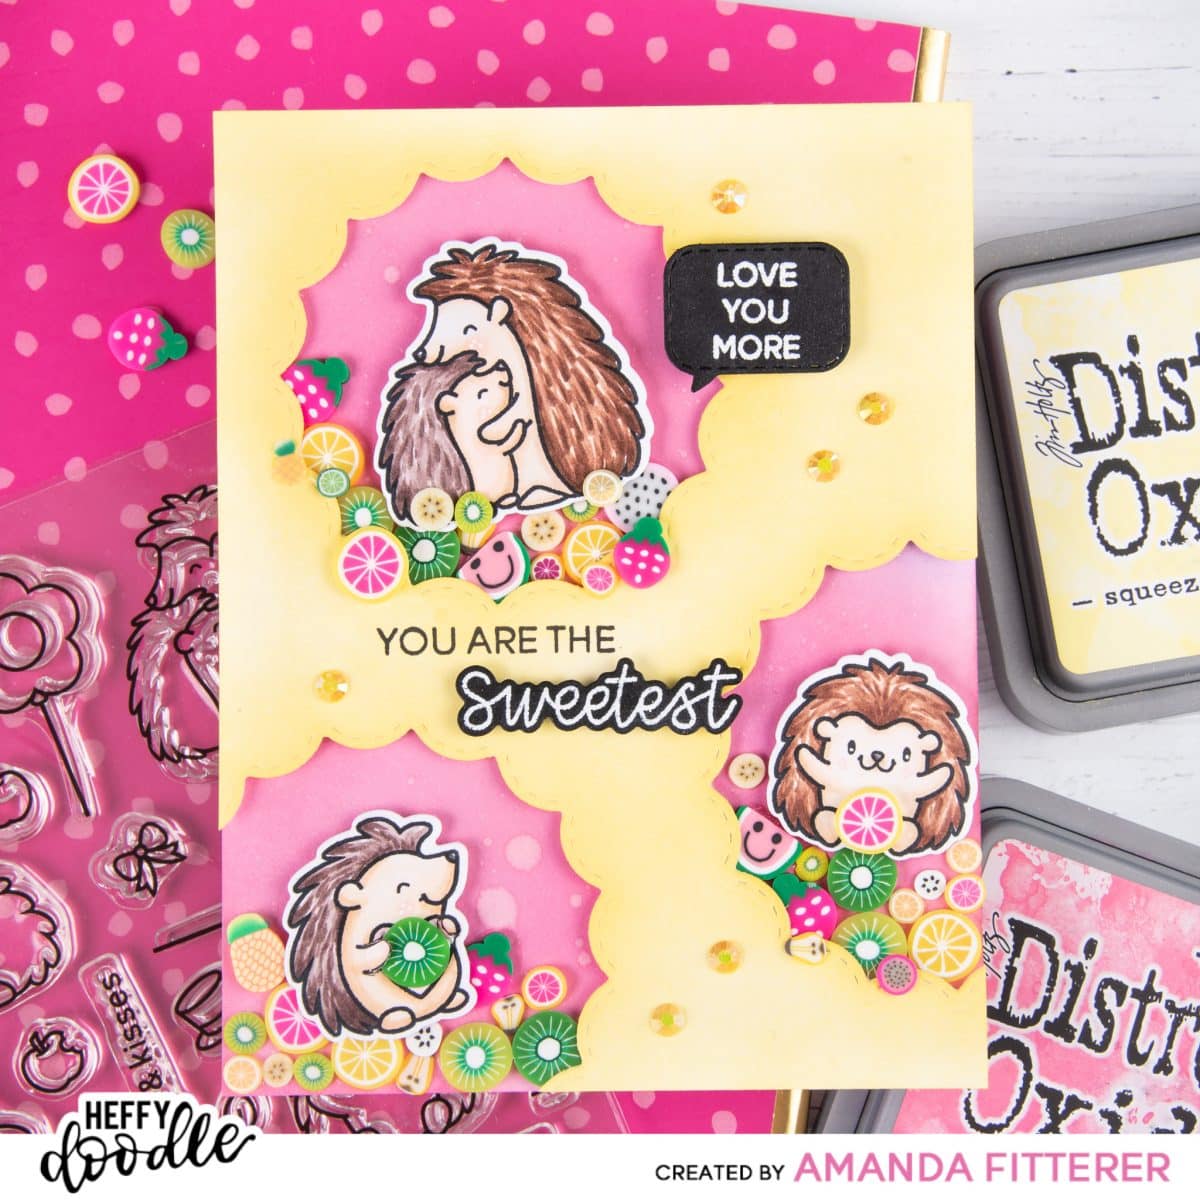
Thanks for stopping by!! I hope you enjoyed my post!
Xoxo, Amanda