
Super Cute Wedding Card with Guest Designer Elaine
Hello Heffy Doodlers! Its Elaine here today as Guest Designer on the Heffy Doodle blog. Thank you again to Lesley and Laura for having me this month, its been a wonderful opportunity and I’m so grateful.
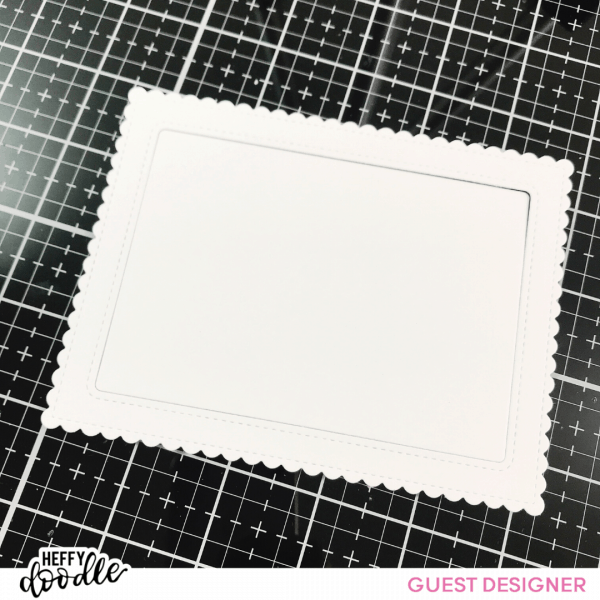
To start this card I took a piece of heavy weight cardstock cut to approximately 5.5″ x 4.25″ and I ran this card through my die cutting machine along with the frame die from the Mama Elephant Madison Avenue Creative Cuts set. I set the frame aside and started work on the inner panel.
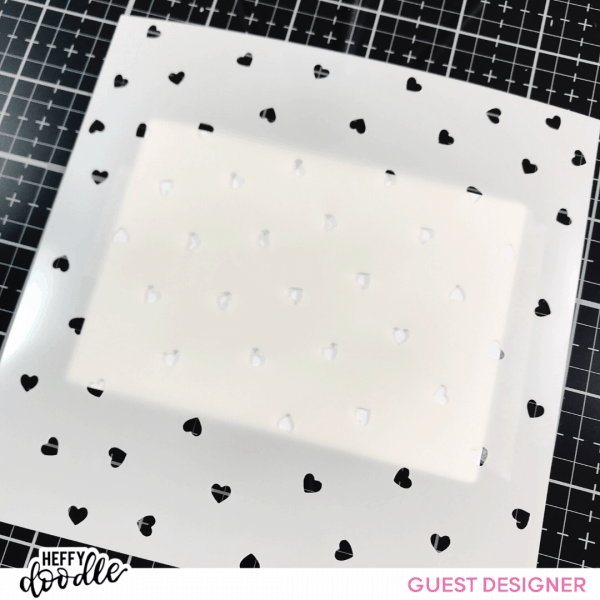
Using the ‘Heart Confetti‘ stencil I dry embossed the card panel that sits inside the frame. I used ‘tab 1’ on my die cutting platform (I used a big shot) then my sandwich/layers was a follows; base cutting plate, silicone mat, cardstock, stencil, top plate and I ran that through the die cutting machine. Ideally I would use 2 silicone mats but I only have 1 so I ran everything through the die cutting machine again but added a few cardstock shims on top to give some extra pressure.
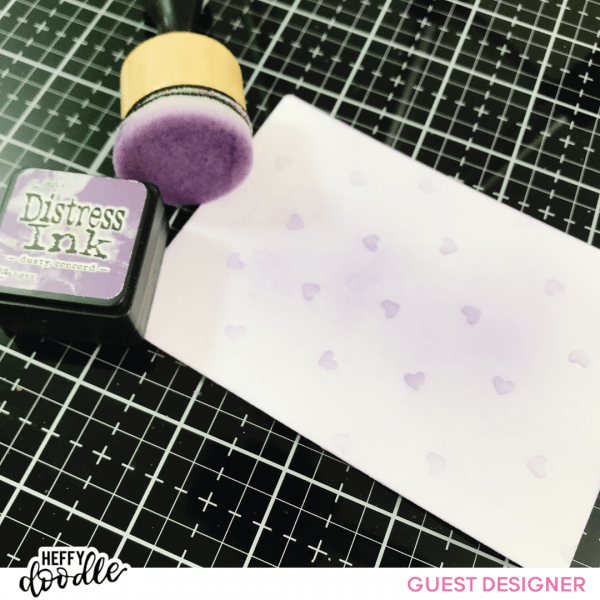
Starting in the center I then slowly and very lightly ink blended on some Dusty Concord Distress Ink with a mini foam pad on an ink blending tool. The ink blending really brings to life the confetti pattern of the heart stencil. I concentrated the colour in the center and lightened my hand as I got closer to edges to give a really soft and pretty gradient.
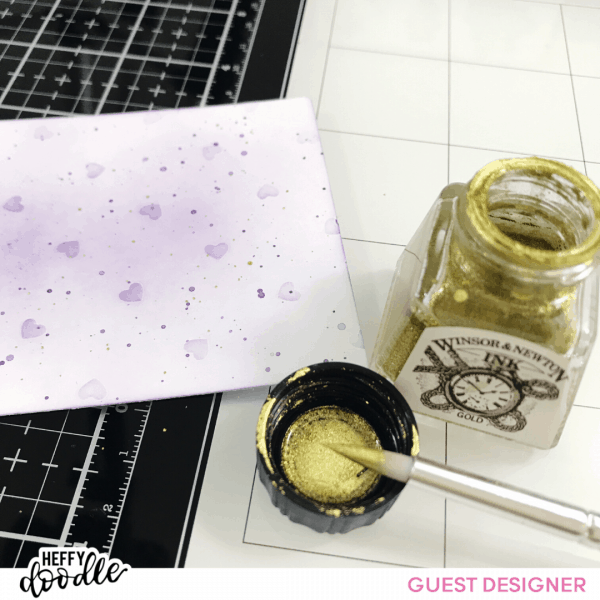
To give some extra interest to the panel I smooshed some Dusty Concord Distress Ink on to my glass craft mat and loosed it with a wet paint brush splattered on to some small paint platters.
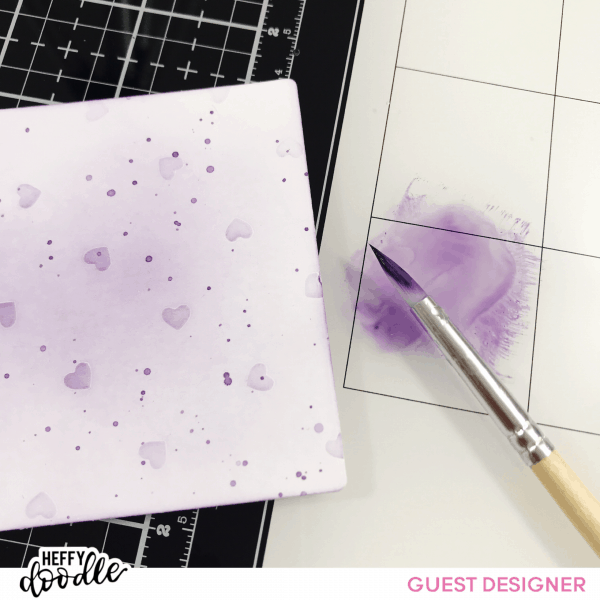
I also splattered on some pretty gold ink, I love this Windsor & Newton gold ink, it so shimmery!
While my ink panel was drying I moved on to stamping and colouring my images. I used the Happily Ever Crafter stamp set and coloured them with my copic markers. I picked colours which I thought worked well with the Dusty Concord panel. The colours I used were:
Guy suit – C7, C5, C3
Guy hair – E27, E25, E23
Girl dress – BV13, BV08, BV02, BV01, BV00
Girl hair – E49, E47, E44
Skin – E13, E11, E00, R20
I die cut the images with the co-ordinating dies and glued the hat and tiara on to my guy and girl with some liquid adhesive.
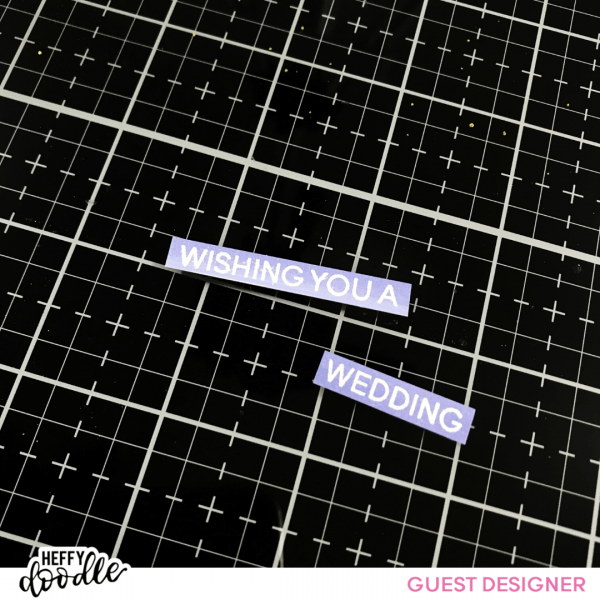
For the sentiments I shaded some BV13 on to some white cardstock. Once fully dry I heat embossed in white the words ‘wishing you a’ and ‘wedding’ and cut them out using my guillotine trimmer. The word ‘magical’ was cut from some super pretty glittery mauve card from DCWV. The die cut lost its shape a little so I also cut the word magical from heavy weight white card stock and layered the glittery card on top to give strength and keep the shape.
I used some plain mauve cardstock from my stash and cut it to 5.5″ x 4.25″ I adhered this mauve card panel to a top folding A2 white card base. I adhered the white frame on top trying to keep the border even around all edges. I then secured the heart embossed panel back inside the frame. I wanted my frame to have a little extra dimension so I die cut another frame from some shimmery white card and adhered this over the top of the first frame.
I secured sentiments to the card first to make sure I had enough room for them. Once I had the sentiments adhered I also secured the bride and groom and their accessories.
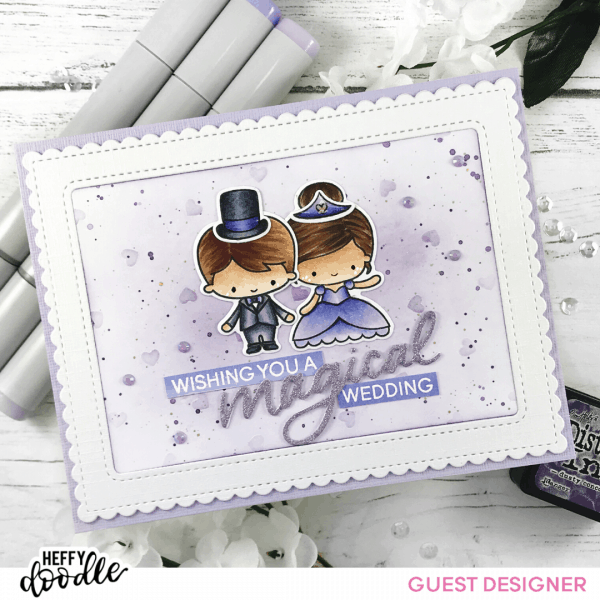
As a final embellishment I popped some Liquid Glaze on to the top hat and tiara and a little bit of sparkle to her dress with my Wink of Stella pen. I added a couple of lilac gems to add a finishing touch of sparkle!
I hope you enjoyed this card and it gives you some inspiration for your own creations. Elaine xx
Denise Bryant
January 28, 2020 at 4:14 pmAdorable card! Love the coloring and stenciled hearts for the background. The bride and groom are so cute!
Amanda Stevens
January 28, 2020 at 10:42 pmAdorable ❤️♥️♥️