
Step Up Scene Card with Laura
Hi everyone! It’s Laura Volpes, with another step by step tutorial for my scene building series on the Heffy Doodle blog! Today I decided to venture away from the “usual” A2 card base, and I decided to create a step-up card instead!

I learned how to make this type of card thanks to a Facebook live by Gabriele D’Addazio – it is super fun and SO easy to make! Let’s see how!
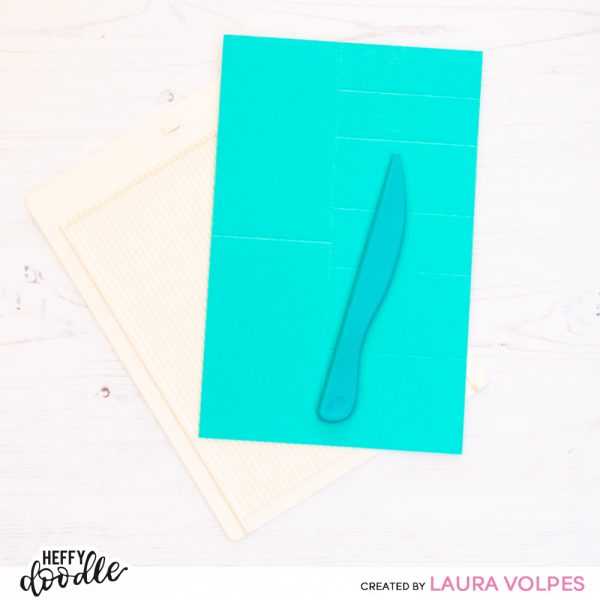
I started from some Simply Teal-icious cardstock that I cut in half along the long side, so that I was left with a 5.5 x 8.5″ sheet.
I then created a vertical score line at 2.5″, dividing the panel in a 2.5″ and a 3″ vertical section.
Next, I created a horizontal score line at 4.25″ on the left side of the panel (the 2,5″ wide section).
On the 3″ wide section I created 5 score lines. Starting from the top, they are at 1″, 2″, 3.5″, 4.75″, 6.5″
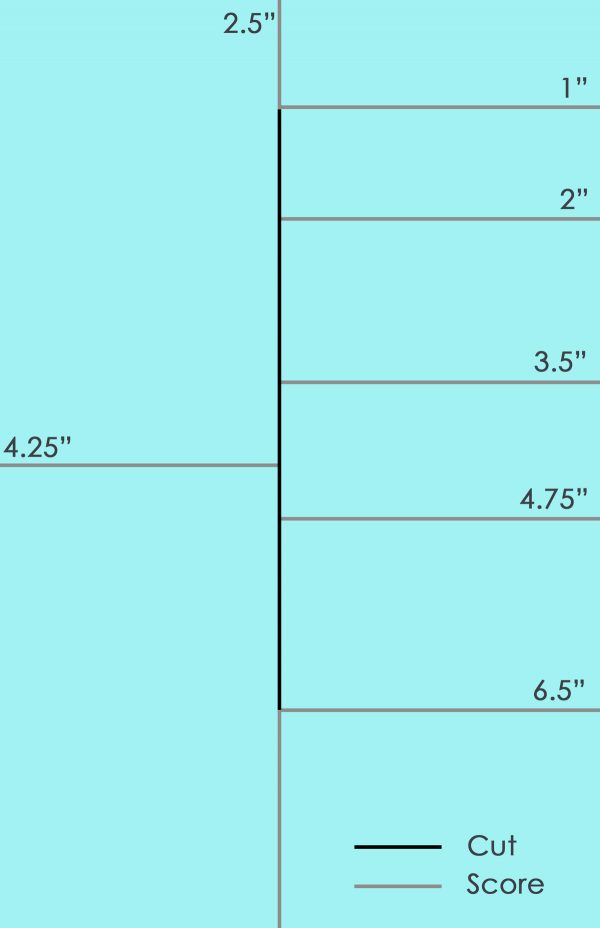
I found the measurements for this step up card on YouTube – here is a little template for you, I hope it helps.

I then used a craft knife to create a cut along the vertical score line, starting from the 1″ horizontal score line and ending at the 6.5″ one.
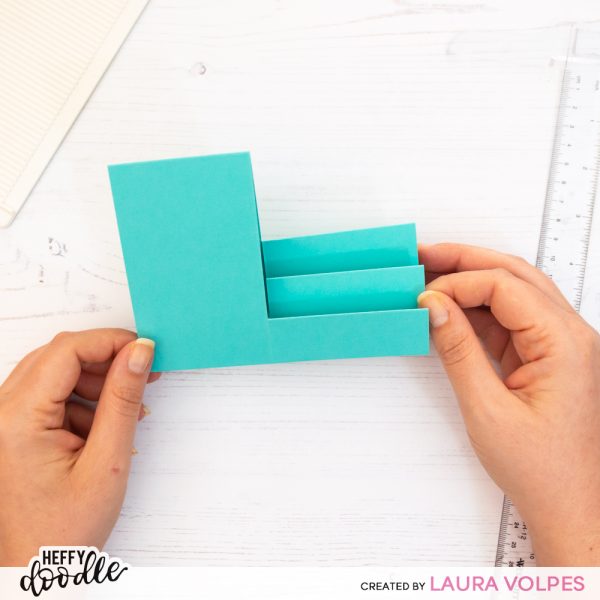
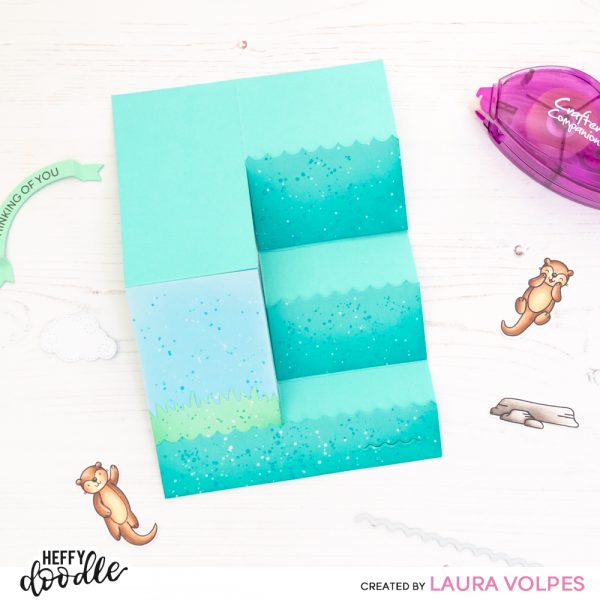
I folded the cardstock along the score lines and here is the base of my step up card!
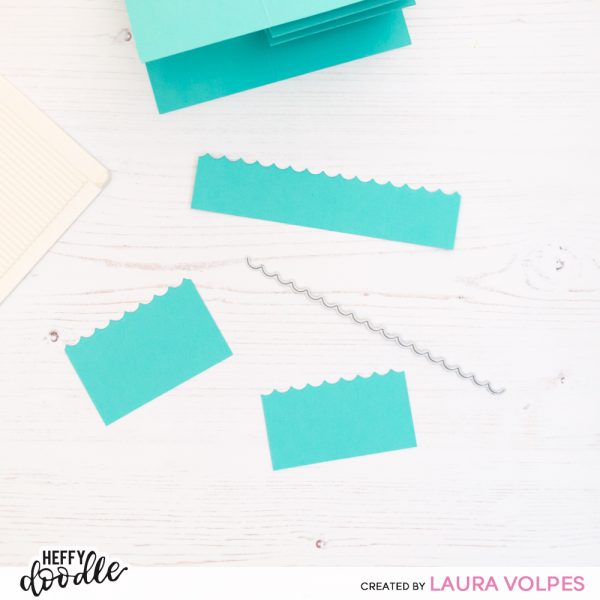
Next, it was time to work on the scene elements. I cut three strips of Simply Teal-icious cardstock. The sizes are 5.5 x 1.25″, 3 x 1.75″ and 3 x 2″.
I created a wave pattern using the Lovely Little Borders dies and also used the coordinating dies to the Otter Side stamp set to cut little wavy pattern near the right edge of the longer strip.
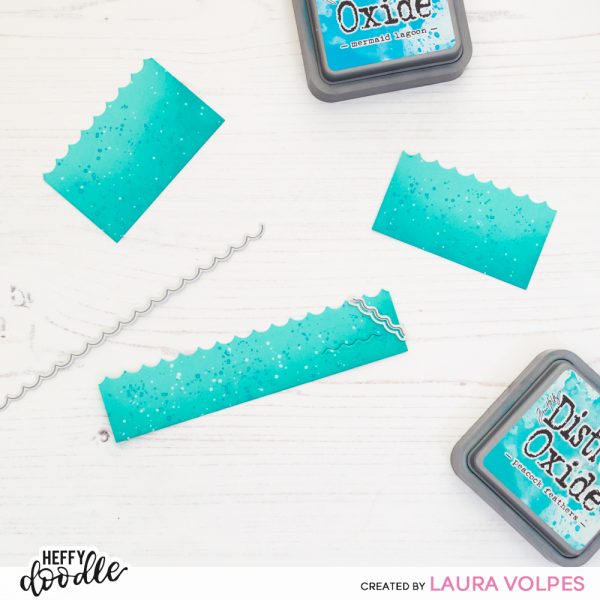
I added some shading to the strips using Peacock Feathers Distress Oxide Ink and also added some droplets with white acrylic paint and Peacock Feathers Distress Oxide Ink.
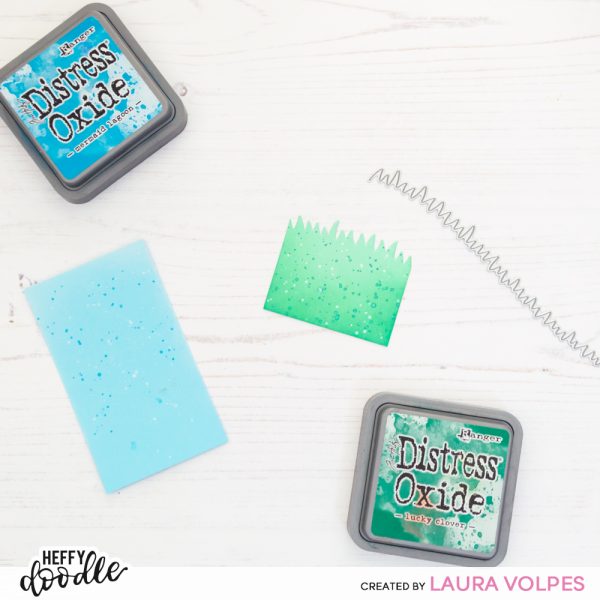
I created a sky and a grass panel too. I cut some Ice Blast and Hint of mint cardstock to 2.5 x 4.25″ and used the Grassy Lass border dies to create a grassy panel out of the Hint of Mint cardstock. I added again interest with some droplets. I used white acrylic paint as well as Mermaid Lagoon Distress Oxide on the Sky and Lucky clover on the grass.
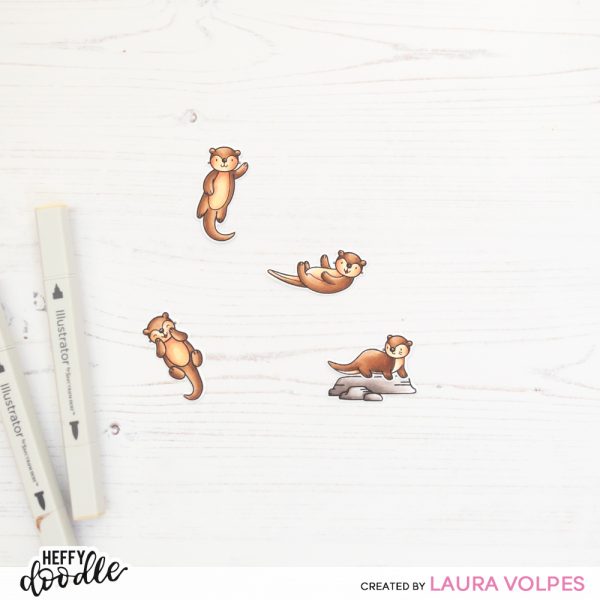
Next, I worked on my images. I used the adorable otters from the Otter side stamp set and I colored them with Illustrator Markers. Here is a list of markers I used
- Body RB4, RB3, RB1
- Face and Belly: TN3, FS5, FS8, FS9
- Nose: EB4, EB8
- Rock: BG7, BG5, BG3, BG1
Once the coloring was over, I die cut them with the coordinating dies.
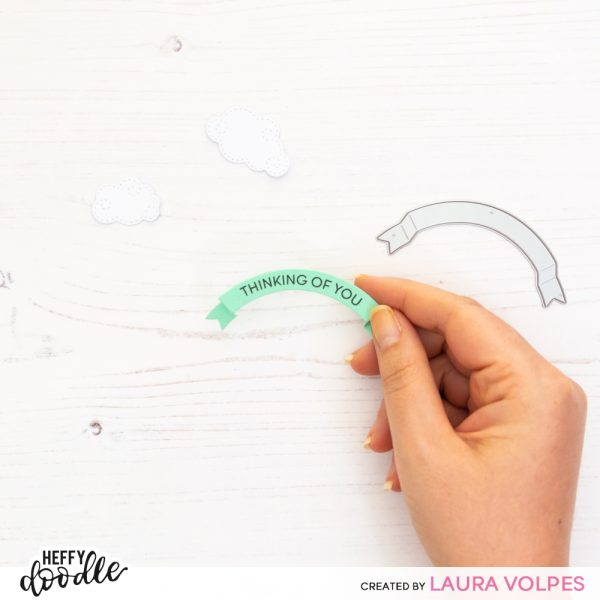
For my sentiment I used the Roundabout Sentiment Stamps and the Curved Banner dies. I used black ink and Hint of Mint cardstock. I also cut two clouds out of white cardstock using the Swirly Clouds dies. I then moved on and started creating my scene.
I first adhered all the scene elements to my card base using a tape runner…
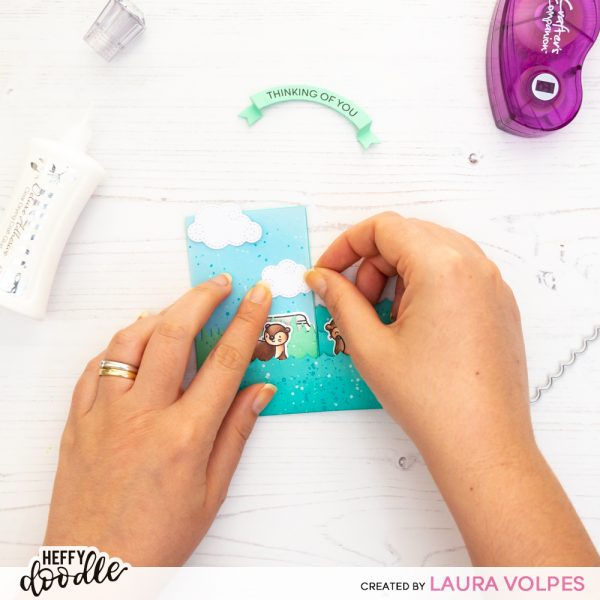
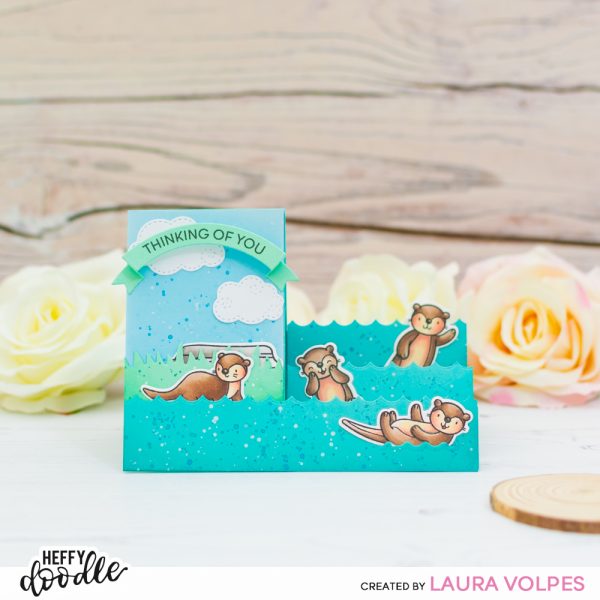
and then finished off the card with the adorable otters, the clouds and the sentiment banner!
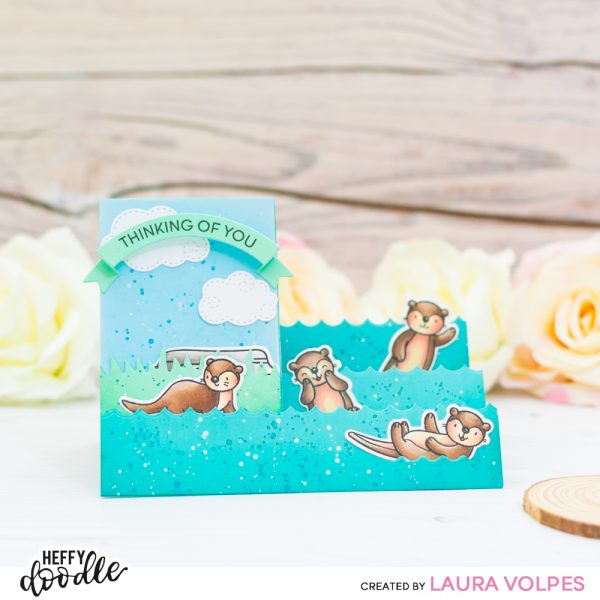
And here is the final result! I am absolutely in love with the way it turned out – it’s really fun and this card base adds an extra whimsical touch to the project! I hope you like it, too!
Thank you all so much for stopping by and have a great day!
donna mikasa
May 14, 2020 at 5:17 amSO cute, Laura! I’ve seen step up cards before but yours is the cutest! Love those otters!
Great tutorial, too.