
Scene Colouring: Love You Veggie Much

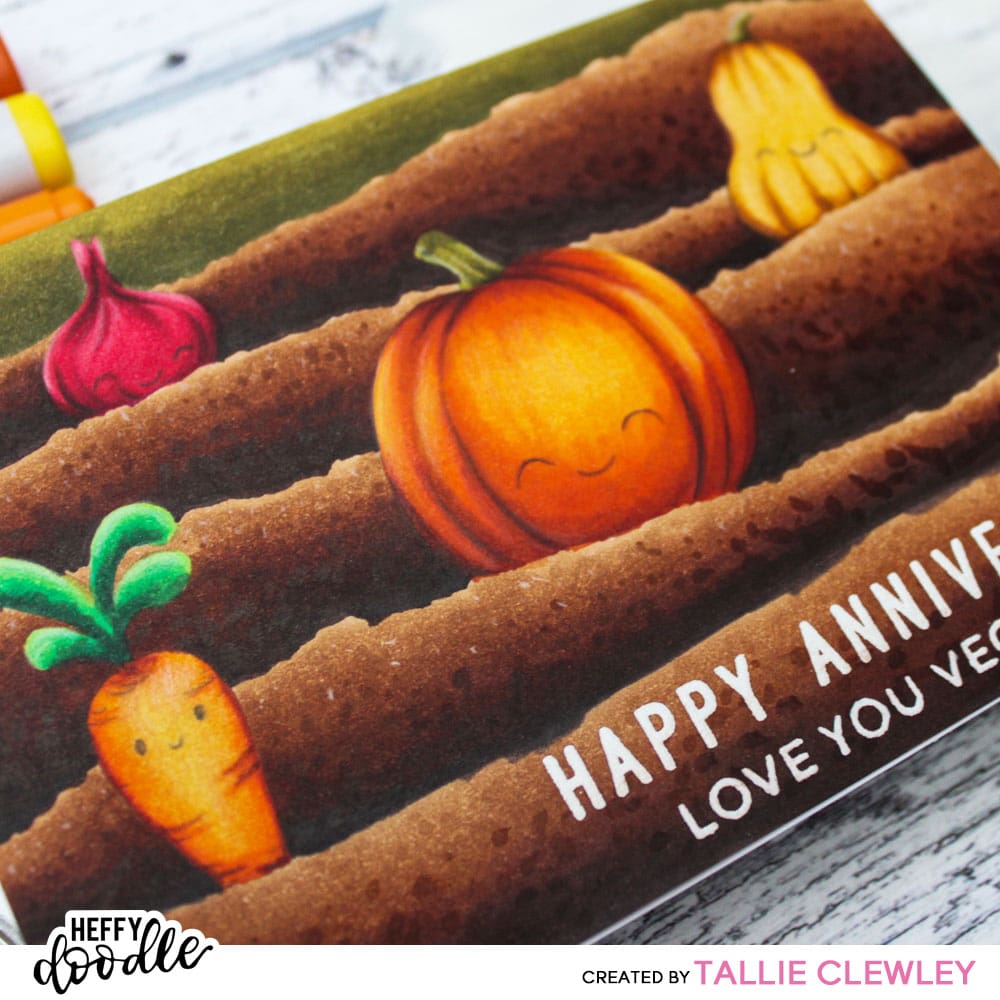
Hello, Tallie here. I’m back today with a brand new theme to my blog posts – Scene Colouring. In this series, I’ll explore some of the techniques I use to create scenes with my alcohol markers. Today’s card features the Veggie Patch stamp set, along with a sentiment from the Sentiment Duos, to create this punny anniversary scene. I’m focusing on texture today using the dotting-and-dabbing technique for the soil.
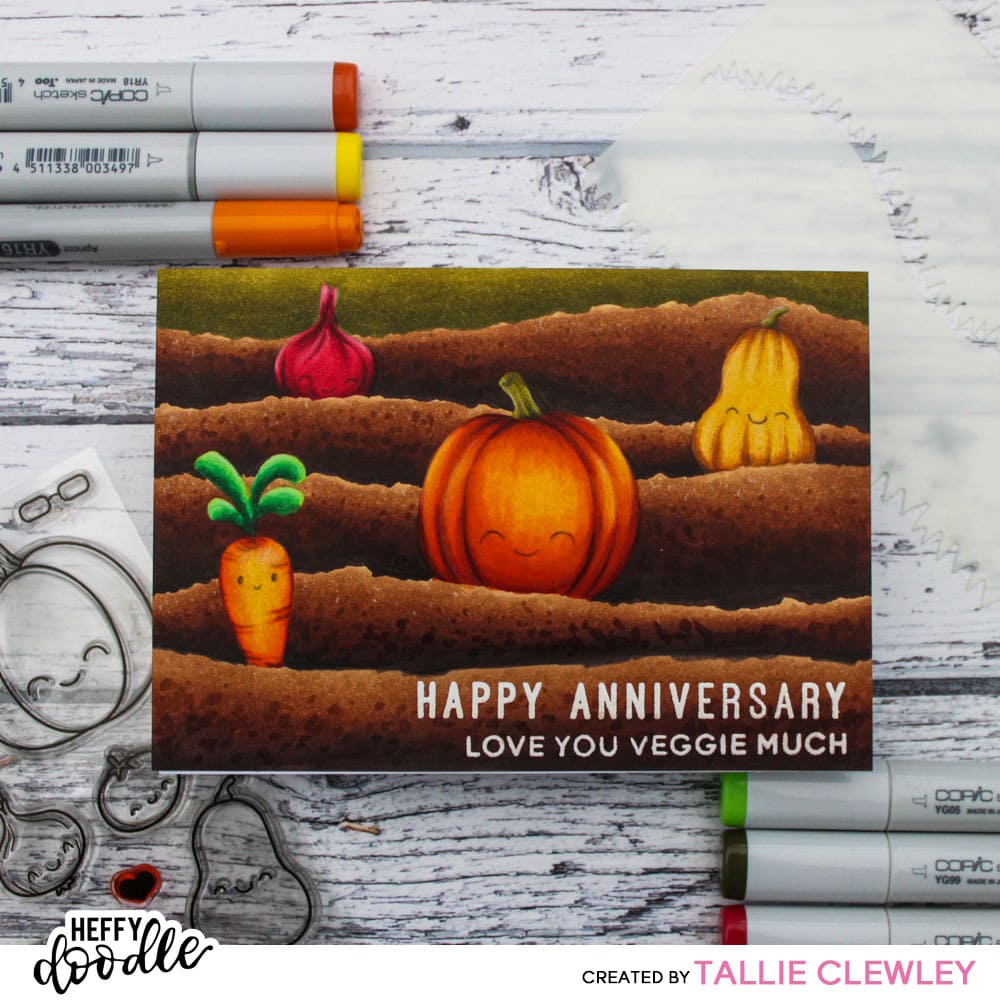
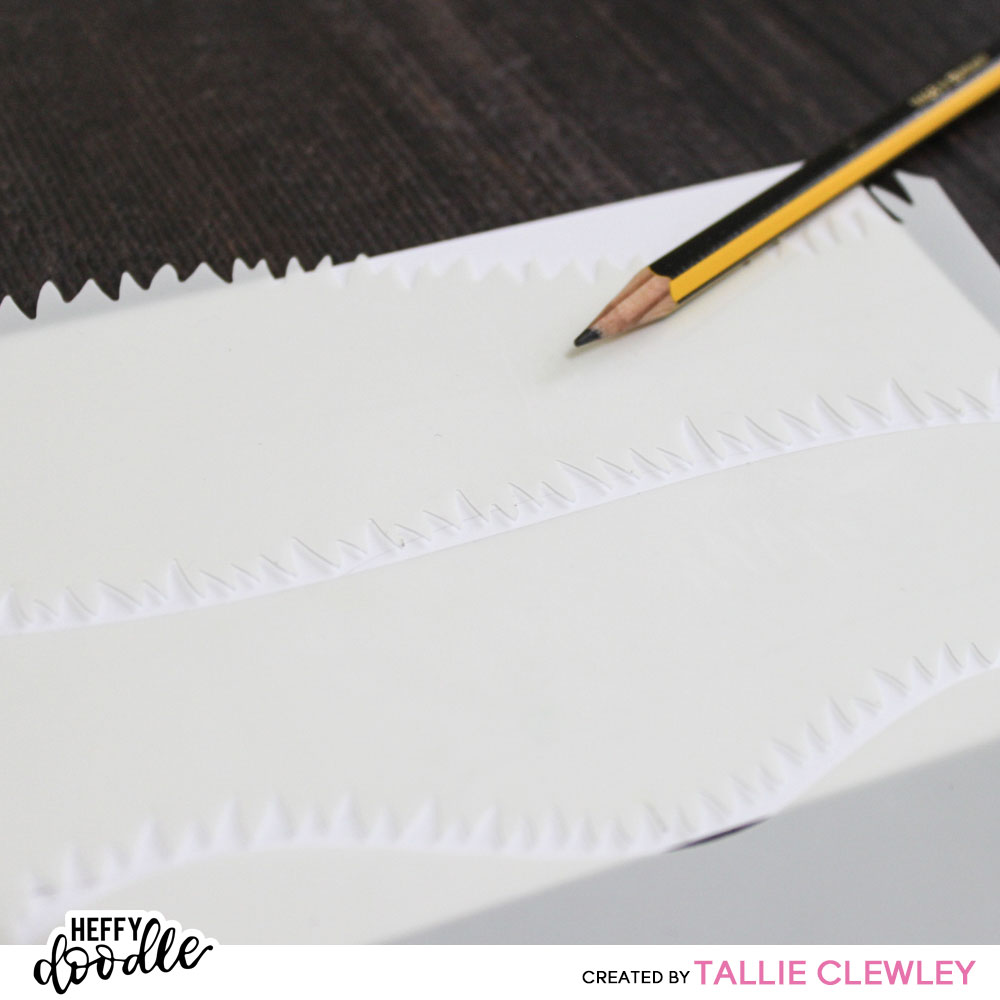
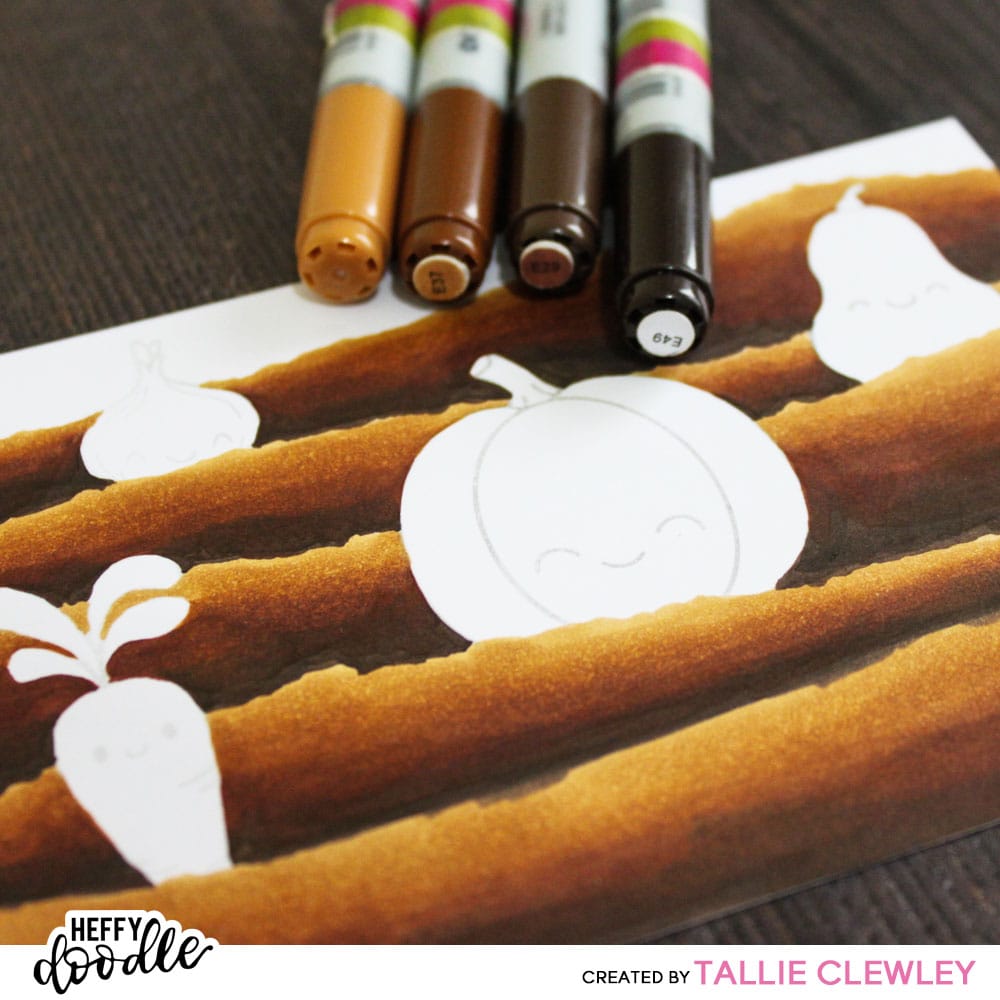
Think rows of cute veggies in the veggie patch with some bright autumnal colours. I started out by using the Green Fields Stencil to mark out some light horizontal pencil lines onto a piece of alcohol marker friendly cardstock to simulate the rows of a Veggie Patch. A tip here is to flip the stencil over for each row and you will get some neatly arranged hills.
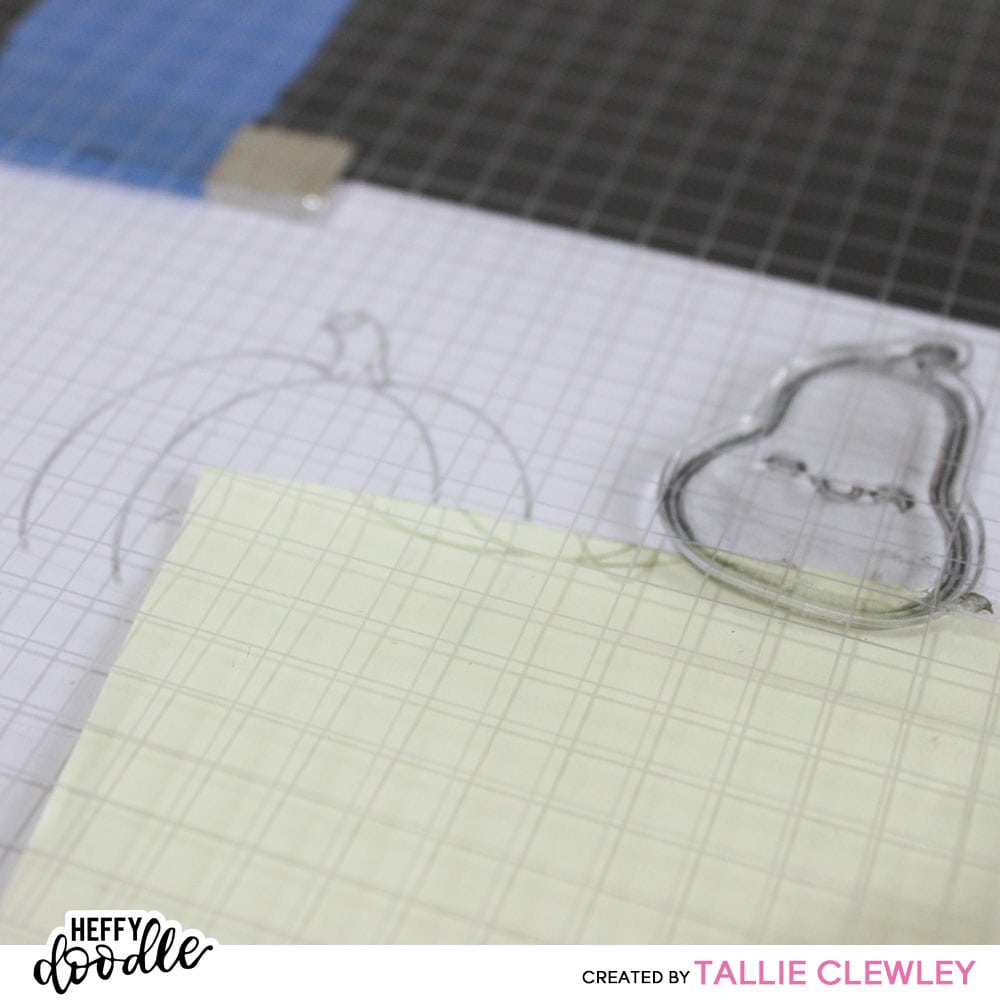
I like to layout the scene before I stamp, so I arranged the stamps and sentiments on my card base over the veggie rows.
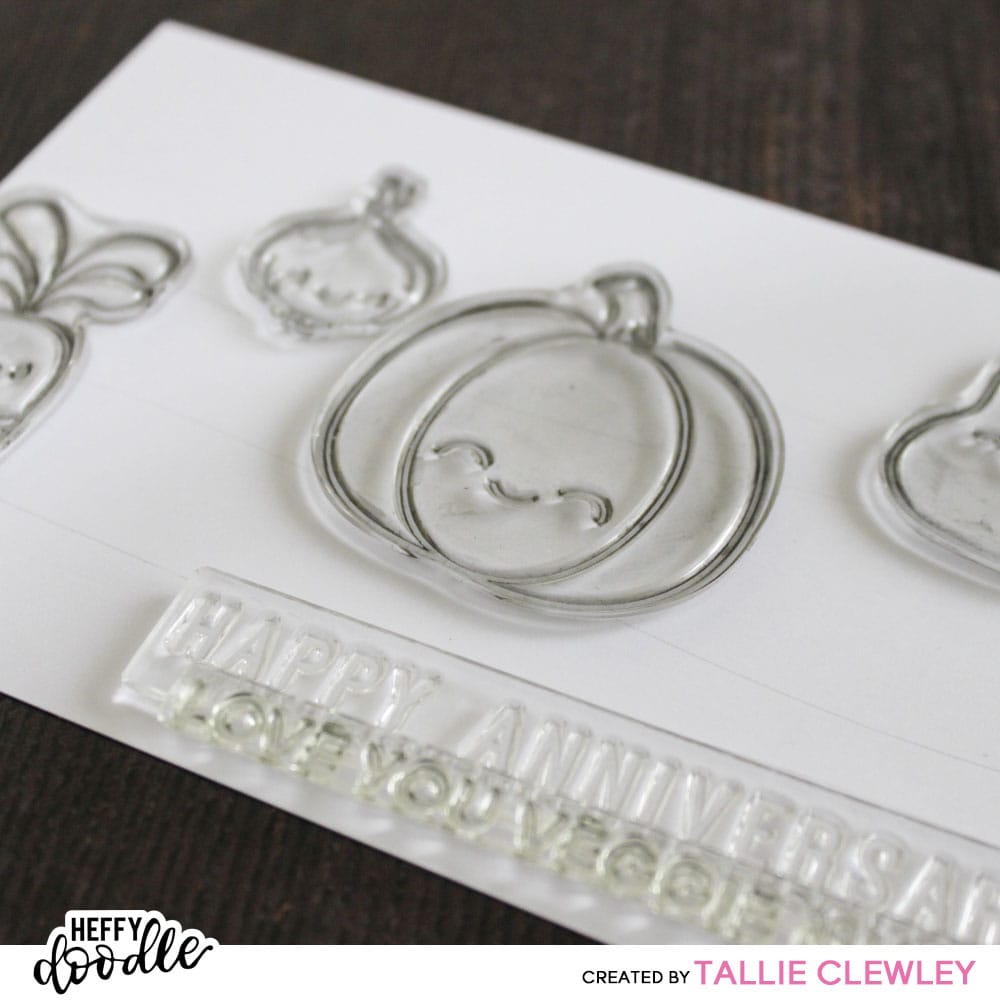
I then stamped out the scene using some Lawn Fawn Jellyfish ink, making use of a couple of Post-It Notes to mask of the ground.
And now for the fun – the colouring! I chose my Copic markers and started with the soil background to reduce the chance of any bleeding on my focal veggies. I chose some warmer browns with a good range of of lights and darks. Starting at the bottom of each row, I blended up through the markers, aiming for a smooth blend. It doesn’t have to be perfect as I will come back and add some texture in later. I used some olive greens for the very top, just to frame in the image and tie in the colours together.
I coloured in the veggies, again using at least four markers with a big difference between light and dark to get that contrast. I left out the faces for the moment as I will come back in with a fine pencil later.
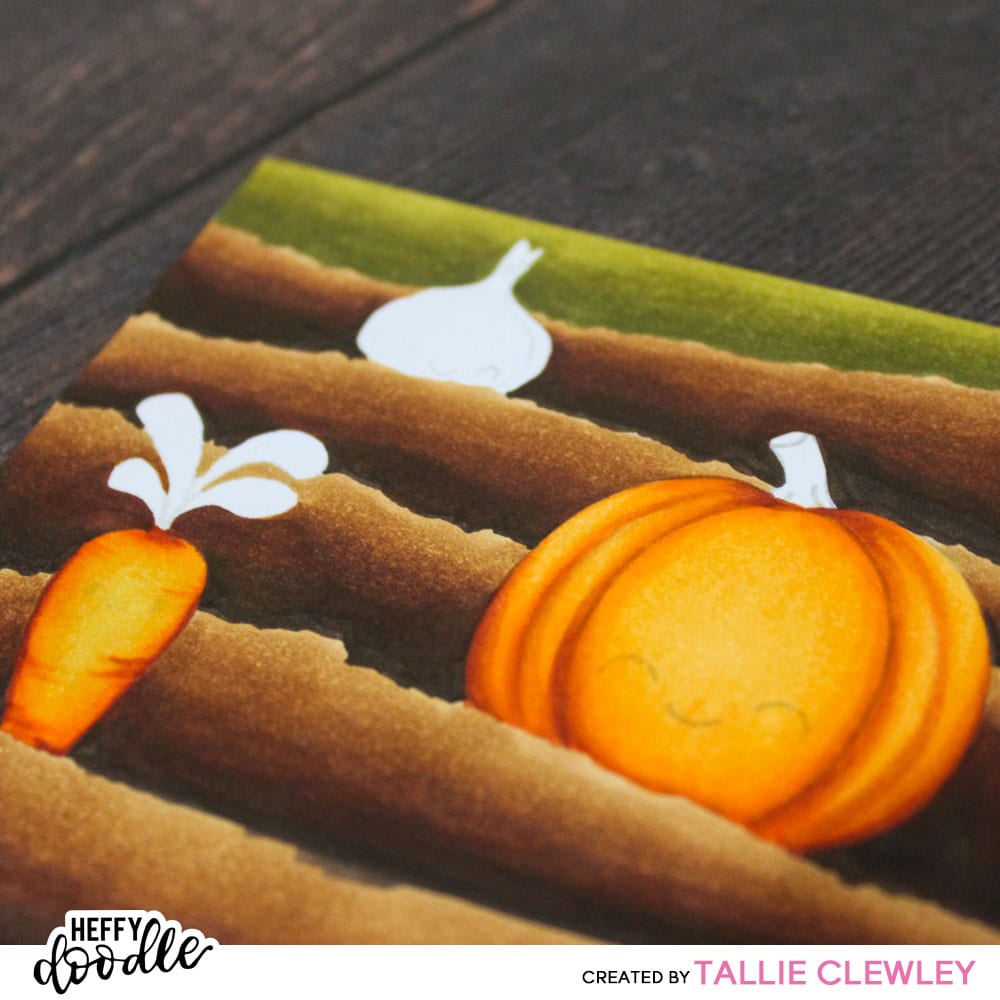
Once the veggies were coloured, I went back in and added some texture to the soil. Starting with the second darkest marker, I dotted-and-dabbed colour into the soil, keeping to the darker parts. I then took the next colour and repeated, overlapping the dots to blend them out. The final colour will not show once dried, but will help to break up the sections.
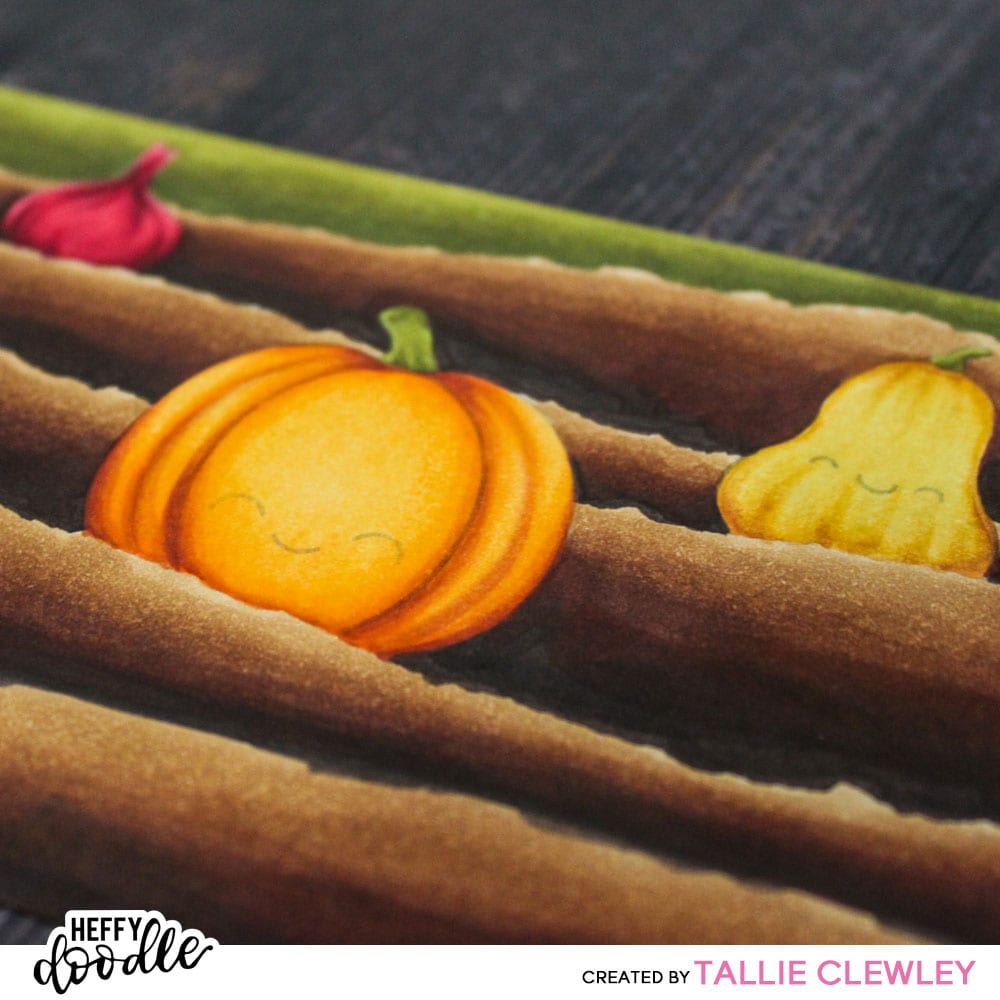
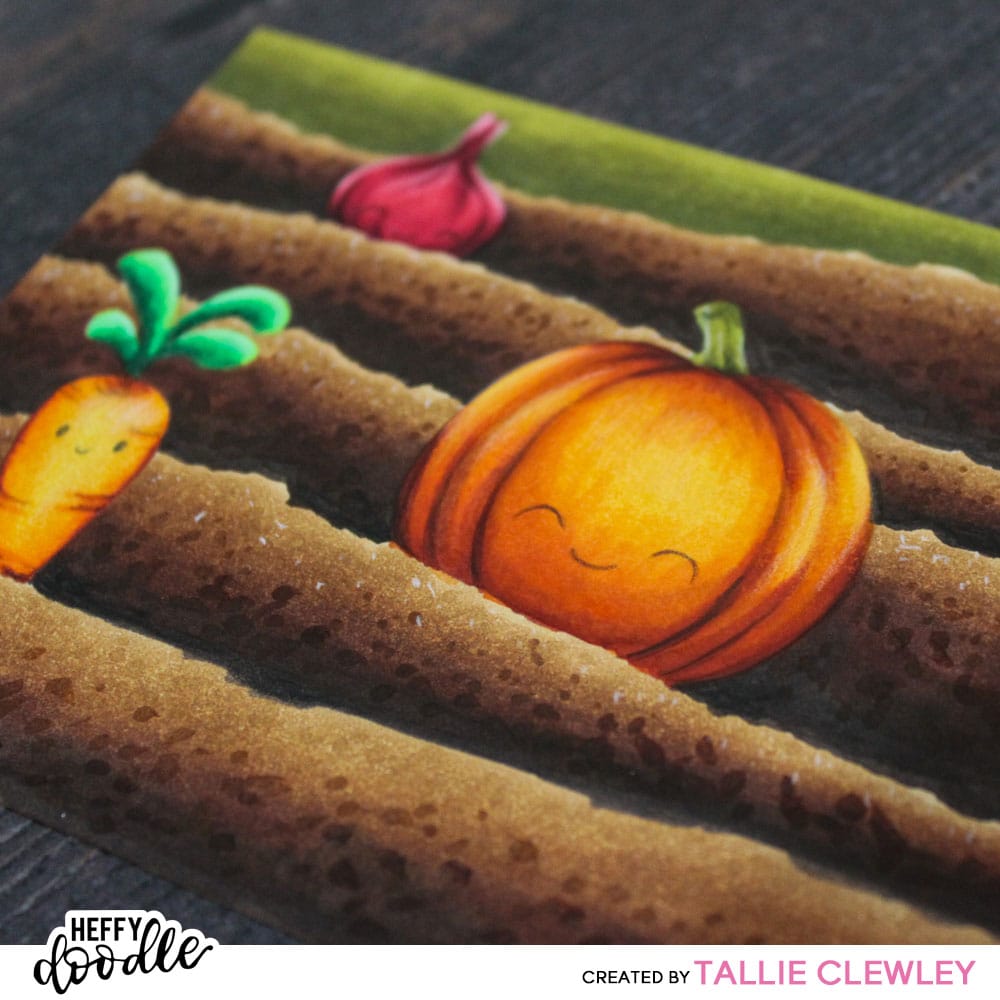
You may find you need to go in with the markers and darken up the shadows on the foreground elements, which is what I did for the pumpkin and squash. Once satisfied, I then went in with my coloured pencils to add depth and detail. I find it easier to add in the faces with a finer line than chancing some blobby lines with my markers.
Adding some black and white pencil areas really makes the scene come alive.
Once I was happy with the scene, I white heat embossed the sentiment in the bottom right corner. It is made up of two sentiments – the ‘Happy Anniversary’ from the Sentiment Duos set and the ‘love you veggie much’ from the Veggie Patch set.
It’s amazing what a few little dots does to liven up the scene. Give it a go on your next scene and tag us on social media so we can see your cards!