Scene Colouring: Creating a Fireworks Background Scene

With fireworks day in the UK coming up at the end of this week I thought I would focus this week’s blog post on how to create a celebratory scene featuring fireworks. It’s pretty simple once you try it and it makes any dark night scene pop.
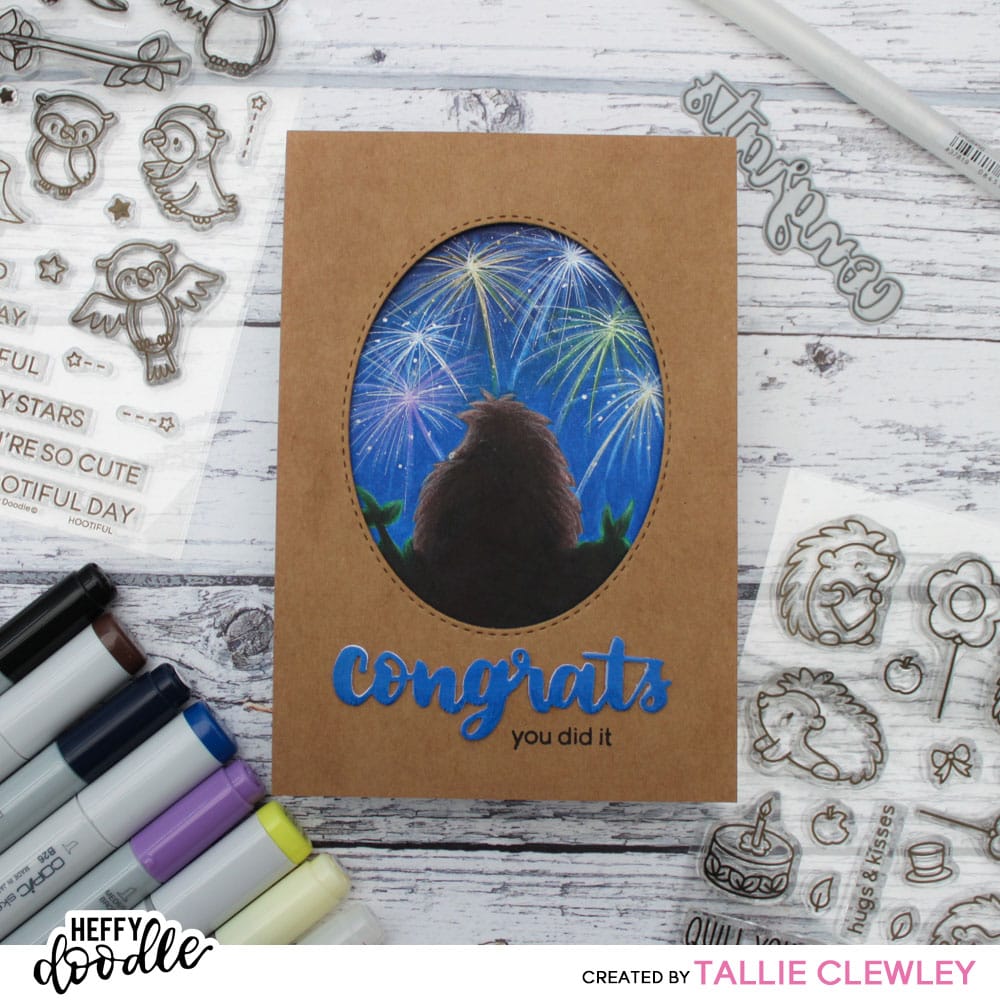
Plus, if we can’t go and see fireworks this year, let’s create some!
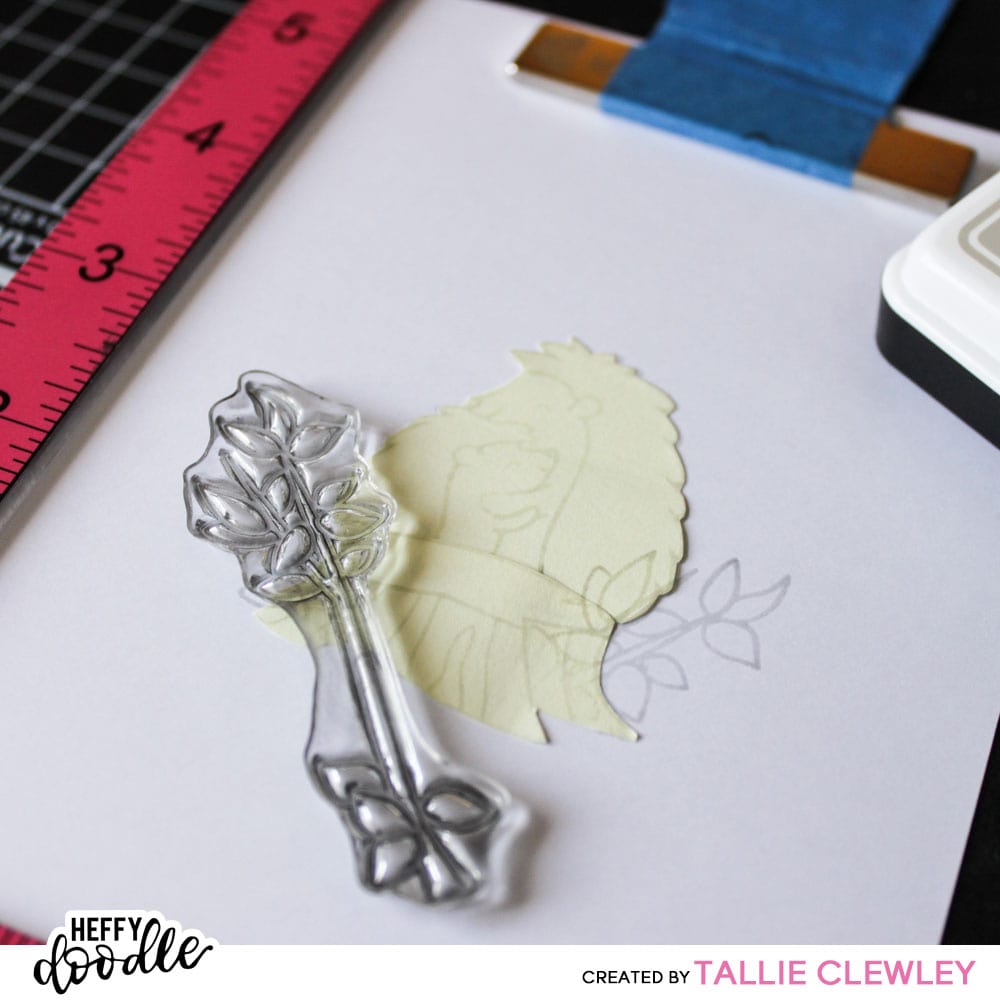
I started out with some blending cardstock and arranged my stamp elements onto an A6 panel. I had a picture of the scene in my head – the hugging hedgehogs from the Quill You Be Mine set sat on the tree stump around some branches both from the Hootiful set, overlooking a fireworks display in the night sky background. I used some Lawn Fawn Jellyfish ink and stamped out the images in the foreground first – the hedgehogs, then the stump, then the branches. Because I knew these would be in silhouette, I just wiped some of the details from the centre of the images away with my finger before stamping on the cardstock. I used some Post-It Notes to mask of my images, though Heffy Tape works just as well!
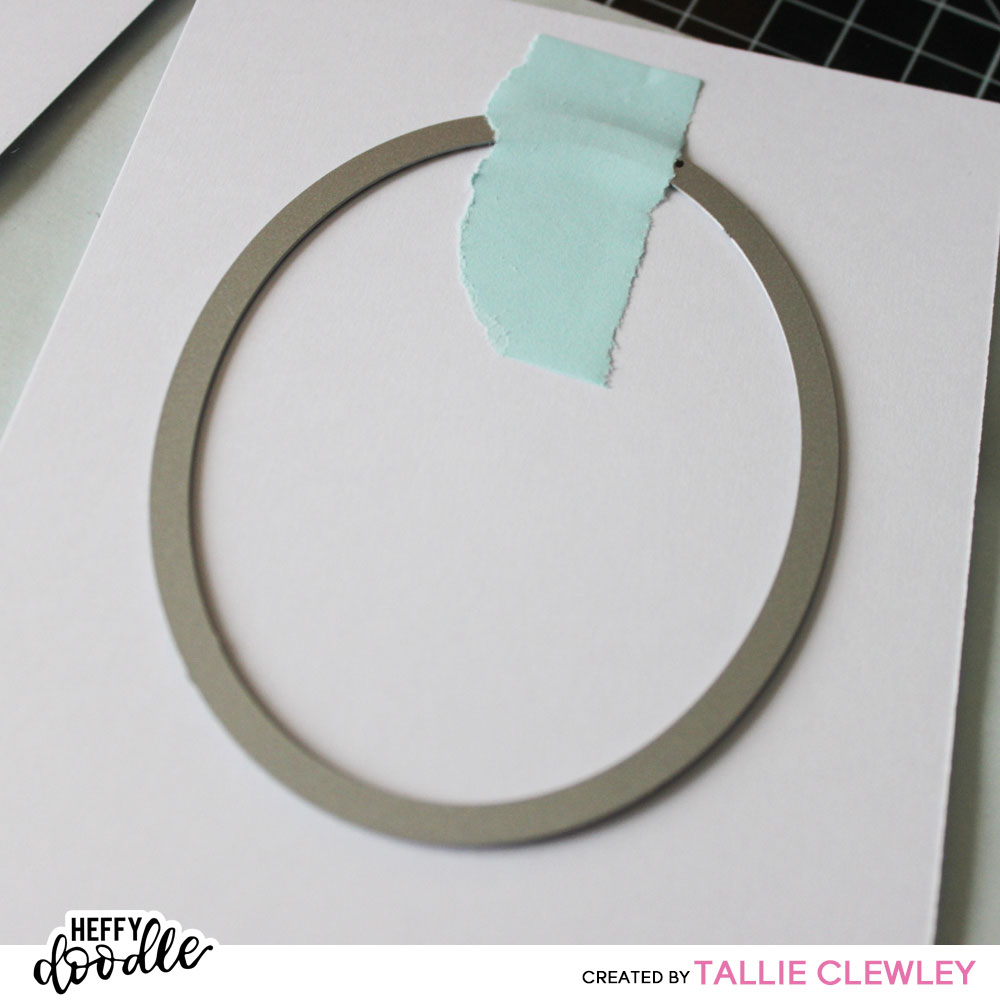
Next, I framed up the scene using one of the Ovally Exciting dies. I will use this to cut the front panel later, but I just lightly drew around the inside so I had a guide where to colour my scene.
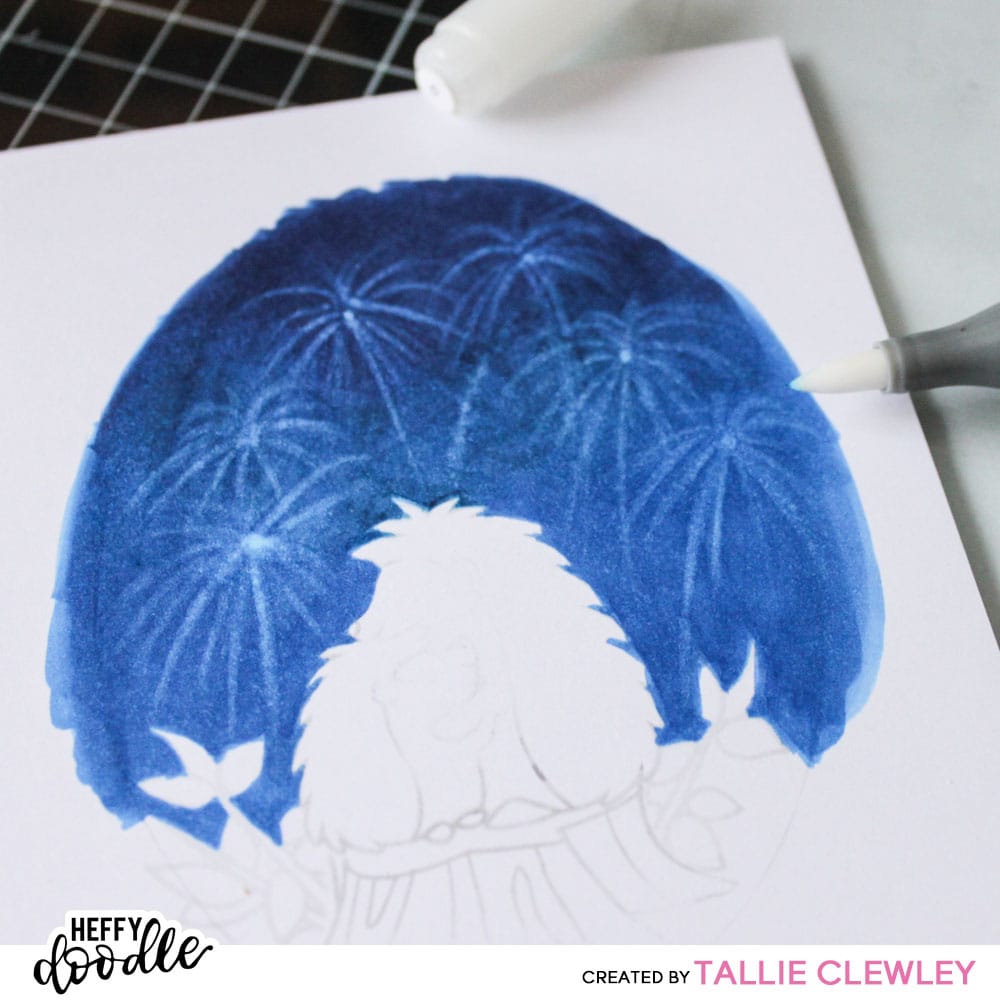
I started by colouring in the background a gradient of blue, with the darkest colour at the top of the card. The key to getting bright fireworks is to start with a dark colour and use a colourless blender pen (or 0 Copic marker) to ‘wick’ away the ink. Just keep drawing on lines in burst shapes until you have some nice clear firework shapes.
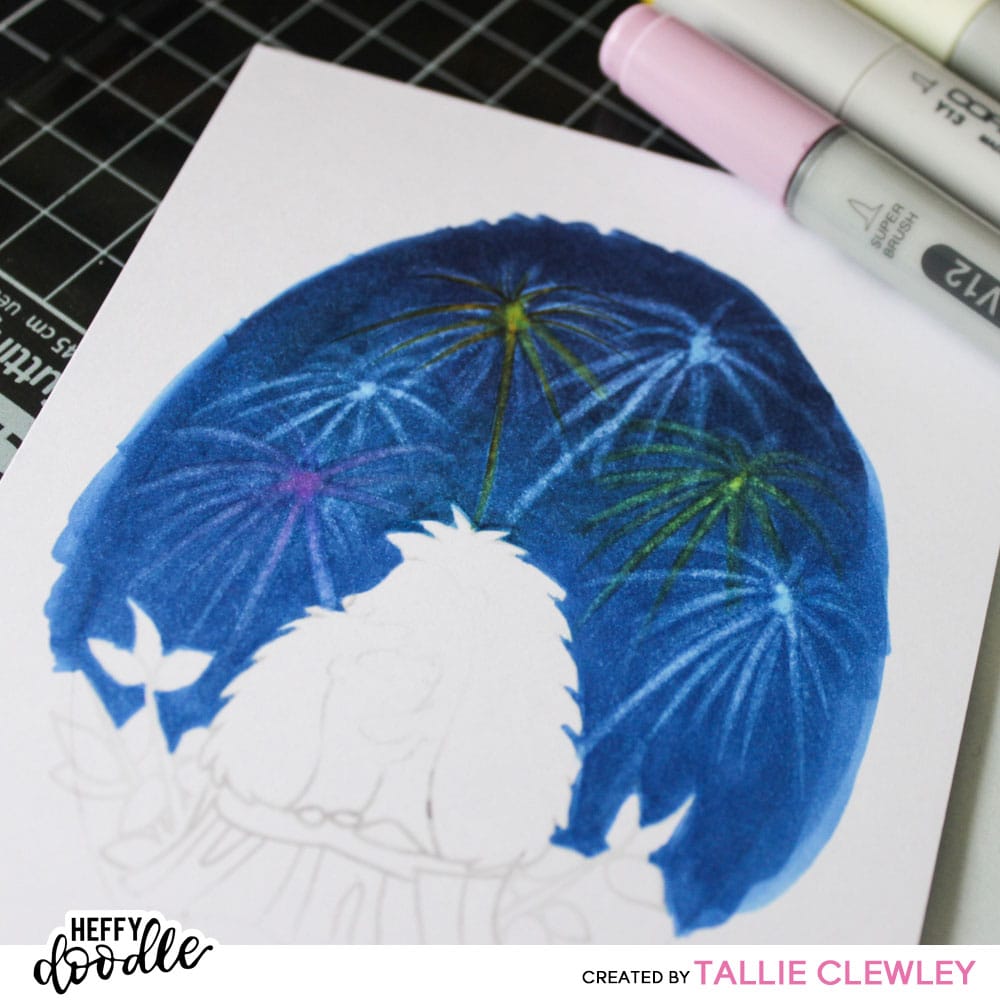
Next, add some colour to over the white lines you’ve just created using some light markers. Fireworks are all different colours, so take your pick! Just be mindful that yellow plus the blue of the background will make green, so be selective in your colour choices.
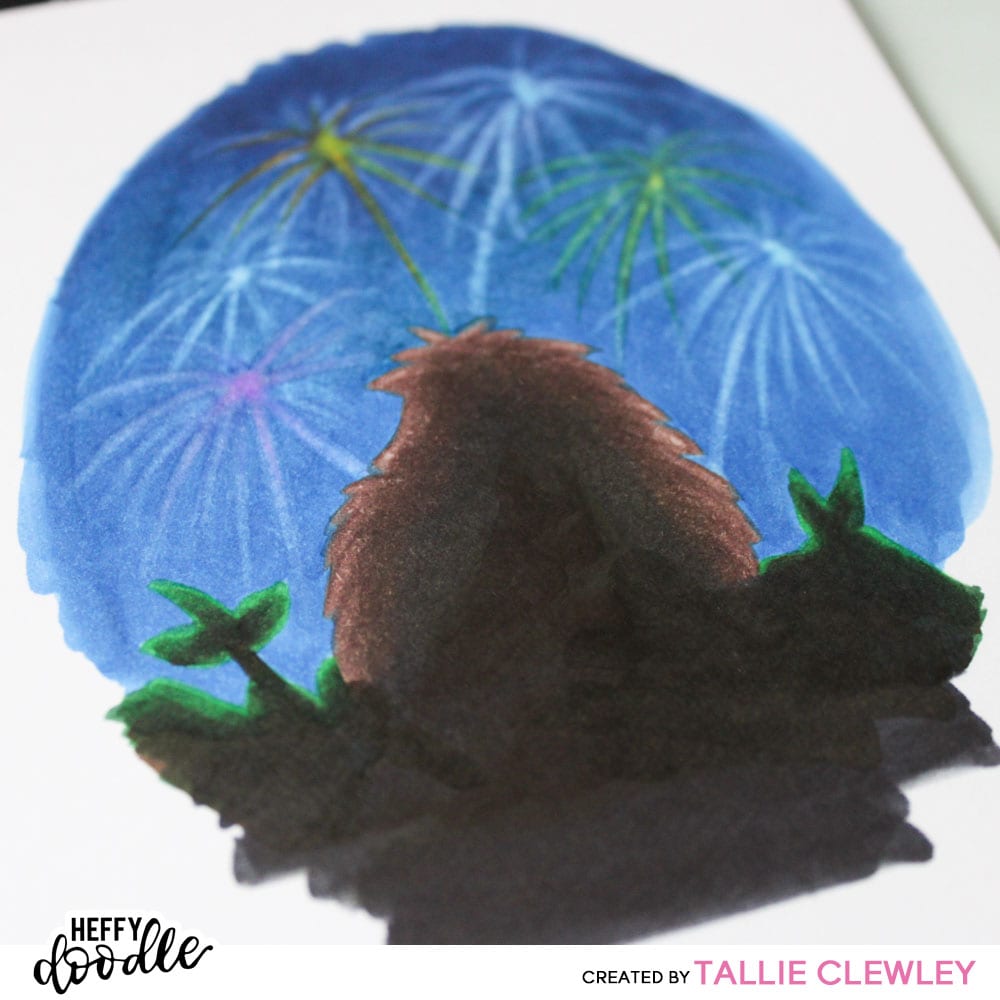
I coloured in the rest of the images, blocking out them all with some darker markers. We want the focus to be on the night sky, though there will be some lighter highlights around the edges of the images.
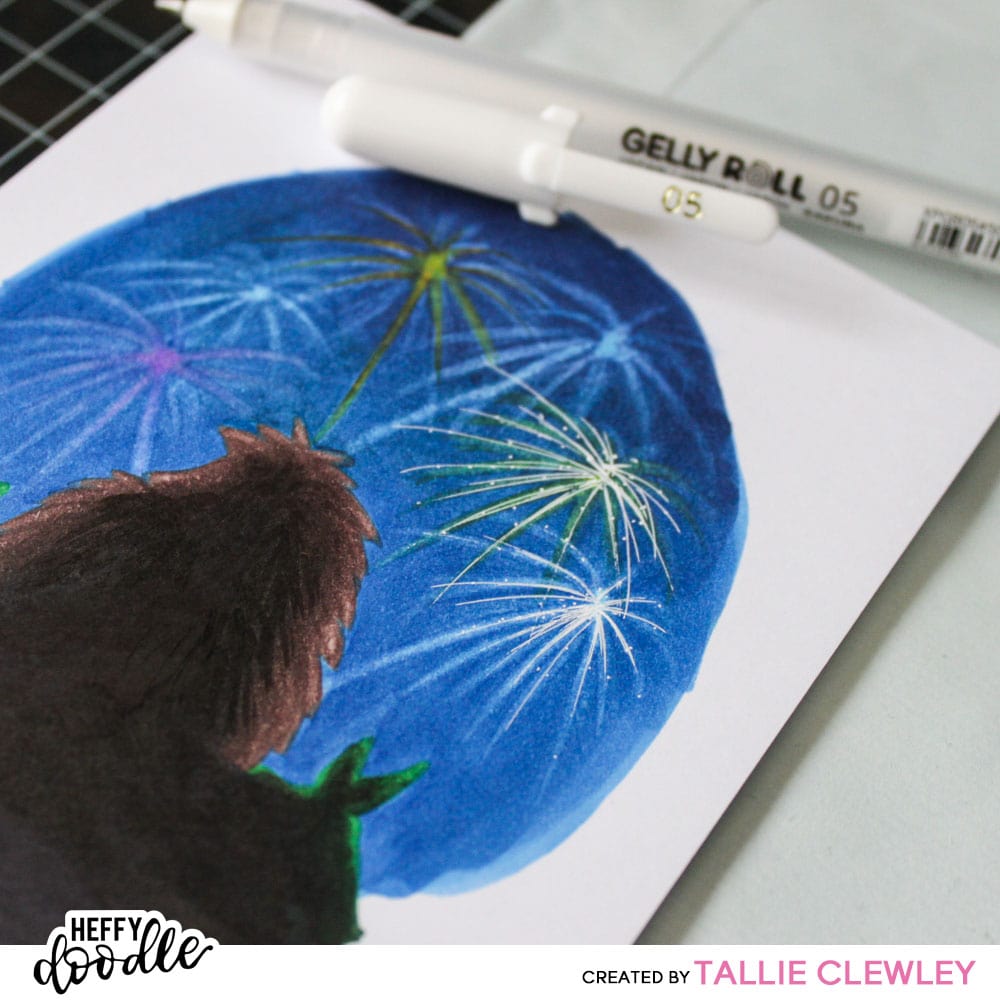
To get the detail in the fireworks, I use a white gel pen. I have several in different line widths and these help to get different effects. I go over the coloured lines and add some dots for the fall outs after the firework explodes.
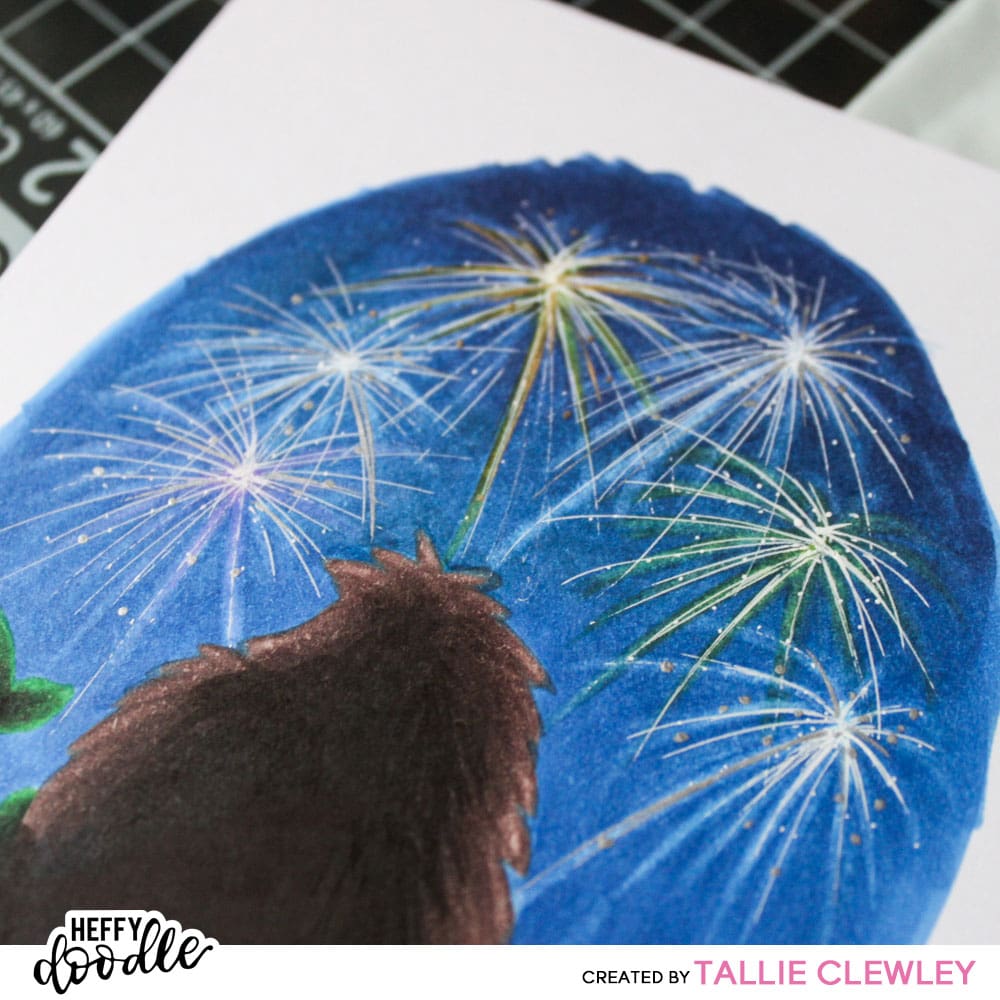
If you have different coloured gel pens you can add even more detail here. I used my gold gel pen to add some metallic shine to some of the warmer fireworks.
I also added some coloured pencil to bring out the highlights around the hugging hedgehogs. Just adding his nose and the top of one eye really brings them to life!
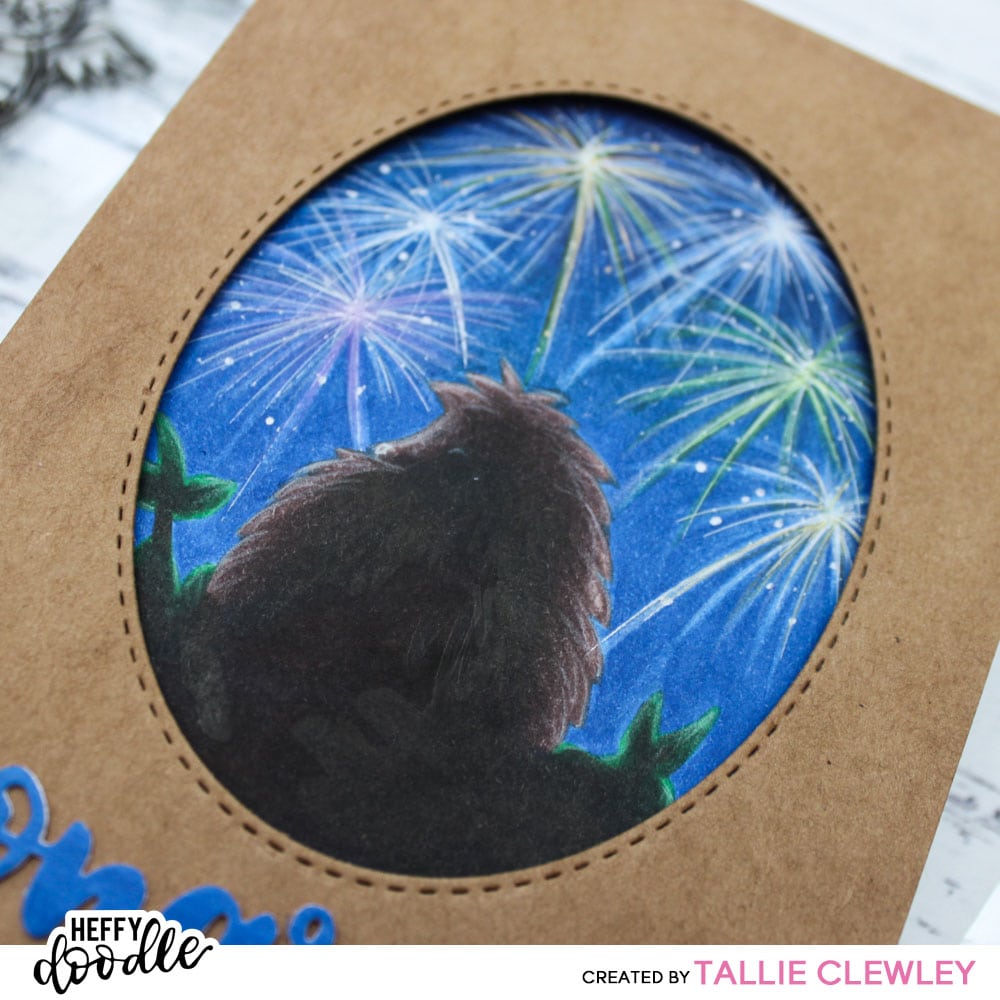
I used the same Oval die to cut a panel from some kraft cardstock to frame the image.
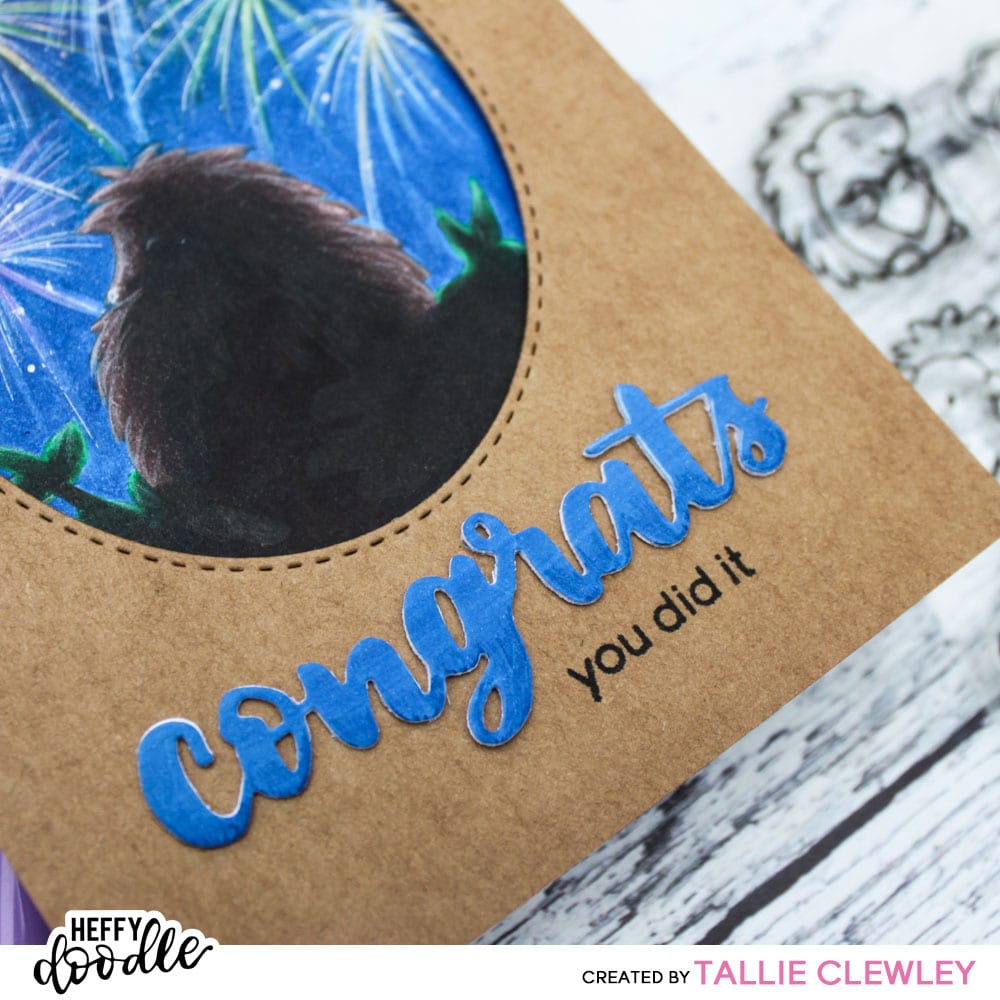
I kept the sentiment simple, die cutting three Congrats from white card and colouring the top with the same markers I used in the background. I stacked these together, adhered it to the card under the scene and stamped the ‘you did it’ from the More Classic Sentiments set.

Try adding some fireworks to your night sky background scenes!
I hope you have a Happy Fireworks Day wherever you may be!
