
Reach for the Stars!
Hello Friends, Ilda here!
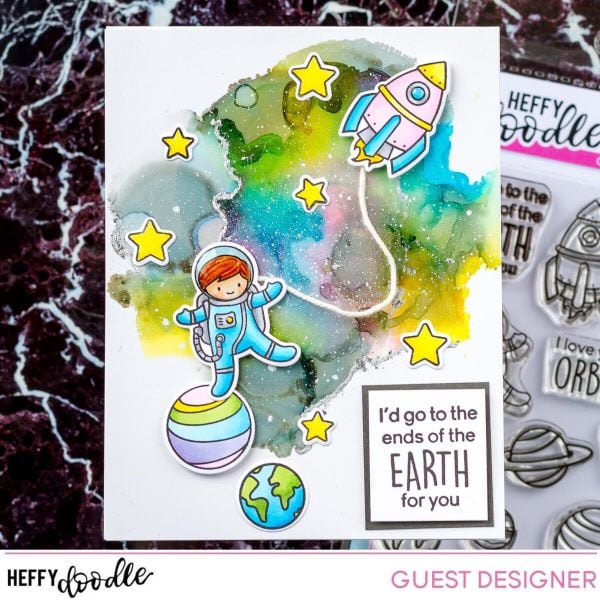
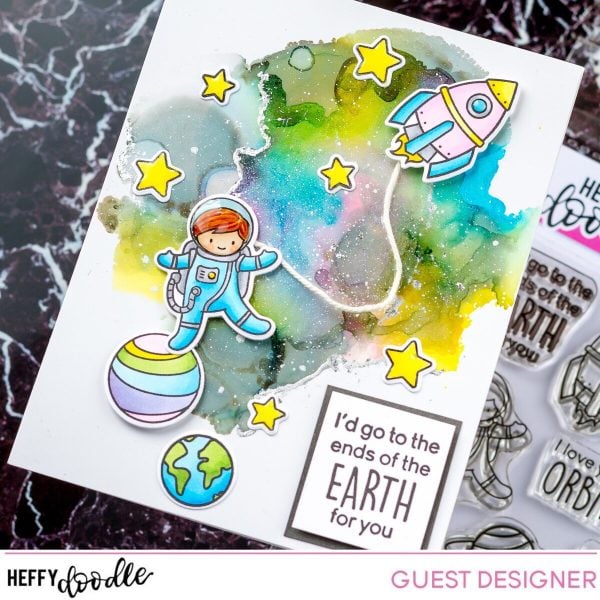
Today I am SUPER excited to be Guest Designing on the Heffy Doodle Blog. I think you will love the card I’m sharing today because it is literally out of this world! I absolutely love how it turned and hope you do too!
CARD DETAILS
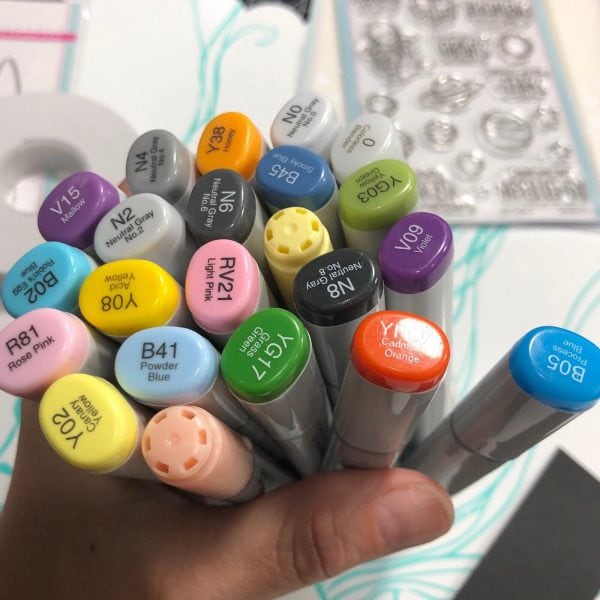
To begin I stamped out the cute images from Spaced Out Stamp set and colored them in using Copic markers. I then die cut them out using the coordinating Spaced Out Dies. To add a layer of shine I used glossy accents on the astronaut’s helmet, the stars, and the rocket’s window and set them aside to dry while I worked on the rest of the card.
Here is a picture of the Copic Markers I used in case you are interested.
The next thing I did was create a galaxy background using alcohol inks on Yupo paper. To give it a more galaxy like feel I splattered the entire background with white pigment ink. To add some more interest and shine I used a quickie glue pen and traced some of the alcohol edges and then dropped some silver gilding flakes over the areas. I then lightly rubbed off anything that didn’t stick to the glue with a soft paintbrush.
The coolest part of this card is that it is interactive. Watch the clip below to see it in action.
To make this card interactive I used a circle die (which actually was one of the dies from the coordinating Spaced Out Dies) just make sure the circle you use is smalled that the object you are going to glue on top of it. In this case, I needed it to be smaller than the planet that the little astronaut’s foot was glued too. Figure out where you want the planet to be and then use the circle die to cut out a circle in that spot.
Then using some scraps, cut out another circle using a larger circle die (in this case I used the coordinating die for the planet) and in the center of the die-cut circle glue to that a flat button or a spin disc if you have one (The button should be just slightly smaller than the opening on the panel to be able to move freely and not wiggle around too much). Once it’s dry pop it through the opening that was previously made on the panel and glue another die cut circle to the top of it.
Add foam tape all along the back and edge of the alcohol background panel ensuring that the spinner mechanism doesn’t touch the tape anywhere. Attach the panel to the card base.
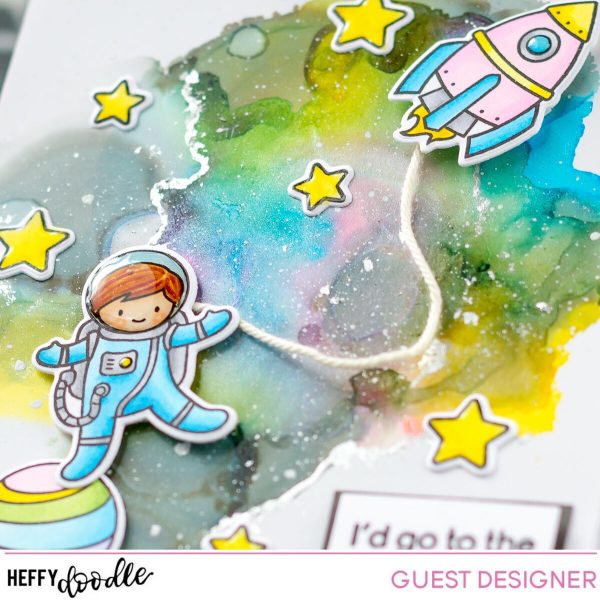
Now that the spinner mechanism is done, you can glue the planet onto it. Before I did though, I attached a threat to the back of the astronaut using glue and then covered it with tape to ensure it wasn’t going to catch on anything.
Attach the other end of the threat to the rocket and pop the rocket in place with foam tape and you’re done! TIP: Leave extra length on the thread until you figure out how much you need to make the partial spin work (the length you leave will determine the range of the movement).
Watch the Astronaut in action!
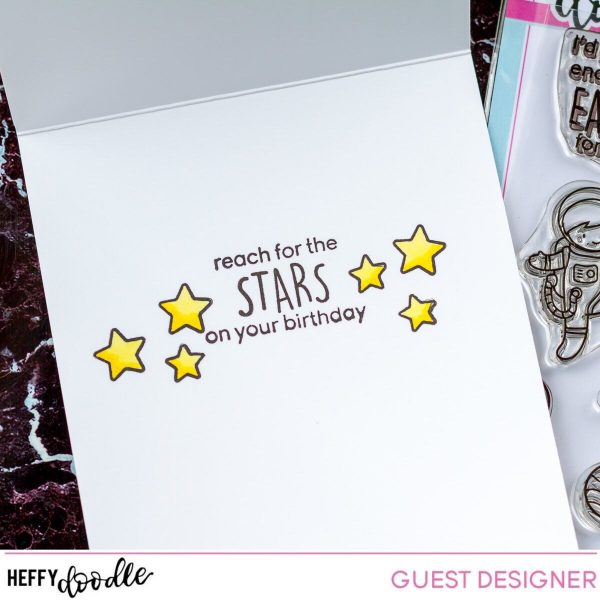
On the inside, I combined a few stamps to personalize this birthday card and added some stars for fun!
Hope you enjoyed this card fun interactive Spaced Out Birthday card and were inspired to create.
Thank you for stopping by and spending some time with me.
Hugs,
Sharon Gullikson
August 15, 2019 at 5:35 pmI love it! I am going to make a background similar to that, but use the ink crystal things I just bought. THANKS!