
Ray of Sunshine
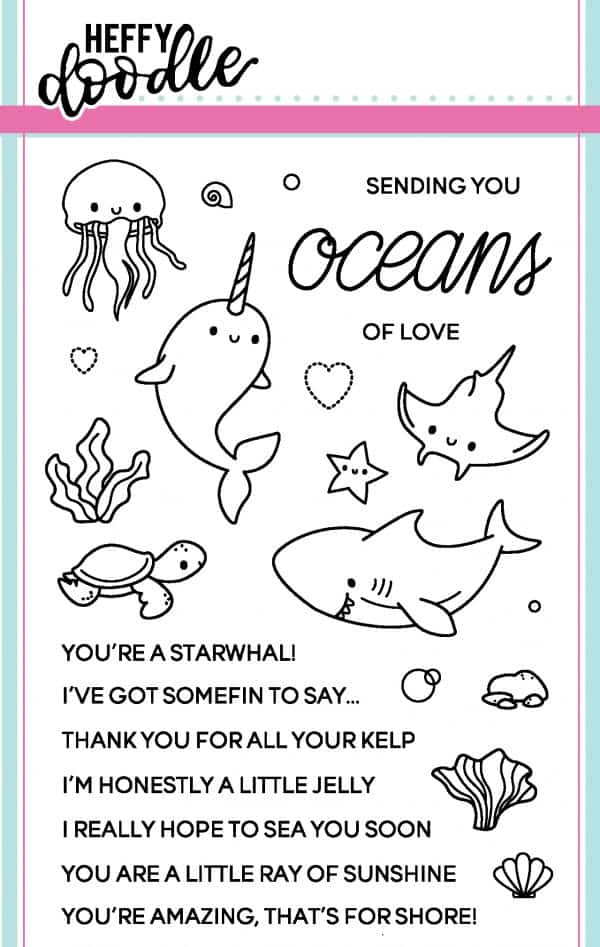
Hello, Tallie here. Today I have a card to share with you featuring the Oceans of Love stamp set. I think rays are fascinating creatures and I love going through the glass tunnels in aquariums. This was the feel I was going with for this card.
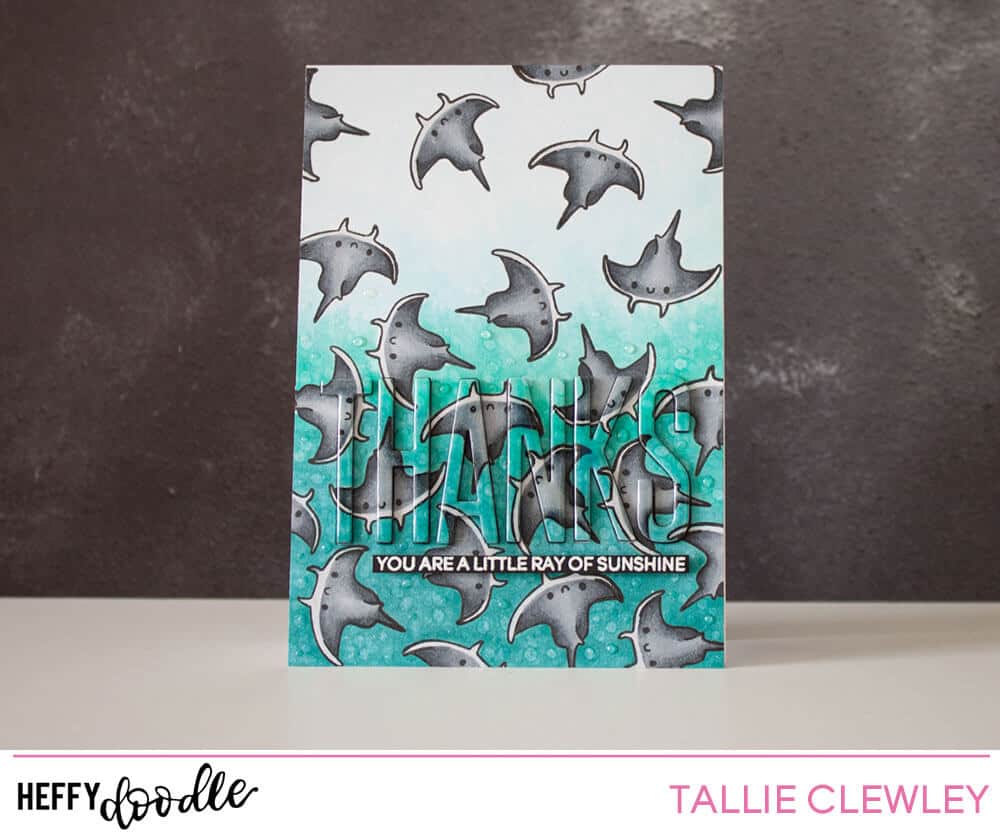
I started out by repeatedly stamping the ray from the Oceans of Love set in some Copic-friendly ink across a blending cardstock panel, concentrating the majority of the rays towards the bottom. Once dry, I chose some BG Copic markers (BG0000, BG000, BG10, BG01, BG23, BG72) and coloured in the background in a gradient. I chose some cool greys to colour in the rays (C7, C6, C5, C4, C2) to coordinate the blue background
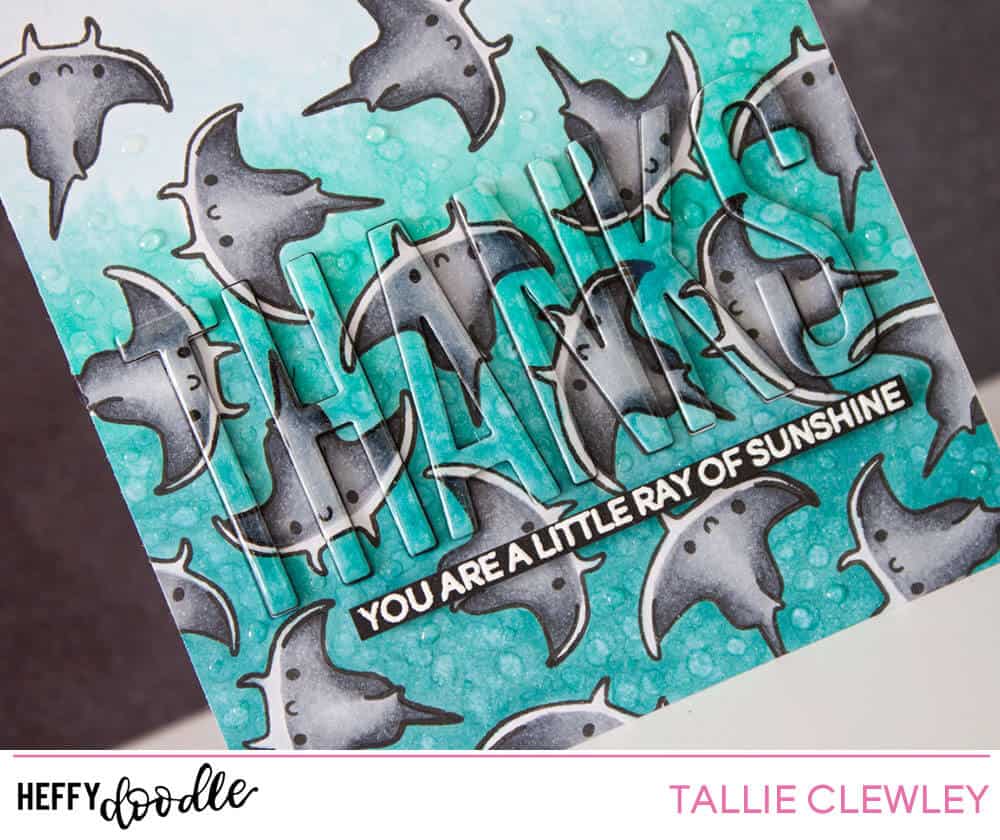
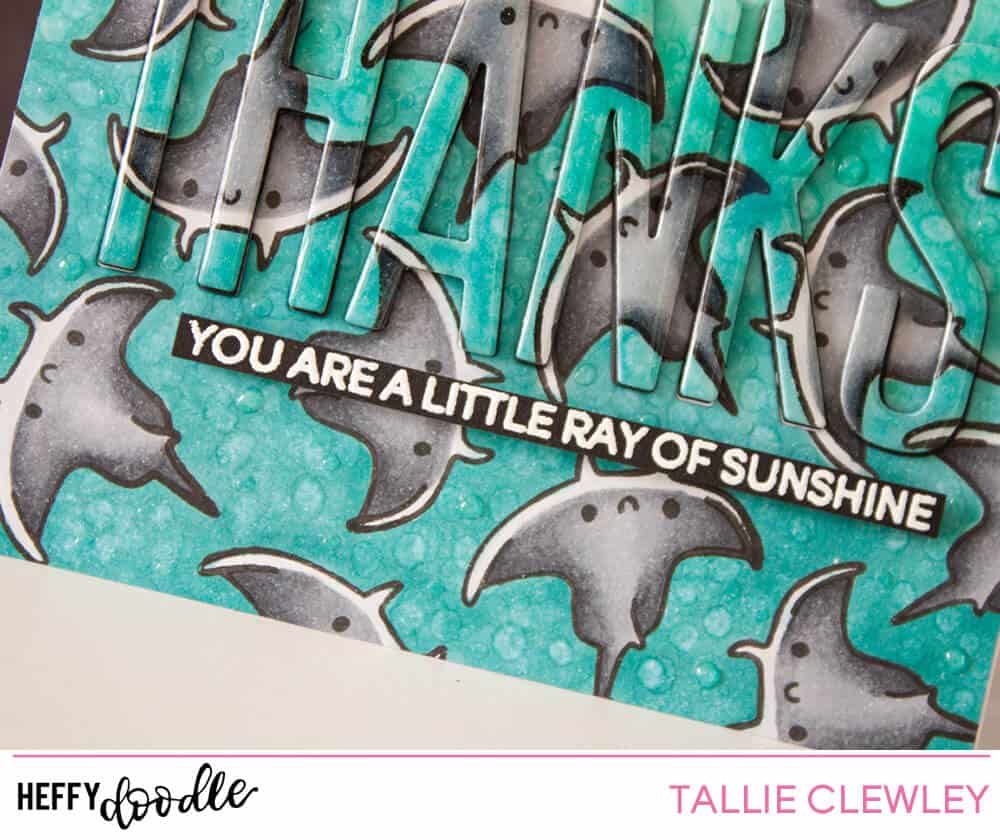
The background looked a little flat so I took my colourless blender (0) and used it to create spots in the background. For some I held the marker to the paper longer to wick away more of the ink. This gives the background some wonderful texture and movement, as if they are bubbles from the rays swimming around. This is also a useful technique if your blending isn’t perfect in places. 🙂
I used the MFT Big Thanks die to cut a sentiment from the background. I also cut this once from white card and three times from black card. After adhering the panel to a top-folding card base, I then layered up the die cuts to give some dimension.
For the smaller sentiment strip, I white heat embossed the ‘YOU ARE A LITTLE RAY OF SUNSHINE’ sentiment from the Oceans of Love set, cutting this into a strip and using foam tape to adhere it underneath the larger sentiment.
Some Glossy Accents helped to make the THANKS stand out more. I also added some dots across the background to look like bubbles.
Thanks for reading
Tallie
wendi j
August 4, 2018 at 2:05 amLove it. Thanks for the tip about the bubbles.
Kirsty Vittetoe
August 5, 2018 at 1:22 amFun and creative card!