
Otterly In Love Valentine’s Card
Hello everybody! Justin Adkins here, and I am SO excited to be a Guest Designer for Heffy Doodle this February! I just adore the Heffy Doodle products so much, and was over the moon when I was asked regarding this opportunity!
Please note, this post does use affiliate links at no additional cost to you!
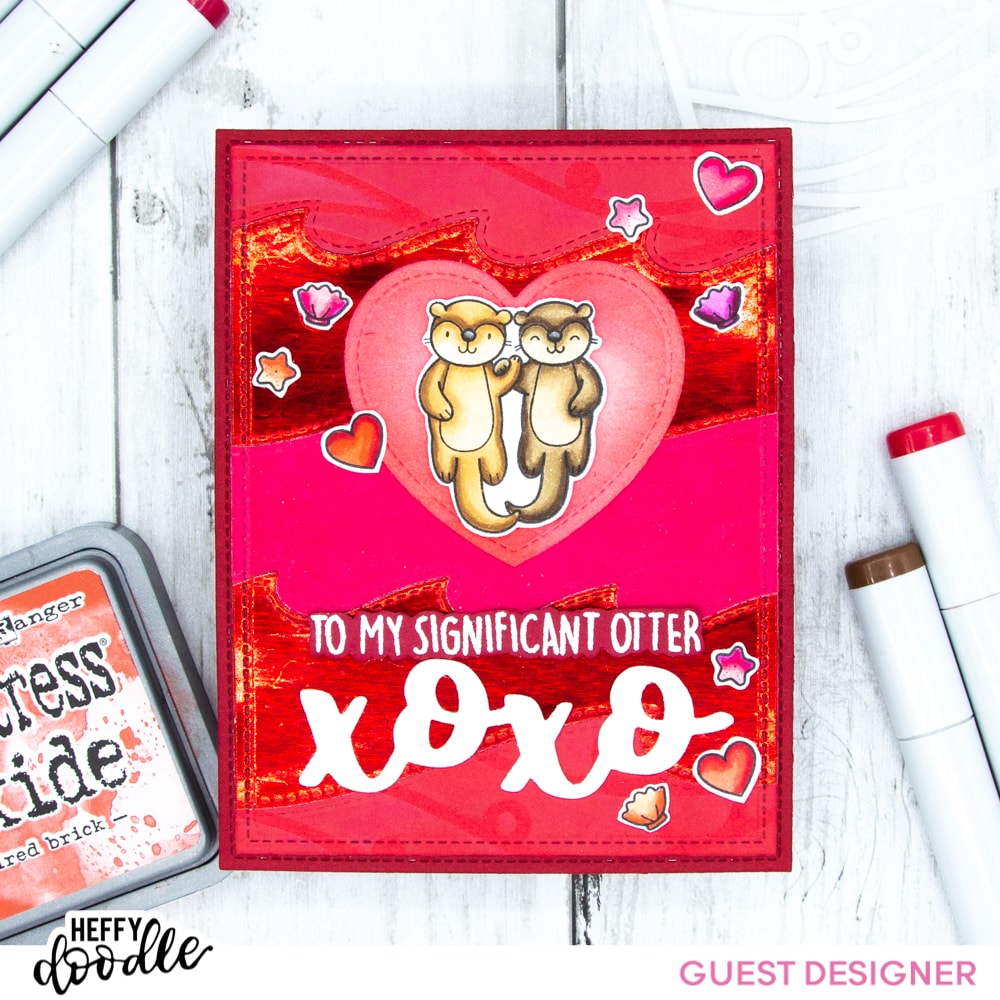
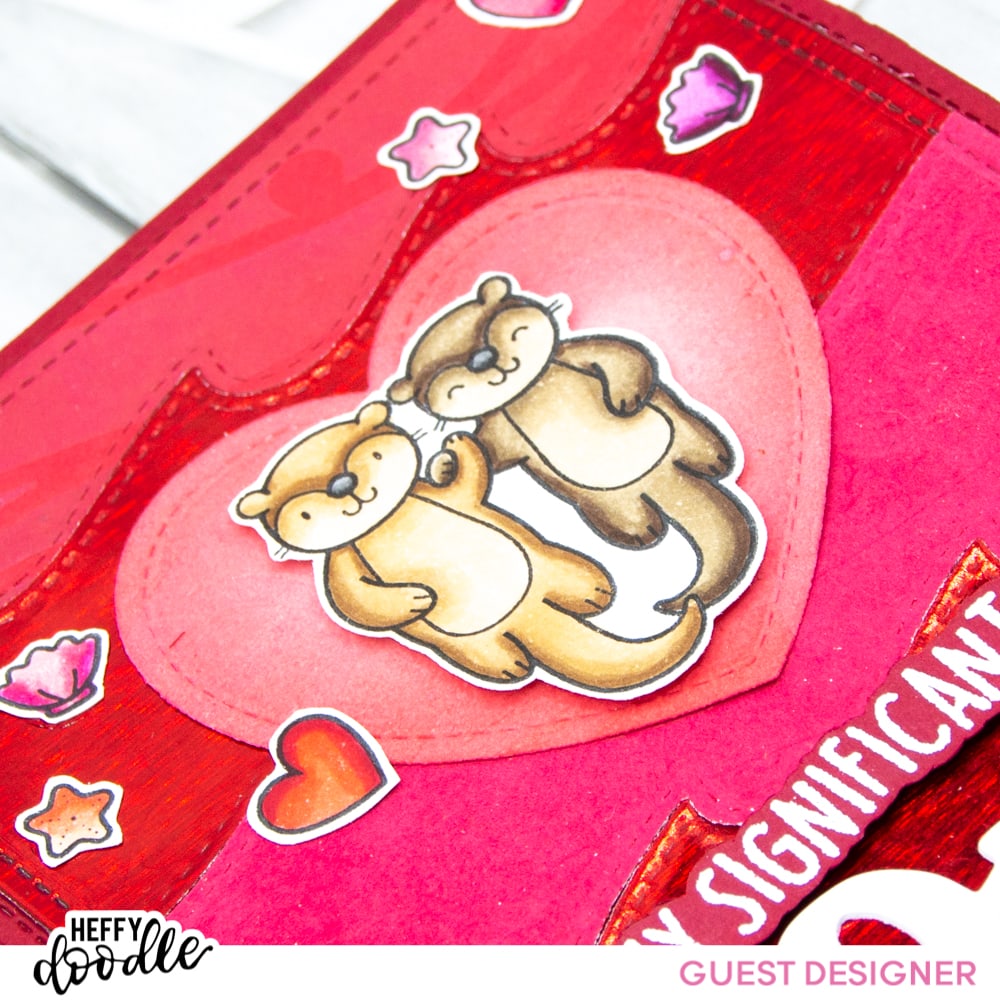
For my very first project, I wanted to play around with the Otter Side stamp set, and I think this set is just perfect to create Valentine’s Day projects with! I started my project as I normally do, and used Copic Markers to color up the otter couple, some seashells, hearts and seashells. I fussy cut them out and set them aside.
Next, I took an A2-sized sized piece of red cardstock, placed the Bubble Waves stencil over it, and blended entirely with Fired Brick Distress Oxide Ink to give a subtle texture. I then cut out an A2-sized piece of Ruby Red Flock, and dry embossed it by running it through my die cutting machine with the Bubble Waves stencil over it as well. Finally, I took an A2-sized panel of Red Static Foil (transferred to a toner sheet). Using the Breaking Waves Border Dies, I die cut these 3 panels, while stacked on top of each other, 4 times, alternating the dies. This allowed me to be able to piece together each piece like a puzzle. Once I was finished die cutting, I took an A2-sized piece of paper and adhered each of the wave pieces directly on top. To finish this layer off, I placed a “slightly smaller than A2-sized” die cut on top and ran i through my die cutting machine to get a nice stitched edge.
Next, I took my Breaking Waves panel and adhered it to an A2-sized Dark Red Cardstock Panel, which I die cut with a stitched Rectangle Die.
I used a stitched heart die cut to cut out a piece of Pink Carnation flock, which I then distressed the edges with Festive Berries Distress Ink.
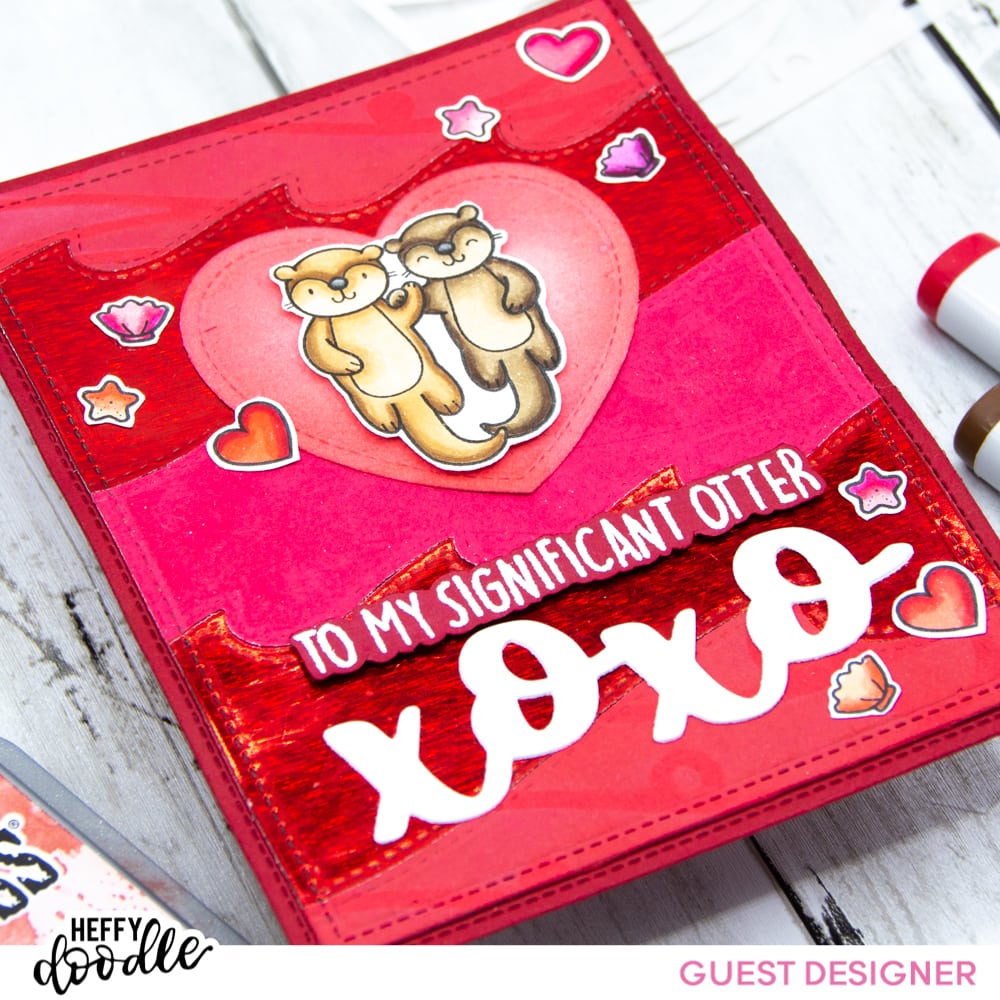
For my sentiment, I used White Embossing Powder to heat emboss the sentiment “To My Significant Otter” onto Dark Red Paper, and then fussy cut the sentiment out. I also used an XOXO die cut from my stash, die cut it from white paper twice, and adhered them on top of each other.
To finish my card, I adhered my heard and XOXO with liquid adhesive directly to my card panel. I then used foam tape to adhere my otter couple and embossed sentiment. I finally adhered the little detail images directly to the panel as well. And my card was finished!
Thank you so very much for stopping by the Heffy Doodle blog today and checking out my project! I have a condensed list of all the products used below!
Heffy Doodle Products used:
Otter Side Stamp Set
Breaking Waves Border Dies
Bubble Waves Stencil
Other Products Used:
Copic Markers
Festive Berries Distress Ink
Fired Brick Distress Oxide Ink
Ruby Red Flock
Pink Carnation Flock
Red Static Foil Transfer Sheets
Toner Transfer Sheets
XOXO Word Die
Stitched Rectangle Dies
“Slightly Smaller than A2” Stitched Rectangle Dies
White Embossing Powder
Colored Cardstock
For more crafty inspiration, be sure to check me out on Instagram or on my personal blog as well!
Happy crafting!
– Justin
