
Oodles and Poodles of Love!
Hey, Heffy Doodlers!
Thanks for stopping by today!
So, I did a thing.
I made a doggie wreath!
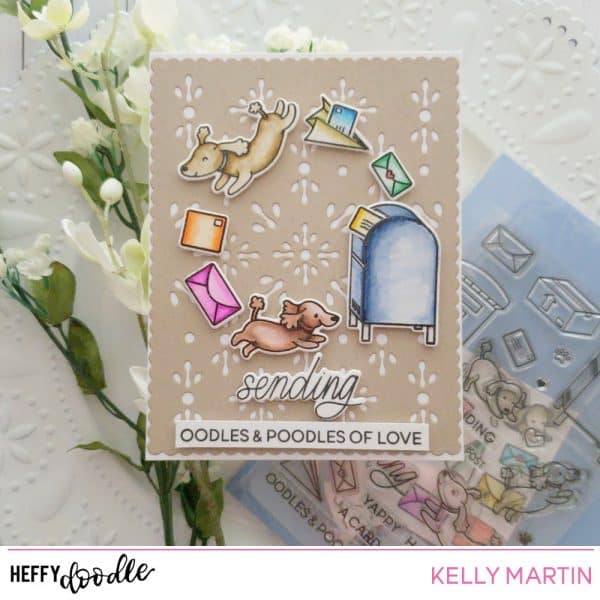
Wreaths are all the rage these days, so I figured it was time to incorporate my favorite animal in the world with this current trend and, BOOM! The doggie wreath was born!
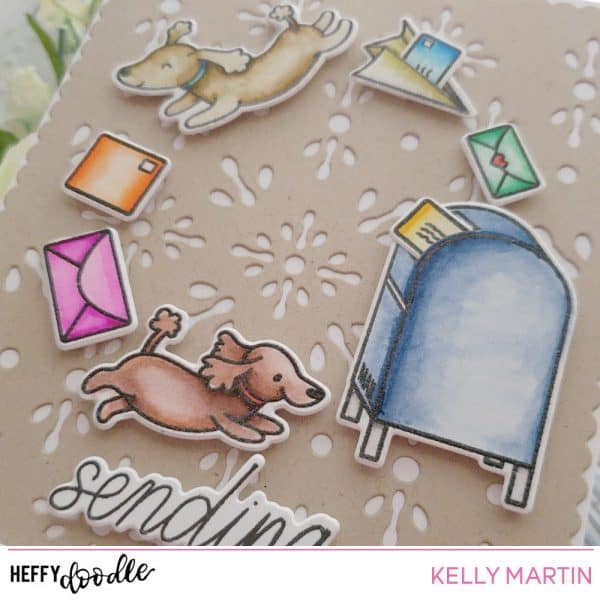
I stamped the images from the Yappy Happy Mail stamp set on to watercolor safe Bristol cardstock, colored them with my Zig Clean Color markers, and used the matching die set to cut them out.
I then used a Hero Arts background die to cut out a background panel for my card. I glued it on to a cut and scored 4.25 x 5.5 inch card base and then set out to make my wreath.
One tip that I’ve picked up over the years of crafting is to pick one spot on your wreath to be the “heavy” spot, visually. So with this card, it was easy to pick one of the areas to be heavier because the mailbox image is larger and wider than the doggies. So after I glued on the mailbox, it was really easy to arrange the other images in my wreath.
I mounted my images with foam tape to help them pop off the card a bit and doing this also helped to keep them the focal point of the card and not compete with the pattern of the background die.
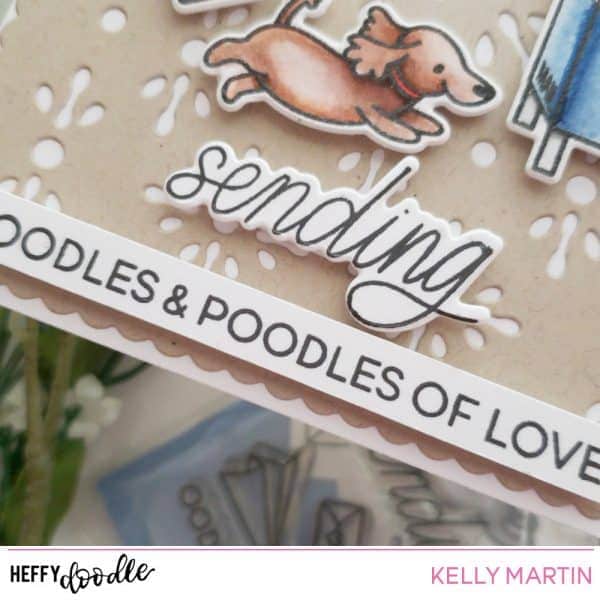
I stamped a sentiment on to a strip of white cardstock, mounted it with foam tape, and then adhered it to the card. Additionally, I stamped and die cut the word “sending” and also mounted it with foam tape before laying it down on the card.
Thanks so much for stopping by and I hope this card will inspire you to make wreaths out of surprising images!
Kelly
Supplies Used:
Stamps: Yappy Happy Mail
Dies: Yappy Happy Mail, Papel Picado Cofetti Die
Inks: Hero Arts Intense Black