
Oh Christmas Tree!
Hi Heffy Doodlers!
I’m so happy to be back on the Heffy Doodle blog with another card in my Sweet Scenes series. For this week, I created a Christmas card where the Christmas Tree is the star of the show.

I really need to start making more Christmas cards. Every year I think to myself: ‘Why didn’t I start earlier?’ Same problem every year! I hope I’m not the only one in this… 😀

I started by trimming a piece of Bristol Smooth cardstock to 4,25 by 5,5 inches. I ink blended 3 Distress Oxide colors on top: Tattered Rose, Festive Berries and Aged Mahogany. You don’t really see the Tattered Rose on the finished card (it’s covered by the mountains) so you don’t really need this color. I did splatter on some white acrylic paint to create snow. I set this aside to dry and worked on the rest of the background.
I used the Alpine Valley dies to create mountains. First I trimmed down a piece of grey cardstock (Oyster Shell) to the same 4,25 by 5,5 inches. Then I placed my die on top and ran it through my die cutting machine. For the snow I used a bit of glitter cardstock. There are 2 different snow tops included in the Alpine Valley die set. I adhered the mountains on the ink blended panel with liquid glue.
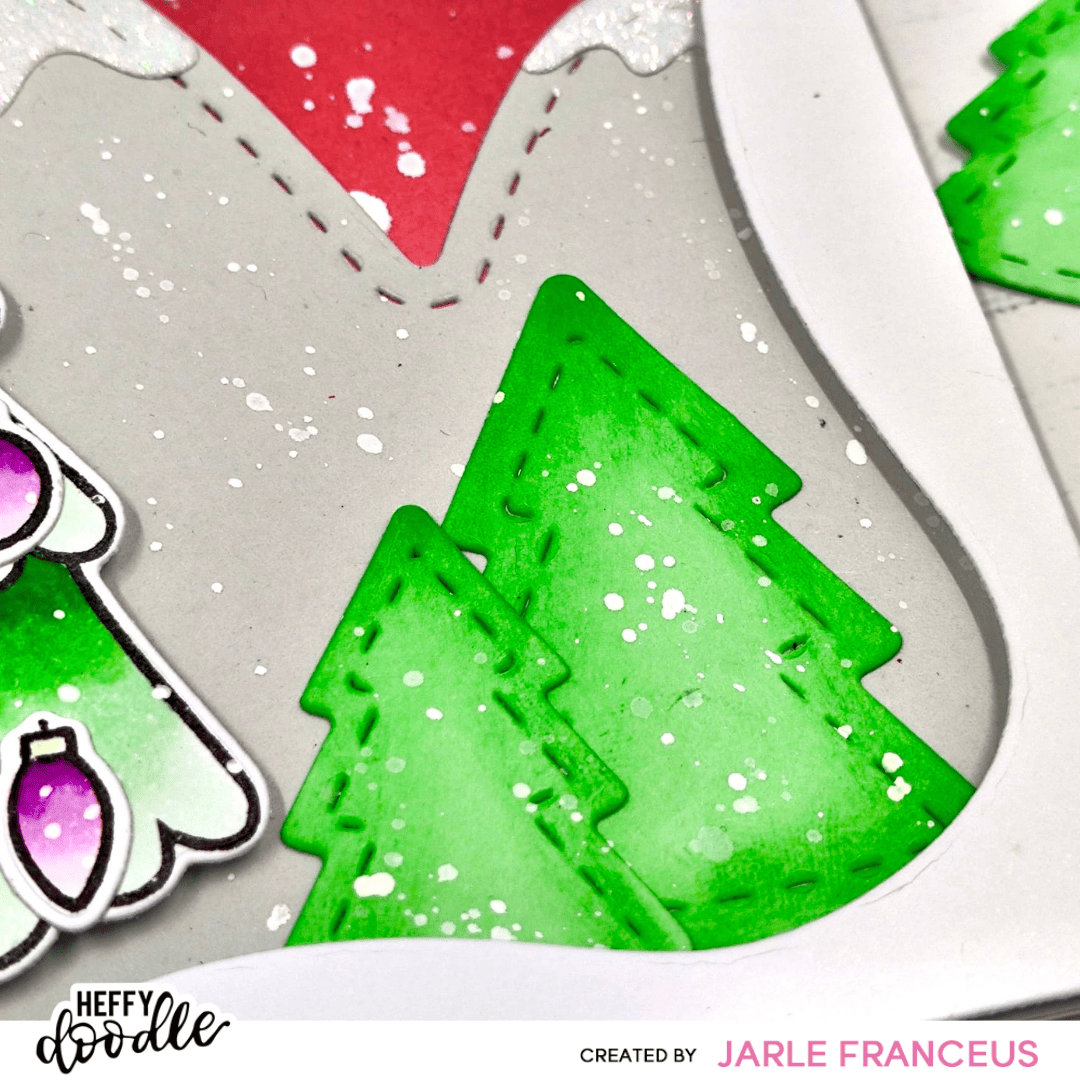
Then I die cut a few of the trees in the same Alpine Valley set. I did this with the Heffy Doodle green cardstock (Hint of Mint). I went over the edges with Lucky Clover Distress Oxide ink. Again, I splatterd some white paint to create snow.
Then I stamped a few things from the Trim The Tree stamp set (including the giant Christmas Tree). I did this on Heffy Doodle alcohol marker friendly cardstock with Lawn Fawn Jet Black ink. I used the following colors:
- G17 – G02 – G00 – G000
- R85 – R83 – R81
- RV66 – RV63 – V000
- Y15 – Y13 – Y11
I used the coordinating dies and my mini die cutting machine to cut the images out. Then I decorated the lovely tree. I also put on some dots with a white gel pen to create that snowy effect.

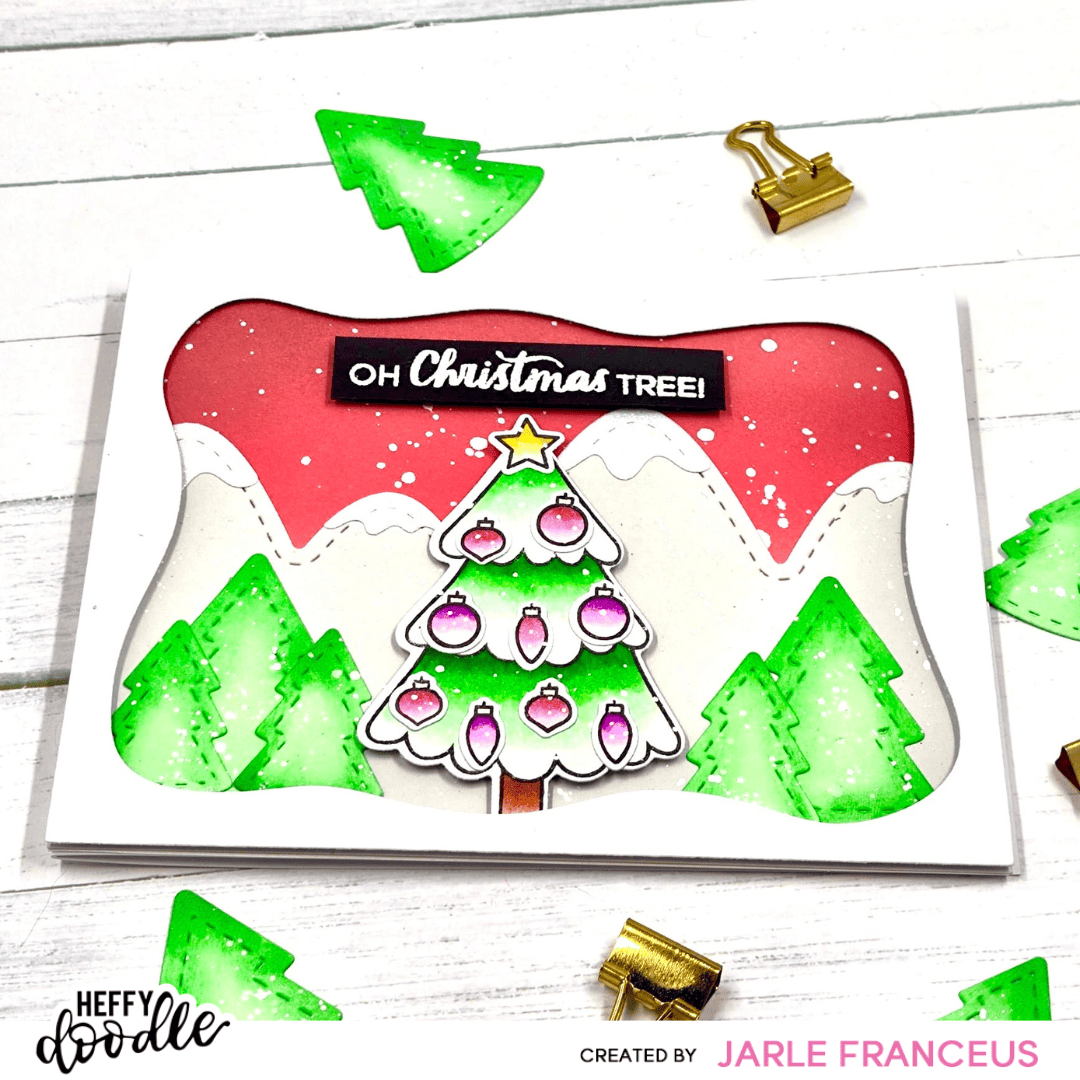
Time to put my scene together! I put my Christmas tree in the middle with some foam squares. The other die cut trees were adhered left and right, with liquid glue. I did decide to frame the scene with the frame from the Elm Street die set.
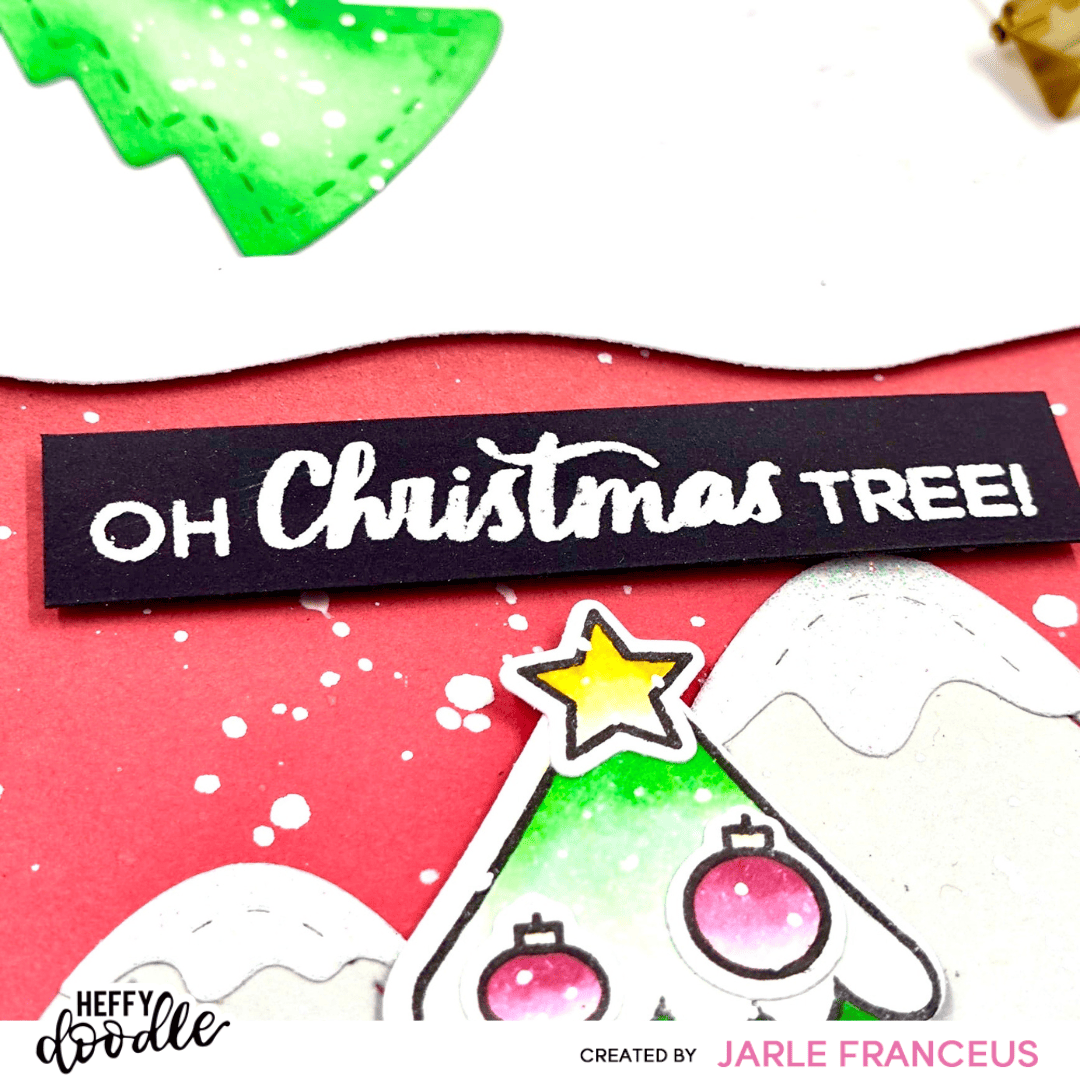
For my sentiment, I stamped the ‘Oh Christmas Tree’ sentiment with Versamark ink on black Oreo Crush cardstock. I did prep the cardstock with an antistatic powder tool. After sprinkling on white embossing powder, I heat set it with my heat gun. I trimmed the sentiment down with the mini paper trimmer.
And this finished off my card for today. I really hope you like this inspiration! Thank you so much for reading through, it means the world!
Have an amazing day!
Love, Jarle x