
Oceans Of Fun! With Guest Designer Tasha
Hey Crafty People!
My name is Tasha, but I go by HandmadeByTasha most places and I am both super excited & grateful to be Guest Designing for January!
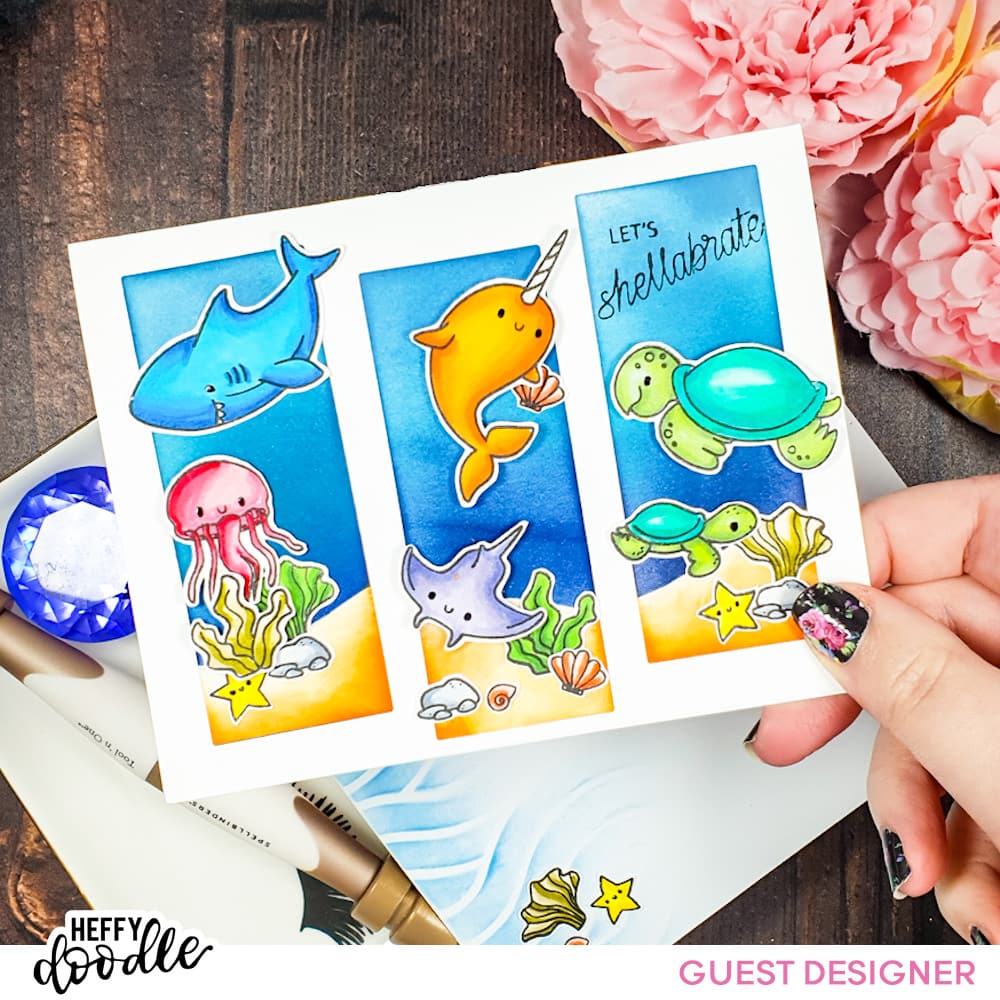
Today, I’m sharing a fun ocean scene card with matching envelope. Plus I’ll be sharing several quick process videos over the next few days to talk about how I put this fun design together, and how I like to add special little touches to really make a WOW on my handmade cards.
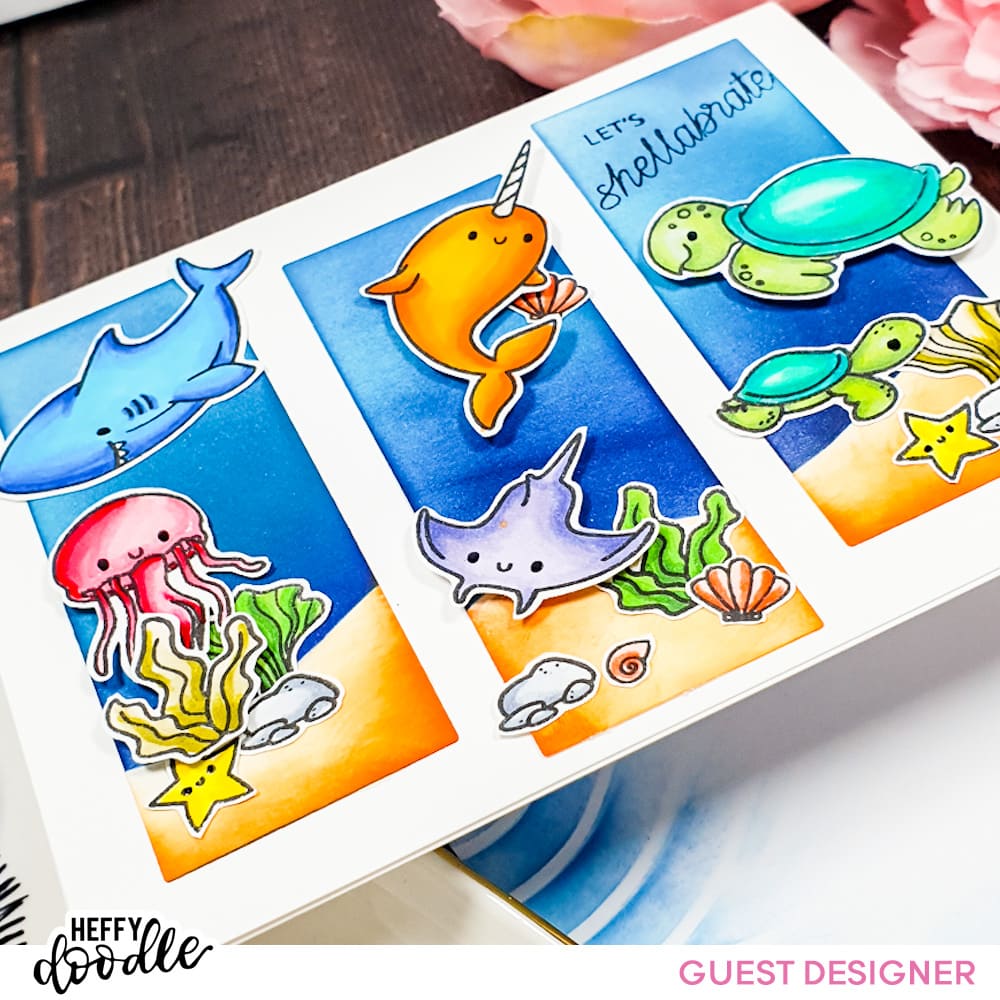
Background ‘Windows’
Whenever I use the Stitched Trio Birthday Panel which cuts three ‘windows’ from an a2 panel, I like to save up the negative pieces and this is how I like to use them!
- Freehand cut a wavy mask from Heffy Memo Tape or another form of masking paper to create the sandy banks. Place these masks onto the bottom of your mini panels to ink blend the sea portion.
- Using different shades of blue ink, blend a gradient with the bottom being darker.
- Remove the masks and allow to dry before blending a sandy colour on the white portion. Add a darker shade around the edges to give dimension. Set aside to dry.
 Heffy Doodle Trio Frame Shop at: L&F Int |
 Memo Tape Shop at: L&F Int |
 Juniper Mist Shop at: SBCOM | CPD |
 Tranquil Shop at: SBCOM | CPD |
 Ginger Shop at: SBCOM | CPD |
 Apricot Shop at: SBCOM | CPD |
Let’s Shellabrate
To really help my sentiment stand out against a busy background my favourite tip is to stack those die cuts up…this gives you dimension and it just has this magic way of making that sentiment POP!
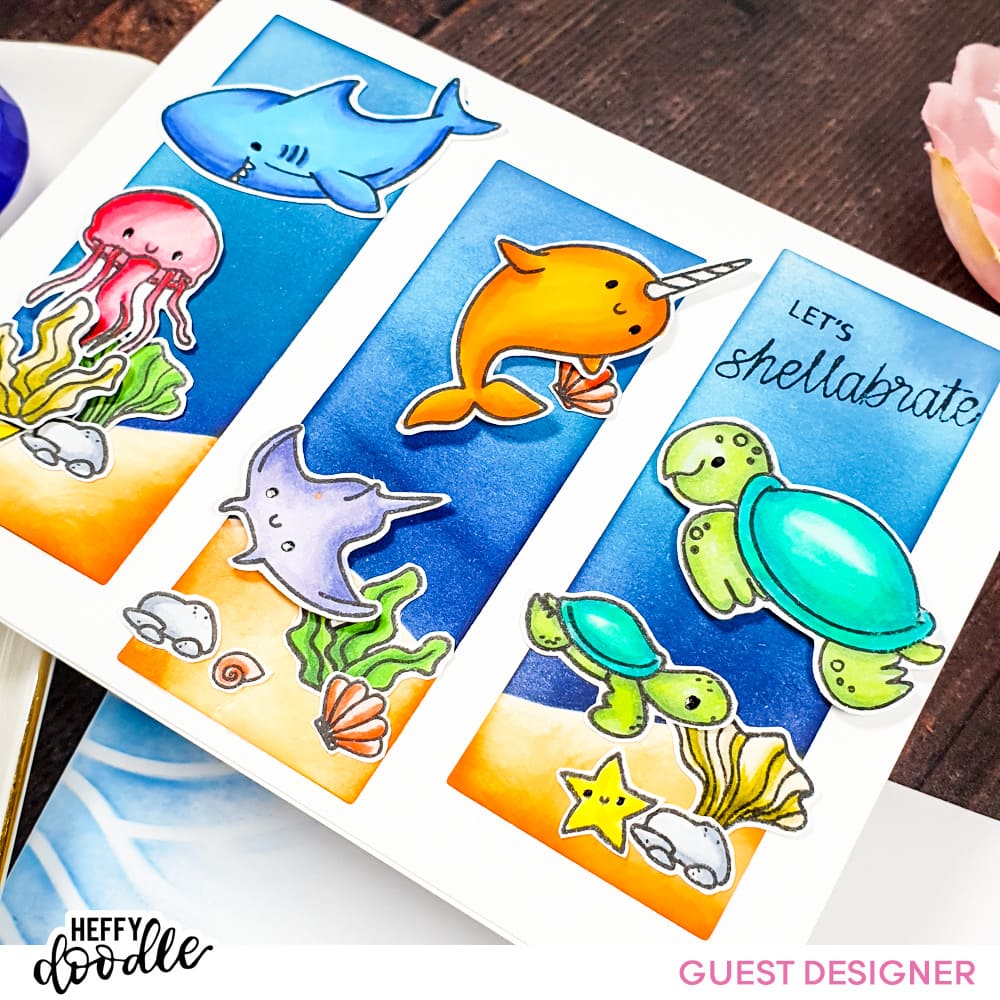
- Stamp images from Oceans of Love & Shellabrate stamp sets onto alcohol marker friendly cardstock in Blackout Ink. Allow plenty of time to dry for best results when colouring.
- Colour the images using your preferred markers; adding a layer of your lightest shade across the whole area, then marking out shadows with your darkest shade. Work back through your shades to bring that deeper colour towards the centre. Repeat if necessary to achieve well blended results. (Colours used listed & linked below.)
- Fussy or die cut the images and begin to map out where you would like them to go on your trio of windows.
- Once you know where your sentiment should be, stamp this directly onto one of the panels.
- Adhere with a mix of liquid & foam adhesive to give maximum dimension.
- Glue each of the 3 panels onto an a2 card base, offsetting them for a fun look!
 Heffy Doodle Shellabrate Shop at: L&F Int |
 Oceans Of Love Shop at: L&F Int |
 Alcohol Marker Cardstock Shop at: L&F Int |
Extra Details
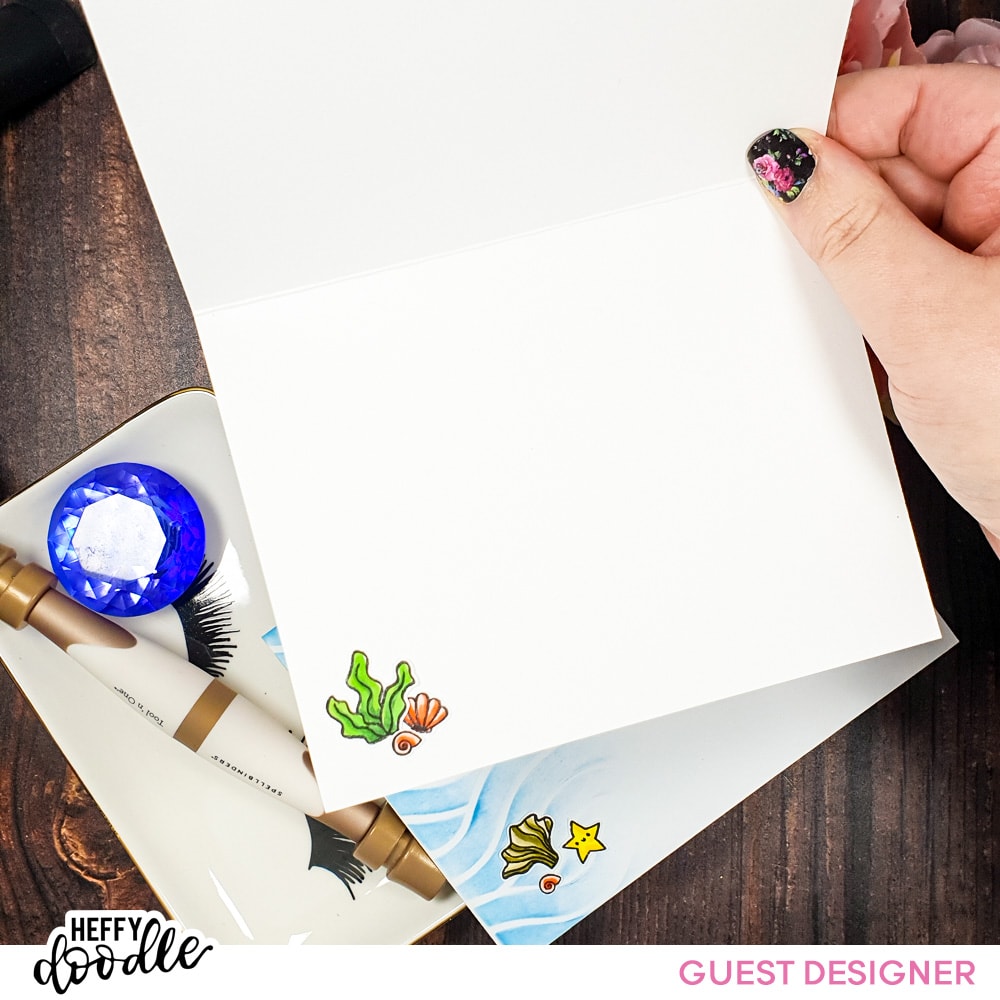
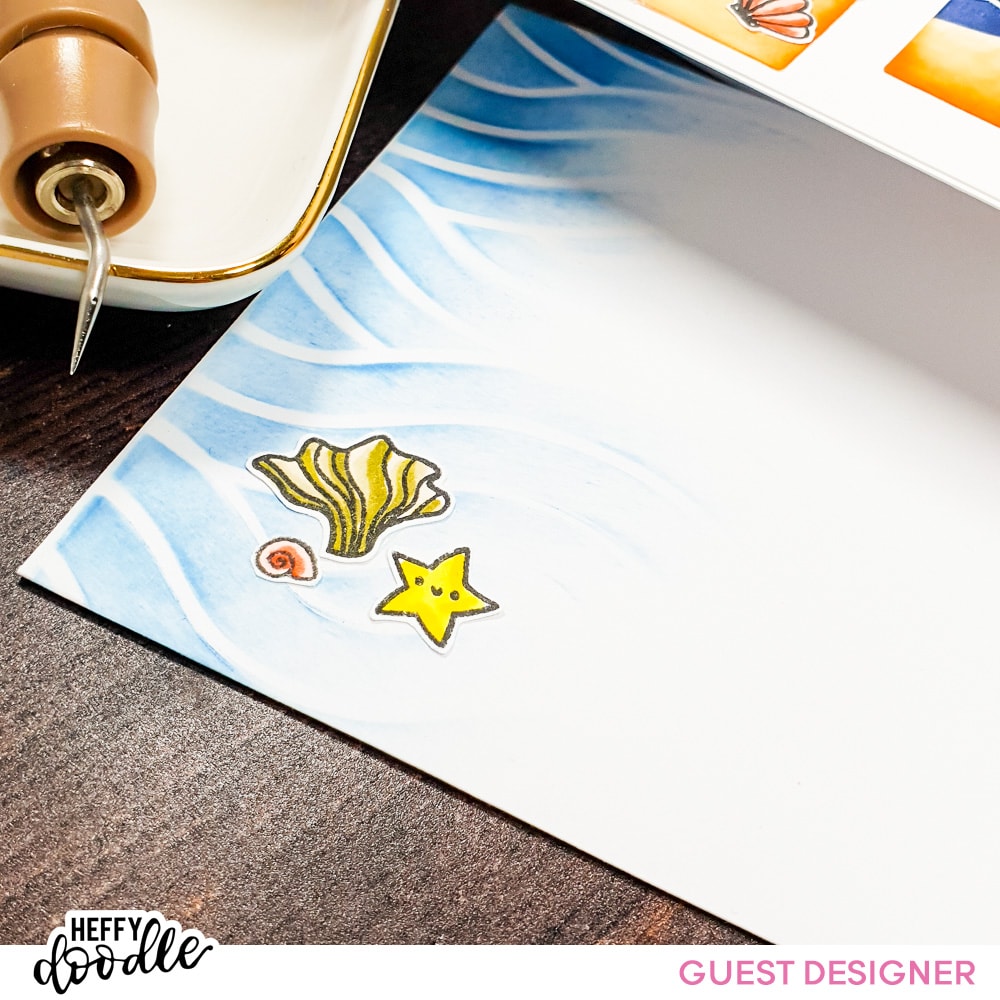
- Save a few of the little scene bits to add some extra fun to the inside of your card, adhering with glue.
- Take an a2 envelope and place the Wave To Me stencil onto it, ink blending over it on the left hand side of the envelope. Allow the ink to naturally fade away towards the middle of the envelope.
- Adhere additional images onto the bottom left hand corner.
- For extra detail: Add black Glaze pen onto the eyes of your critters for some extra shine and a realistic reflection of light.
 Heffy Doodle Wave To Me Shop at: Heffy Doodle |
Oceans Of Love Shop at: Heffy Doodle |
Alcohol Marker Cardstock Shop at: Heffy Doodle |
 A2 envelopes Shop at: Heffy Doodle |
.
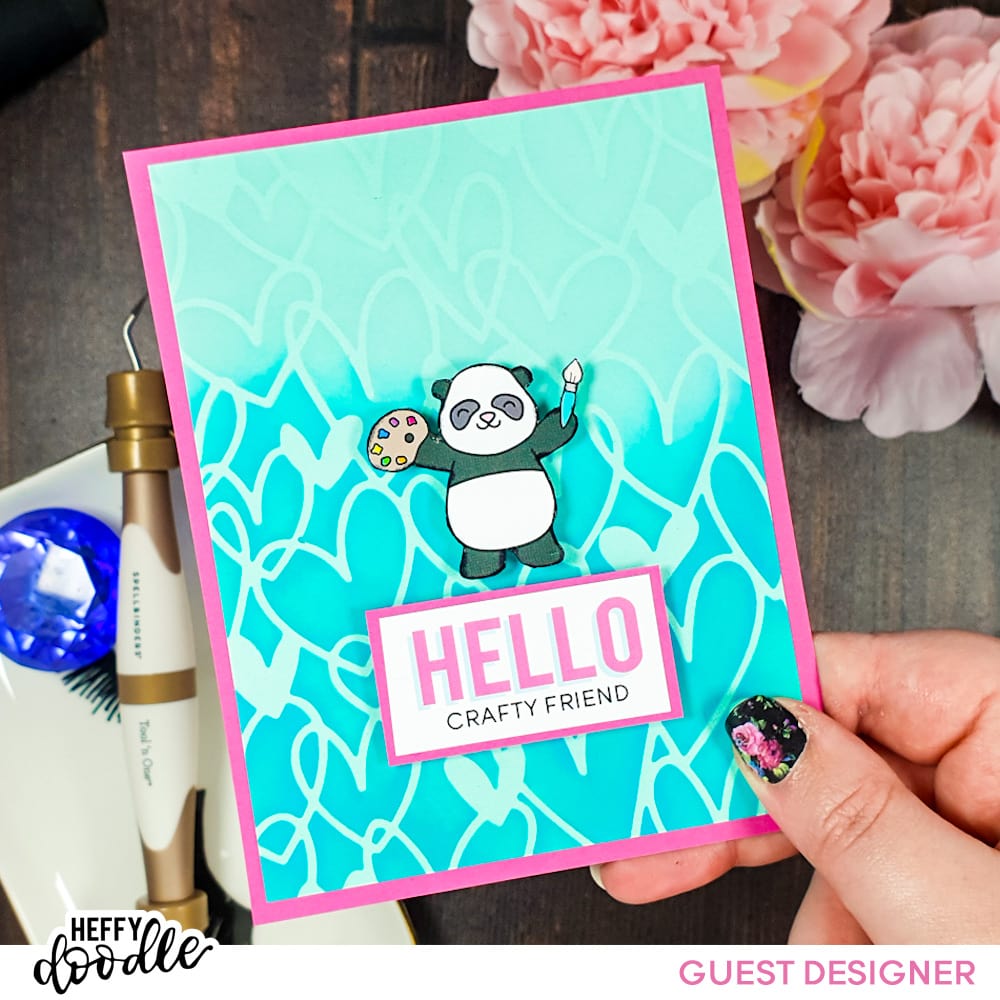
BONUS Card!
Have you ever noticed the adorable little Panda who comes in your package from Heffy Doodle? He’s just TOO CUTE to leave him unused so I decided to pop him on a quick card and I love how he turned out!!!
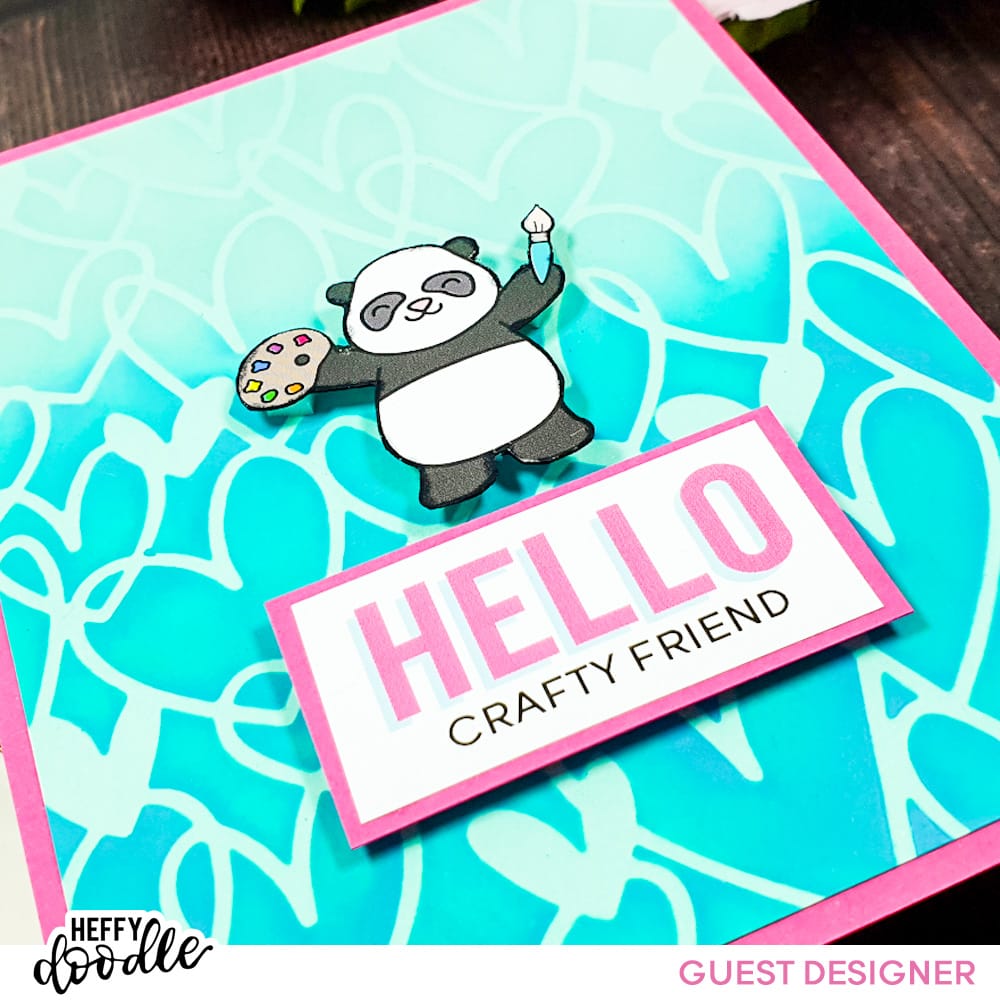
- Fussy cut the Panda and adhere him onto some thicker cardstock to make him a little sturdier. You will need to cut around him again, but I think this works much better than gluing him then cutting both layers at the same time. (This is optional but I would definitely recommend if you are planning on popping him up on foam adhesive.)
- Conceal any imperfect cut edges with a black marker…this will make a massive difference to the way your fussy cutting looks!!!
- Trim the sentiment from the packaging and add it to a hot pink layer of cardstock.
- Add both onto a fun background panel using Heffy foam adhesive! (I ink blended the background panel with the Scribble On My Heart stencil and I will have the tutorial for that up on my own blog, along with two Pretty in Pink Unicorn designs…so be sure not to miss that!)
I have lots of inspiration ready to share throughout this month both here and on my own personal blog/socials, so if you don’t already follow me be sure to hit those buttons so you don’t miss a thing!
Blog | Instagram | YouTube | TikTok
Thank you for spending this time with me, I hope to see you again soon!
Have a lovely, happy, safe and wonderful week!
Stay Crafty! Byeee!