
Mix & Match – Pandtastic Painters and Popping By

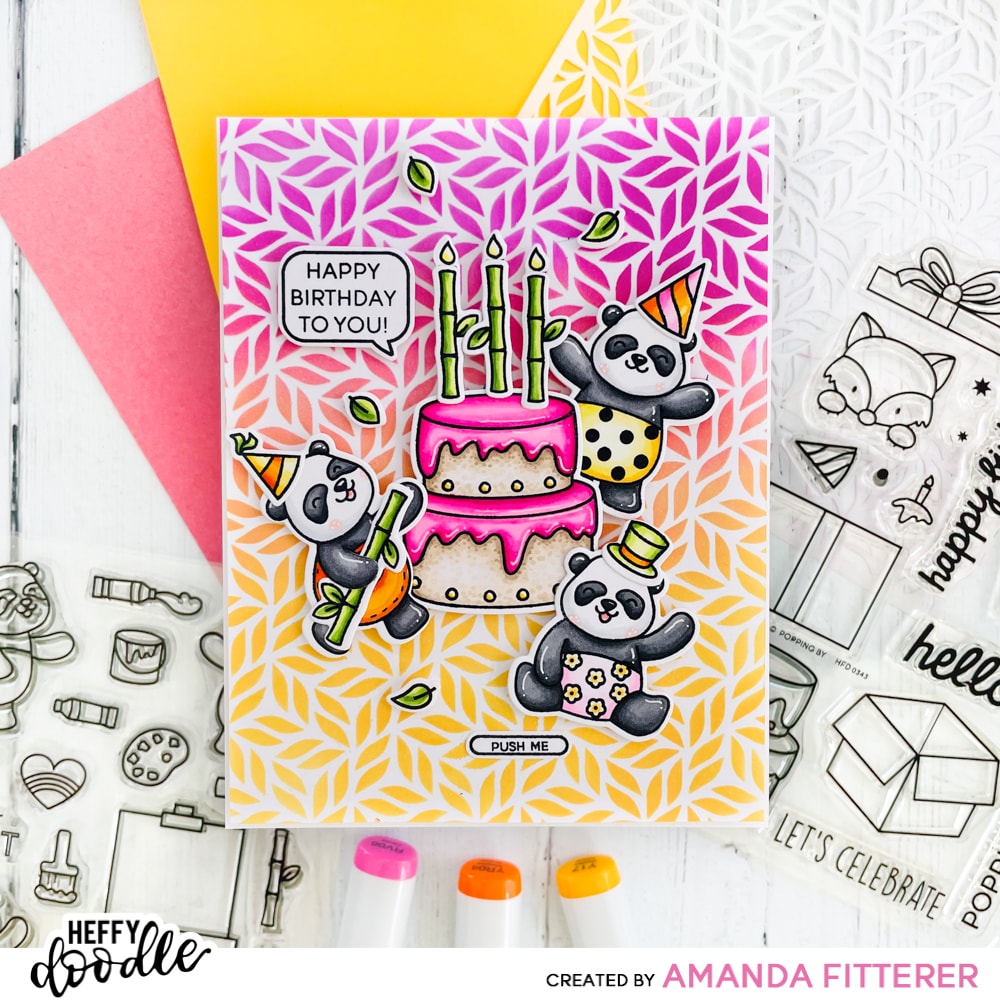
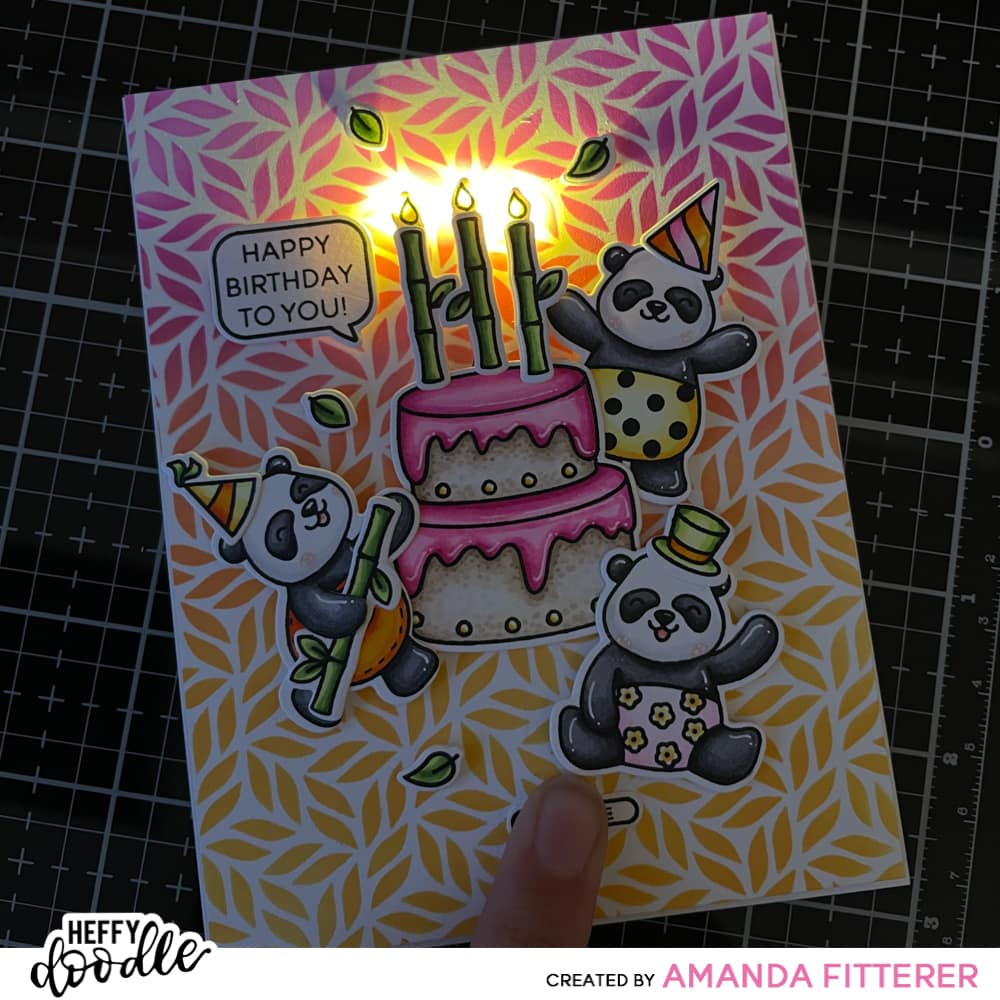
Hey Heffy Doodlers! Did you get all kinds of goodies from the May Release?! I just love all the new products! Today, I’m sharing an interactive card I made mixing and matching a few different stamp sets! When you press the button “Push Me”, the bamboo candles light up!
Keep reading to see how I created this card!
![]()
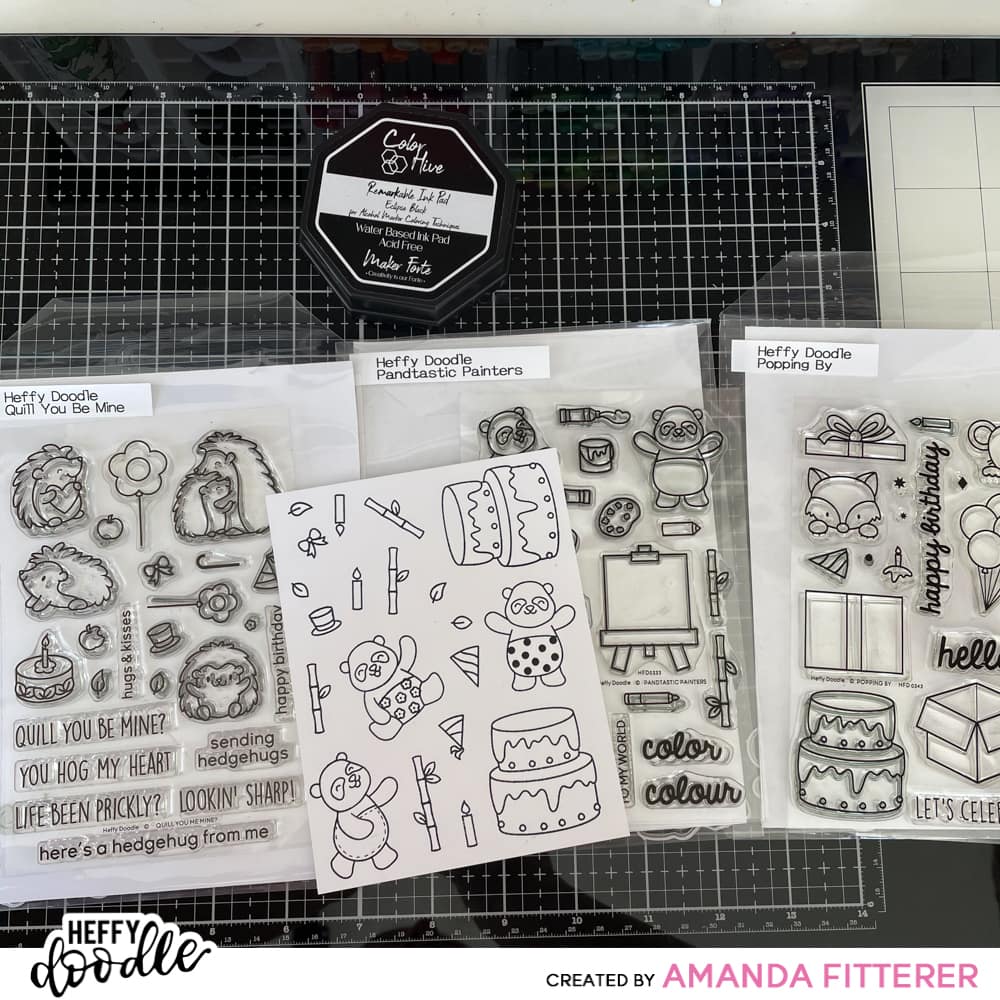
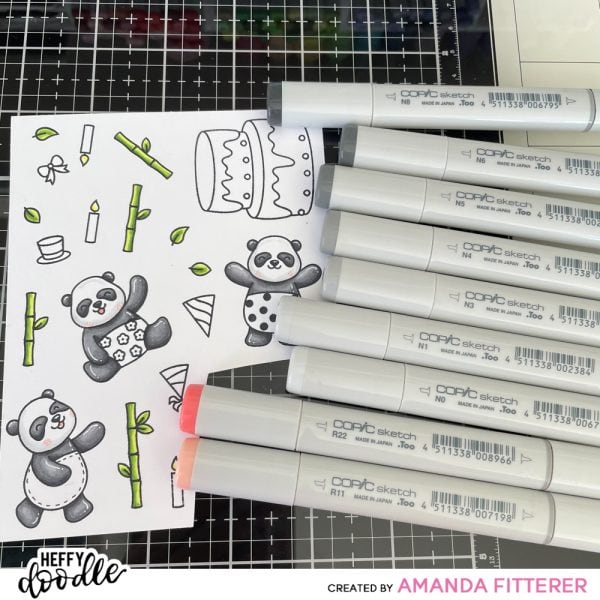
To make this card, I am starting off by stamping images from the NEW Pandtastic Painters and Popping By Stamp Sets. I also am going to stamp a few images from the Quill You Be Mine Stamp Set. To create the illusion of my cute pandas wearing clothes, I will use a black pen to create stitches on one of the pandas. On the other 2 pandas, I’ll use a tiny flower from the Quill You Be mine stamp set and a small dot from the Popping By stamp set.
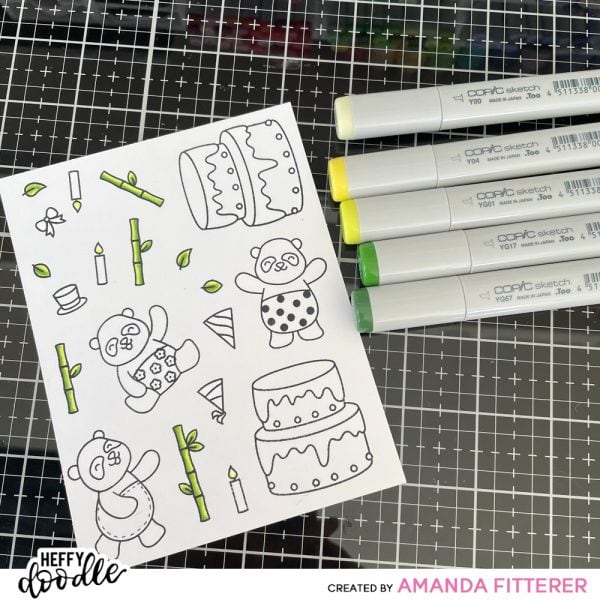
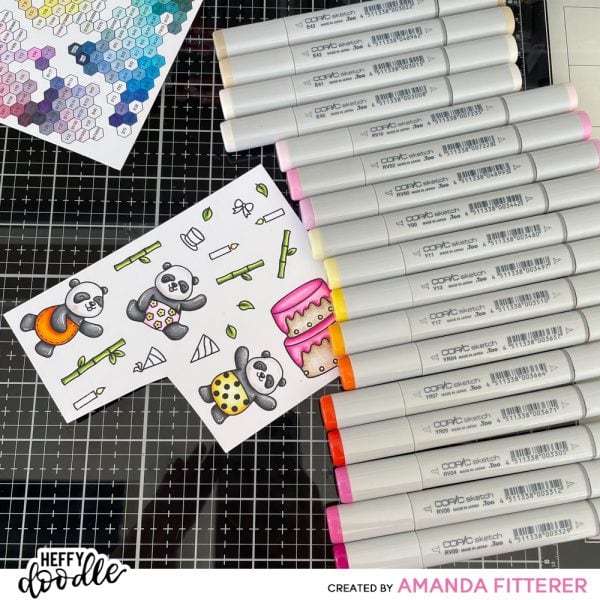
Next, I am going to color my images with Copic markers.
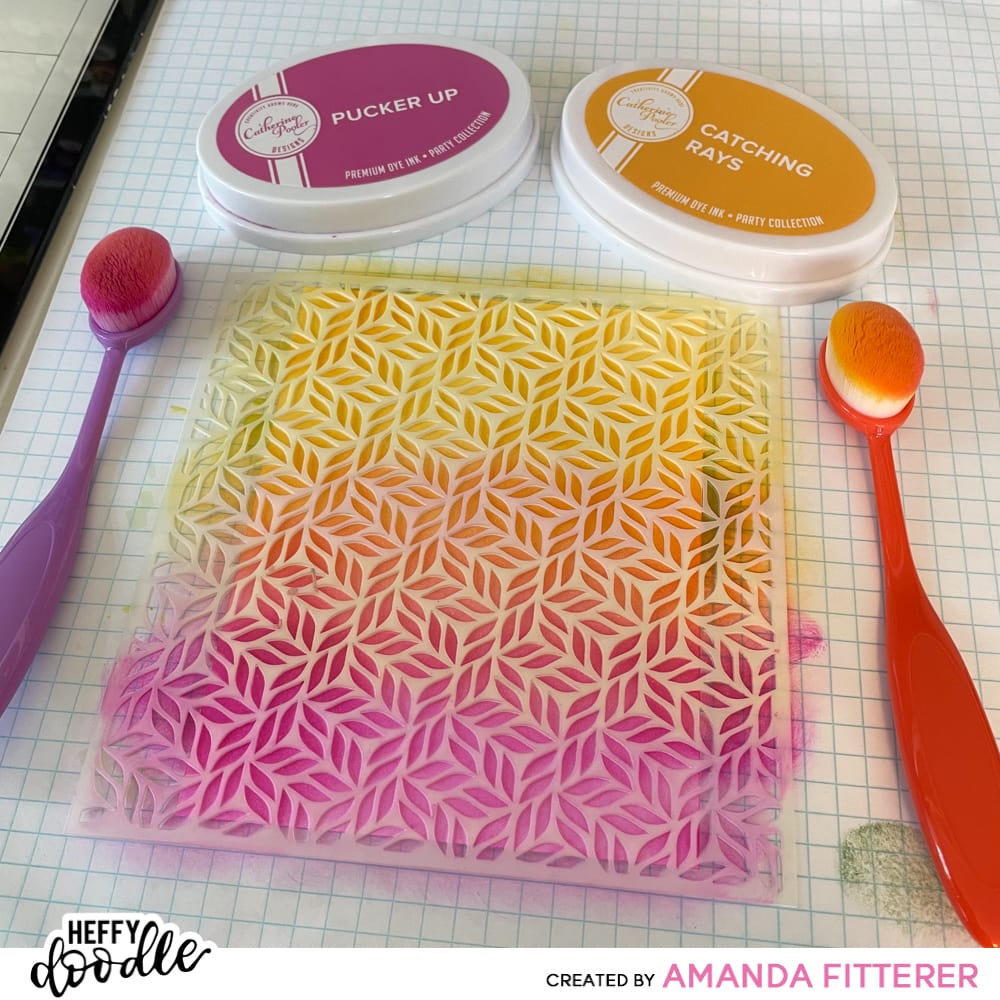
For my beautifully blended background, I’m using the Catherine Pooler Pucker Up and Catching Rays Ink Pads with Fancy Foliage Stencil.
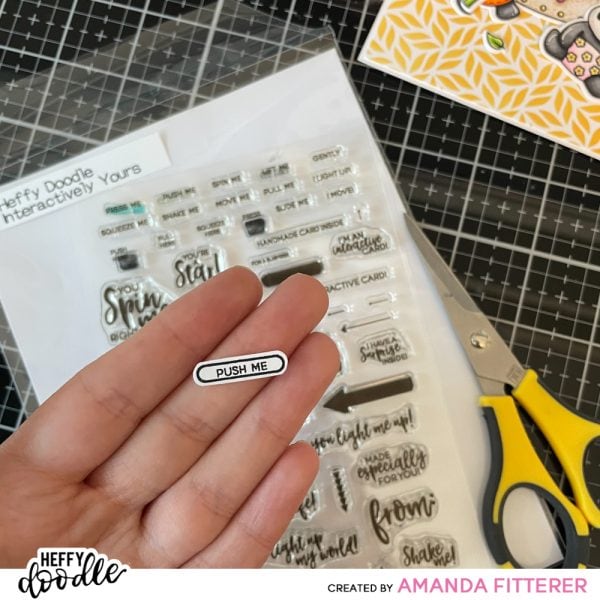
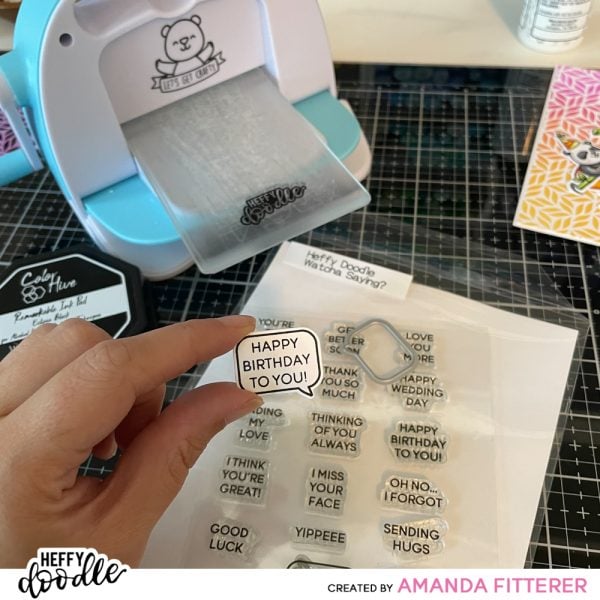
Next up, I’m creating two little sentiments. From the Interactively Yours Stamp Set, I’m using the button image and the “Push Me” text. From the Whatcha Saying Stamp Set, I’m using the quote bubble and the “Happy Birthday to You” sentiment.
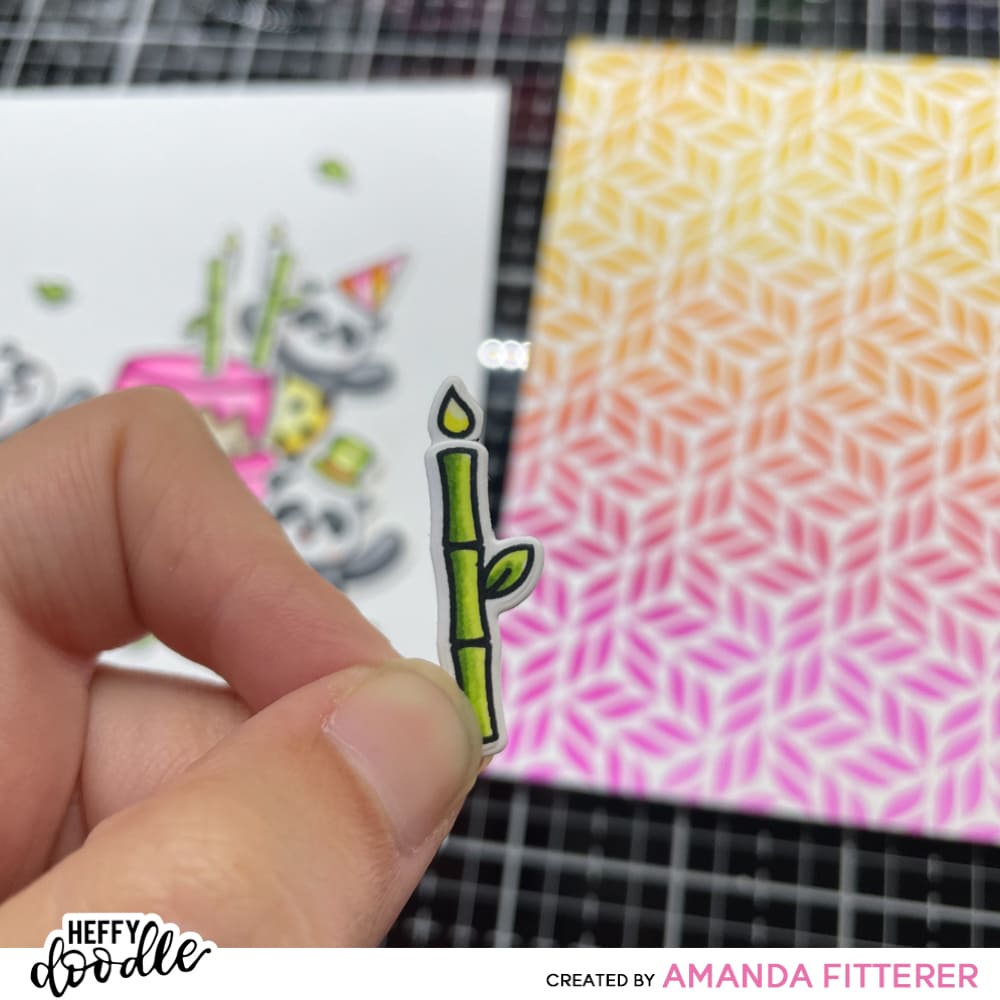
To create some DIY bamboo candles, I’m going to glue my bamboo pieces to my candles, so that only the flame is visible.
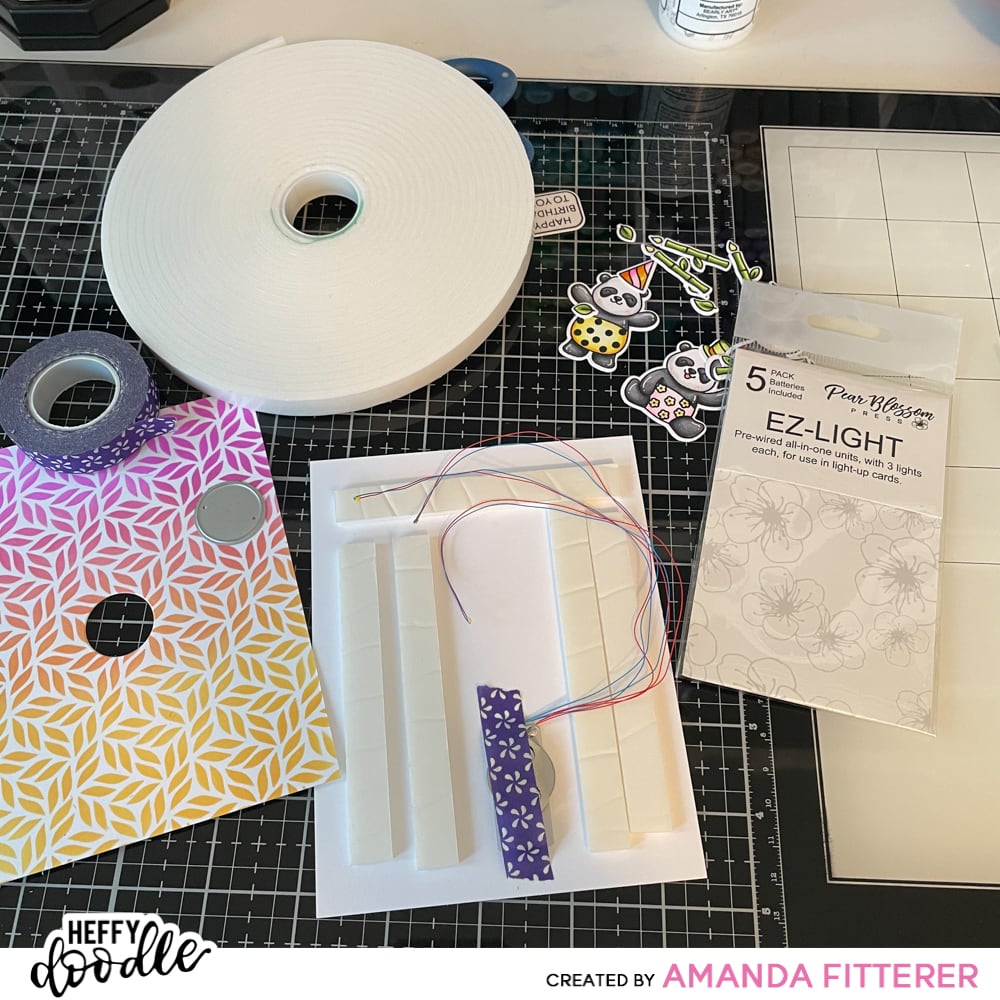
Now, I’m ready to start adding my EZ-Lights! On my Fancy Foliage blended background, I am going to use a circle die to create a hole for my lights to come through. This hole will not be visible once I place my cake in front of it. On my card base, I make note of where I want my button to go. I am using some tape to hold my button in place. I’m using 3D Deep Foam Tape all the way around the rest of the card base. I have to use the Deep Foam tape because, otherwise, the button will stick up too far and will create a bump in the front of the card.
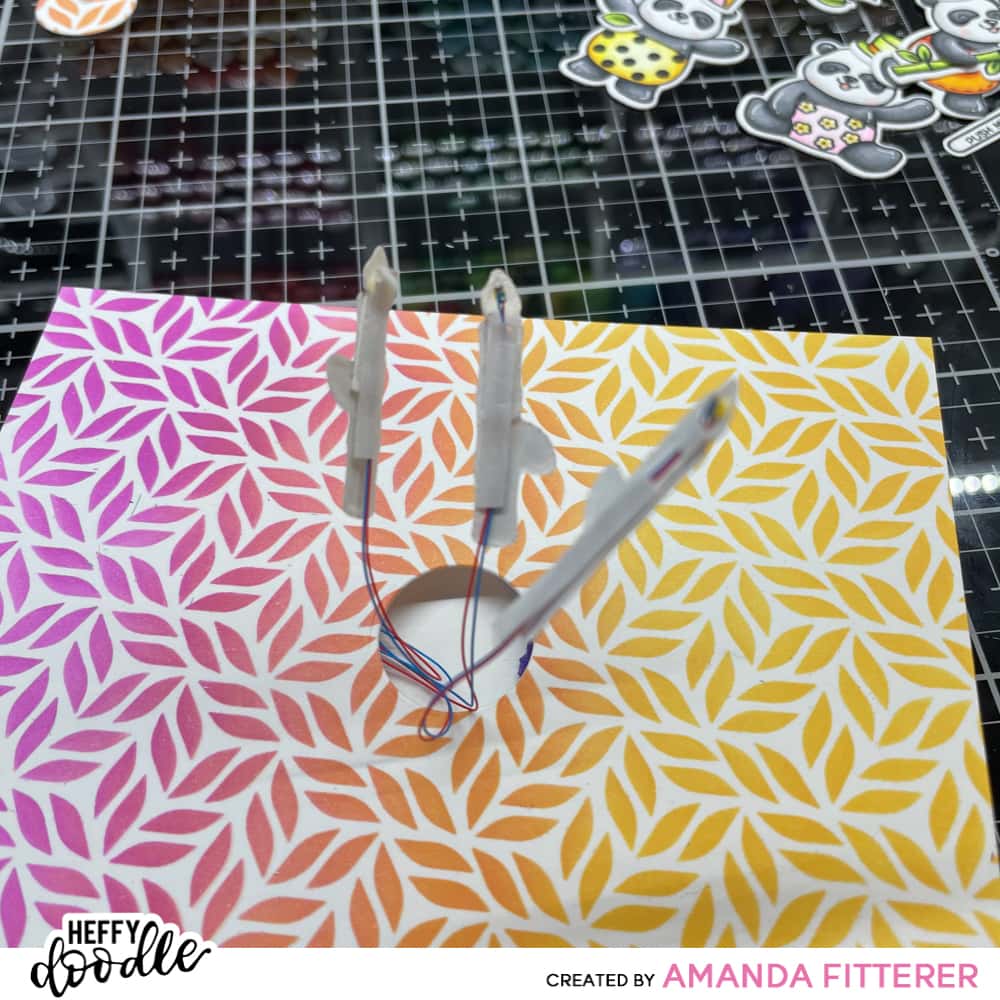
Now, I can attach my card front to the card base, feeding my wires through to the front of the card. I am lining up each candle flame with a light from the EZ-light and then using double sided tape to hold the lights in place.
The last step is to get everything attached to the front of the card with glue or 3D foam squares! The last step is making sure that my “Push Me” button is lined up with the EZ-Light button before I glue it down!
![]()
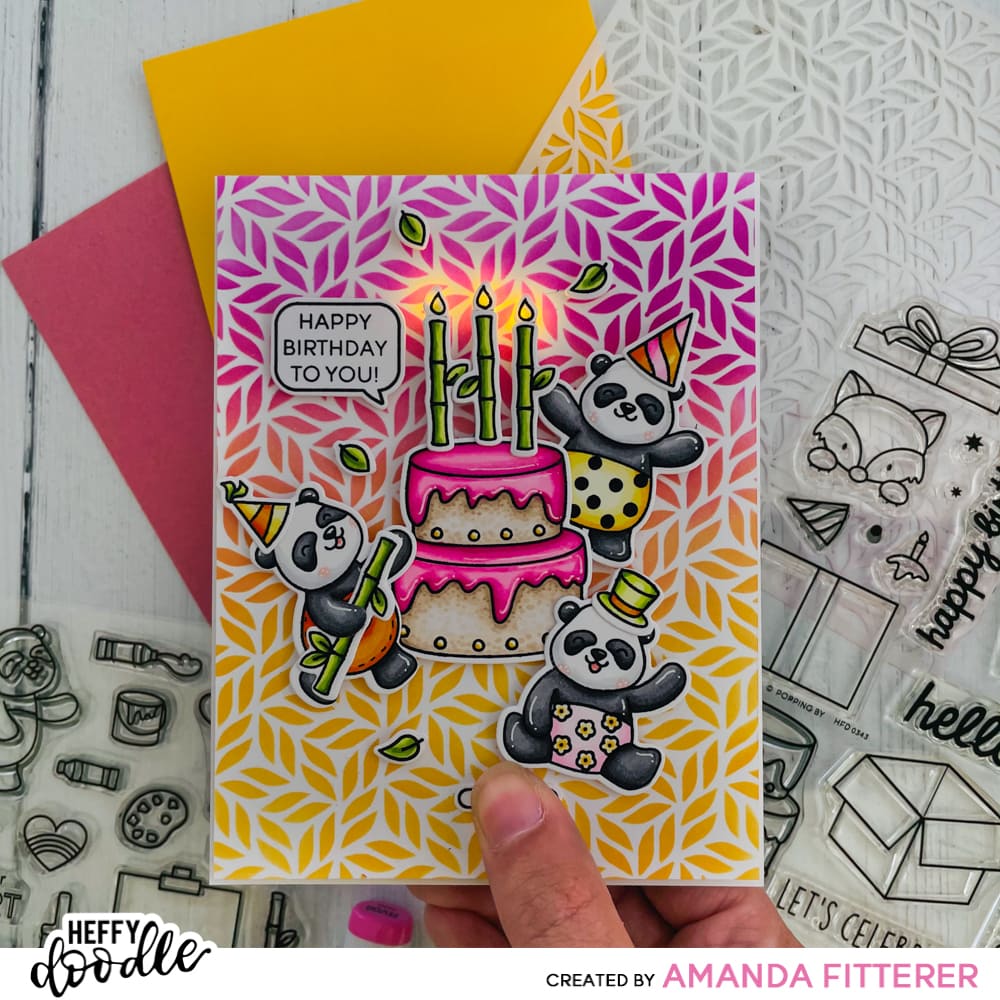
Here are a few more photos of the finished card!
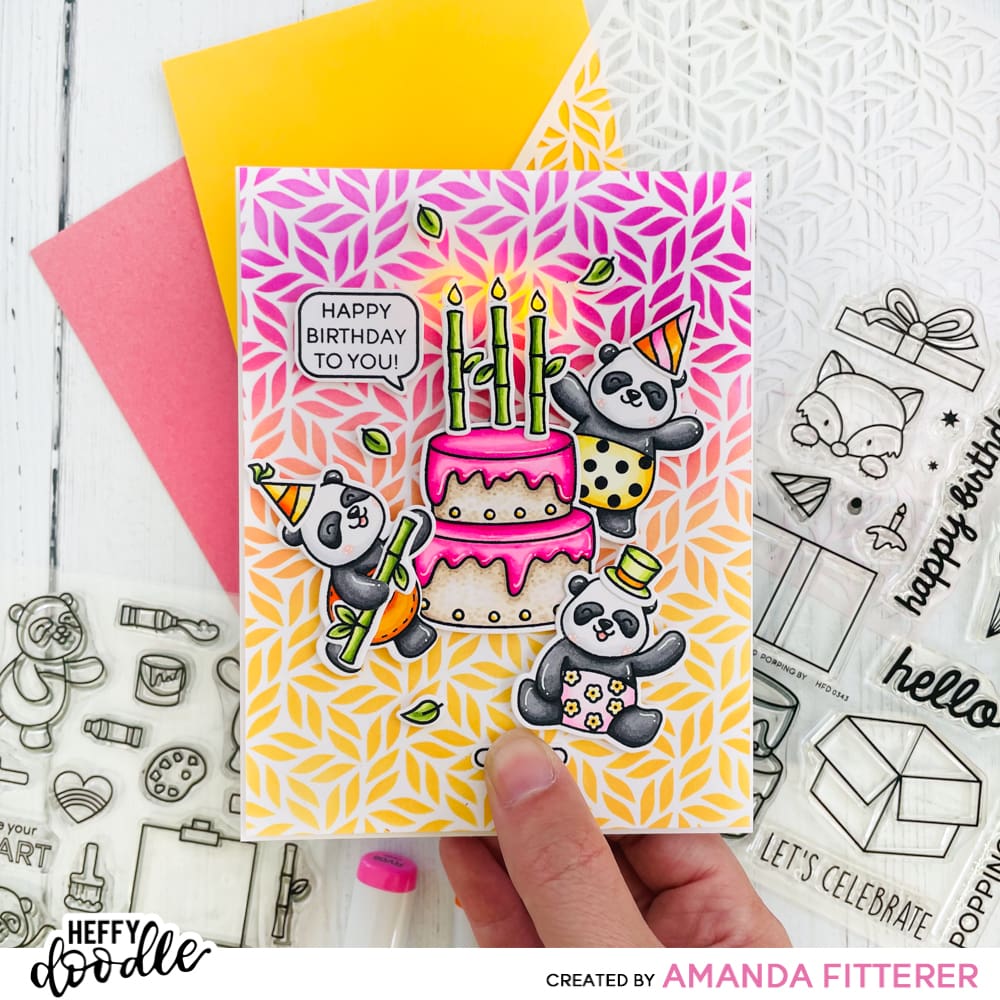
And, that’s it for me this time! I hope you enjoyed the card I made and it inspires you to create something fun today! Xx, Amanda