
Let’s Shellabrate!

Happy Friday Darlings! It’s Jo Laverty here with a Summer vibe card that is perfect for any occasion that requires some Shellabration! For today’s card, I used the ‘A Little Shellfish‘ stamp set and the funky ‘Wonderfully Woven‘ stencil.

If you would like to find out how I made this fun ‘Shellabration’ card, read on for the step-by-step tutorial.
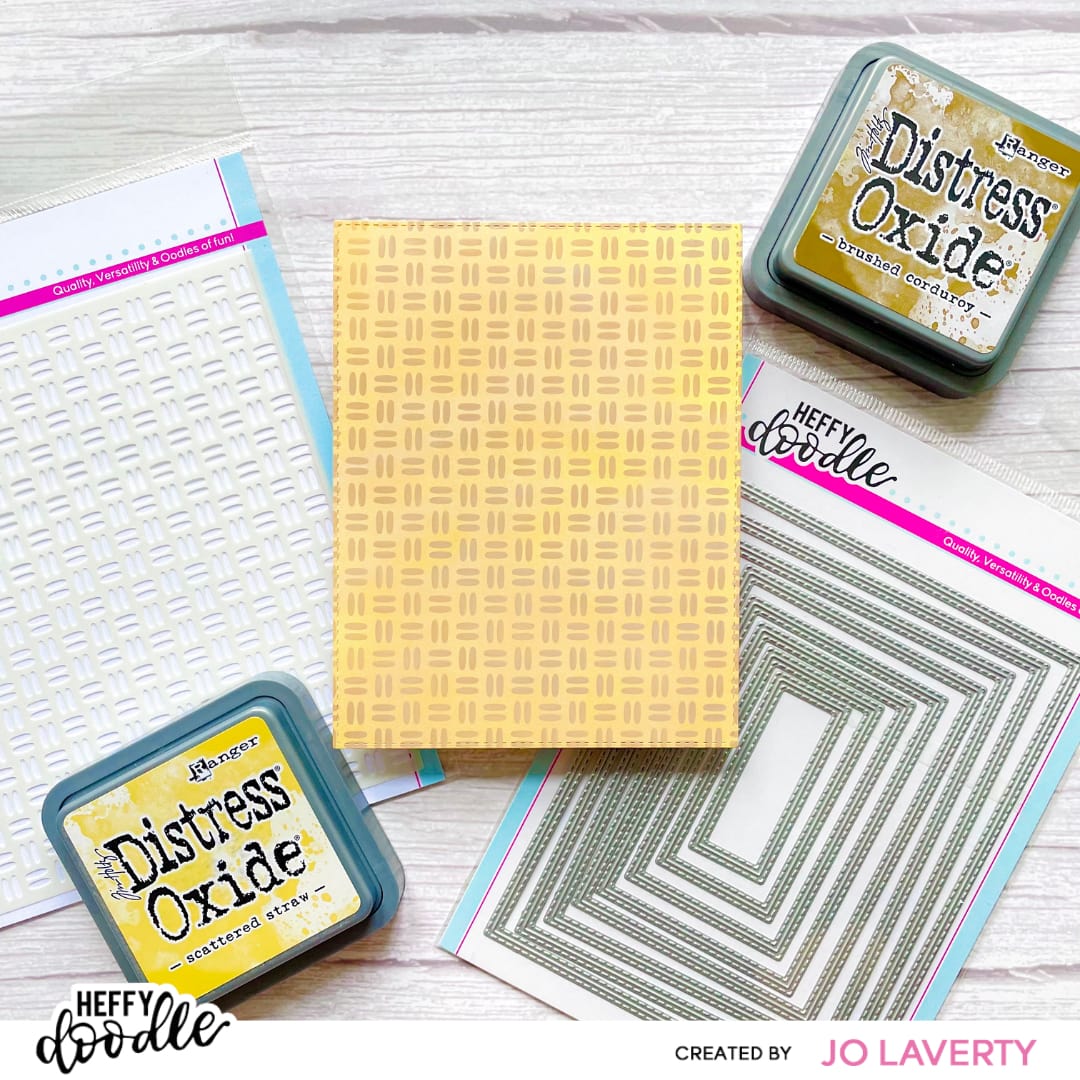
Background
Taking the largest ‘Imperial Stitched Rectangles‘ die, and some white cardstock, run both items through a die cut machine together. Next, taking a blending brush and Distress Oxides ‘Scattered Straw’, ink up the entire panel. Once complete, place the ‘Wonderfully Woven‘ stencil over the panel and taking another blending brush and Distress Oxides ‘Brushed Corduroy’, ink over the stencil.
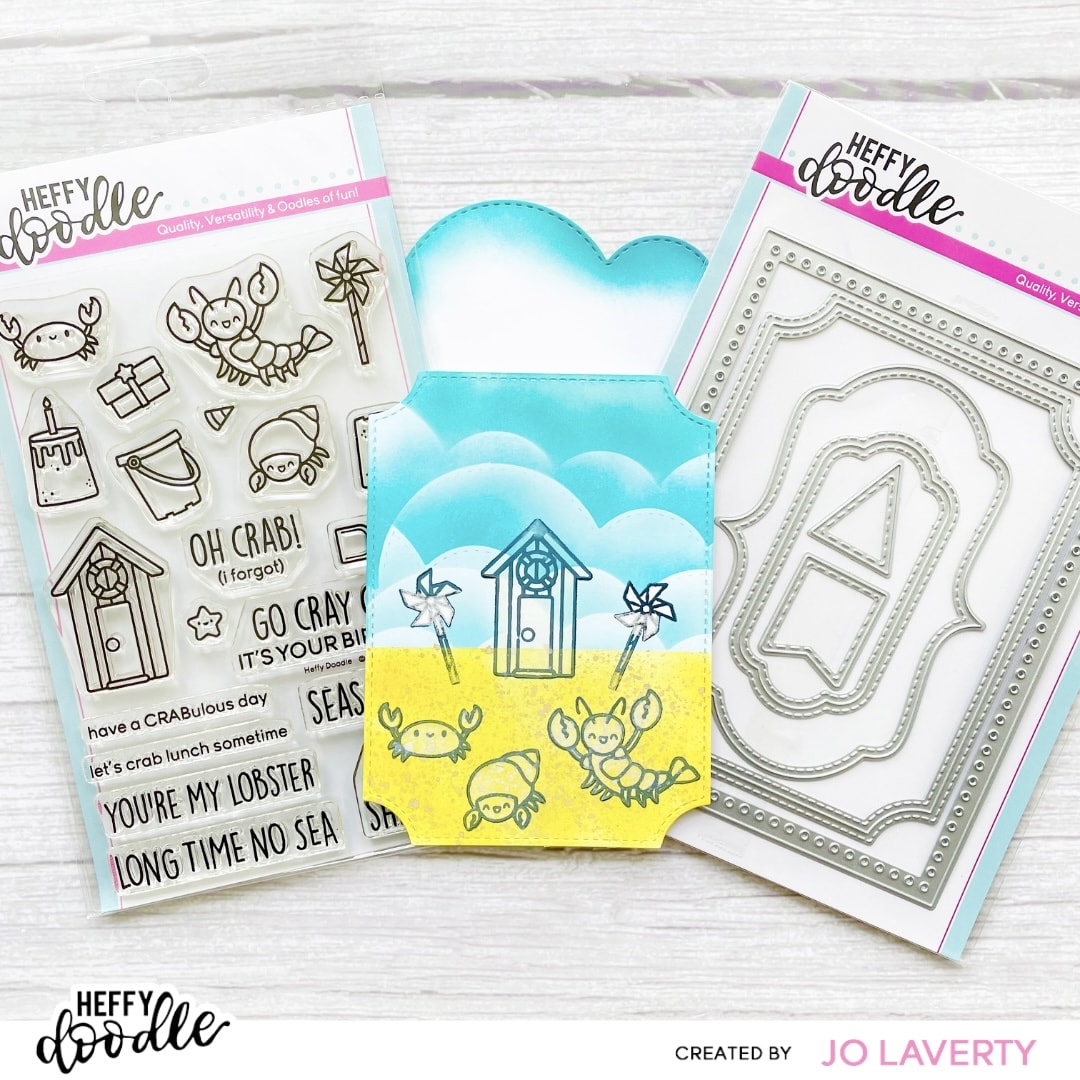
Image Layer
Taking some white cardstock and the second largest shape from the ‘Showtime Frame‘ die, run both through the die cut machine. Now here is where the fun begins! Using images from the ‘A Little Shellfish‘ stamp set, spend some time designing your scene. Once you are happy, stamp your images and mask them up so that you can work on the background.
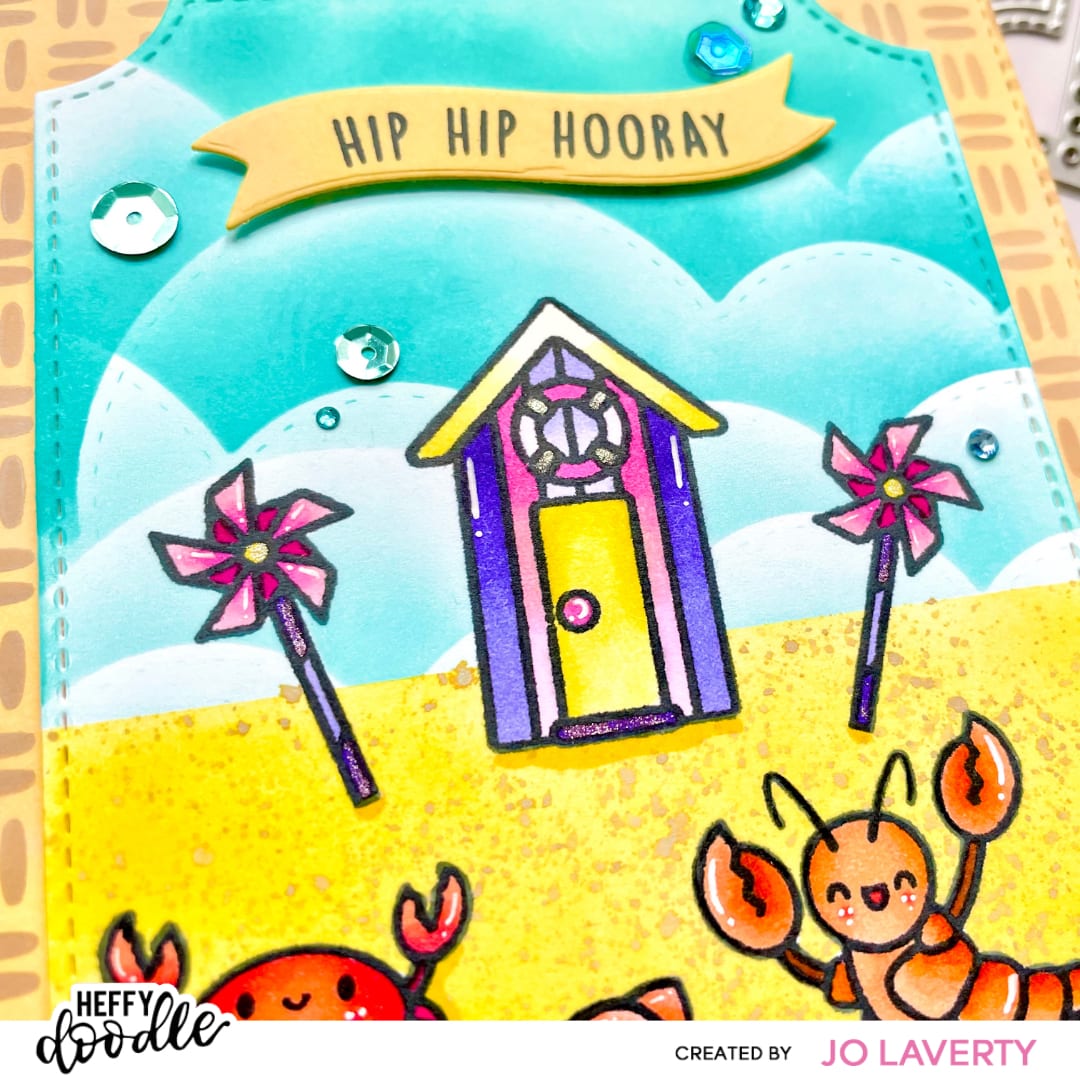
I used a masking tape to create a beach and sky section, then using a die from the ‘Silver Linings Cloud Border‘ die set, I cut the shape on some white cardstock, and used this as a stencil for my sky. I have always found this technique super helpful! If you don’t have a stencil for the design you need, but have a die instead, then you can create your own stencil. For the sky I used Distress Oxide in ‘Peacock Feathers, and for the sand I used ‘Mustard Seed’ and splattered some ‘Brushed Corduroy’ on top to give the sand some texture.
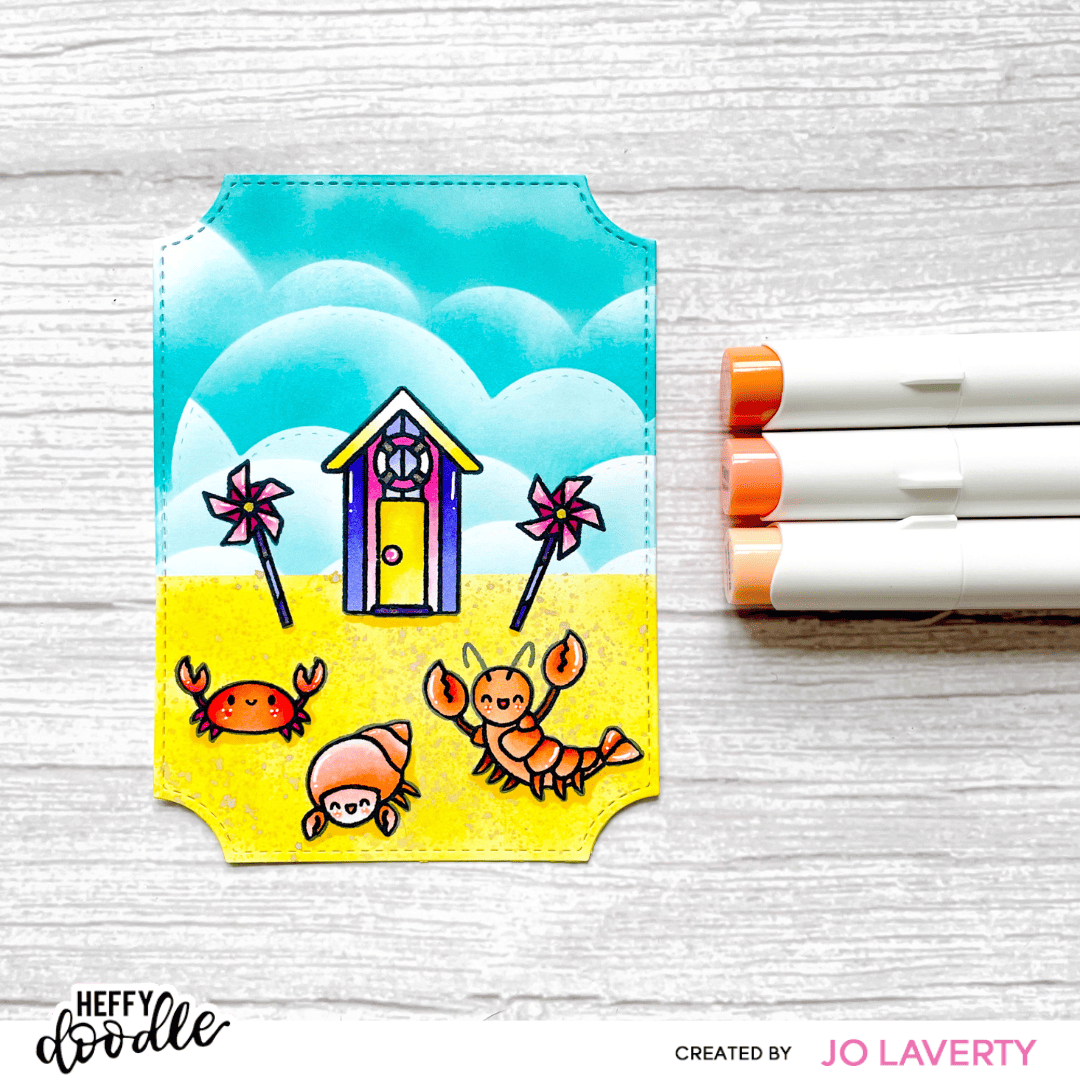
Images
Once the background is complete, remove the masking and colour in your images. I used Ohuhu alcohol markers to color in the images and used a white Gelly Roll pen to add in some highlights. Tip: any black outline ink that has faded from the Distress Oxide can easily be restored by going over with either a fine black tip pen or pencil.
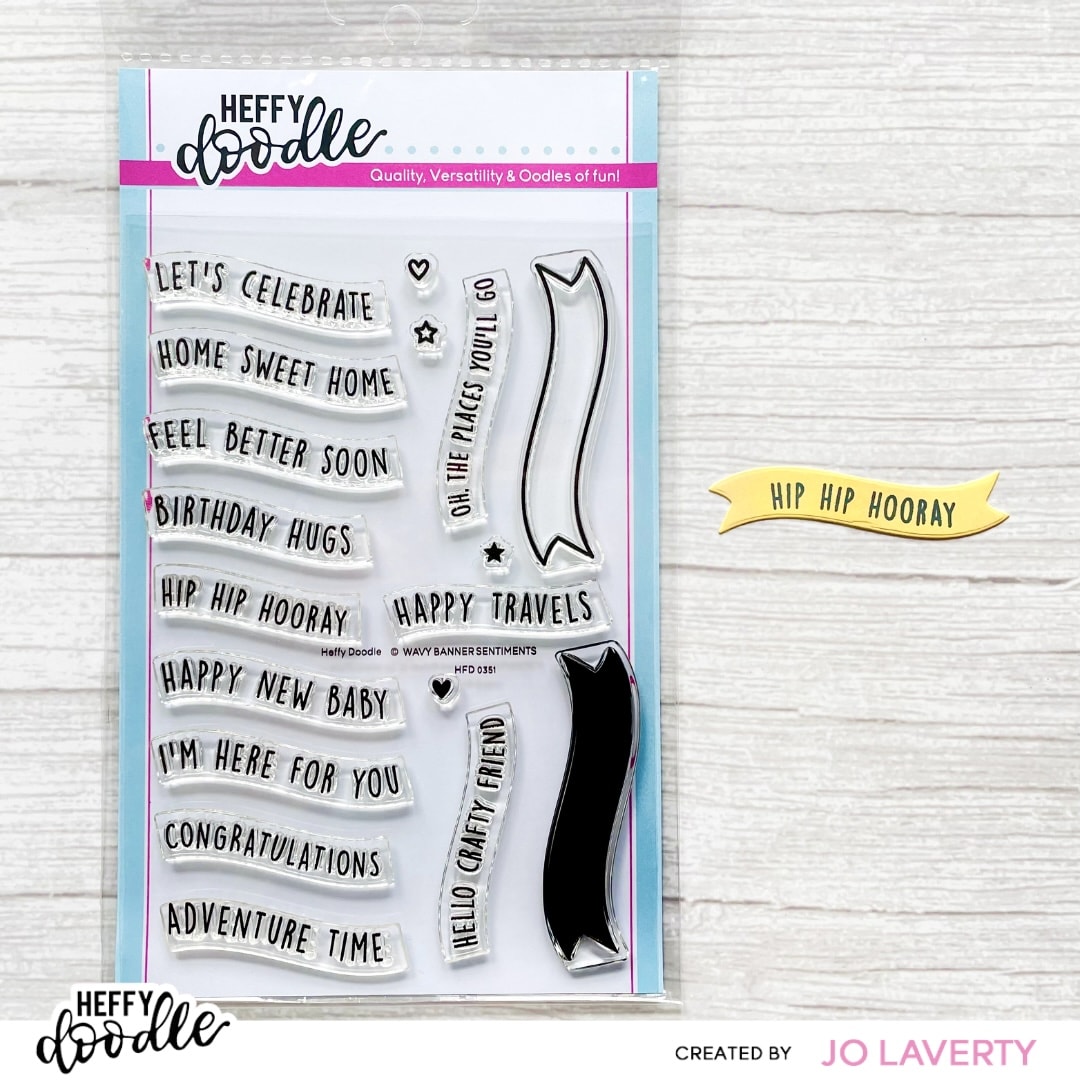
Sentiment
Taking some white cardstock and Distress Oxide in ‘Scattered Straw’, I inked up the card, and stamped a sentiment from the ‘Wavy Banner Sentiments‘ stamp set, and then used the ‘Wavy Banner‘ coordinating die set to cut the shape.
Final Touches
To finish off the card, I adhered the image layer to the background layer using some foam tape, applied the sentiment onto the image layer using some thinner foam tape, and then added some sequins from the ‘Covesea‘ sparkle mix.
I hope you enjoy this card and the step-by-step tutorial. Don’t forget to tag Heffy Doodle in all your HD creations so that we can show them some love. Crafty Hugs, Jo x