
Let It Snow!
Hello again, Heffy Doodlers! It’s Laura Rumble back for my second guest designer blog post. Here’s a recap of my quick get-to-know-me…
I’ve been creating all my life. My favourite toy as a child was my giant paint palette from Father Christmas. In 2000 aged 14 I was diagnosed with M.E. and my life has been considerably slower and sleepier since then. I’m unable to walk more than a few metres at a time and haven’t been well enough to leave the house for more than a year. Through all this, crafting has been my life saver. I may not be able to do much BUT I can spend small chunks of time die cutting, stamping, gluing and creating. A little here, a lap tray in bed, ten minutes there, maybe half an hour at my desk and not only do I have something physical to show but I also have had the therapy of playing with paper.
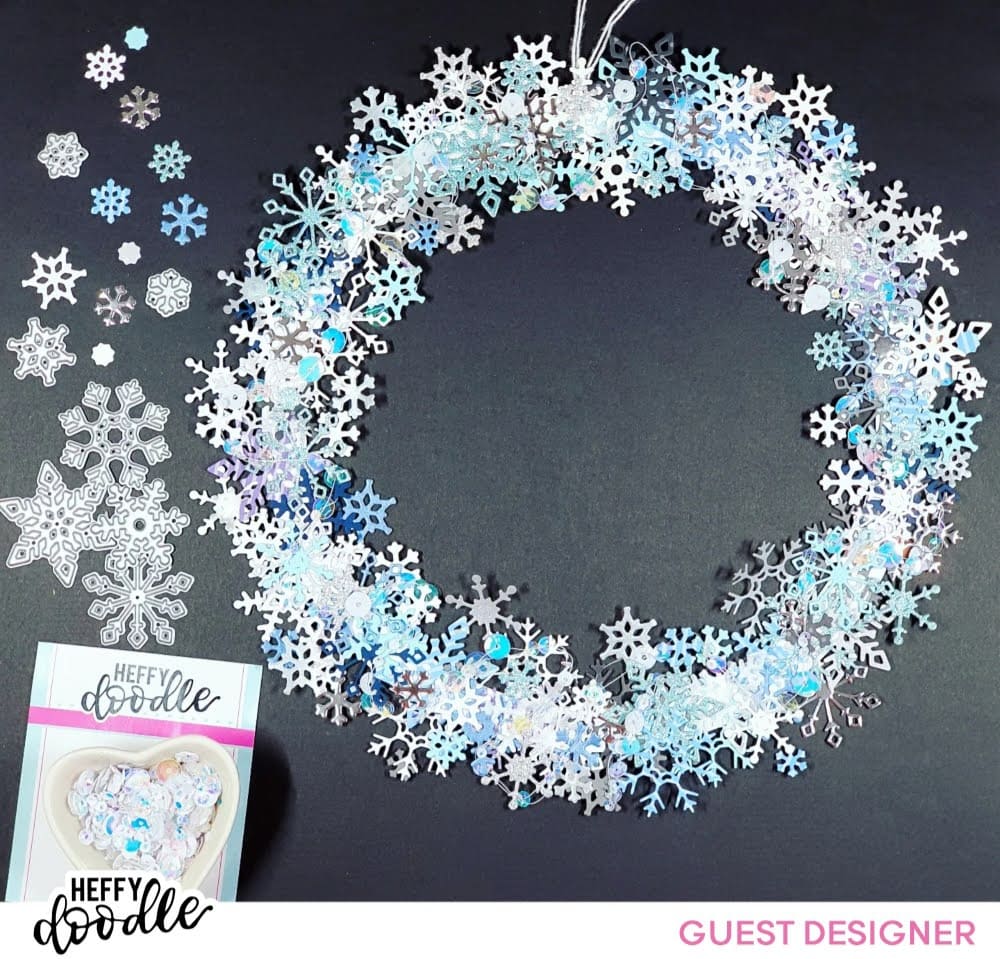
I have a further two projects to share with you today. This time my focus was on snowflakes using the Snazzy Snowflakes die set on my first project and the Snow Storm stencil on my second.
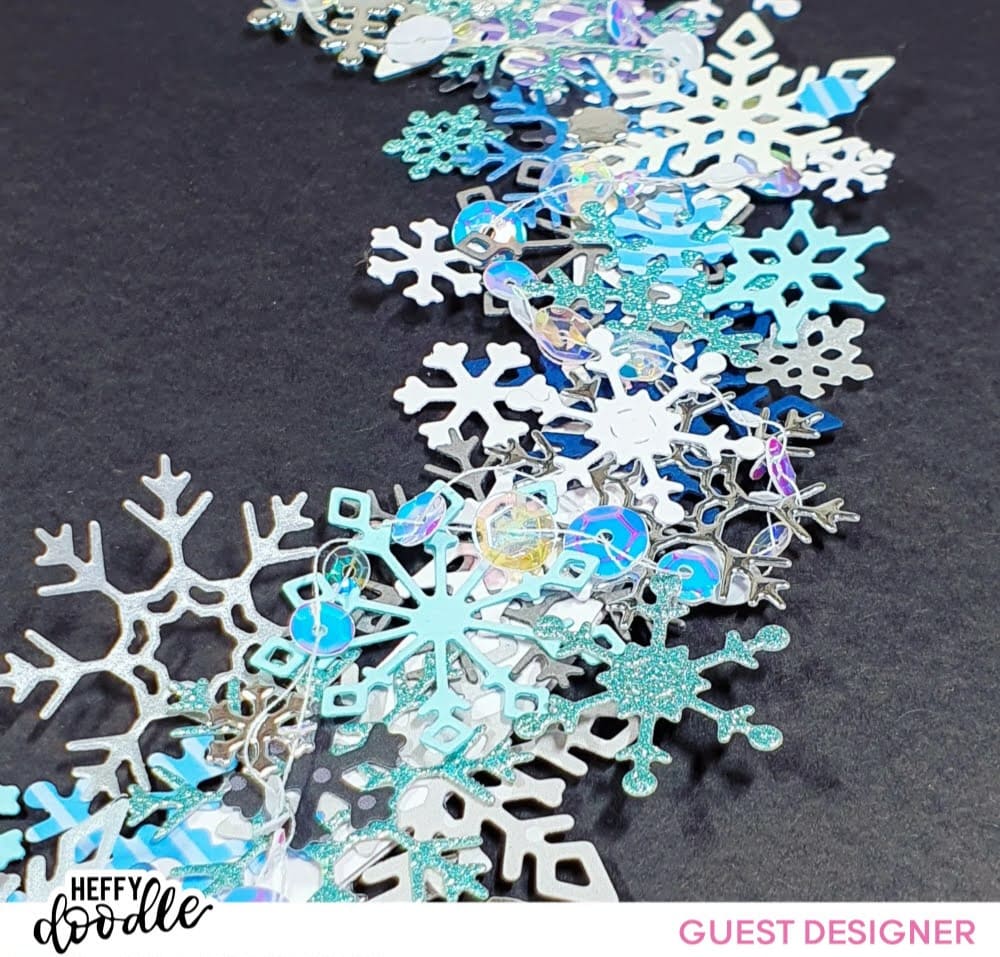
I pulled out random scraps of white, blue, grey and silver cardstock from my stash. I added in some patterned paper from the Man Cave and Summer Holiday 6×6 paper pads, and some vellum, and set about die cutting. I’ve learnt from making wreaths in the past that I will use more than I think I will, so I now know to cut plenty. It’s good to have choice of colour and shape so you can get an even appearance overall. And anyway, there aren’t really any leftovers in a craft room – they’re just bits prepared for a future project!
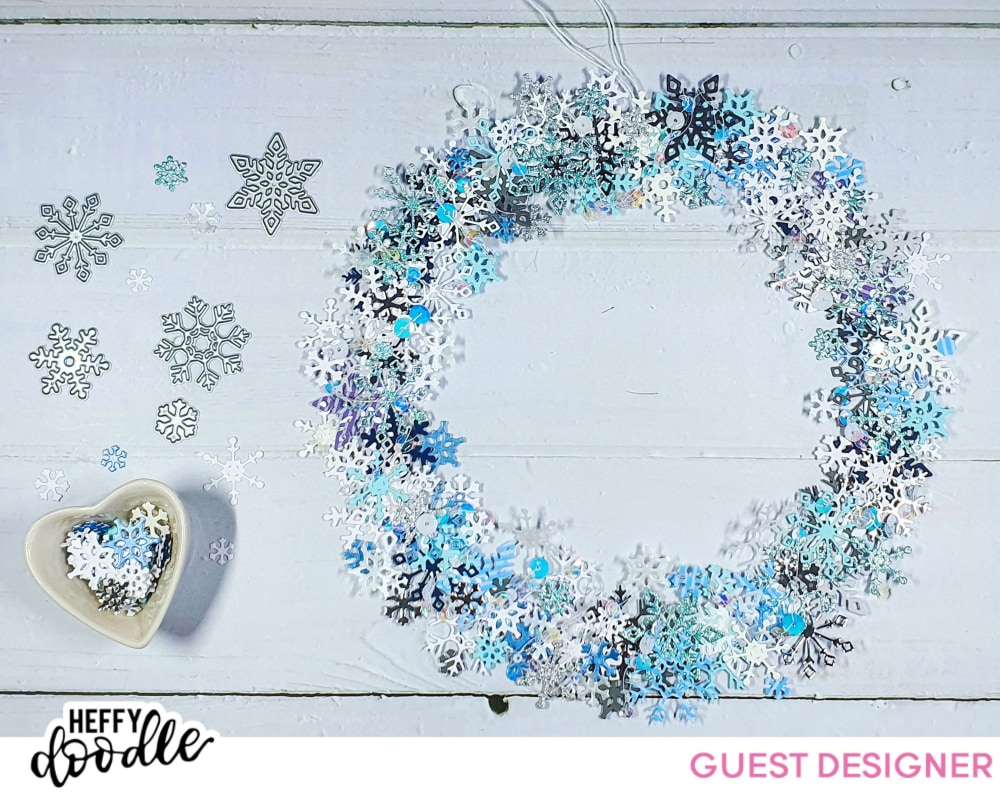
I start with a base of cardstock rings. If you’re aiming for a small wreath, perhaps to include as part of a card design, nesting dies are great for this. I wanted a bigger wreath to hang on my door so out comes the 12×12 cardstock and a dinner plate! I like a sturdy base to build on so I use two layers of thick cardstock or even three layers if the cardstock is a little on the lighter side.
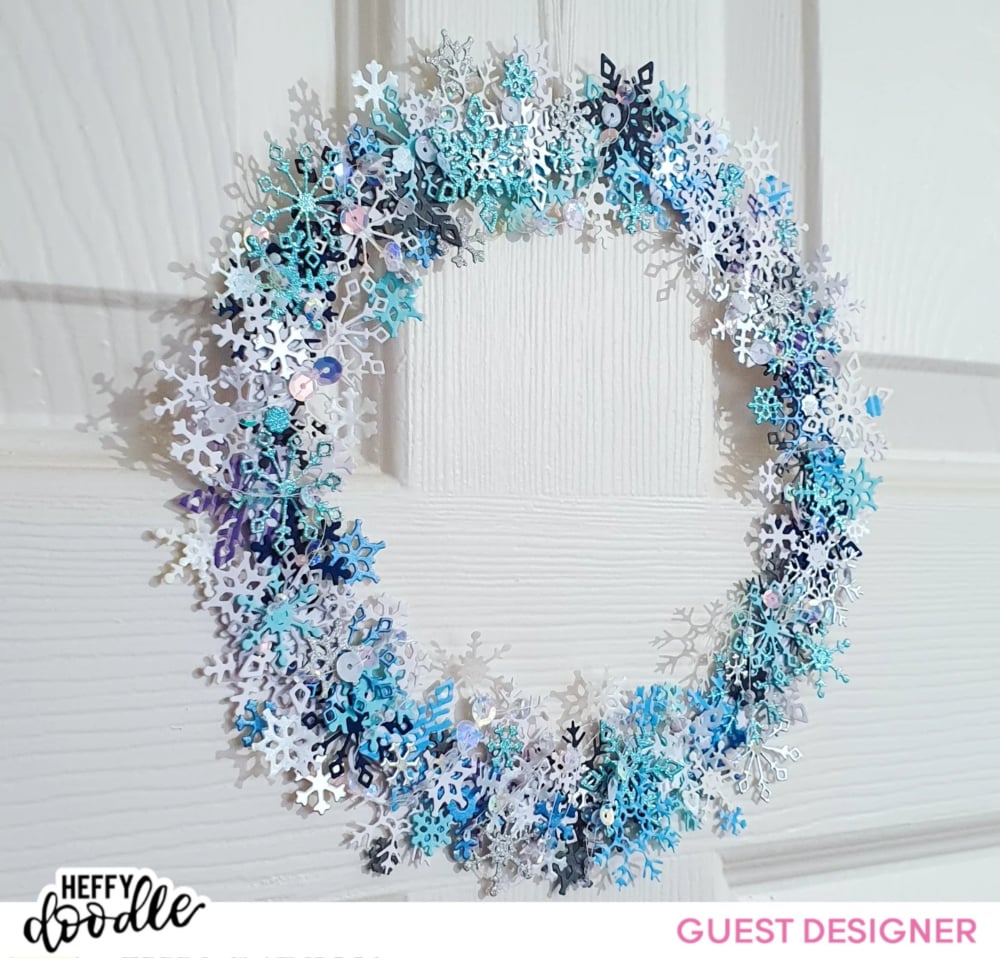
I’m not sure there is much method to the adding of the snowflakes… I started with the larger ones and the darker colors and just slowly and gradually fill up the wreath. They don’t need much to secure them in place, just a small dot of glue in the centre leaving the limbs of the snowflakes free to curl up a little and add dimension. As the snowflakes are a very open design there will always be a bit if the base showing through. I don’t feel this matters. It doesn’t detract from the wreath over all but it’s something to bear in mind when choosing the color of your base cardstock.

When I had a full wreath, I decided it needed extra sparkle. I strung some Whipped Cream sequins on some cotton thread and weaved them in amongst the snowflakes. I then chose which was the top (a task I made much harder than necessary!) and added a loop of embroidery floss to hang the wreath by.
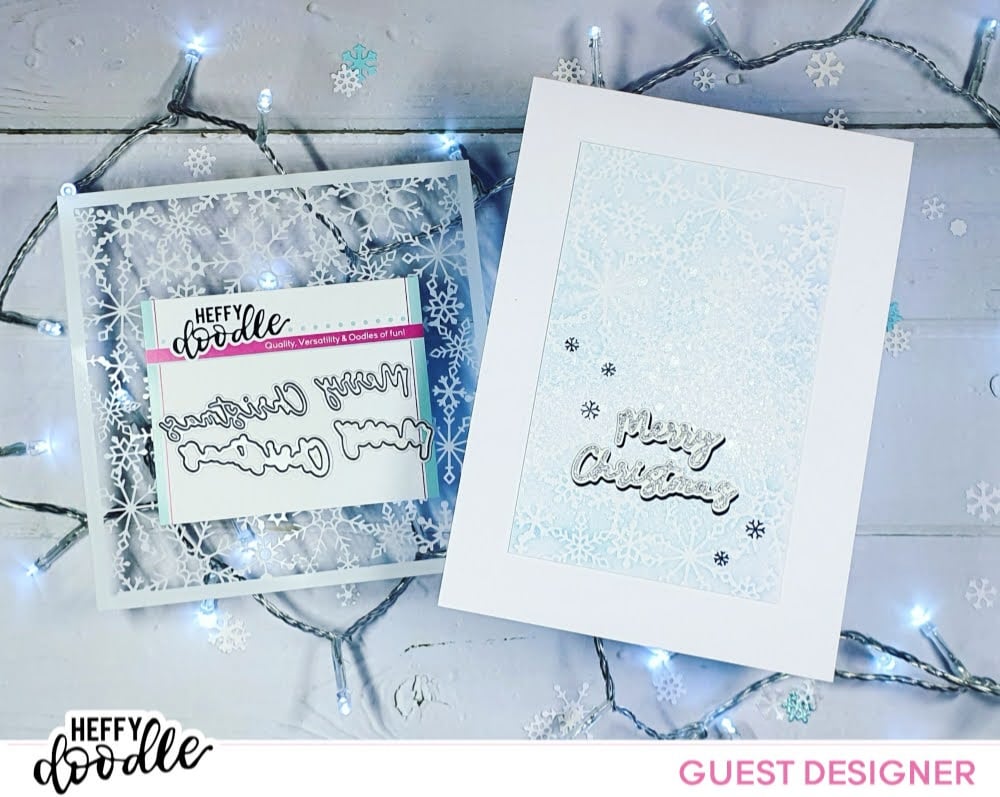
For my accompanying card I ink blended a panel of white card using a selection of pale frosty blue inks and the Snow Strom stencil. I lightly spritzed some shimmer sprays over the top and then added some larger splatters of shimmer too.
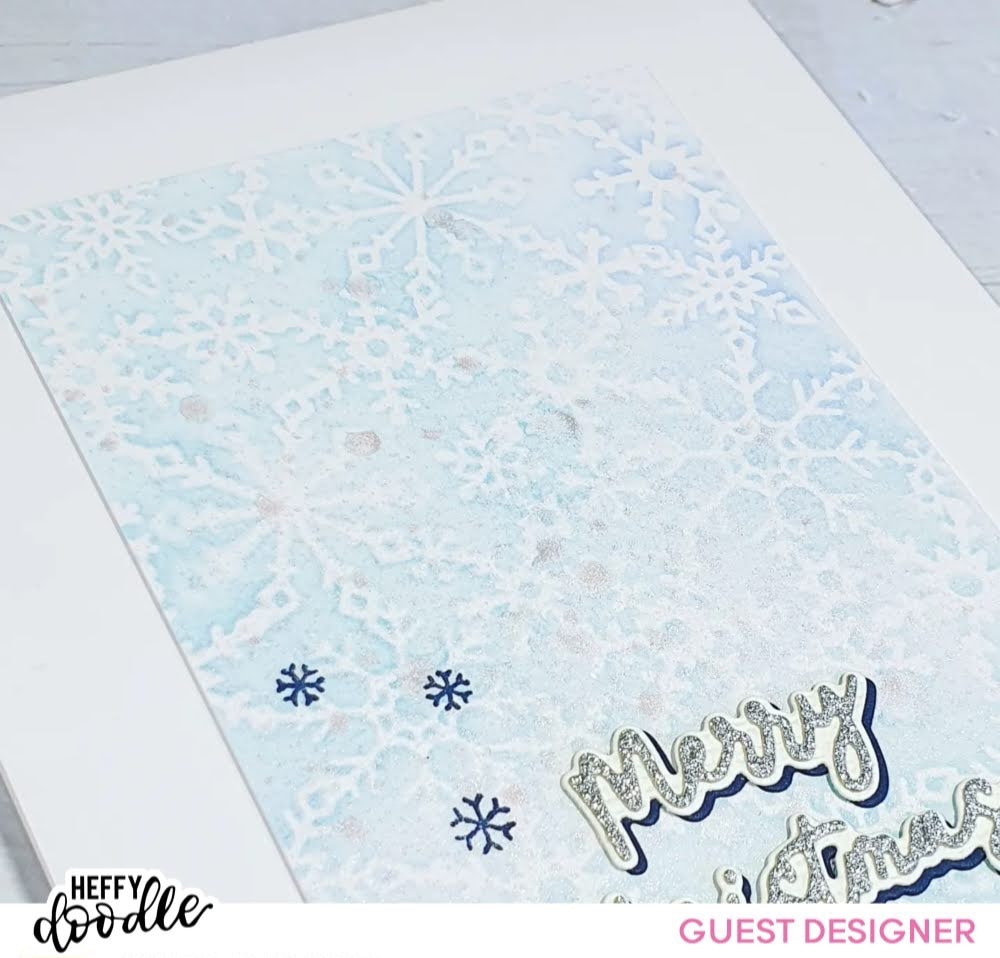
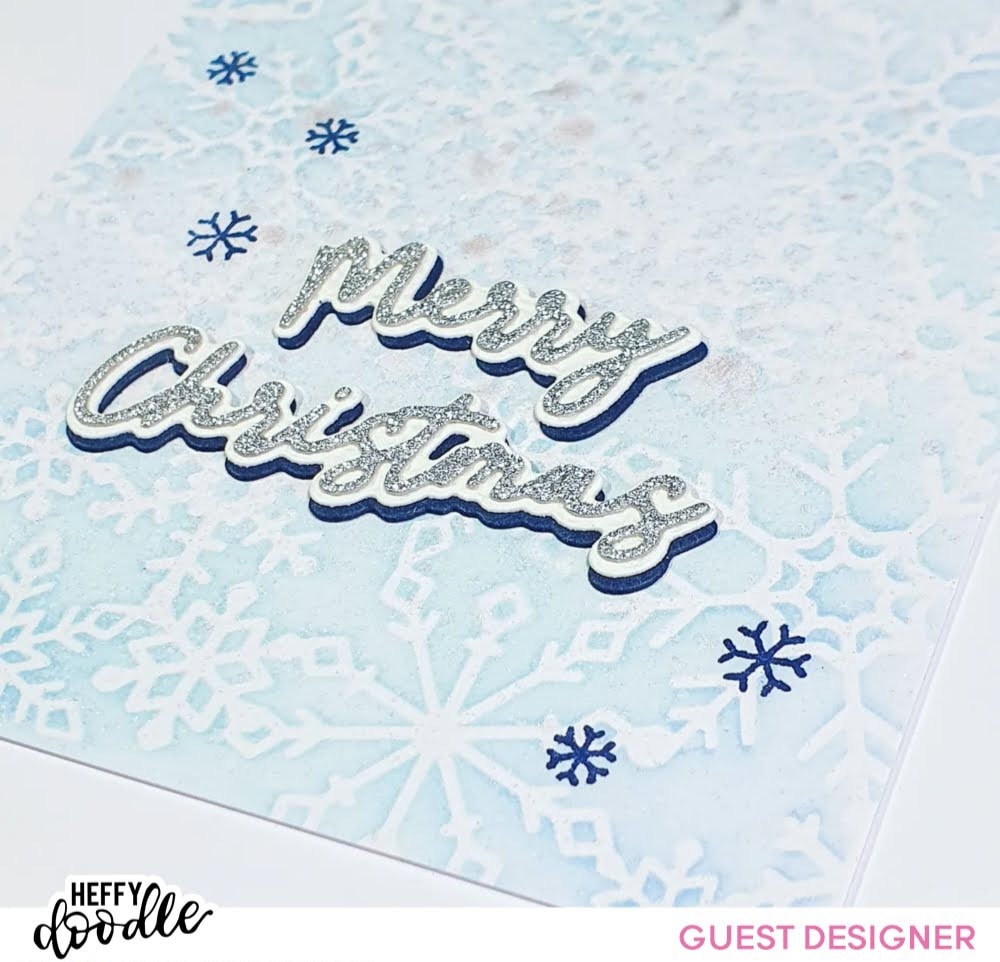
I loved the panel so much that I didn’t want to cut it down or cover any of it up! (This is the eternal struggle for me and my backgrounds!) I settled on a 5×7 inch card base and a simple greeting. I’ve used the Scripty Merry Christmas cut in silver glitter cardstock, with two shadows – one white and a navy one underneath with a slight offset.
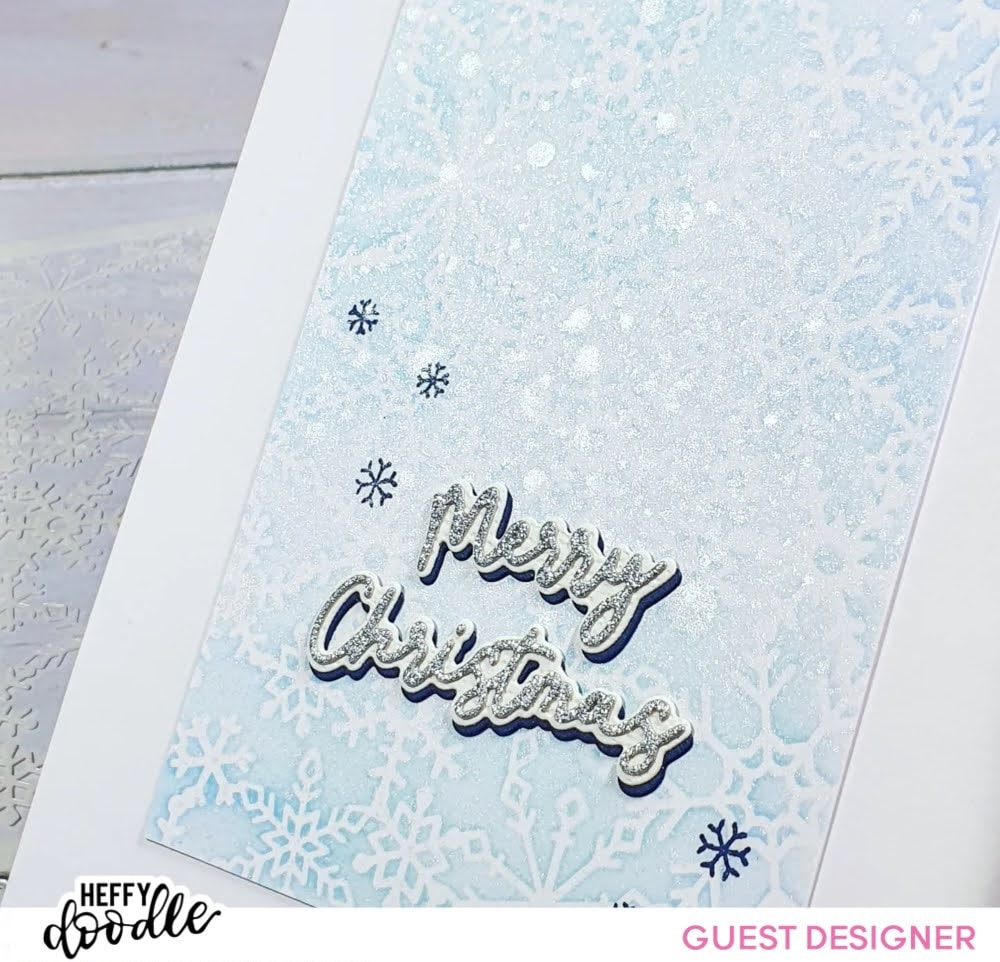
To finish off I added a few stamped snowflakes from the Ice Pups stamp set. I was a tad nervous stamping over the shimmer spray as I didn’t know if it would resist the ink. My back up plan was to stamp the snowflakes on separate white card and die cut them using the coordinating dies. These could then be adhered over the top to hide the crimes! As it turned out the ink was fine over the shimmer and I didn’t need to go on a rescue mission after all.
I’d like to say a big thank you to Lesley and Heffy Doodle for having me as a guest designer this month!
Janeygwynn
November 28, 2023 at 7:41 pmThe wreath is amazing but I absolutely adore the card, it twinkles with elegance and mischief