
Hello and welcome back to the Heffy Doodle Blog! We are SO glad you stopped by to see what crafty inspiration we have today! Today’s theme is “Stretch Your Supplies” with design team member –
Tatiana!
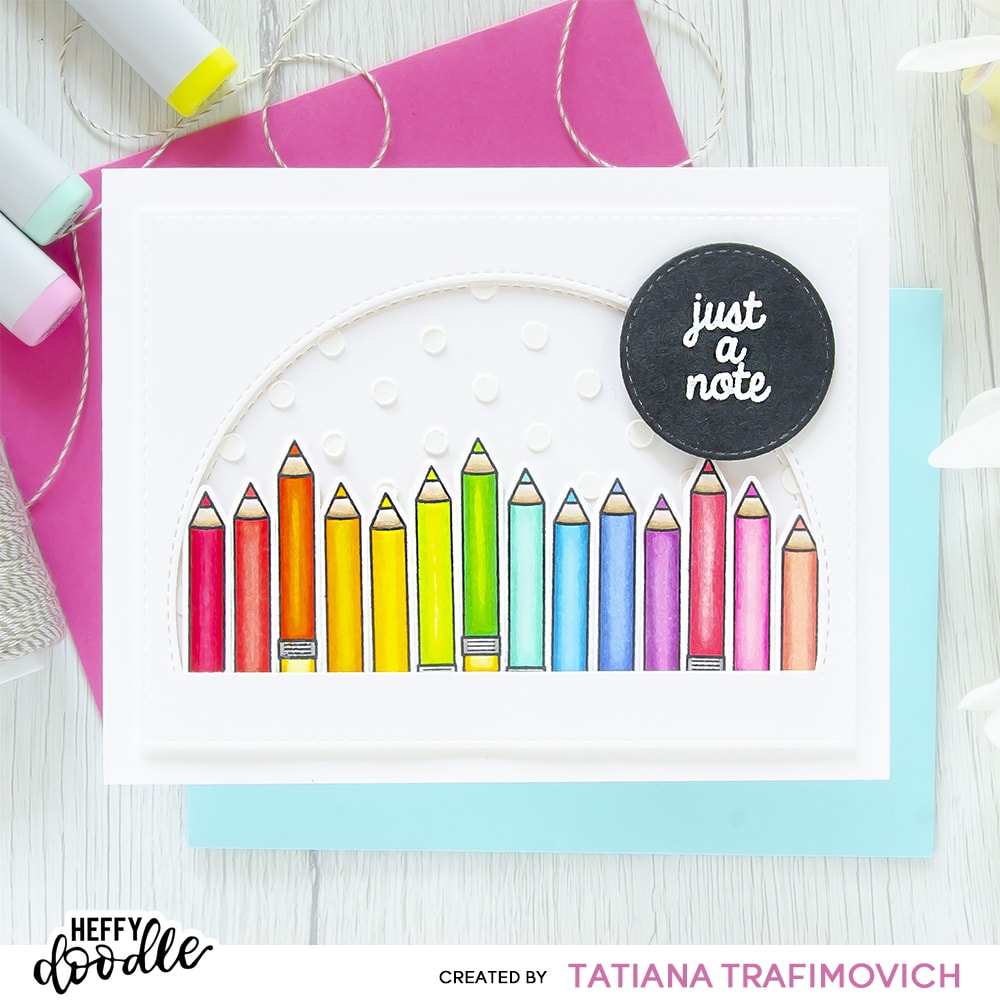
Today I came up with an extended A2 size cheerful and super bright rainbow card made from just one small, but nor less adorable
Just A Note Stamp Set! Actually I repeatedly stamp only the pencil illustration! This time the coordinating
Just A Note Dies set came super useful and saved me a lot of time since I first quickly die cut all the pencil shapes, using leftover scraps of a white cardstock from previous projects, and then made all the stamping in no time with a stamping positioning tool, making the alignment just once with the negative part of the pencil die! I decided to keep the whole card clean and simple, focusing on colorful stamps, and just add a little interest to the layout with a faux stitched details and a bit of fun texture with some raised polka dots.
Key Ingredients:
Step By Step Instructions:
- Die cut from Neenah Solar White paper a bunch of pencil shapes, using the coordinating Just A Note Dies and Heffy Doodle Mini Die Cutting Machine. Save the negative part of the dies
- Stamp the outline illustration from Just A Note Stamp Set with Memento Tuxedo Black Ink. Use the negative part of the dies as a guide for a perfect alignment inside the stamping positioning tool.
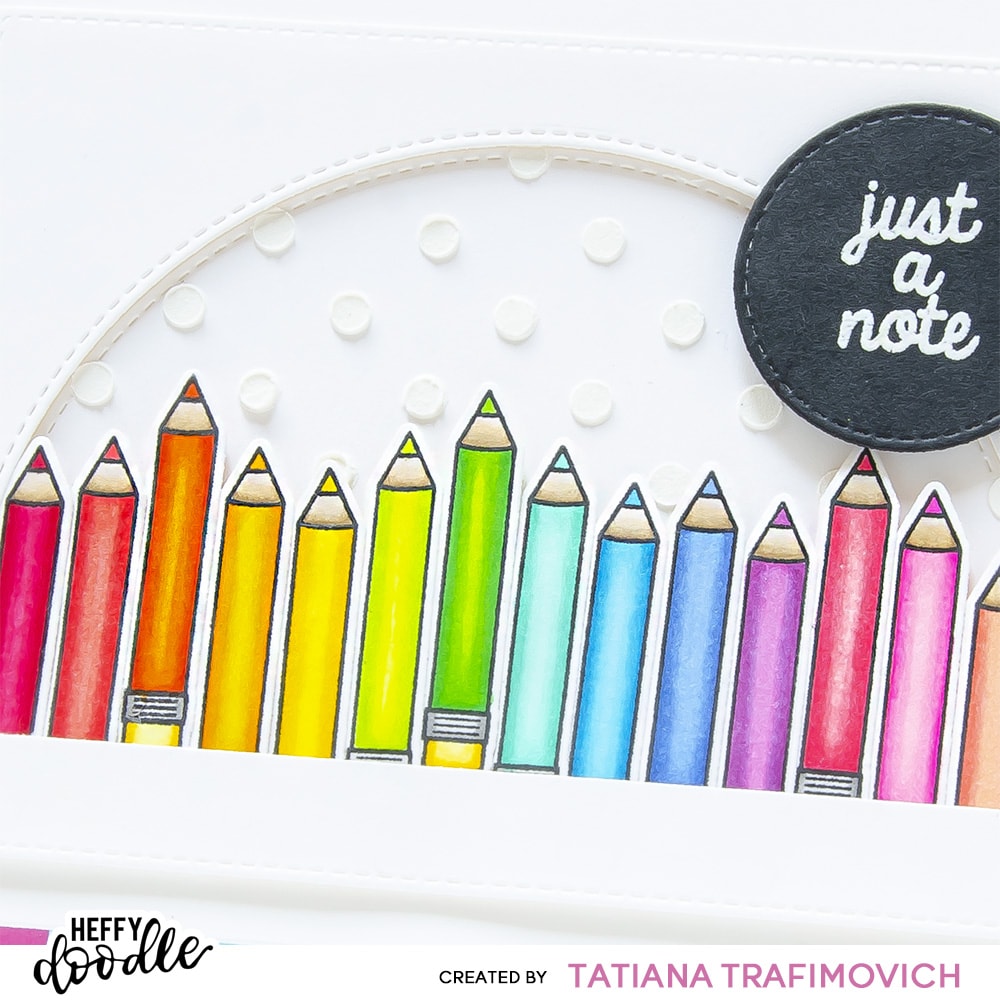
- Color the pencils with COPIC MARKERS. I used on this card (from left to right):
- RV25-RV29
- R32-R35
- YR04-YR09
- Y15-Y17
- Y02-Y13-Y08
- YG00-YG01
- YG05-YG09
- BG10-BG11-BG34
- B00-B01-B04
- B21-B23
- RV63-V05-V06
- RV13-RV14
- RV10-RV02-RV04
- R30-R32
- wood part E40-E41-E43
- metallic part T0-T3
- eraser Y11-Y18
- Trim and score an extended A2 size card base (5 1/2″ x 4 1/4″) from Neenah Solar White paper.
- Die cut a Stitched Rectangle slightly smaller than the card front.
- Partially die cut a Stitched Circle in the center of the stitched rectangle.
- Cut the straight bottom line by using a paper trimmer with cut-line or a craft knife.
- Tape Let’s Polka Stencil with a Heffy Memo Tape to the partially die cut circle to prevent any movement and apply a white embossing paste all across. Lift up the stencil and let the paste air dry.
- Heat emboss in white onto black the sentiment from Just A Note Stamp Set with VersaMark Clear Embossing Ink. Don’t forget to prep the cardstock with a Powder Tool Applicator to prevent the embossing powder to stick where you don’t want it!
- Arrange and glue in place all the elements, using Glubert – Craft Glue and a foam tape to add a bit of dimension.

That’s all for today! Hope you like this cute rainbow card! Thanks so much for stopping by and have a fabulous day!
Hugs,
Tatiana
