
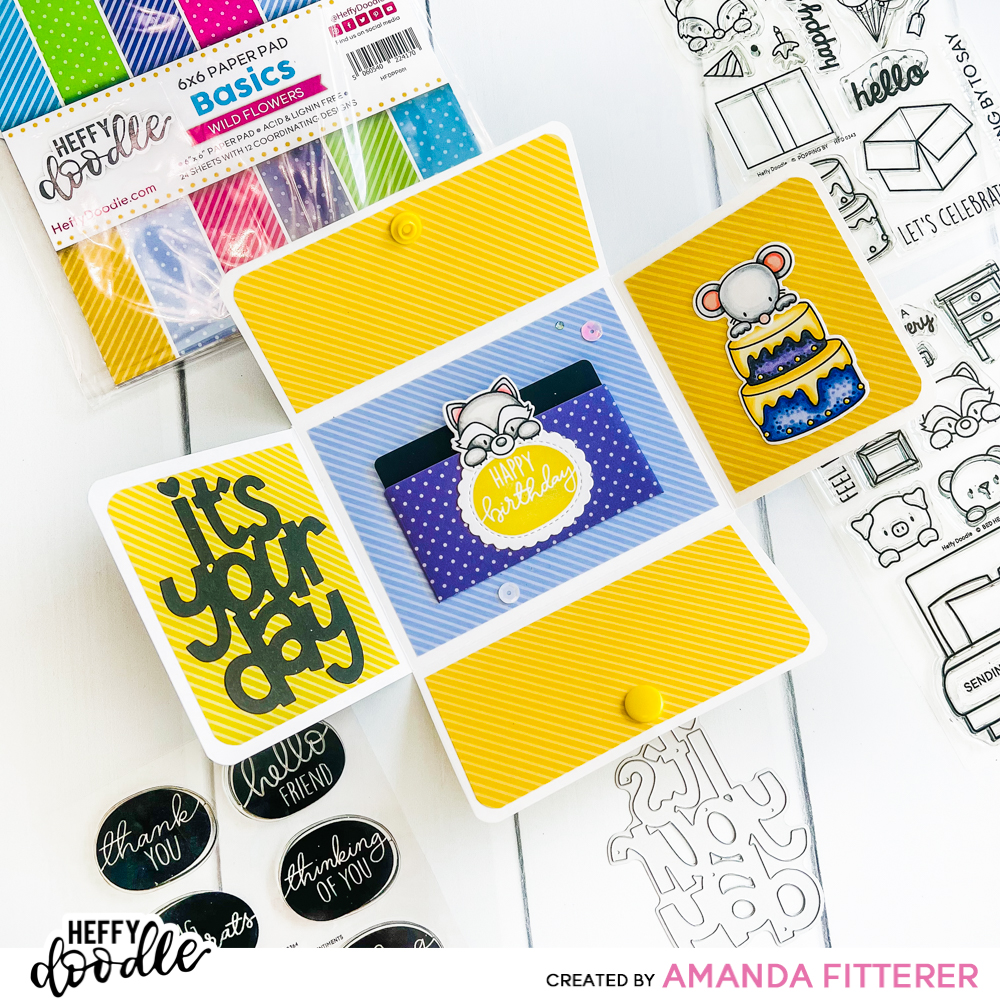
How to Create a Gift Card Pocketfold with Snaps

Hey Heffy friends! I hope you all had a wonderful weekend and are having a wonderful Monday today! I’m here on the blog today to walk you through making this fun interactive gift card holder!
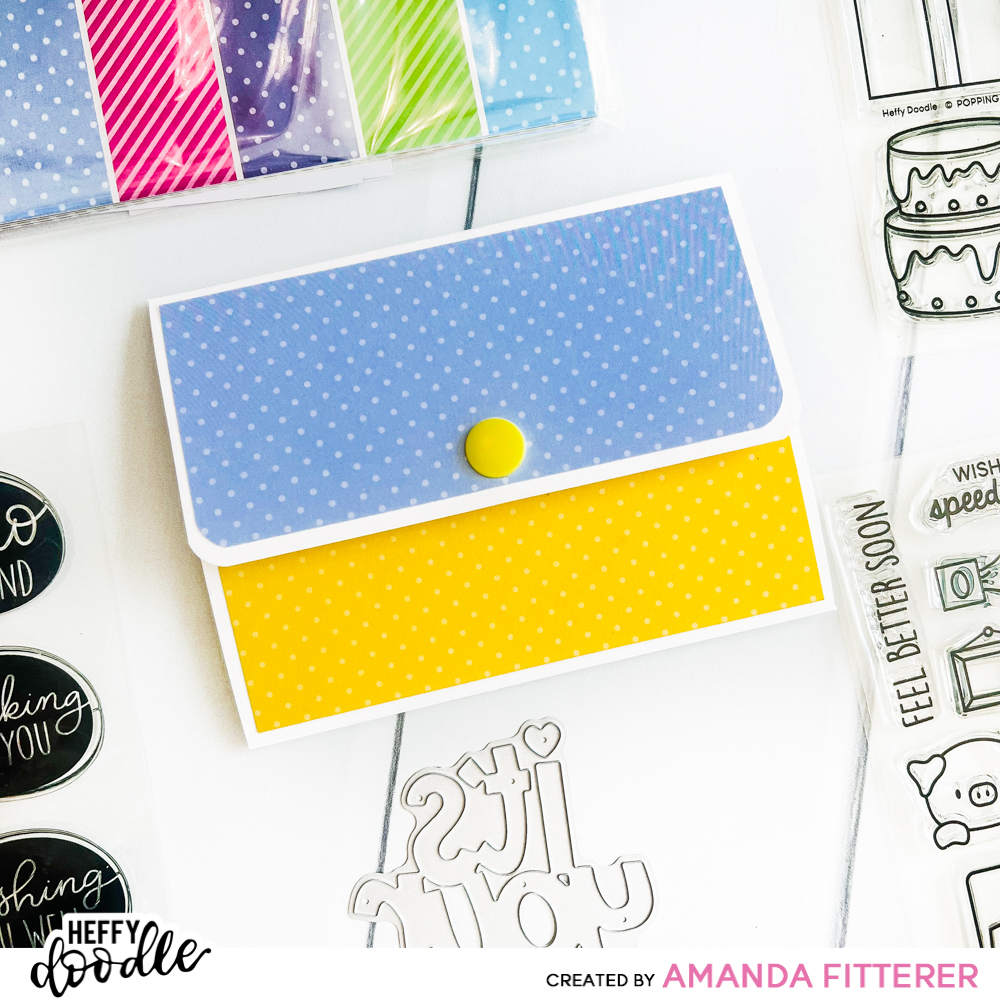
Here’s what it looks like when it’s closed!
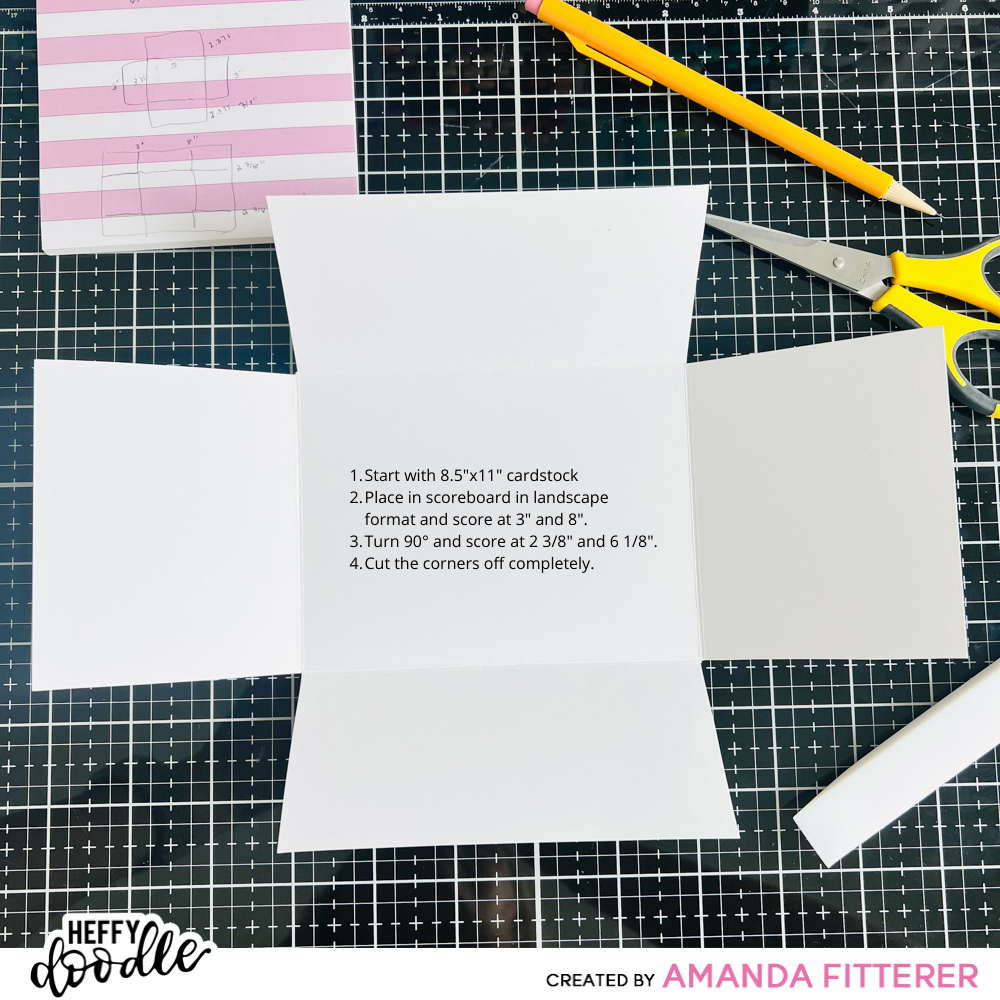
The first step is to create our pocketfold base. You may want to save the image below so you can reference it again! Or, make a template and write the measurements on the template for next time!
- Start with 8.5″x11″ cardstock
- Place in scoreboard in landscape format and score at 3″ and 8″.
- Turn 90° and score at 2 3/8″ and 6 1/8″.
- Cut the corners off completely.
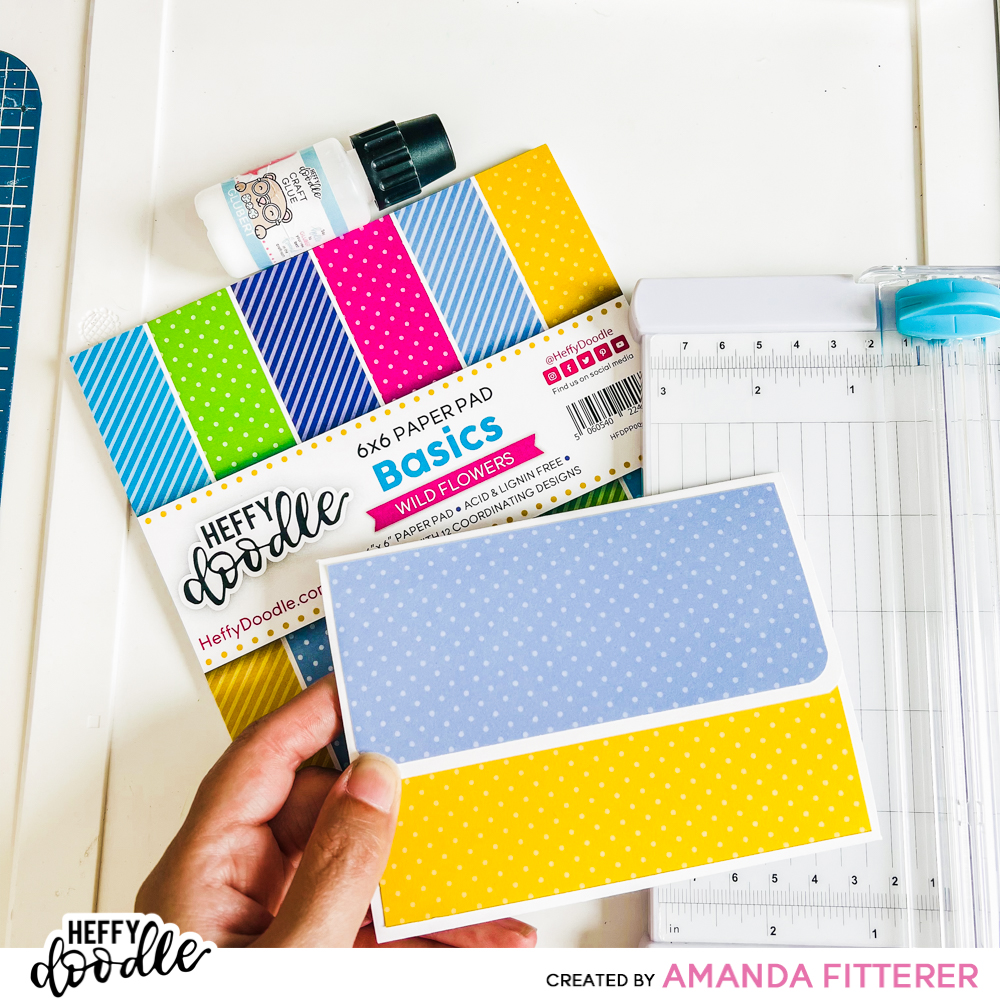
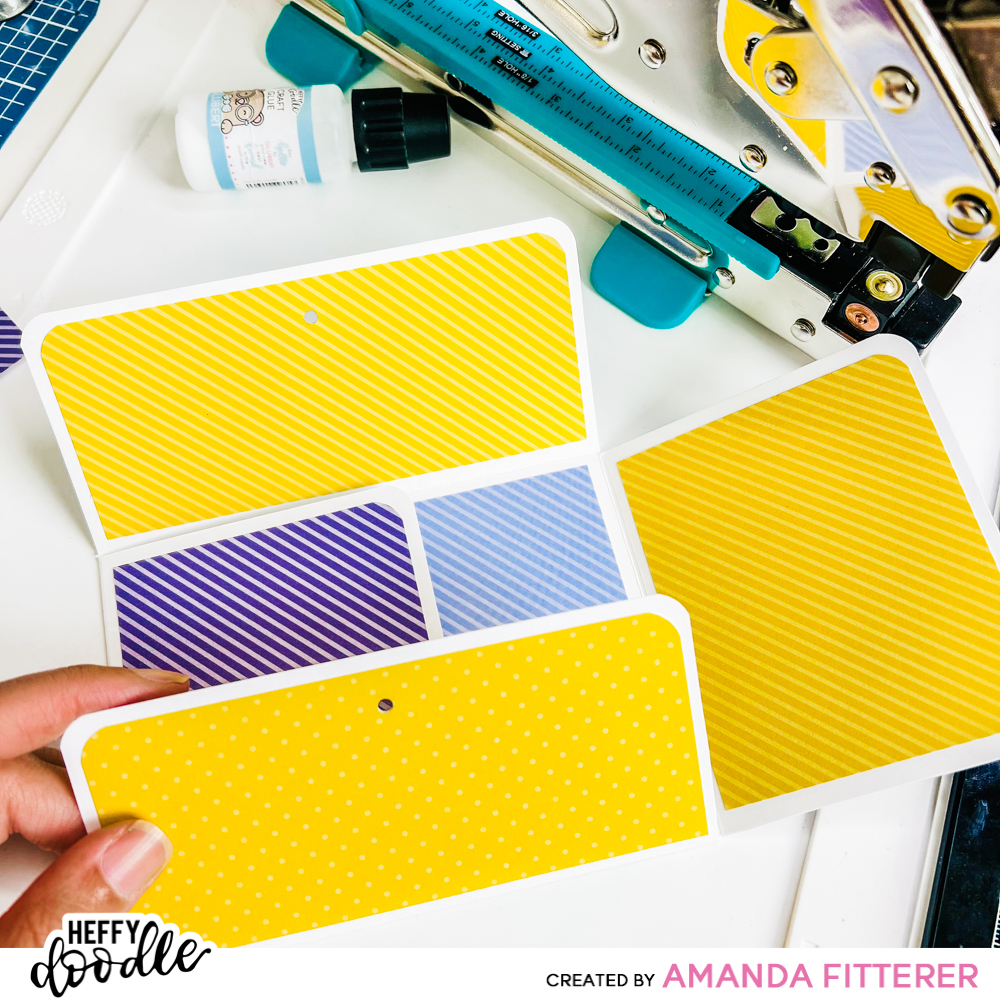
The next step is to start decorating your pocketfold! I am using the Wild Flowers patterned paper pack to brighten mine up! For each fold, you’ll want to measure the area you’re covering, and then cut your paper down to 1/4″ smaller. For example, the front flaps (pictured below) are 2 3/8″ by 5″. You’ll want to cut them down to 2 1/8″ x 4 3/4″.
At this point, you might want to add something to keep your pocketfold closed. I am using plastic snaps. You could use a brad with twine, a belly band, ribbon, etc.
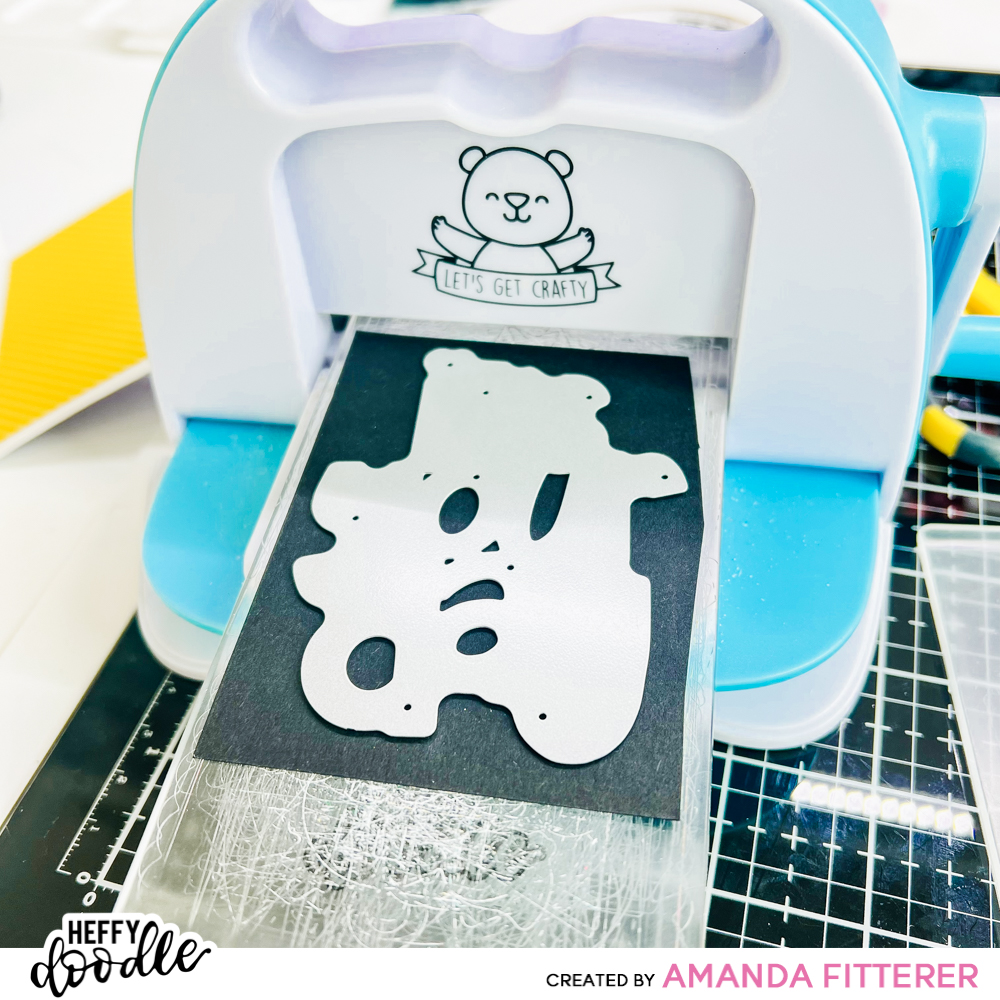
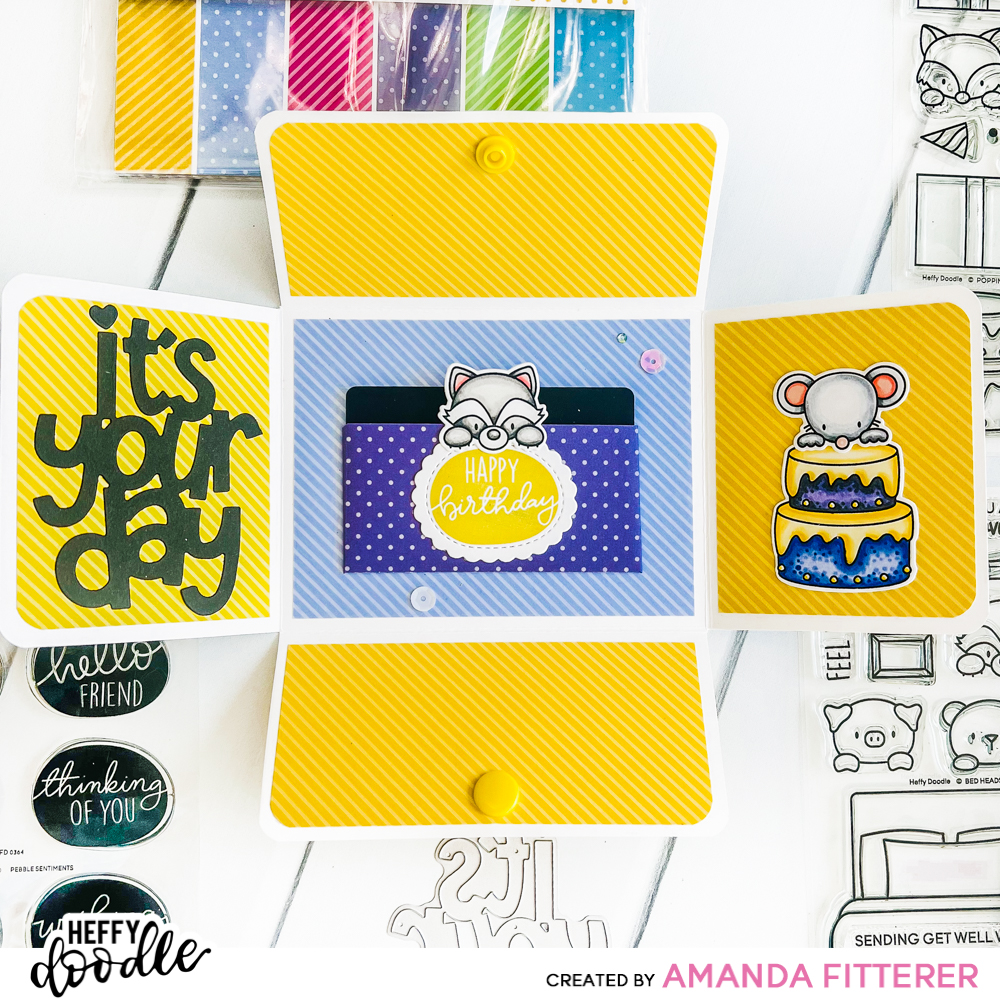
Now that I have my pocketfold ready, I’m going to start adding my sentiments and stamped images! I’m using my Heffy Doodle Mini Die Cutting Machine to cut the It’s Your Day Jumbo Sentiment Die out.
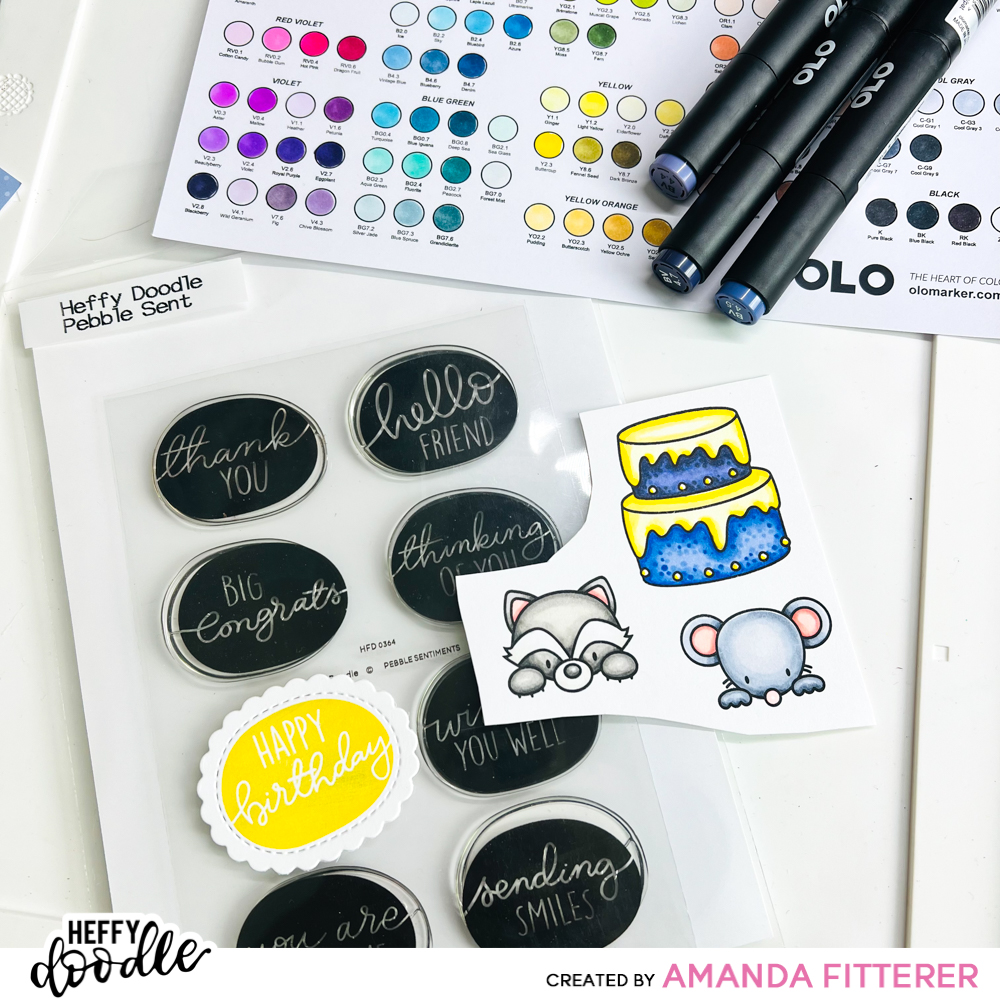
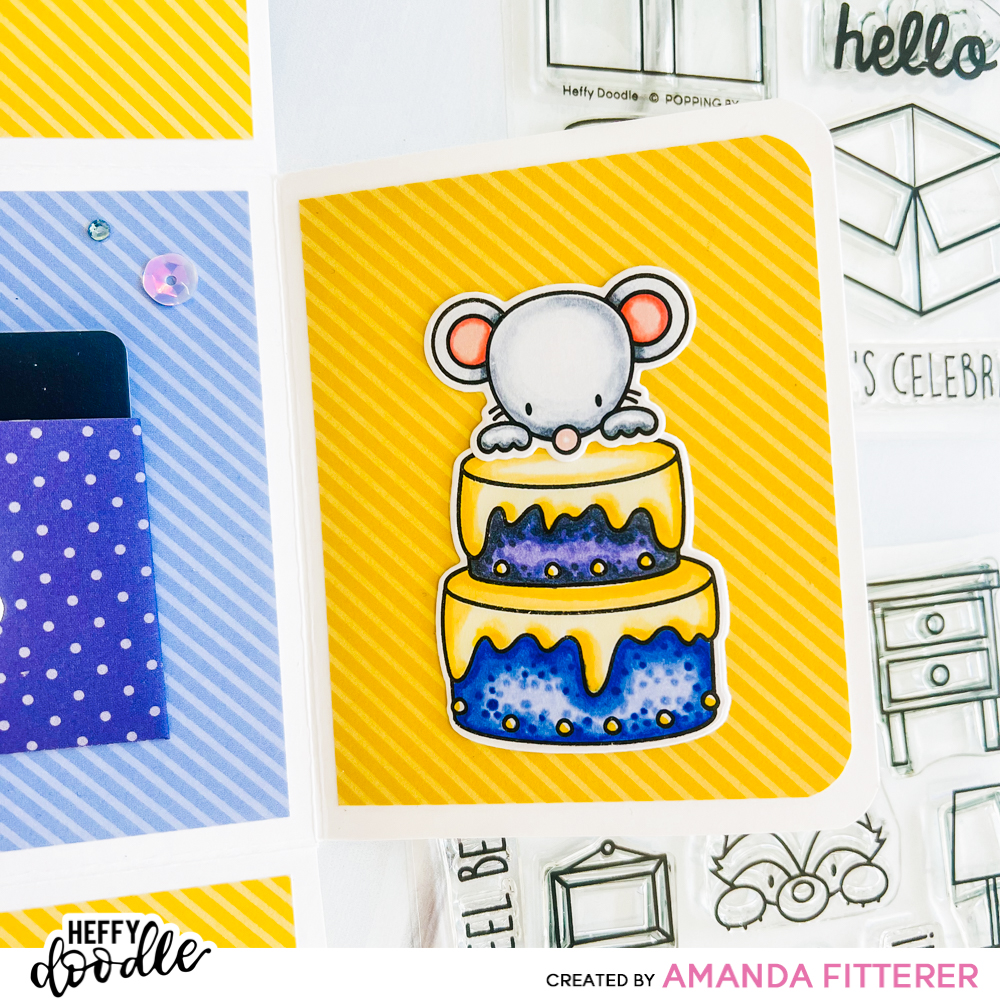
I’m using my new OLO Markers to color in my images from the Popping By and Bed Heads stamp sets. I’m using Catherine Pooler Limoncello Ink to stamp my Pebble Sentiments. I’m using the coordinating dies to cut out my sentiment.
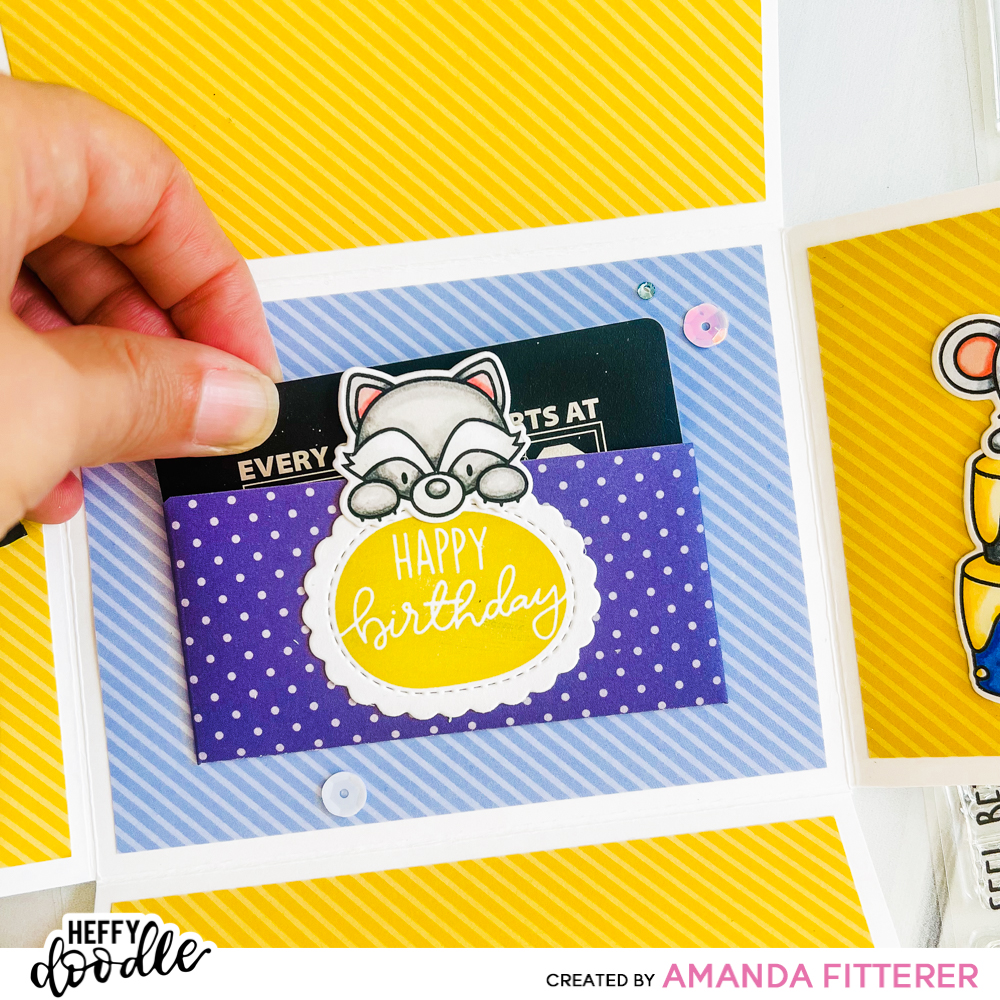
To create my gift card holder, I trimmed my patterned paper down to 4.5″ x 2.25″. I scored the 2 side flaps at .5″ and then the bottom at .5″. I folded the flaps and then used double-sided tape to adhere it to my background.

I hope you enjoyed this quick tutorial on creating this pocketfold! Let me know in the comments if you’re going to try out this gift card holder! Xx, Amanda
Tina Wetzel
February 15, 2023 at 10:23 pmLove this & is so adorable & functional as a gift card holder. U can easily not put the gift card portion in & place a stamped image w/ fun coordinating sentiment in its place. The possibilities r endless! I can’t wait to create this myself!! Thanks so much.