Hidden Christmas Scene
Hello fellow crafters! It’s Joy here and I have a super fun Christmas card for you today. I created a card with a hidden scene behind a vellum overlay. It’s super easy to put together and it was a ton of fun! If you want to see more of my creations you can head over to my Youtube channel, IG and FB, they are all under Create It With Joy.
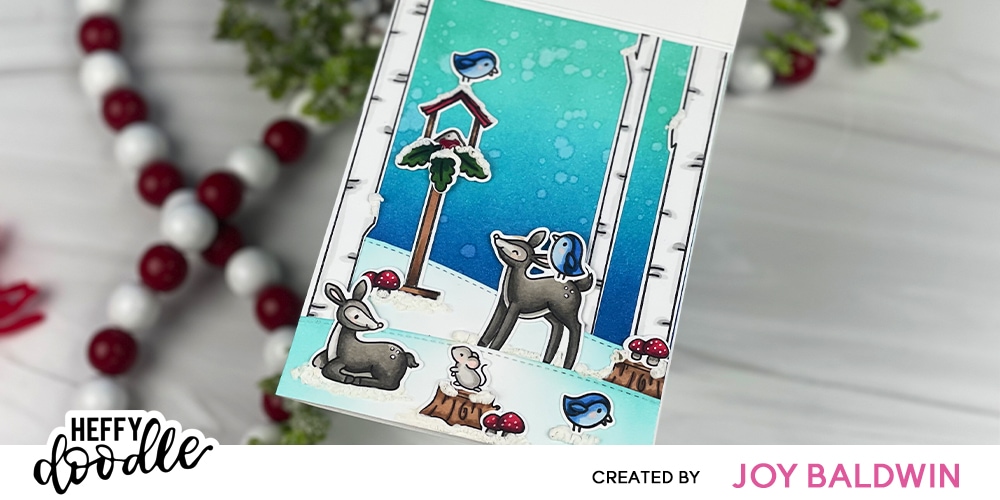
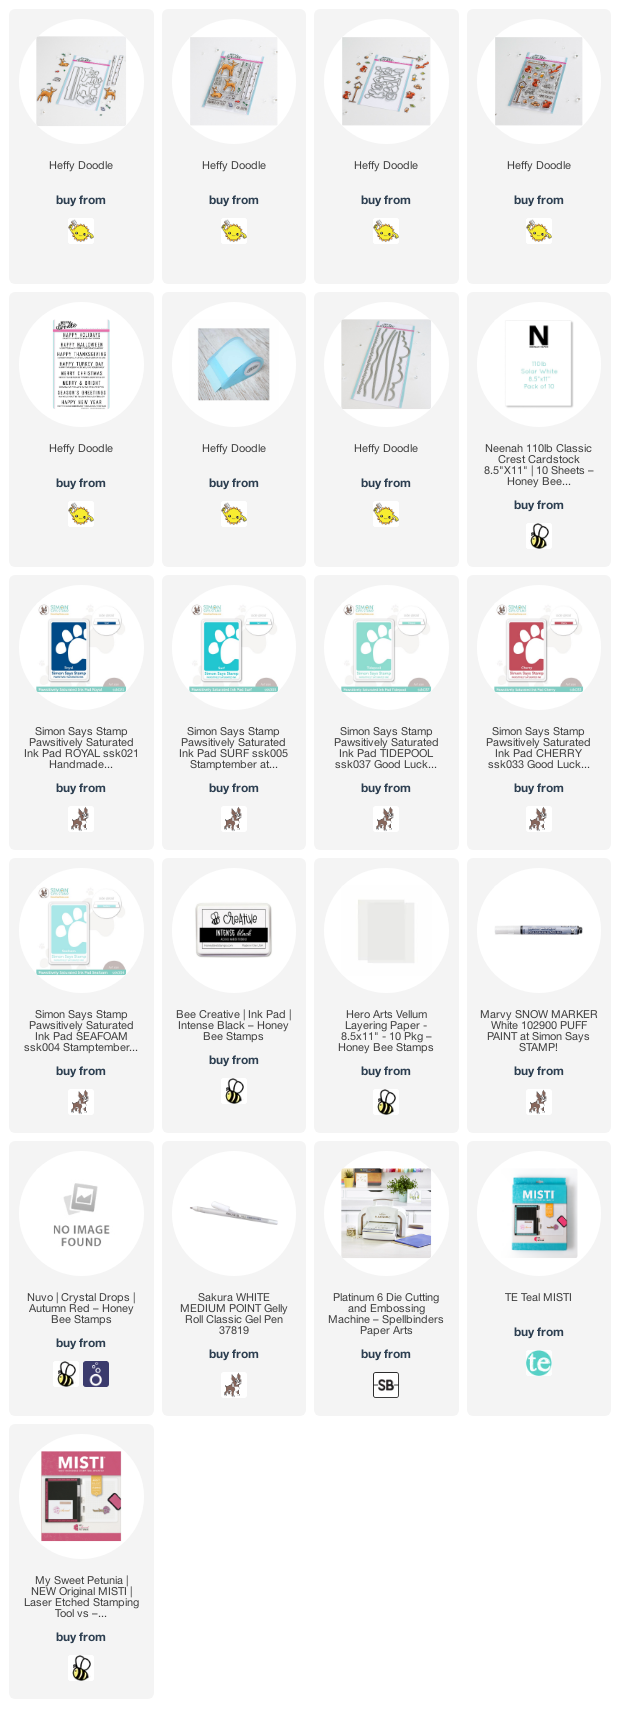
I started by Copic coloring the cute images from the Nuts About You and Deer To Me stamp sets. Then I used the coordinating dies to cut them out. I die cut a couple of snowdrifts from the Slimline Scenery dies, from white cardstock. I ink blended them with a little Surf ink from SSS. The background piece is ink blended with Royal, Surf and Tidepool from SSS, then I spritzed a little water on the background and patted it dry with a paper towel. This gave it a fun “snowy” effect.
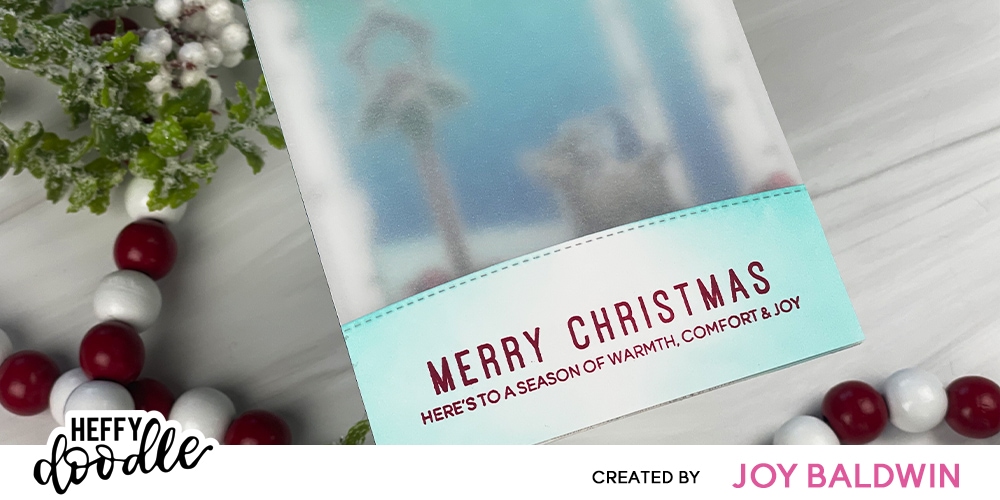
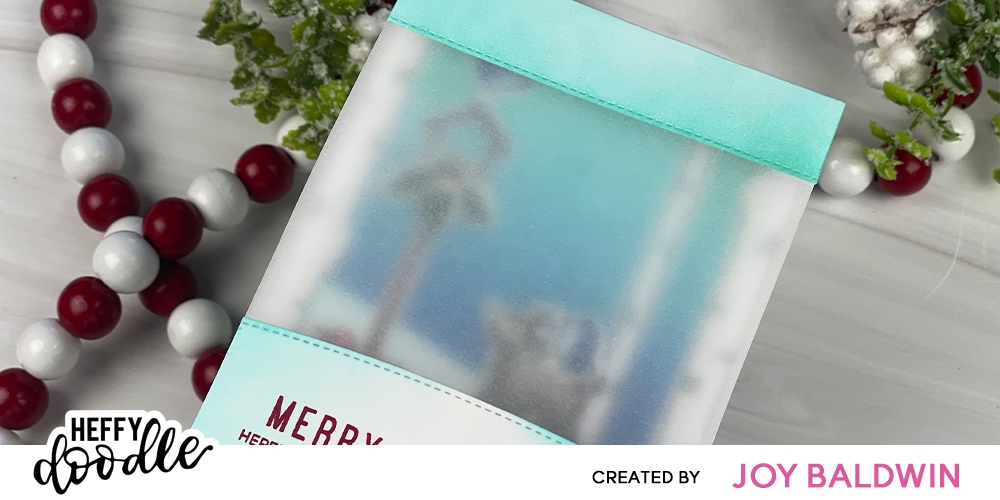
For the vellum overlay, I cut a piece of vellum to an A2 size. Then I cut two snowy hills form the Slimline Scenery Dies and using the straight piece I die cut two pieces for the top of the vellum. I ink blended both the top and bottom outside pieces with Surf ink. I stamped the sentiment from the Holiday sentiment duos stamp set on the ink blended front hill with Cherry ink.
I adhered the front and back pieces with the vellum sandwiched in between, then I did the same for the top but, the front piece was left longer so I could fold it back and have a flap that attaches behind the scene.
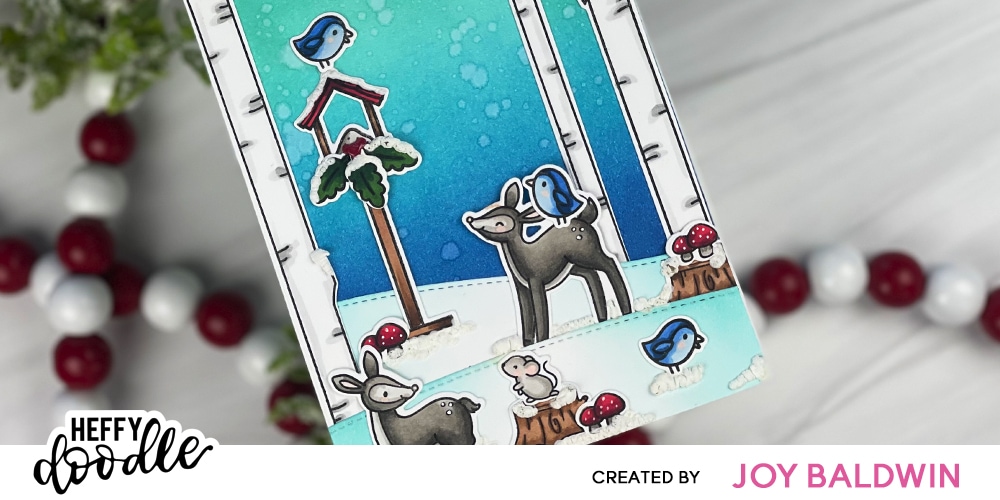
I adhered all the of the cute critters and trees and then added some tufts of snow by using the Marvy Snow pen and a heat tool, this gives a fantastic snow look. I adhered the vellum panel over the front and now it is a hidden Christmas scene.
I hope you enjoyed this project, have a wonderful day!
Hugs,
Joy Baldwin
Create It With Joy
I do have some affiliate links below, they cost you nothing to use.