
Happy Beach Day!

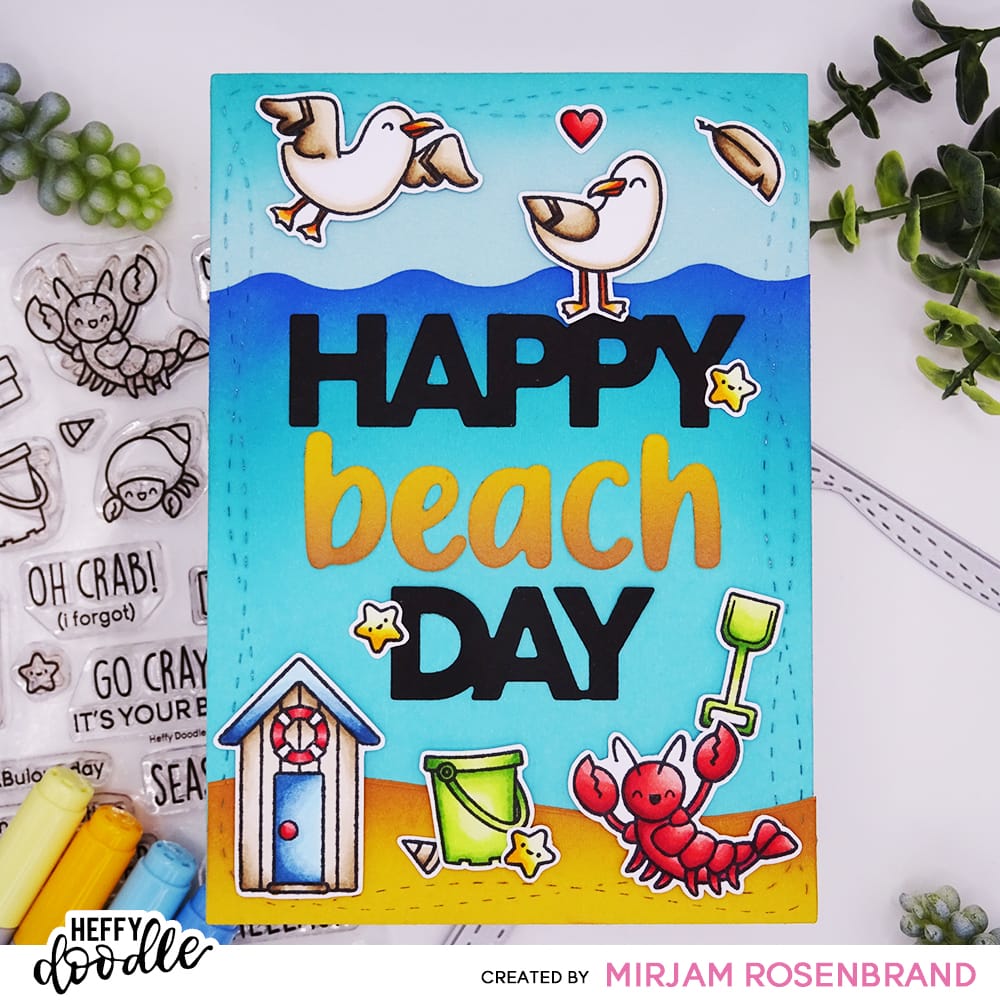
Mirjam here with a brand-new card for the Heffy Doodle “Happy Vibes” blog series. Today, I’m sharing a summery card called “Happy Beach Day” for everyone to enjoy!
Let me walk you through the process of creating this cute card.
First, I used three colors of Cardstock (Light Blue, Turquoise, and Yellow) and die-cut them using the Whimsical Wonky Metric Rectangles’ largest die.
Then, with the help of border dies, I carefully cut out the sections at the right heights – Yellow for the sandy beach, Turquoise for the sea, and Light Blue for the sky. You can achieve a similar effect using border dies like Stitched Slopey Joes Border Dies and Breaking Waves Border Dies.
For added depth and dimension, I applied distress oxide to the top edges of each layer, using slightly darker shades than the original Cardstock colors. It’s a simple technique that brings the card to life in no time!
For the sentiment, I utilized the “happy” and “day” words from the Stitched Birthday Trio Frame Dies, cutting them from black cardstock.
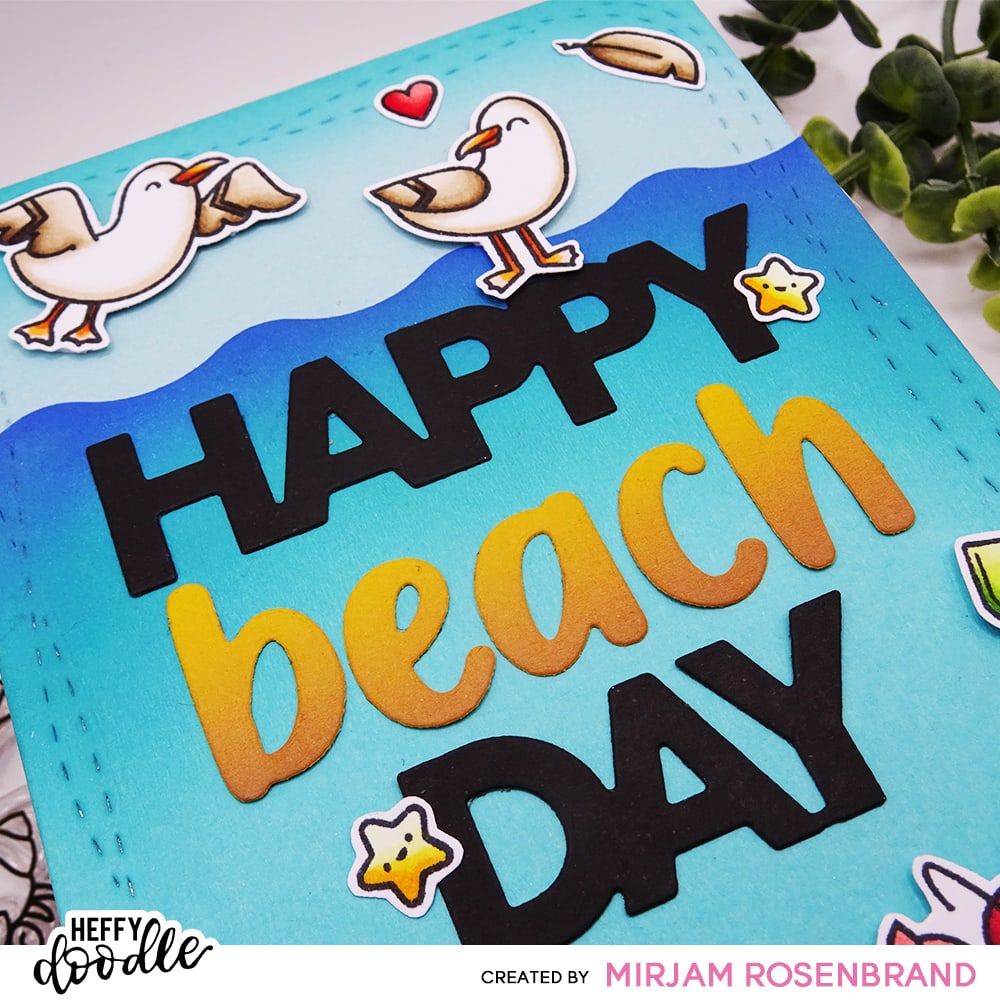
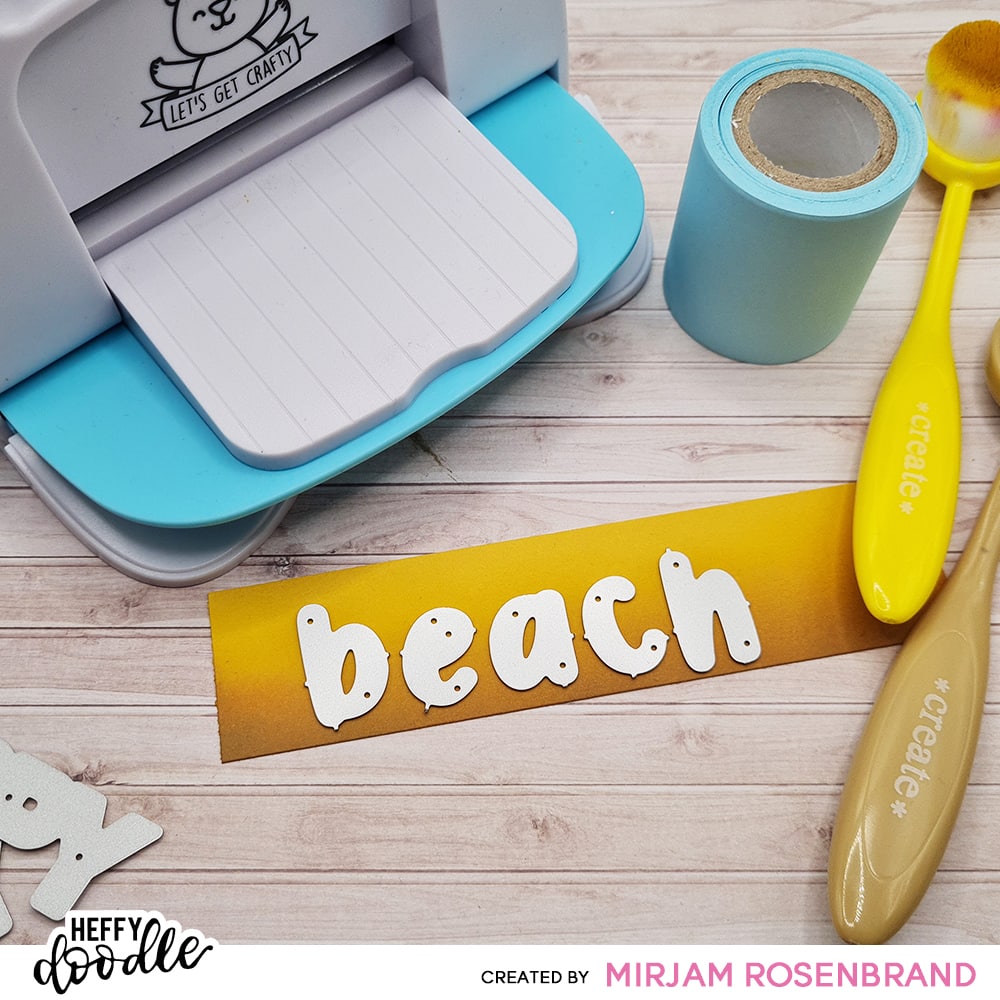
As for the word “beach,” I employed the Moxie Alphabet Dies. To create a unique effect, I inked the bottom of a yellow cardstock piece with a blend of dark yellow and brown Distress Ink. Then, I securely attached the Moxie Alphabet Dies using Heffy Memotape and ran them through my Heffy Doodle Mini Die-cutting Machine.
The combination of two different fonts makes the sentiment stand out!
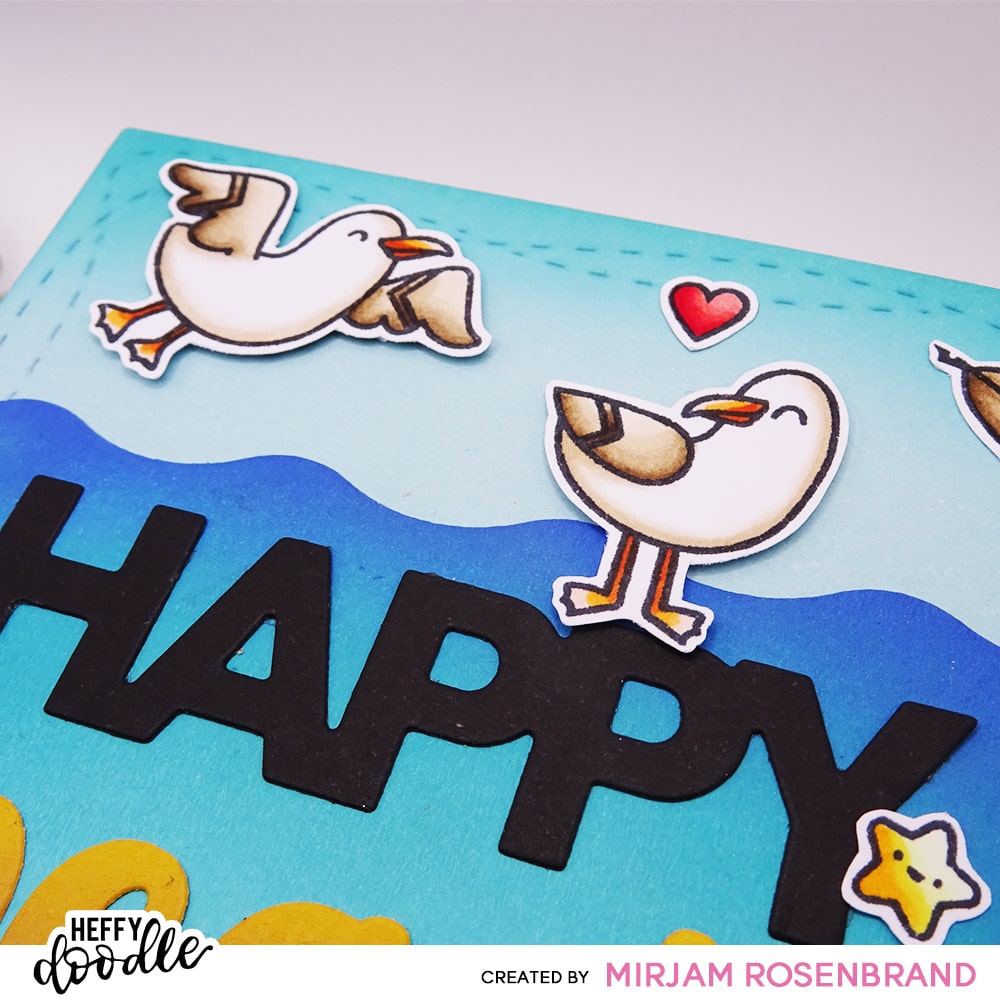
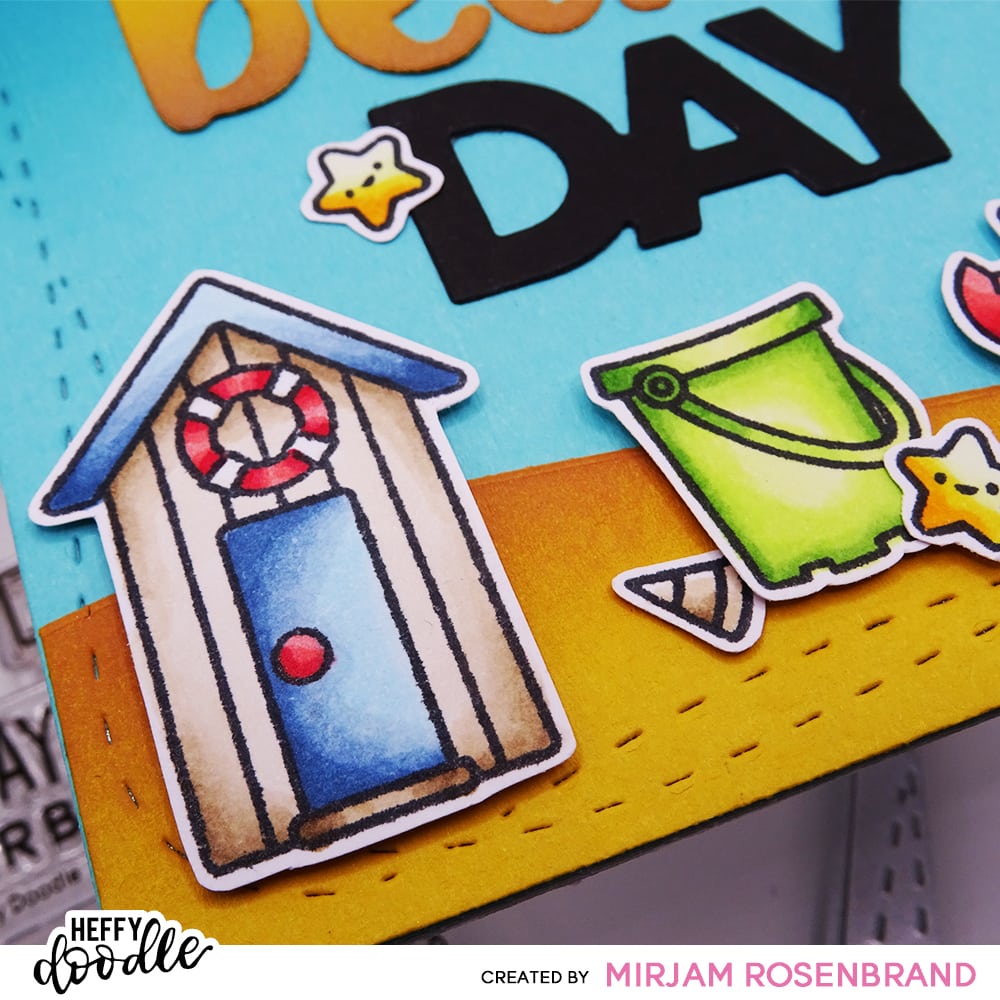
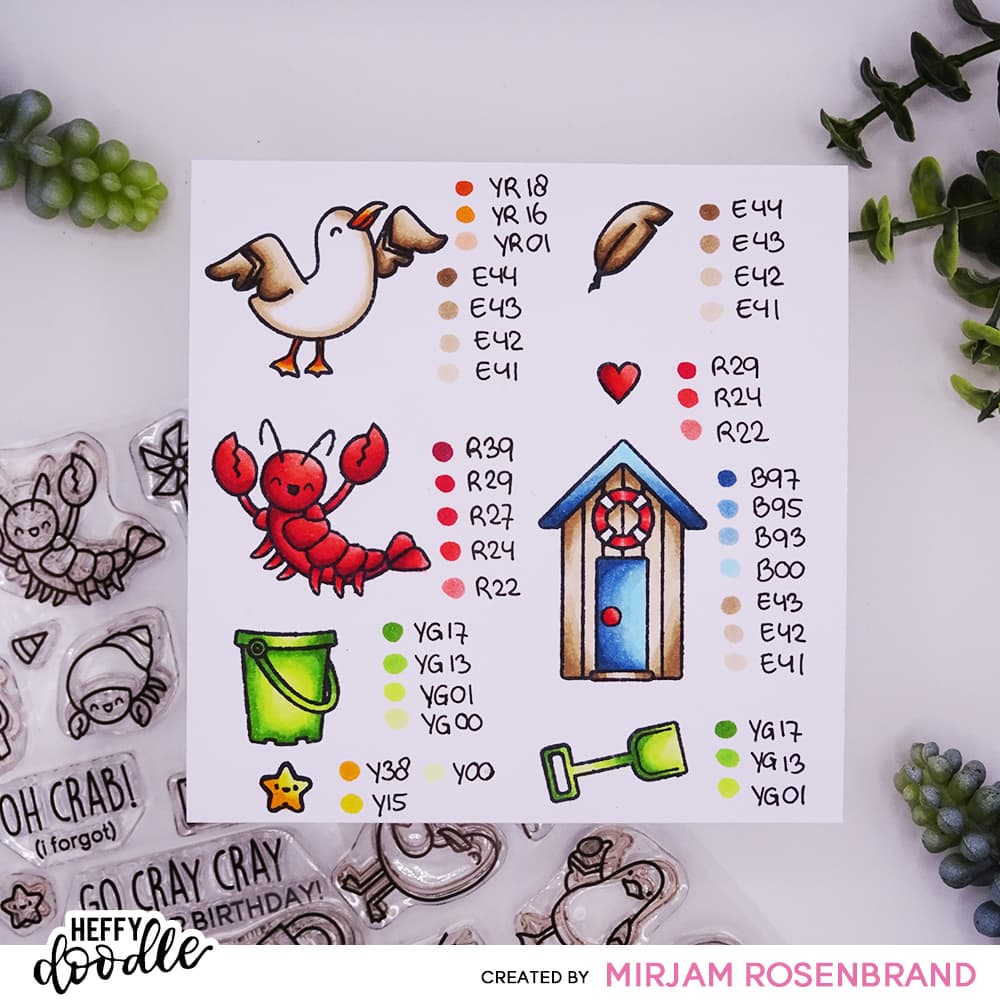
I’ve used various stamps from the You Go, Gull Stampset and A Little Shellfish Stampset. Stamping them with Memento Tuxedo Ink and coloring them with Copic markers brought the images to life. Once colored, I easily cut them out using the matching dies.
Now, the exciting part – assembling all the elements onto the card! I layered the different cardstock pieces on top of each other to create a captivating depth effect.
Next, I carefully adhered the letters. To ensure perfect alignment, I laid out all the letters flat, using a ruler for precision, and then secured them with Heffy Memo Tape. By lifting the letters with the tape intact, I glue the backside and place them effortlessly in one go. Once they were in place, I removed the memotape, and voilà! The letters looked impeccable and straight on the card – such a handy trick!
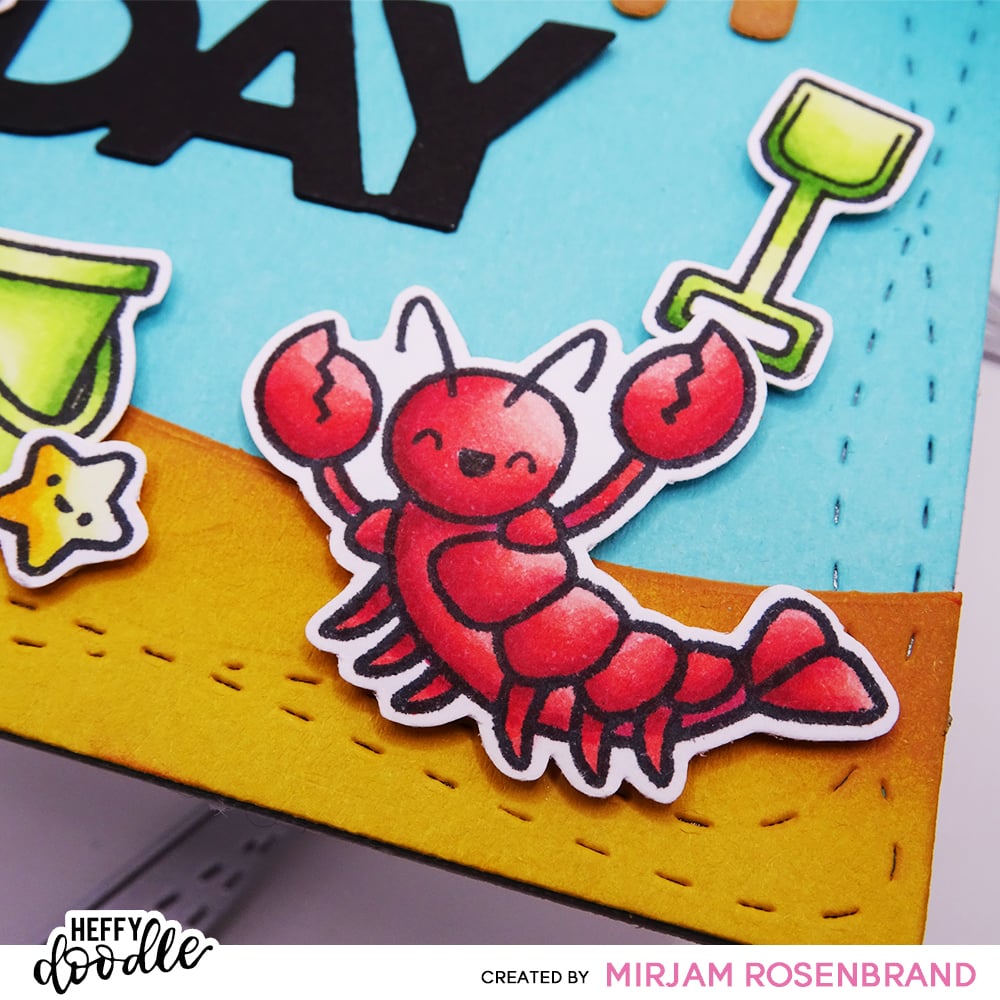
Finally, I added a touch of dimension to the images by using 3D foam tape, giving them a pop on the card. With that, my “Happy Beach Day” card was complete!
I hope my creation has inspired you! See you next time.
X Mirjam